A Journey through the Gates of Antares (or your first steps in painting guide)
Read Part 1 here.
Stage 2: First steps in painting.
A quick note on painting equipment. I use 4 main brushes Insane Detail, Precise Detail, Small Drybrush (all from the Army Painter hobby range) and a larger generic brush for area painting. A decent brush makes a huge difference so it’s worth investing in a couple of quality brushes rather than cheaper plastic bristled sets.
To undercoat the models I use a can of grey plastic primer available from a well known motor parts shop. Black is also popular particularly if using a darker colour palette but I prefer the mid tone grey. For detail paints I have a collection of acrylics from Humbrol, Army Painter and Hobby Acrylics. They all do the job and while having a large range of colours makes colour matching easier with a set of 6-10 basic colours plus a metallic you can mix almost any colour.
Before I start with the undercoat I mount the figures on a bottle top using bluetack so I don’t have to touch the base when painting. An even spray of grey provides a good base for the colour coats. If you have a detailed model it’s better to spray 2 thin layers, pausing to let the paint dry between coats, rather than keep going to cover an awkward corner and risk the paint running.
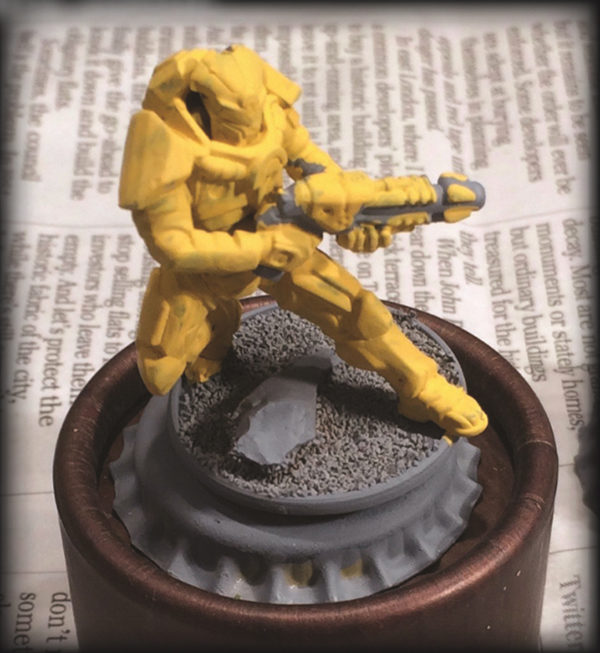
Page 42 of the Kar’A Nine book has an excellent guide on painting figures and if you are new it’s worth following step by step. I’m going to change the order slightly because of my colour choice but the techniques are the same. Above I’ve added my chosen base coat colour to the armour and weapons. I’m going for a yellow/ black combination so I should probably name this unit the B’mbleB division!
“Getting 5 figures to this stage took about 2 hours with breaks for the paint to dry.”
Next I wanted to try different colour washes to see what worked best. It’s always worth testing ideas out because if it doesn’t work you can always go back to the base coat but you might find a new combination you like. You can buy dedicated washes (or inks) but if you don’t have them I find a 50/50 water/paint mix works just as well.
The picture to the left shows the left leg with a light brown wash, right leg with a black wash and the backpack with a dark brown wash. In each case I gently wiped off excess with a tissue having applied it liberaly with a wide brush. I chose the dark brown wash because it gave me the ‘used’ look I was after without losing the yellow colour. Don’t worry about too much wash at this stage, later on I’ll add back the original yellow.
Pausing only to repaint over the black wash, I added metallic paint to the body of the weapon and chose sections of the under armour to paint black. You’ll need the smaller brushes for these sections and the Insane Detail brush to do the visor. Adding my dark brown wash and leaving it to dry I then heavily dry brushed over the armour in the original yellow to bring back the brighter colour as well as lightly dry brushing the black section with a light grey. Finally I followed the guide and added yellow highlights to the edge of the armour plates.
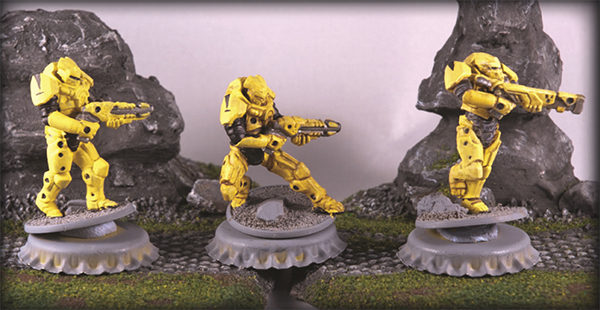
Left to right above shows the stages I’ve gone through; base coat, washed and finally dry brushed to add back the yellow highlights. Getting 5 figures to this stage took about 2 hours with breaks for the paint to dry.
I’ll cover painting the bases and drones next time but for now I’m off to build the other Algoryn figures and bring them up to the same standard.
See you for the next update. Jon
Download this article as Jon’s original PDF here.
View part three here
Do you have an article within you? Are you itching to show your collection to the world? Join our Beyond the gates of Antares facebook page for the most up to date news and more!
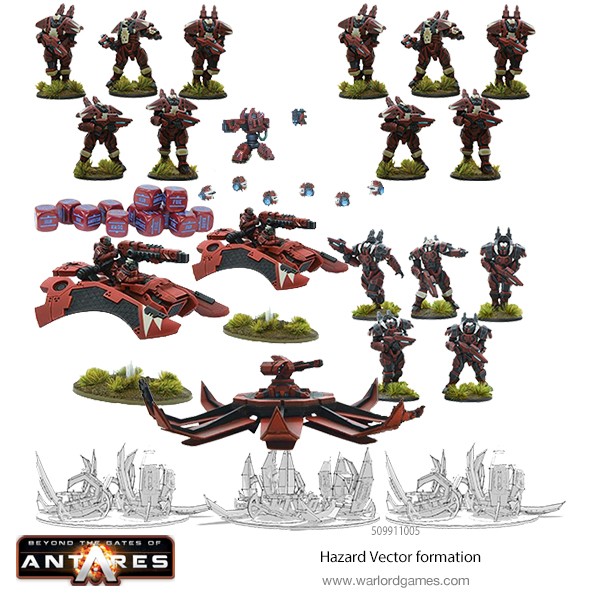
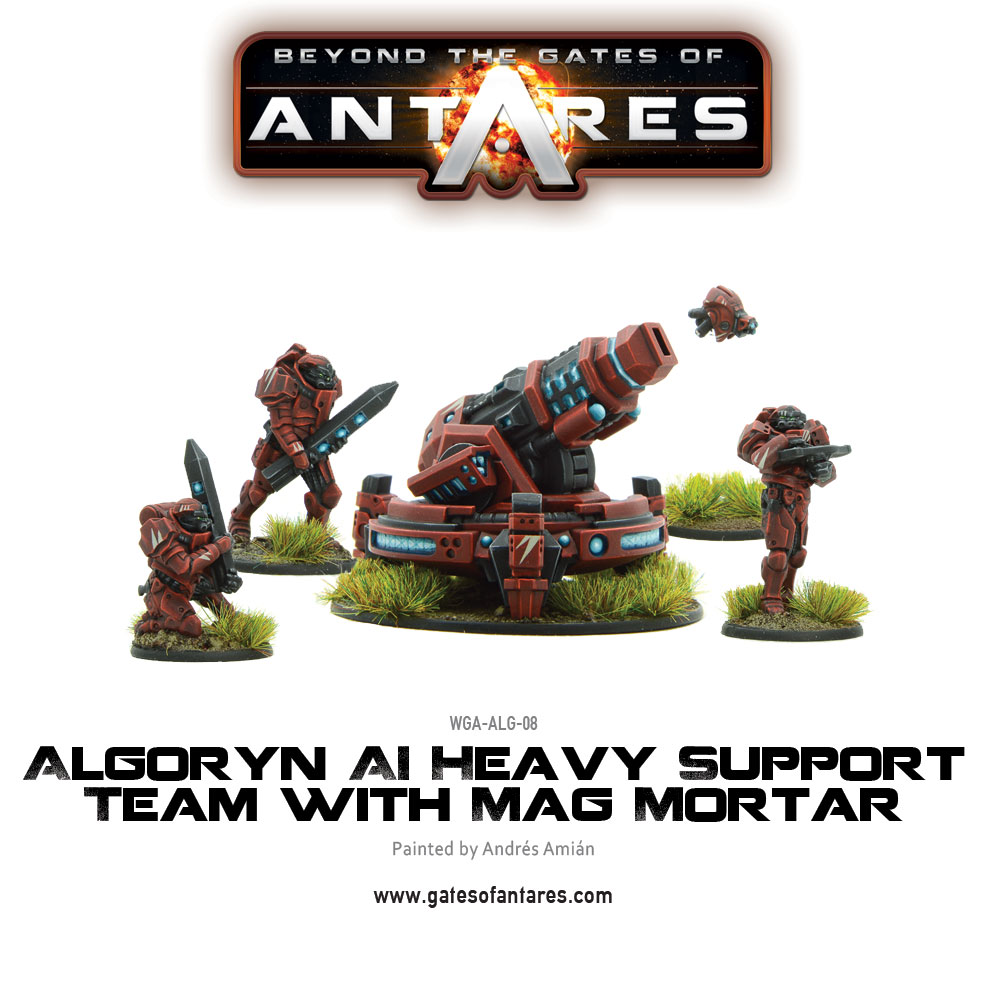
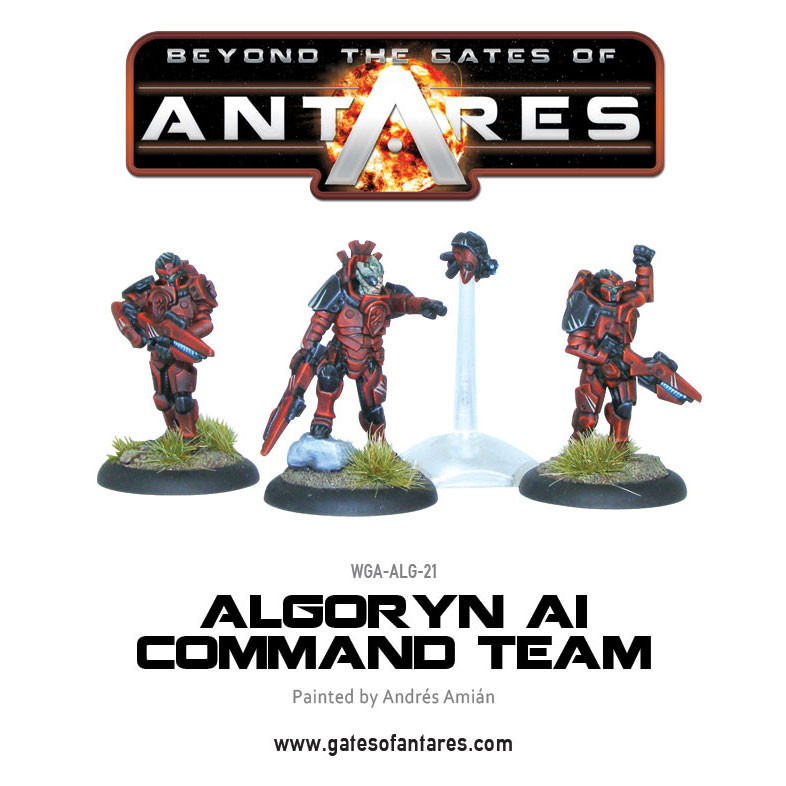
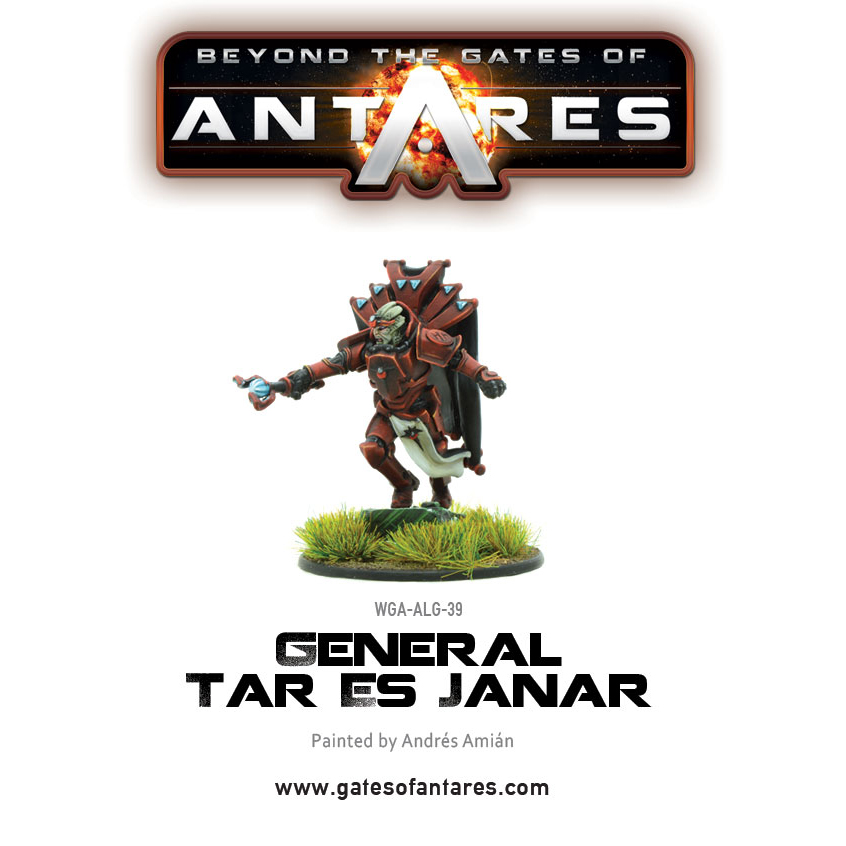
Start your army with these Algoryn!