Journey through the Gates of Antares (Concord time) – part 4!
By Jon Harrington

Read Part 1 here.
Read Part 2 here.
Read Part 3 here.
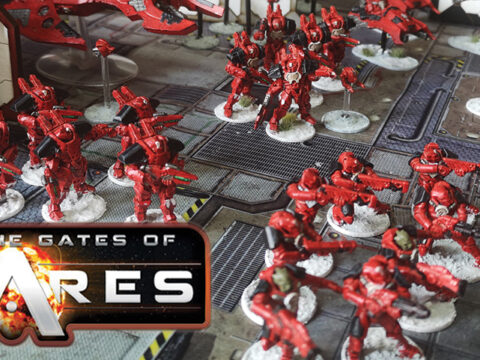
The Concord.
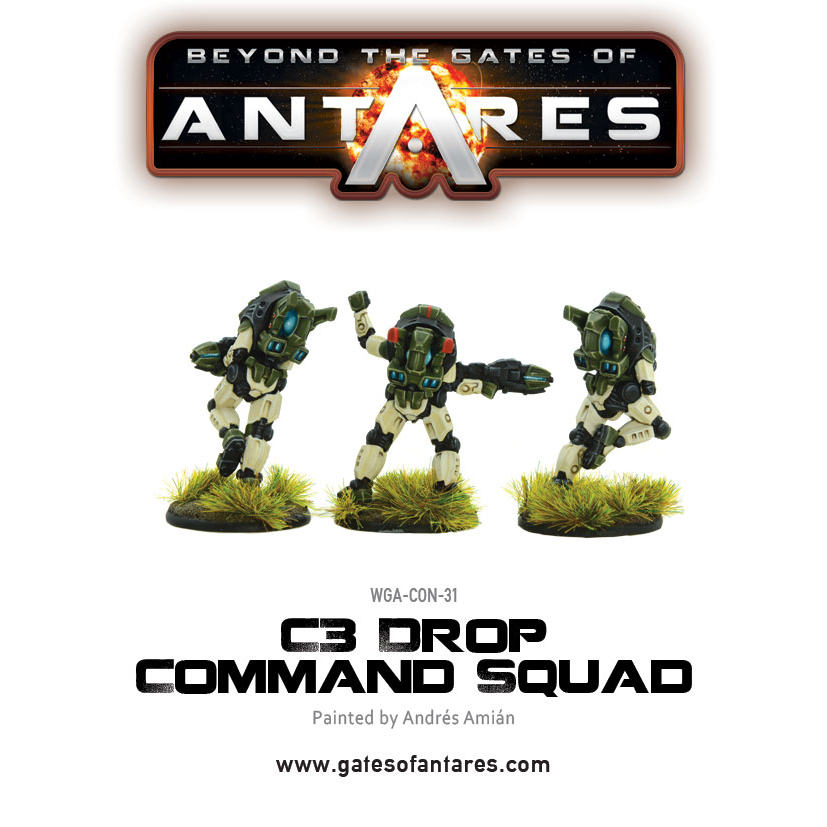
The Concord. If you’ve been following this series you’ll know how I paint figures and the techniques I use so I won’t repeat the same information for the Concord figures. I deliberately aimed for a battle worn, dirty look to the Algoryn as they’ve been based on Kar’A Nine for some time. However the Concord force are fresh into battle and I’m going for a cleaner look. This will carry on through to the base design which will be an ‘inside of spaceship’ design.
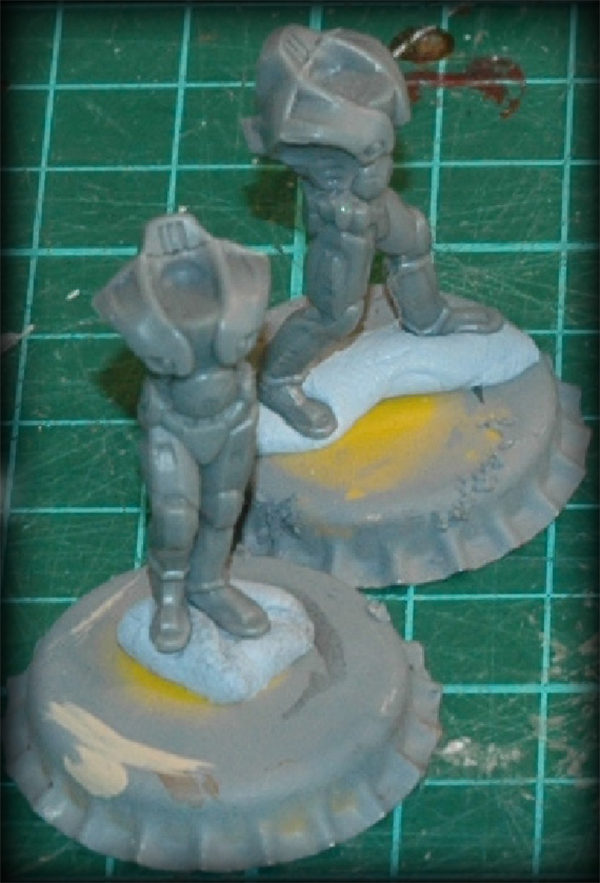
Building the figures is the same as for the Algoryn, following the squad makeup from Scenario 5 in the Strike on Kar’A Nine book. Again I found the arms a little tricky but overall the quality of the mouldings makes it easy to see how they fit together. I’ve mounted the figures on a temporary base as I want to paint the actual bases separately before adding the figures at the end.
Colour Scheme.
I quite liked the bone/camo green contrast of the ‘standard’ colour scheme in the book but wanted to change the armour colour so my figures stand out. I chose a purple as the secondary colour and you can see the results below.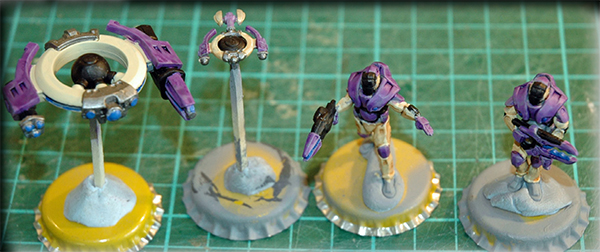
However this is where it went wrong. The wash on the legs of the figures made it look as if they had been wading through mud, a far cry from the clean look I was after. I was equally unconvinced about the purple, it just didn’t work for the figures but oddly I rather liked it on the drones.
Back to the drawing board.
Back to the drawing board. Before I reached for the grey primer I tried a couple of other colour options. They were only a rough paint job but enough to see the effect. Green/purple looked like a cartoon alien colour scheme and the orange/purple was somewhat psychedelic. Resigned to my fate I went back to a basecoat of grey and started again. There are ways of removing acrylic paints with various chemicals but I had already varnished the figures and so had to accept the loss of some detail that a repaint would entail.

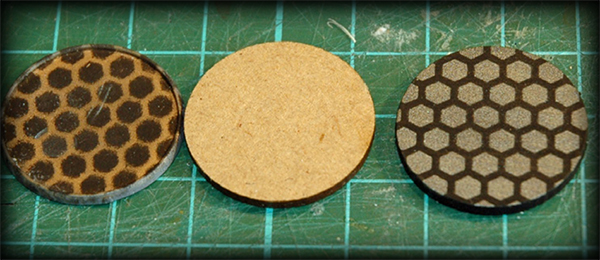
The Base Line.
I wanted the bases to have a futuristic interior look so I undercoated in gold and used a hexagonal stencil with spray paint to overlay a pattern. However, as you can see in the picture the lip around the edge of the standard Warlord base meant the stencil was raised up slightly resulting in overspray and a fuzzy edge. A switch to flat 25mm mdf bases solved this problem and I changed the colour from black over gold to metallic grey over black which I preferred.
Finishing Off.
Using the colour scheme from the book I repainted the figures, and with the addition of the hex bases, I have to say that I’m much happier with the result. It was worth trying something new and at least my drones have a different colour scheme.

Next time Terrain Tips. Jon
Download this article as Jon’s original PDF here.
Do you have an article within you? Are you itching to show your collection to the world? Join our Beyond the gates of Antares facebook page for the most up to date news and more!
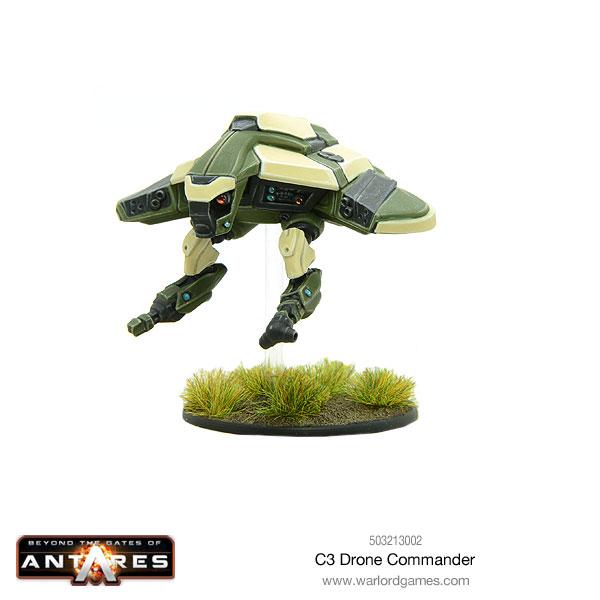
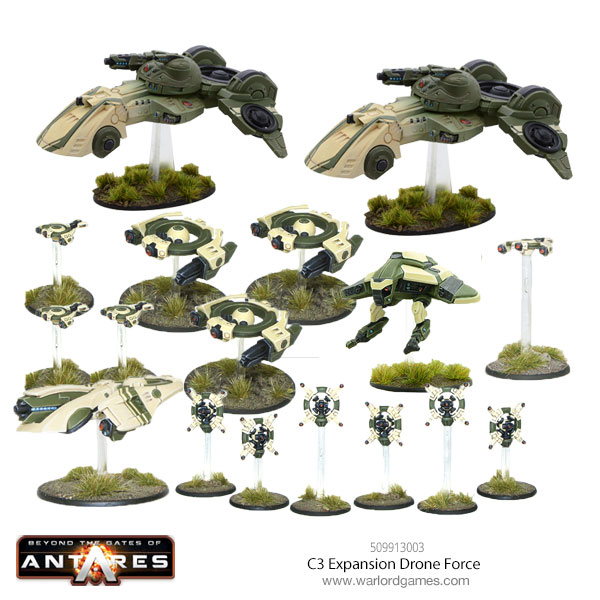
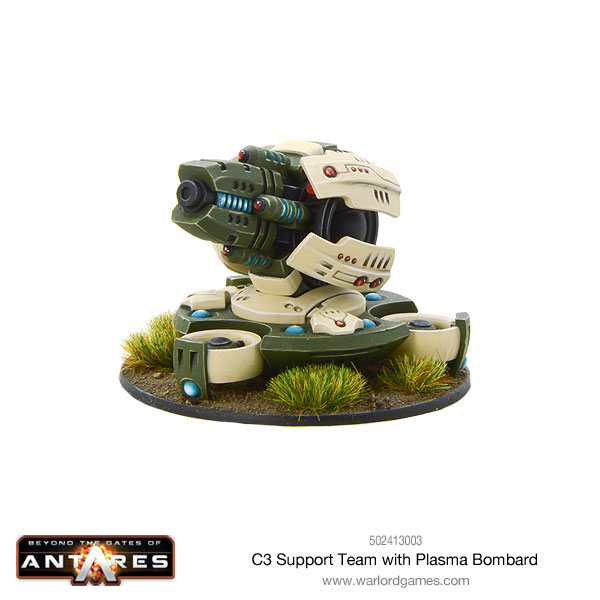
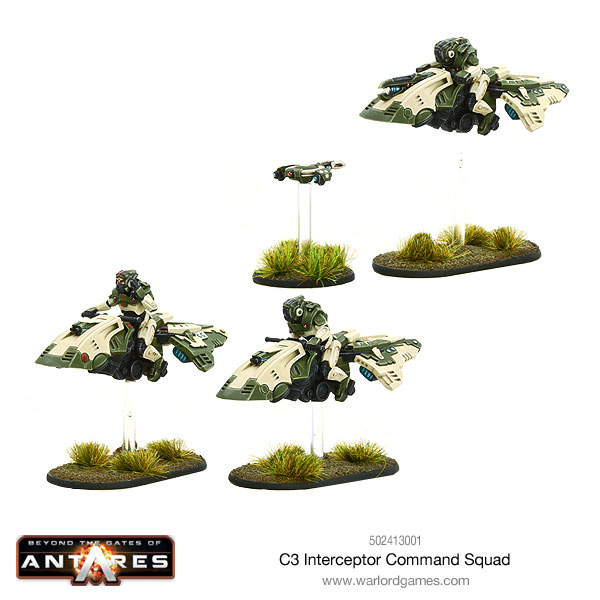
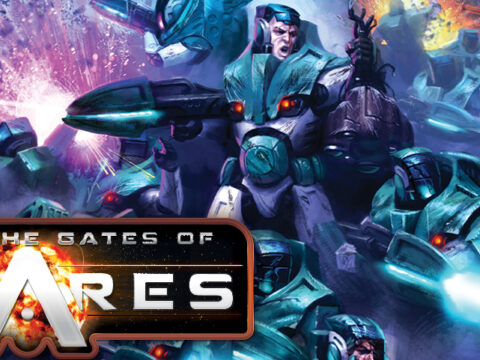
Start your army with these Concord!