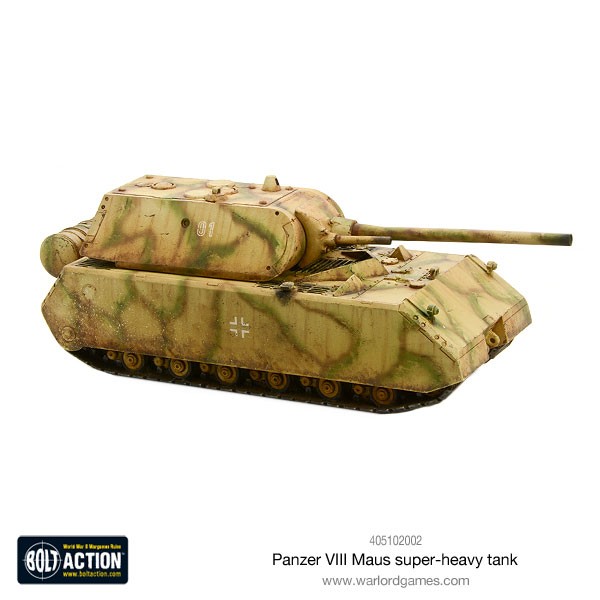
The Maus has Returned!
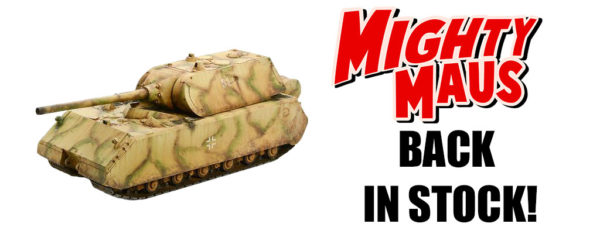
The mighty Maus has returned! Make sure you grab yours now! Limited availability!
Peter Motas shows us how one might tackle the daunting & imposing Maus as a painting project!
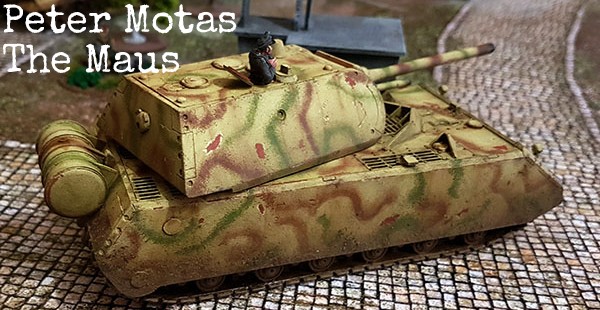
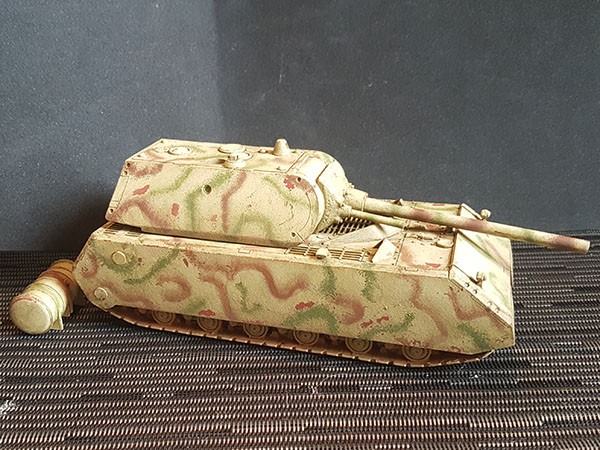
Peter: Ok, I couldn’t resist and got myself this awesome model from Warlord games. It is truly a beast.
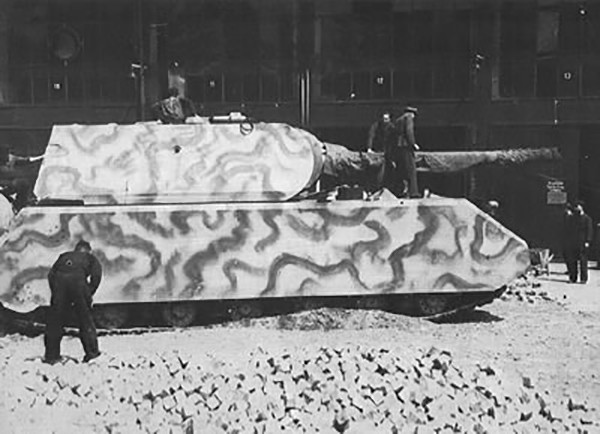
With references to the Maus V2 it’s time to set to work…
I started off by priming the tank with AK 180 red primer. I did it in a couple of very thin layers with my airbrush.
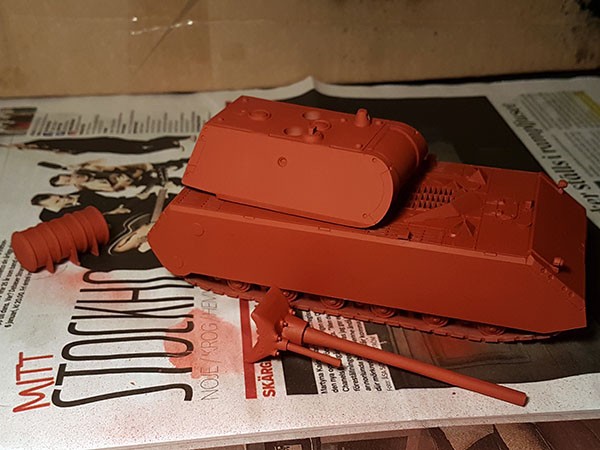
After I let it dry, it was time to varnish the model, I used AK 183 matt varnish.
I worked all around the tank in a couple of very thin layers, also applied with the airbrush.
Next step was to add the chipping fluid. I chose not to do much chipping, so I applied AKs 088 worn chipping fluid.
After I let the chipping fluid dry for around 15-20 mins, I started to put on the dunkelgelb. I used MIG ammo modulation set for this, and worked my way from the darkest colour to the brightest.
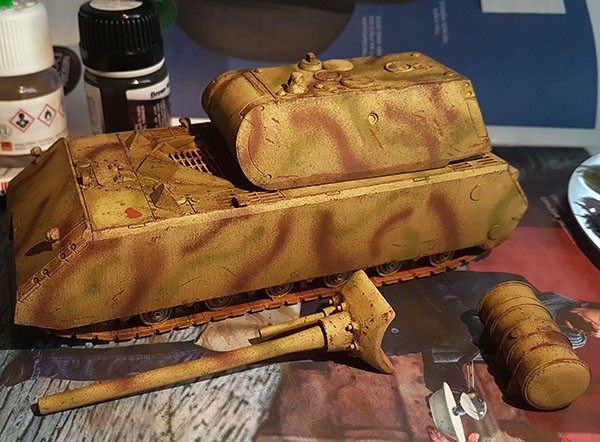
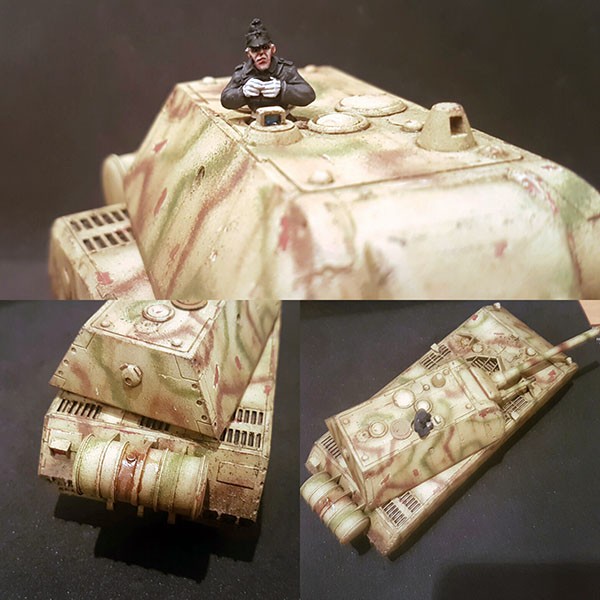
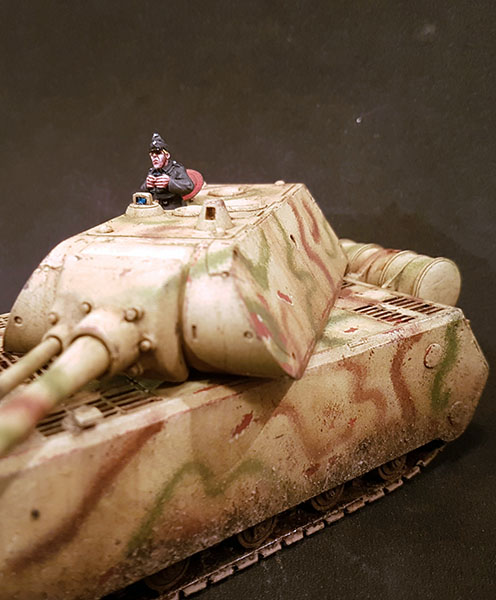
Now it’s time for the camo. I chose a rather dark brown (AK 718) and a medium dark green (AK 171) for the job. I painted the camo after some reference pics that I got from RichC at Warlord and the Maus article here. So I started out with a pencil to mark out where the camo should go. Just something to make it easier when applying the camo.
After the camo is applied, it was time to activate the chipping fluid. Just take a brush and dip it in water. Depending on how much water you add, the more of the paint will chip. I also used a toothpick to scratch some of the surface.
When this was done, I started to highlight some of the scratches and chipping, by painting the outlines of these with two of the brightest colours from the dunkelgelb modulation set.
After this I painted the wheels and tracks with black, added some rust colour after that to give it a redish tone.
I then varnished the model again.
Taking MIG A.MIG-1000 wash for dunkelgelb, start to add this to outline recesses and other stuff such as hatches etc. I also used the wash as a bit of a filter for the modulation colours to bring them together. I used some white spirit to get the wash around the hatches and other place where dirt would accumulate, and also to bring the colours together. The good thing when working with enamel paints is that you can wipe off any excess with white spirit, so you don’t have to be afraid that wash goes in places where it shouldn’t be. It is always easy to fix.
After the wash dried, I sealed the tank with varnish again. This time to prepare it for some streaking effects. I’ve used MIG streaking grime A.MIG-1203 for this. I often use rust streaks and a darker streaking grime, but I didn’t want an overly weathered look on this tank.
You apply the streaks and then use white spirit to get the streaking effects. There are a lot of videos on YouTube that shows this technique.
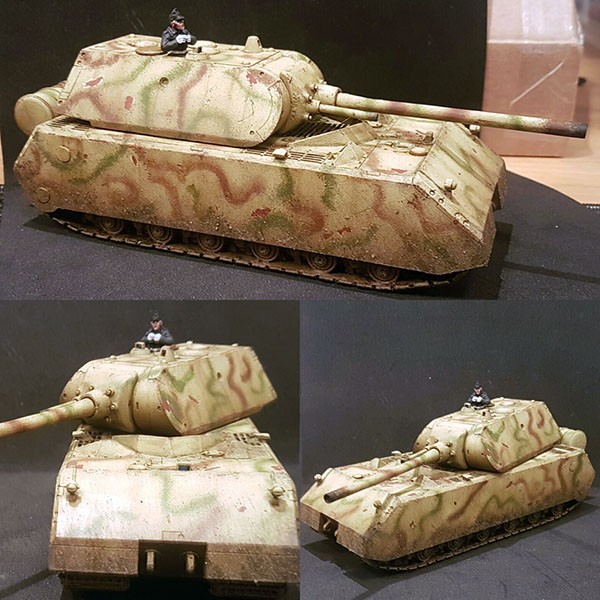
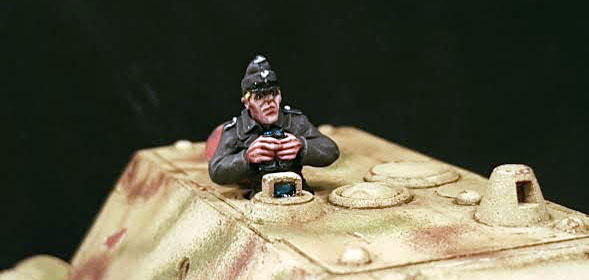
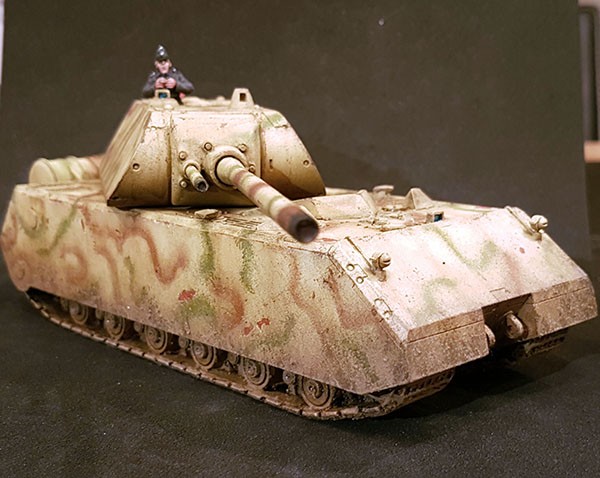
When this was done I painted the glass areas for the driver and for the commander. I started by painting them with vallejo white, and then applied MIG crystal light blue over, to simulate glass. If you apply it in a thin layer, and then another layer at the bottom, you get an effect of reflection as well. Fast and easy. If you want to add more reflection, you can add some white into the crystal paint, and then finish it off with a dot of pure white at the end.
I painted the commander with paints from AK interactives Panzer crew set and from their flesh and skin set.
I then added some black to the end of the barrel with a sponge from a Warlord blister pack, and vallejo black paint.
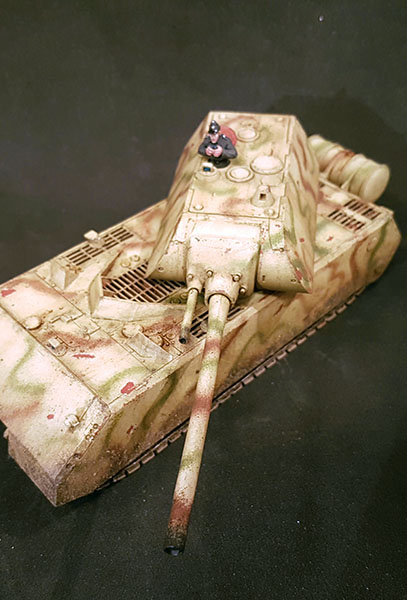
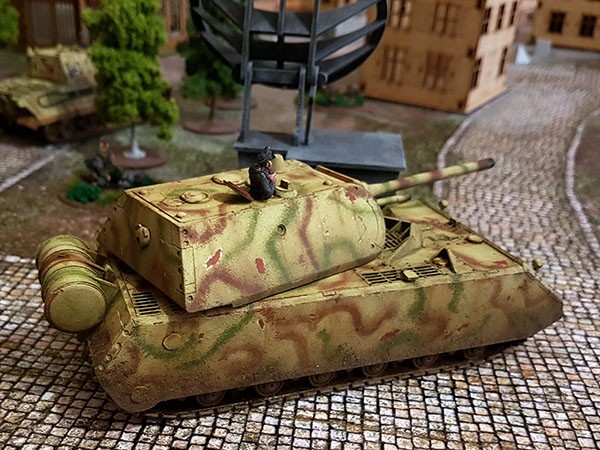
Now it’s time to add the mud.
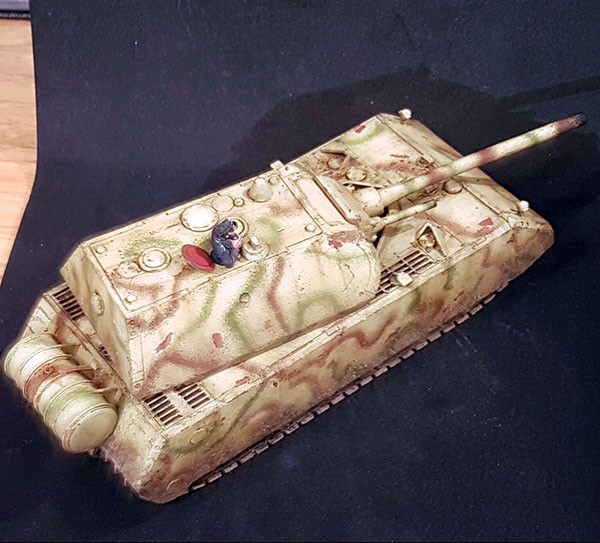
First off, I started to add AK 8017 Muddy ground with a brush. Applied it to the lower parts of the tank, and on the tracks and wheels. I finished it off by rubbing the brush against a toothpick to get some effects of splatter.
After this was done, I did the same process but with AK 8030 stirred earth, applied it by brush and then did a splatter effect.
You get a nice two-tone mud doing it this way.
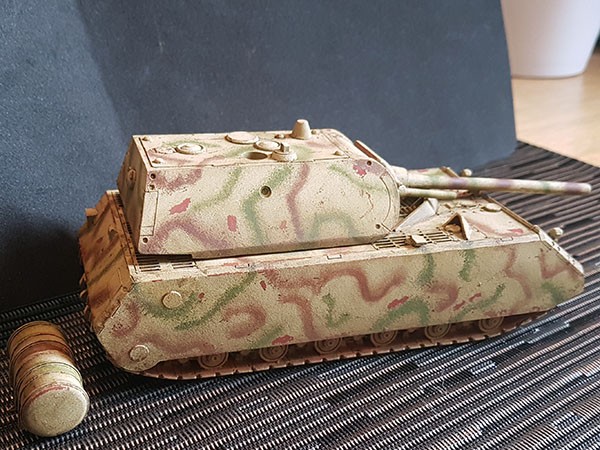
Finally, I used MIG fuel stains to add some fuels stains to add on the top of the tank, and back at the barrel.
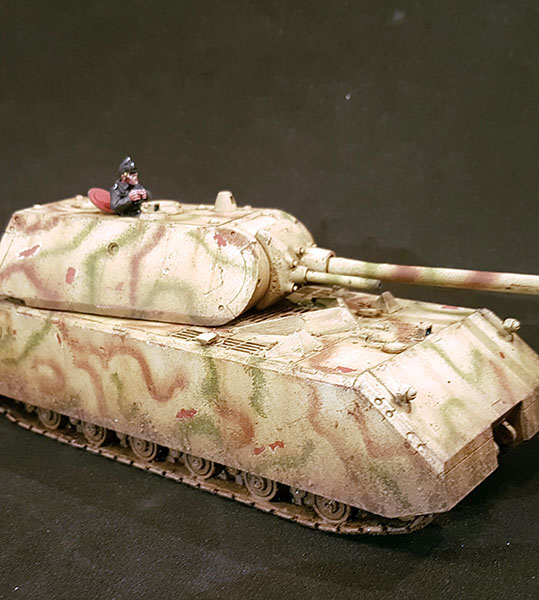
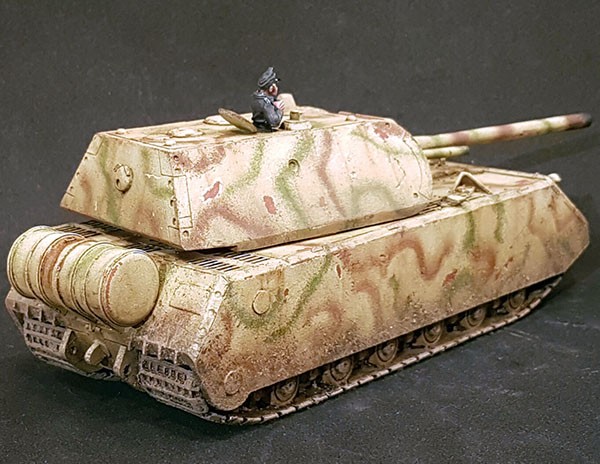
And it’s all done!
 Time to hit the battlefield!
Don’t hesitate to ask me any questions!
For more of my work please visit my Instagram account and join Warlords forums.
Do you have an article within you? Are you itching to show your collection to the world of Bolt Action? Then drop us a line with a couple of pictures to info@warlordgames.com or share with all over at the Warlord Forum
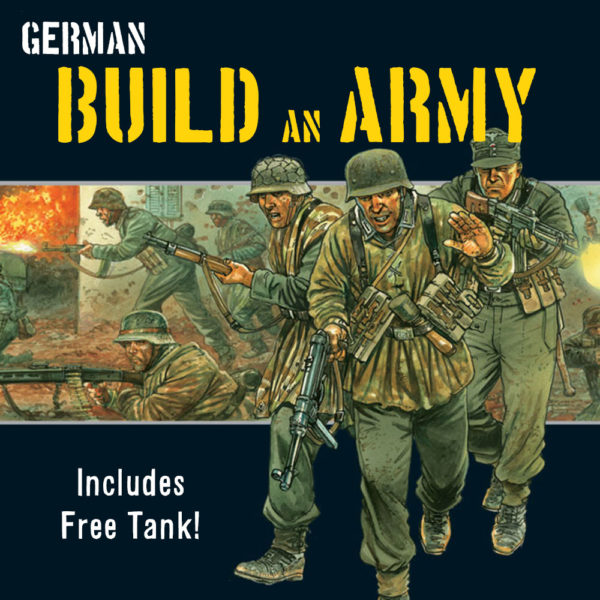
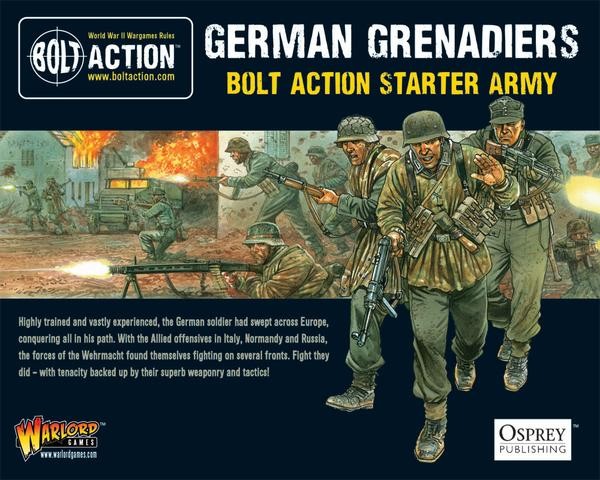
Even the Maus will need backup…