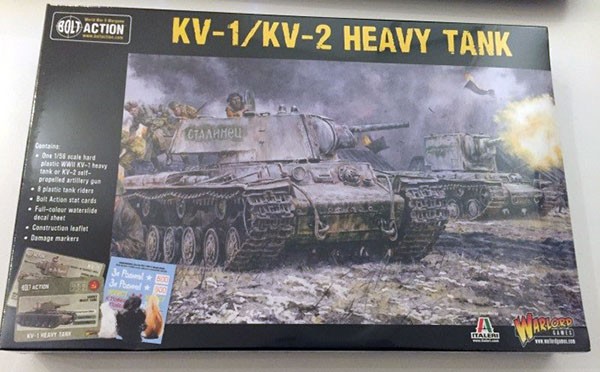
Jakob Lotz takes a look at the versatile KV1/2 kit and shows us what you can do with it!
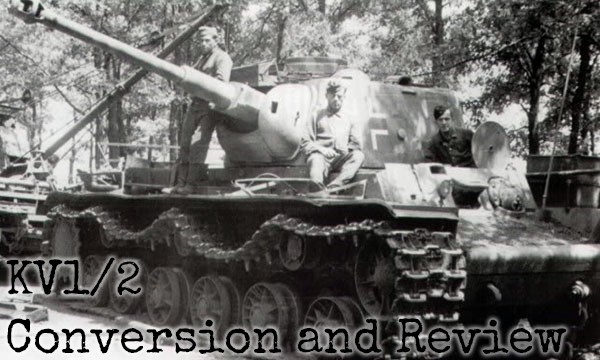
Jakob: I recently got my hands on Warlord Games new KV-1/KV-2 plastic kit in order to do a review. As soon as I saw the kit I knew I had to give it a good shake down and see if I couldn’t make something a little bit unique with it. A quick search later I knew what I was going to do…
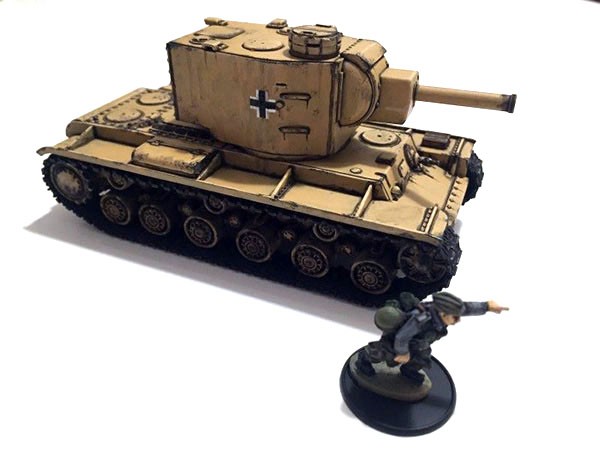
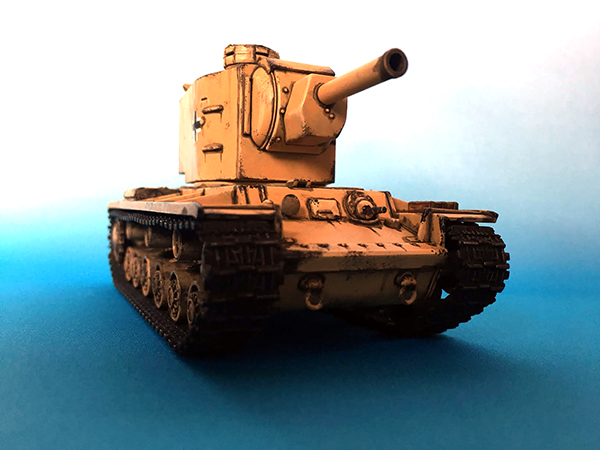
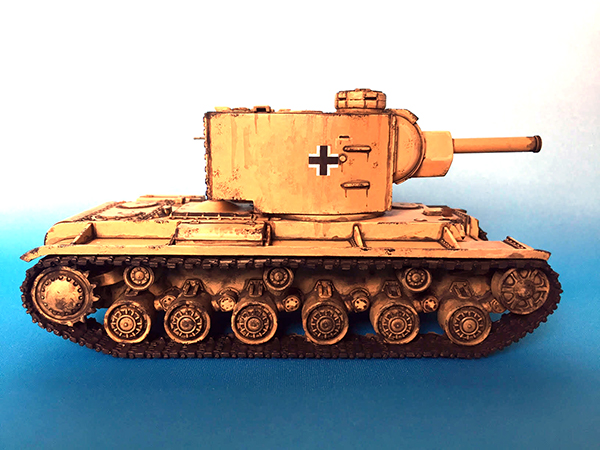
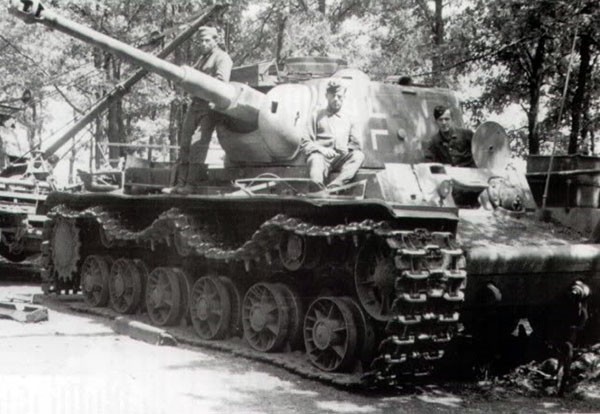
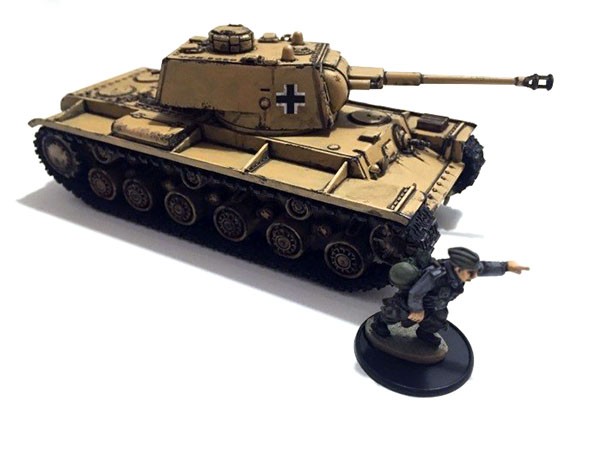
My plan was to build a KV-1 735(r) beutepanzer rearmed with a 75mm KwK 40 L/43 gun. Now mind you what I eventually settled for probably isn’t one hundred percent historically accurate since it seems that the KV-1 753(r) rearmed in this fashion was one with a cast and not a welded turret. Furthermore the commanders cupola that the Germans added was also differently situated.
The Warlord/Italeri kit however comes with the welded turret and so I decided to take a bit of a short cut. In any case it’s not far from the plausible that one of the captured KV-1 tanks with the welded type of turret and the rearward situated German commanders cupola might have found itself also being rearmed with a 75mm KwK 40 L/43 gun.
Let’s get on with the review of the kit!
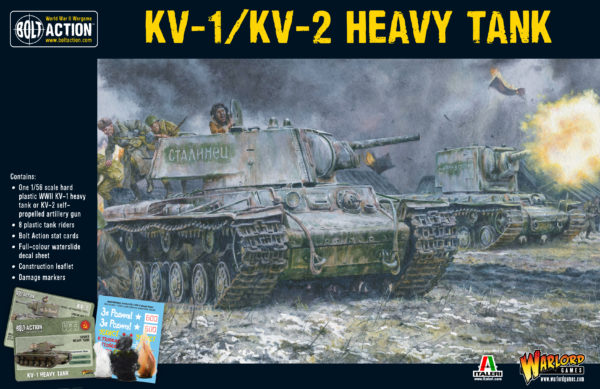
The KV-1/KV-2 box comes with a fair few extra bits ’n’ bobs. Among other things I noted the new ”stats cards” as well as the smoke and damage markers and some infantry to boot! I feel that while not essential to the tank these are still a very nice touch. It can also be noted that the kit includes both German and Finnish decals, yet another good addition.
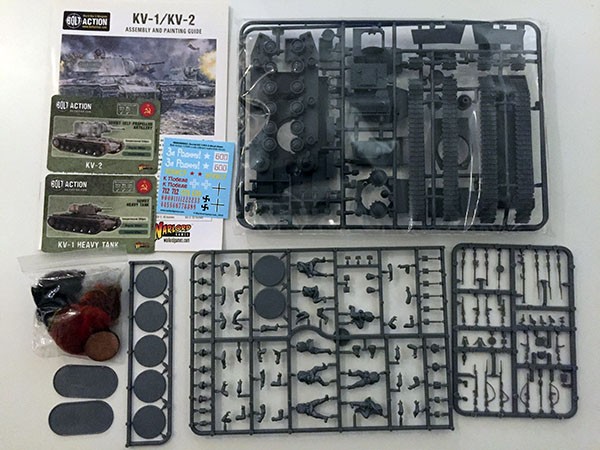
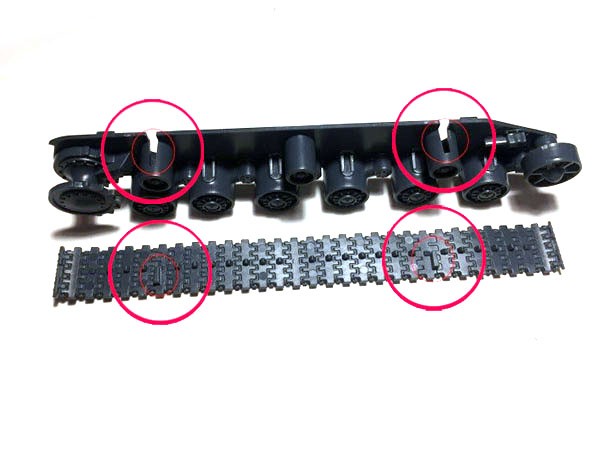
Now apart from the extras; the tank itself comes on two sprues. Mine didn’t have any flashing or ”miscasts” to speak of at all! And at this point I was very pleased with what I was seeing. The kit really feels thought through and well ”put together”. For example the tracks go together perfectly without any gaps, largely thanks to the new guiding slots that has been put into the track assembly.
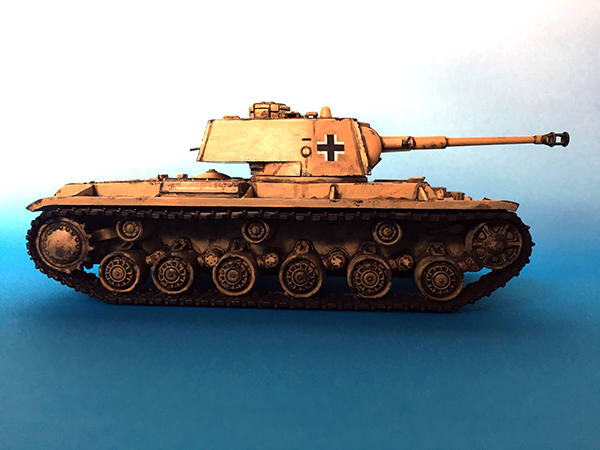
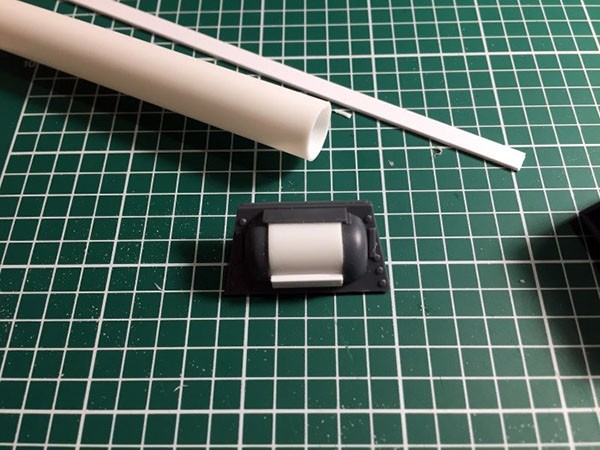
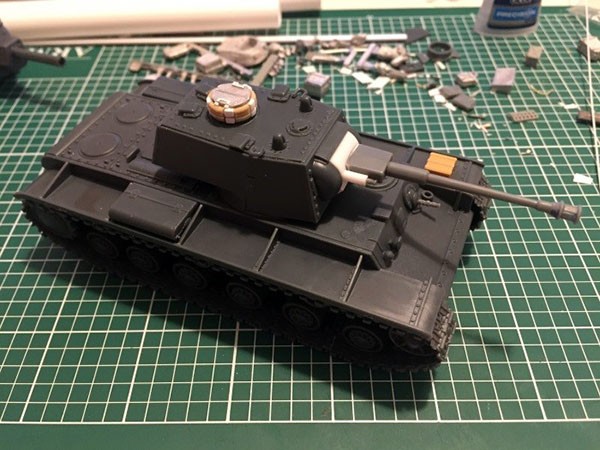
I then followed the instructions given in the booklet that comes with the kit and had a real good time assembling the kit. Getting the turret glued together took a little bit more effort than the rest of the kit but once I had figured out the placements of the sides to the base of the turret it was all smooth sailing from there on. Having glued the sides to the base I then glued on the rear and the roof. Since I was making a German rearmed beutepanzer I also fixed up a new gun mantle with some plasticard rod and added a gun from Warlords Games Panzer IV kit.
I then finally glued the front in place and added my scratch built commanders cupola. I also added a plastic German mg 34 barrel to the mg slot in the hull.
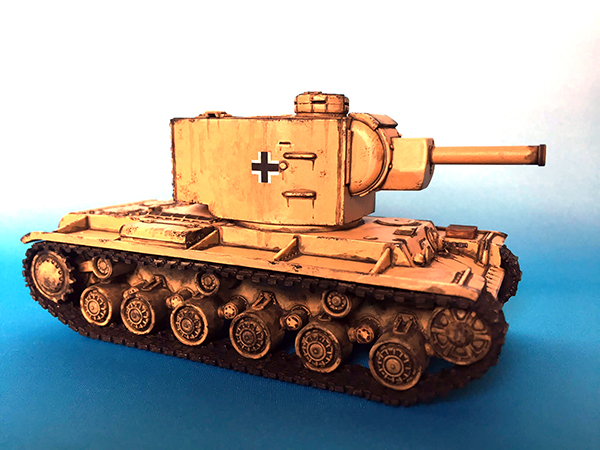
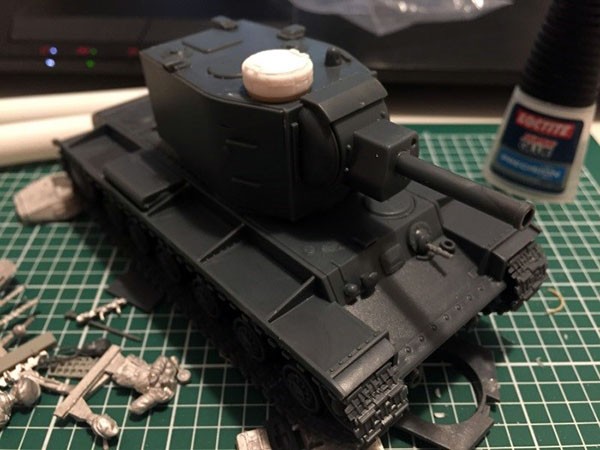
Now one of my absolute favorite features of this kit is that you actually get two complete turrets. This means that you can easily switch your tank from being a KV-1 to being a KV-2 all with the same kit! As such I made another scratch built commanders cupola and added it to my KV-2 turret. In other words I now have two distinct beutepanzers all from the one same box! This is in my opinion one of this kits strongest features.
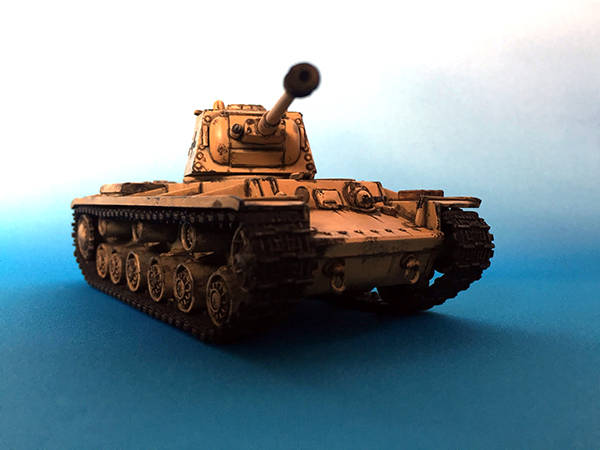
I then painted and weathered my tank.
Altogether this is in my opinion probably the best plastic tank kit that Warlord Games has released to this day. Not only does it come with a bag full of goodies it also lets you build that complete second turret whereas most other kits usually forces you to choose which of the different turrets it is you want to build. Furthermore with some clever design the risk for gaps in the tracks have also been eliminated. The KV-1 turret can be a little tricky to fit together, but as long as you take your time and dry fit the pieces before finally gluing them together then this should only be a minor issue.