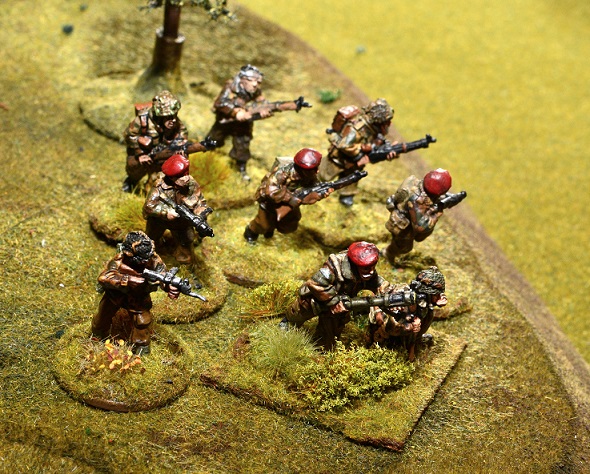
Published historical author, Chris Brown continues his series of articles to cover both the history of Operation Market Garden, this time looking at how he creates a particular unit – the Air-landing platoon, represented in Bolt Action with the glider landing platoon optional rules!
A British Airborne collection is, obviously, fine for Arnhem, but it’s perfectly viable for a variety of other operations and even other theatres. It can be deployed to North Africa, Sicily, Italy, Normandy and the Rhine Crossings; one could even have a what-if game featuring 1st Airborne Division dealing with refusenik Nazis in Norway at the very end of the war. We’ve played games set in all of those locations, but Arnhem is the ‘where the heart’ is so to speak. There are several reasons why that should be the case, but in part it is a product of my interest in particular units as much as my general interest in the battle.
 Among the units that interest me most are the Air-landing Brigade battalions, largely because they get rather overlooked due to a general public fascination with the Parachute Regiment. In fact, lots of people really are not aware of the role or outstanding record of the Air-landing Brigade and associate the Arnhem battle exclusively with the Parachute Regiment.
In Bolt Action terms, an Air-landing platoon is listed in the Geronimo Air-Landing Reinforcements optional rules as a Glider Landing Platoon and makes an interesting unit, as a company even more so!
In order to fit a platoon into a single glider the sections were that little bit smaller than in a Parachute Battalion. In addition to the command group of an officer, platoon sergeant and the two-man 2-inch mortar team there were two sections of seven men and one of five – the latter having two men with telescopic sights on their rifles – two sniper teams! It seems to have been policy to allocate another two men to the third section at the earliest opportunity, possibly from Battalion HQ, though you have to wonder how often that actually happened in practice. PIATs were carried around in the platoon handcarts along with extra ammunition so were available at need. The Airlanding sections were smaller than their Paratroop counterparts, but there were four platoons to a company and a Company HQ of around a dozen men and two officers. Where the Airlanding company starts to become interesting is the potential distribution of Battalion assets.
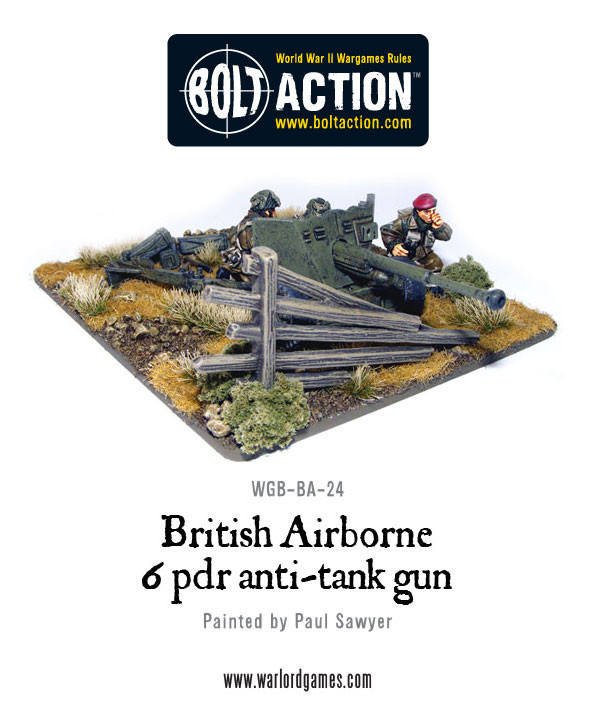
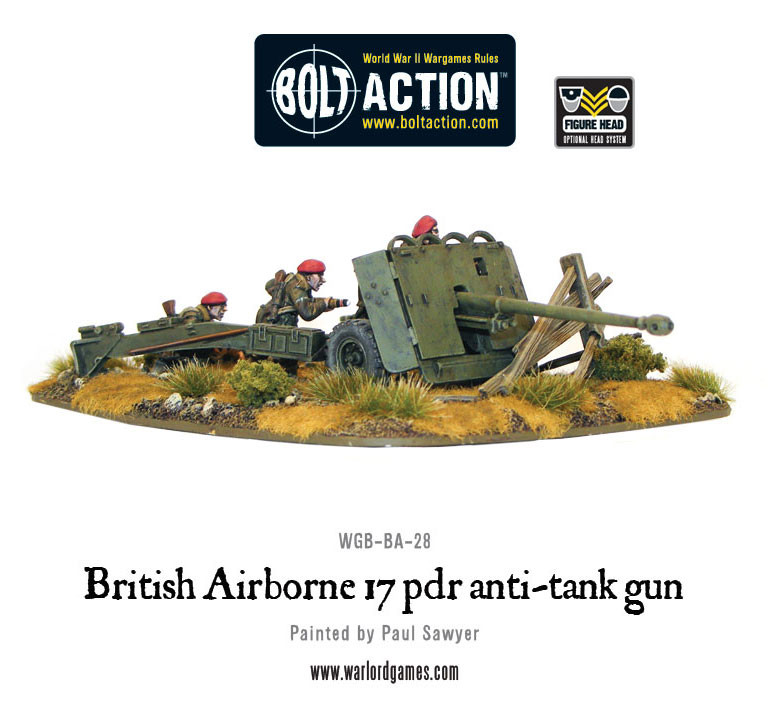
 Early in the summer of 1944 the Company HQ was made a little larger to accommodate two 3-inch mortars. Thereafter the mortars were grouped into two mortar platoons so there was still enough of them to support each company with two tubes as required. The Battalion also had two four-gun anti-tank platoons with 6-pounders; enough for two per company. Since these guns were integral to the battalion they were used much more effectively than the anti-tank gun troops attached to Parachute battalions, who seldom trained beside their allotted Royal Artillery colleagues, leading to a great deal of wasted effort – and resentment – in battle.
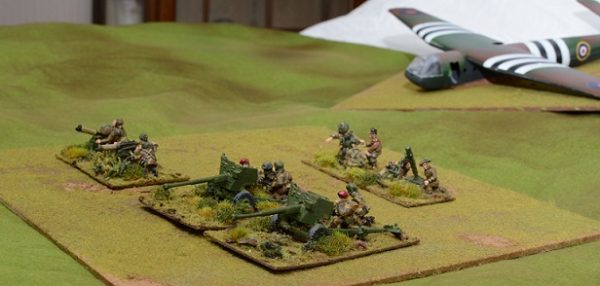
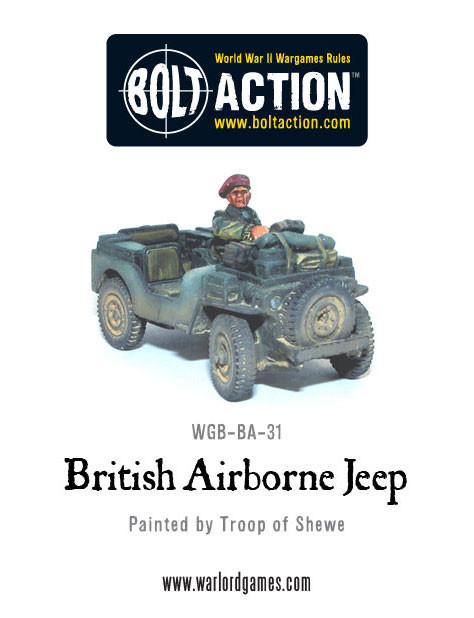
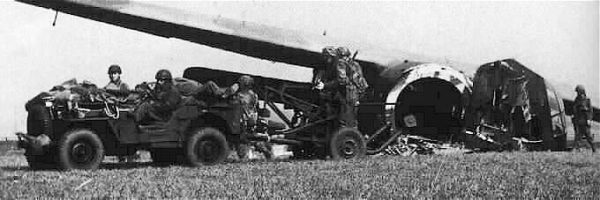
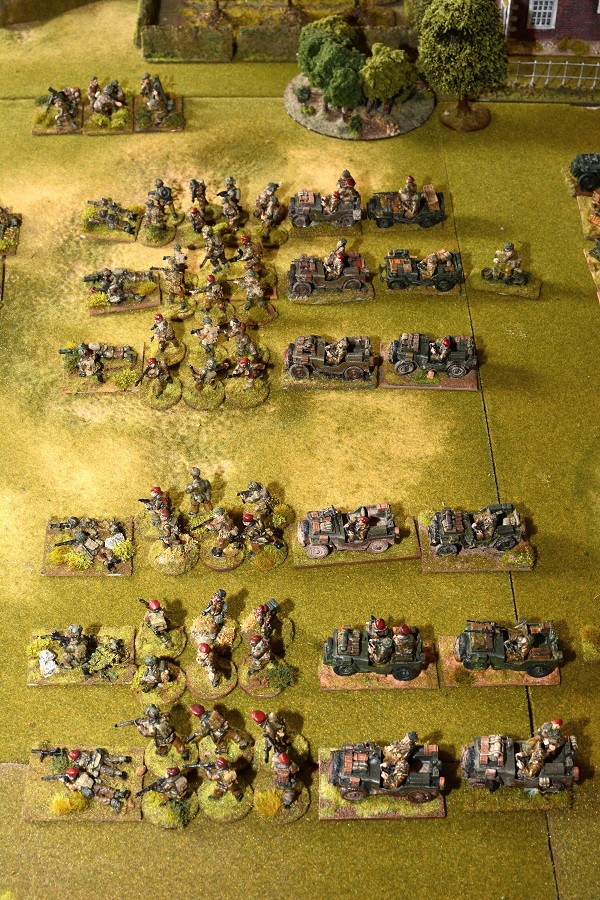
Another of my favoured units is the Reconnaissance Squadron with their troops of jeeps mounting Vickers ‘K’ guns and each carrying a handful of men. General Urquhart chose to commit them as a ‘coup-de-main’ force at Arnhem, sending them off to seize the bridge ahead of the Parachute infantry battalions. He may have been right; the drop zones were so far from the objective that there was every chance that the Germans would be able to put a blocking force in place to deny the bridge to the Airborne troops. In practice, the jeeps were too vulnerable to machine gun fire and only a couple of them reached the bridge at all. Nonetheless, they are dear enough to my heart that I can put two troops and a headquarters element onto the wargame table – more than twenty Jeeps in total…
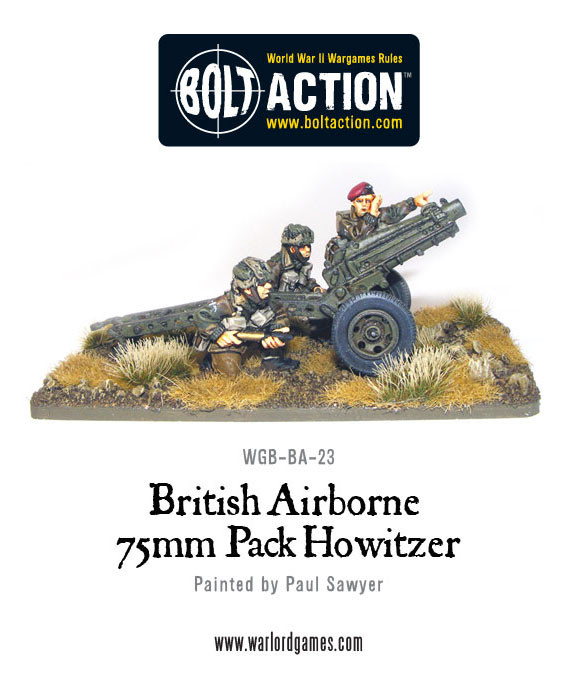
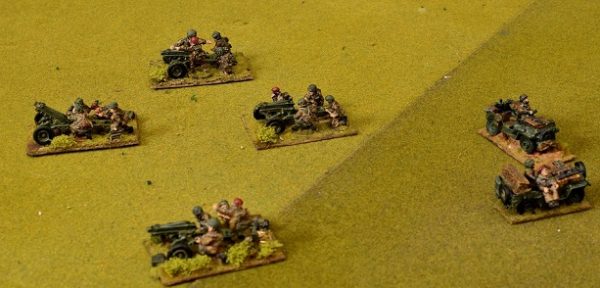
Artillery tends to be a bit overlooked in wargame terms. Odd in the sense that most casualties are caused by artillery in reality, but unsurprising in the sense that battery and counter-battery fire doesn’t make for a very interesting wargame. The thing isI just love those dinky little 75mm pack howitzers – so much so that we intend to have a fairly big game based on an attack on the British gun lines at Oosterbeek – which we will play (hopefully) on the site of the British gun lines at Oosterbeek itself!
My top-fave however is the Independent Company – the men who dropped half an hour before the main drop so that they could set up the Eureka radio beacons and lay out the other aids. Cloth panels and smoke to show the wind direction. With six officers and 180 men including an extremely high ratio of NCOs, the Independent Company was hand-picked by its commander, Major ‘Boy’ Wilson, so a sort of ‘elite elite’ unit.
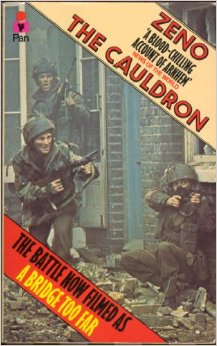
 The unit’s battle diary can be seen on the Pegasus Archive website, but – and this is not the sort of thing that historians do lightly – I’d recommend a novel called ‘The Cauldron’. The author (Zeno) served in the company and gives a vivid picture and rare insight to the workings of a small unit. He also included two excellent sketch maps which, with the text, give great wargame scenarios and which allow you to follow the action on the ground if you ever visit the battlefield. It’s the sort of book that you can pick up from Amazon for a quid and well worth it. If you are an Arnhem ‘fan’ you’ll be riveted.
Geronimo! Using Air-landing reinforcements in Bolt Action
Before we get into the next bit we would just like to point out this is a fun, optional set of rules which we’ve created in order to add a little fun twist to your games as you battle across Battleground Europe: D-Day to Germany. Please give them a go (you can also follow this link for the full rules: GERONIMO! using Air-Landing reinforcements in Bolt Action), have fun with them, and let us know your thoughts on the Forum!
GLIDER LANDING UNITS
The units listed below can use the Glider Landing rules, even when they simply chosen as part of a normal Reinforced Platoon. They can do so even if they are chosen as part of an Armoured Platoon, in which case you cannot purchase a transport vehicle for them, much like cavalry and motorbike units.
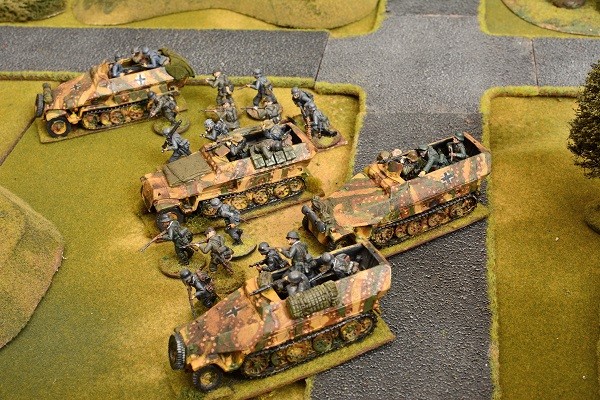
Armies of Germany: Heer Pioneer squad, Sturmpioniere squad, Fallschirmjäger squad (late war), Waffen SS squad (late war).
Armies of the United States: Paratrooper Squad, Glider squad.
Armies of Great Britain: Paratroop Section, Regular or Veteran infantry section (mid-late war).
Armies of the Soviet Union: Veteran squad, Airborne squad.*
*Use for what-if scenarios, as these troops did not get a chance of being deployed through glider landing in WWII.
GLIDER LANDING PLATOONS
To represent the various larger glider-landing unit that were part of the airborne divisions, you can pick one or more platoons from the Glider Landing Platoon selector below. All units in this platoon have the ability to deploy use the Glider Landing rule. However, the entire platoon (or platoons), must deploy through Glider Landing. Also all units must be chosen at Veteran level, or at Regular if a Veteran option is not available. Inexperienced units cannot be included in this platoon.
GLIDER LANDING PLATOON SELECTOR
1 Lieutenant (First or Second)
2 Glider Landing infantry squads (chosen from the list of Glider Landing units above)
0-3 Airborne infantry squads (chosen from the list of Glider Landing units above)
0-1 Captain or Major
0-1 Medic
0-1 Forward Observer (either Artillery or Air)
0-1 Machine gun
0-1 Sniper
0-1 Flamethrower
0-1 Anti-tank team
0-1 Mortar
0-1 Light or medium anti-tank gun, light or medium anti-aircraft gun, or light or medium howitzer
0-1 Jeep (any type, Allied armies only)
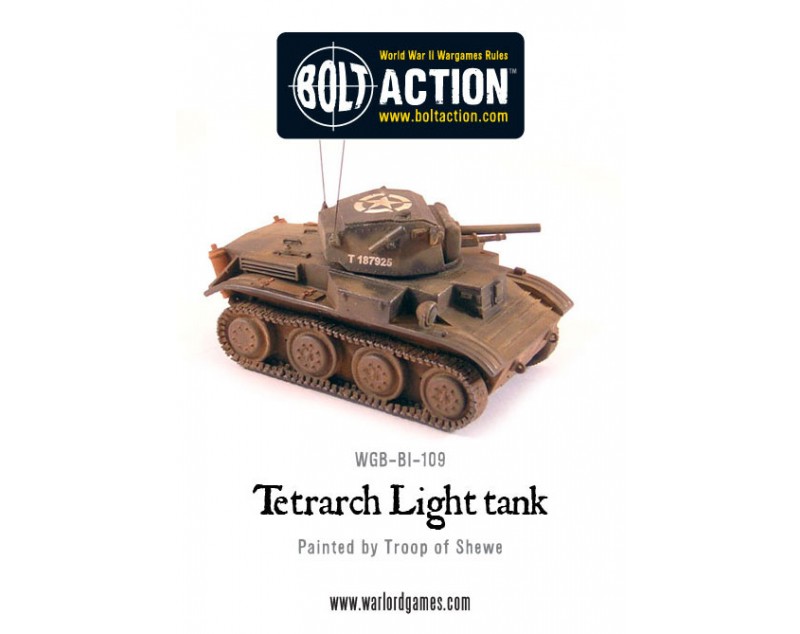
0-1 Tetrarch light tank (Allied armies only)
Glider Landing rules
Units that choose to, or have to deploy through Glider Landing are left in Reserve (even in scenarios that do not allow this). When a unit transported in a glider becomes available, instead of entering the table from the player’s table edge, use the Glider Landing procedure below.
1. The landing and roll distance: the player controlling the glider places a marker on the table with a directional arrow to indicate where the glider touches down and the direction in which it is travelling. The opponent gets to change the direction of the arrow by up to 45º clockwise or anti-clockwise. The player then rolls two dice. The sum of these in inches is the distance the glider moves before stopping. Move the marker or glider model accordingly.
2. Breaking parachute: after observing the glider’s roll distance, the player can choose to deploy a breaking chute. Roll a die. The number in inches is the reduction in roll distance. However the use of a braking parachute adds +1 to the landing impact die roll.
3. Placing the glider: when the final position of the marker has been established, place the glider model (if you have one) with the nose on the marker and the tail pointing back towards the direction of entry. The glider counts as a soft-skinned transport vehicle that cannot move. If you don’t have a glider model, use a 12”-long, 3”-wide rectangular marker, or alternatively you can simply place the models lying down in an equivalent area on the table and/or mark them with a token that identifies them as ‘inside the glider’.
4. Activating units in the glider: After the glider has landed, all units inside it have their order dice taken out of the bag, assigned to them and turned to Down for the turn. All units are assumed to be in the glider, extricating themselves from the fuselage, counting as units embarked onto a soft-skinned transport.
From the following turn, when you intend to give an order to a unit in the glider, first roll a die for that unit to see if it exits safely. Add any modifiers and apply the result from the landing impact table. At the start of each following turn roll again for any units still in the glider (same modifiers apply).
Landing Impact Table
Die Roll Result
1 to 4 Section exits safely
5-6 Section is stunned and does not exit glider this turn
7+ Section is stunned and does not exit glider this turn; one man is badly injured, remove from the game (controlling player’s choice)
Modifiers
Deploying breaking parachute: +1
Striking a solid object such as a building, telegraph pole or gun pit: +1
5. Exiting sections leave the glider as if dismounting from a transport vehicle.
ALTERNATIVE RULES
Watch out – extra wackiness alert!
PARATROOPERS
Instead of placing the Order die for the arriving unit and then rolling for distance travelled, you may hold the die roughly two foot above the table and let go.
If the die bounces off the table, the unit is placed back in Reserve and you will have to roll again for it next turn. Of course you can agree with your friends before beginning the game that any such incident means that the unit’s transport plane has been destroyed instead, along with the unit – harsh!
If the die lands onto the table, proceed with deploying the stick of paratroopers as described above.
GLIDERS
After reading the way we deal with paratroopers, I‘m sure you guessed it… make a paper airplane to represent the glider (using an A4 sheet of paper!), then instead of following the procedure described above, place your back to the table, walk a couple of steps away from the table and then turn around and throw the paper airplane onto the table.
If the paper airplane lands off the table, it is placed back in Reserve and you will have to roll again for it next turn. Of course you can agree with your friends before beginning the game that any such incident means that the glider has been destroyed instead, along with all the units it was carrying… very, very harsh!
If the paper airplane lands on the table, replace it with the glider model and continue as described above.
To further explore some of the iconic battles of the conflict on the Western Front, pick up a copy of our first Theatre Book for Bolt Action – Battleground Europe: D-Day to Germany – which contains historical backstory, additional scenarios, supplementary rules, new Theatre Selectors, and is packed with additional information to add extra flavour to your games!
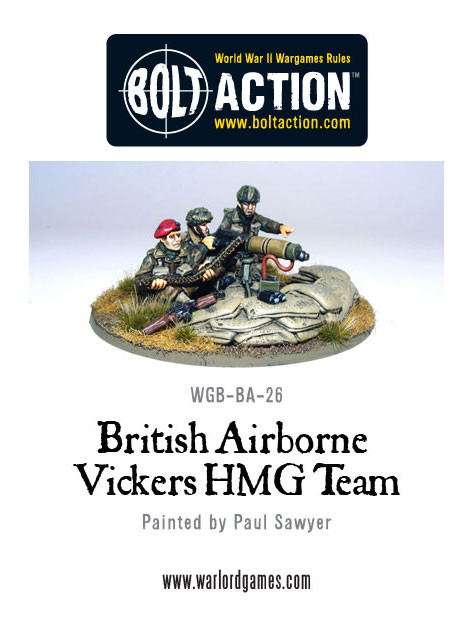
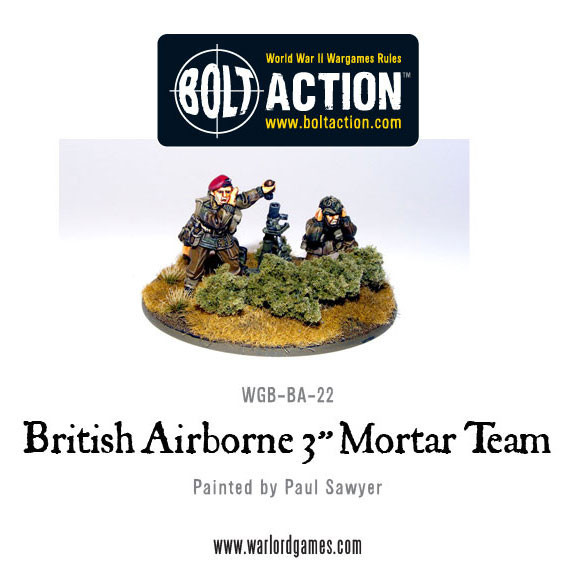
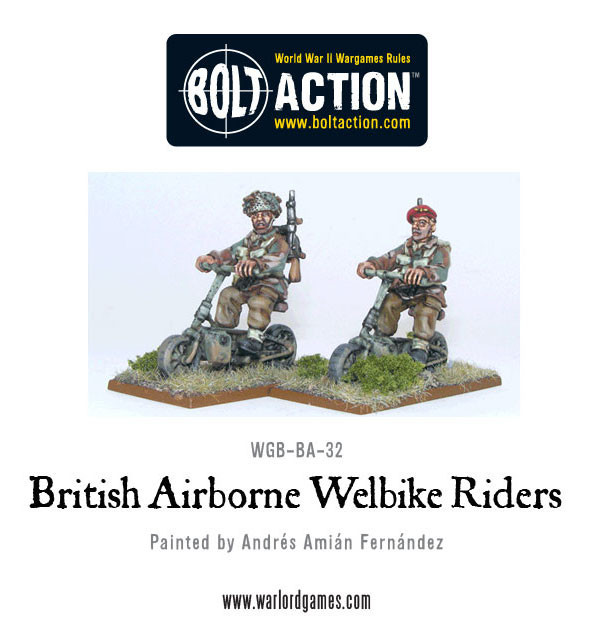
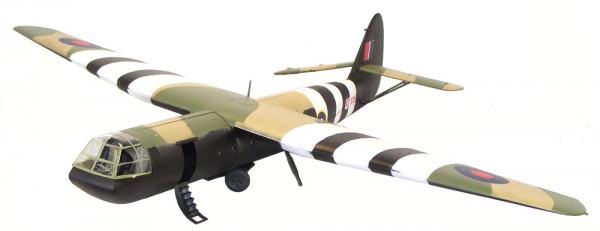
Dont forget that at Warlord we have a great range of Paras and the Gliders too In our Airborne collection: