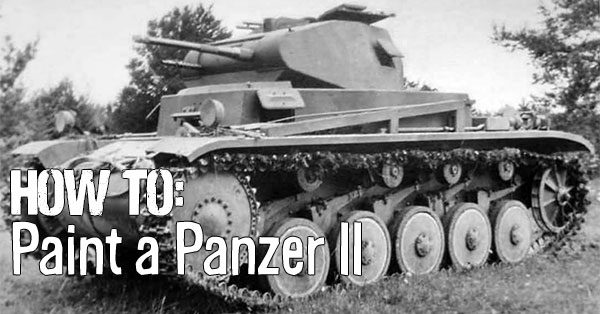
Peter Motas gets his German invasion force ready with his newly painted Panzer II, and here’s how he painted it!
Jamie: Hey Guys!
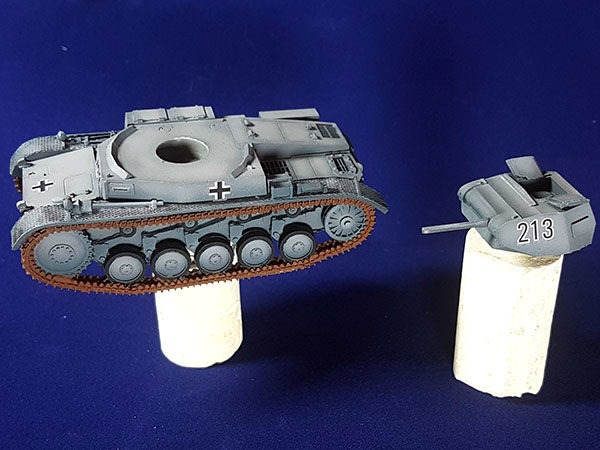
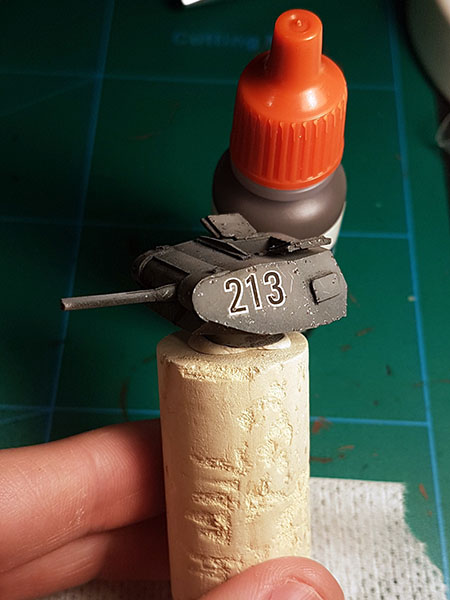
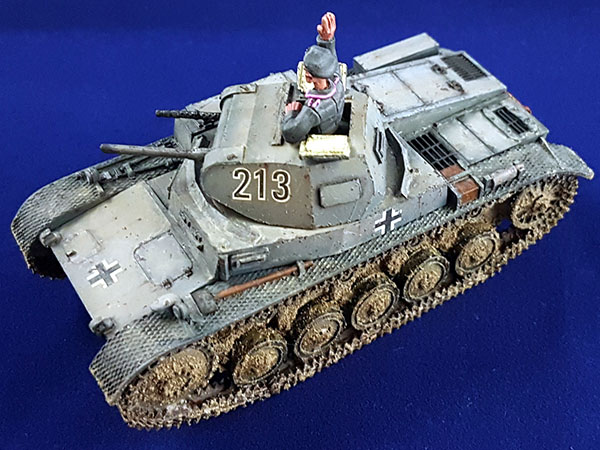
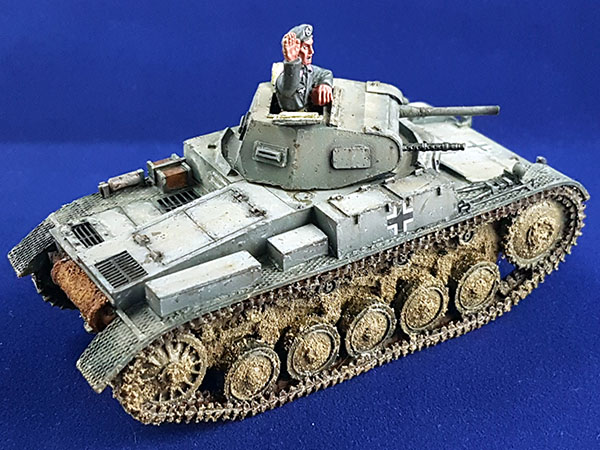
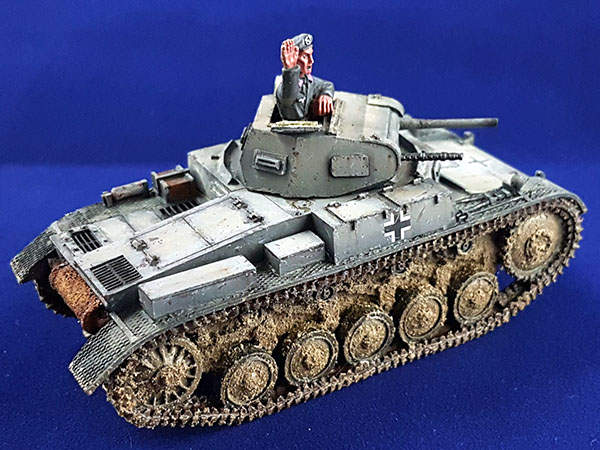
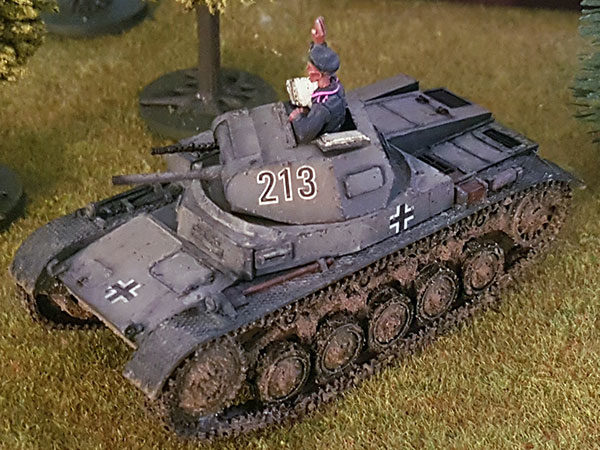
With all the excitement for Early War in the community, we contacted regular community poster Peter Motas to discuss how he painted his awesome Panzer II. He very kindly decided to share the below tutorial with us.Here’s the model that Peter used.
We are always looking for community content if you have a blog or YouTube channel you want to show off please feel free to email me at Jamie.tranter@warlordgames.com. But for now, over to Peter.
Peter: I got my hands on this Panzer II and decided to try out some new things. First of all, I haven´t done any Panzer Grey work before, so decided that would be a good challenge. I also wanted to up my vehicle painting so I´ve looked a lot into implementing oil paints.
My plan was to do the tank’s paint job subtle with two things that will stand out. The commander and the rusty exhaust will be painted to catch the viewers interest, and then the other details will ”pop up” the more you look at the model.
I’ll start with a list of tools that I’ve used for this guide:
- Airbrush
- Brushes for acrylic paints – Winsor and Newton Series 7
- Oil paints from Abteilung 502
- Enamel paints/effect from AK and MIG
- Synthetic brushes for oil paints and enamels
- Citadel Nuln Oil wash
Various acrylics from AK Interactive, Vallejo, Army painter.
Ok, let’s go!
After priming the model with a light grey, I start with the modulation. I start with AK and work my way brighter and brighter with AK160 Modulation set. Started with AK161 and worked my way to AK165. Modulation is a process of highlighting to create interest on panels.
When the modulation is done, I started to work on the tracks. I wanted them to be rusty so I started with AK721. After that, I painted the rubber part of the wheels with Vallejo Black.
I added decals and then airbrushed a matt varnish. The matt varnish is important to protect the acrylic work from the solvent based oil and enamel paints.
I let the varnish cure for around 24 hours.
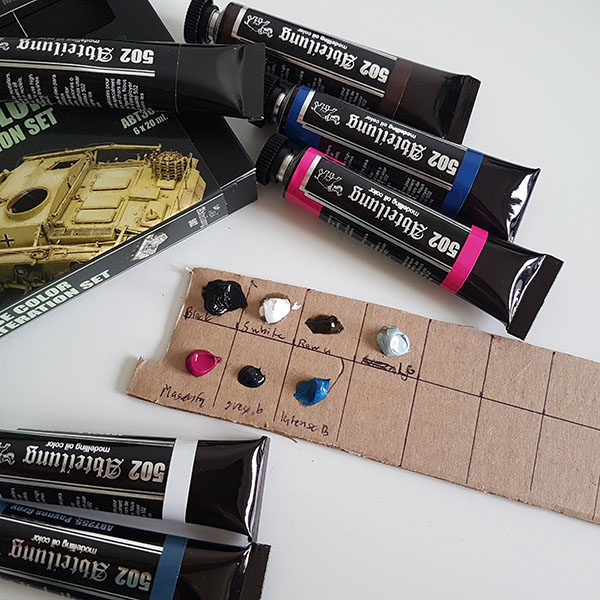
The next step is to use some oils to alter the panzer grey and to get the modulation a bit smoother, and also add some highlights and shadows. I used oils for this, and here is the palette I used.
I focused on using the brighter colours to make some panels brighter, and the darker colours to add some shadows. I applied the paint and then used a brush damped with thinner from abteilung, and slowly started to blend the colours together.
Let the oil paints dry before moving on to the next step. I let the paint to dry for 24 hours to be safe.
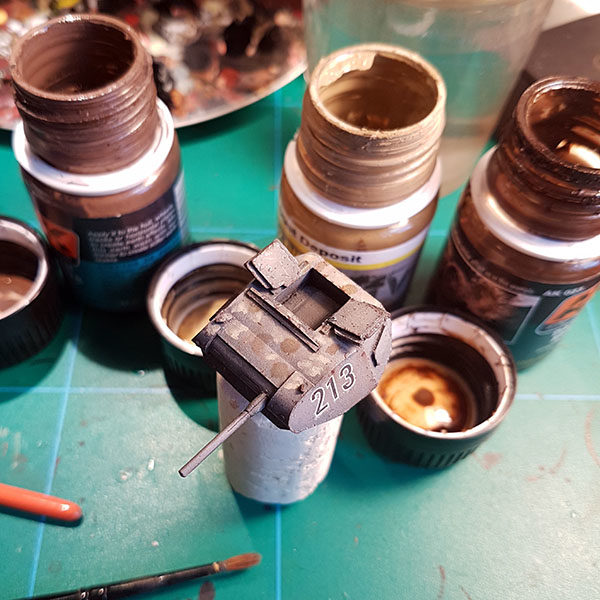
Next, we paint the details, such as the wooden box, tools and fire extinguisher. I´ve used black and then drybrushed it with a metallic colour then washed with Citadels Nuln Oil for the metallic parts. For the extinguisher, I painted it red, then AK163 but left a couple of spots red and then chipped it with some black. For the wooden box, I used AK wood base and the Grain with AK wood grain, then varnished it. Washed it with AK wood wash, and took away the excess with white spirit.
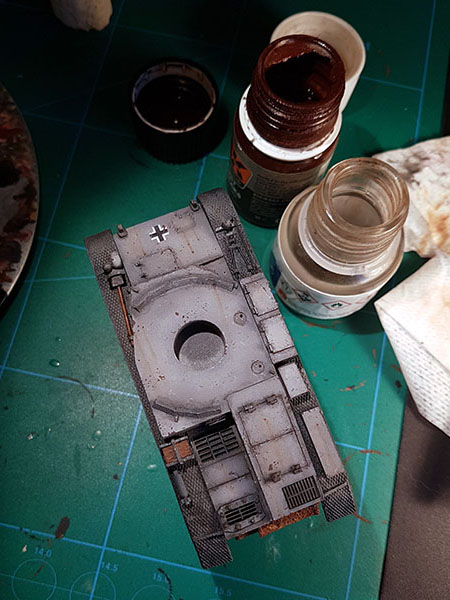
Now it’s time to do a pin wash to bring out the details in the tank. I wanted to try a wash made of black oil paint and thinner. Started to outline all the recesses. Around hatches, I used oil paint straight from the tube to get the illusion that the hatches can be opened. You might also use Nuln Oil for this stage if you want, but the pro for using oil is that you can repair mistakes with some white spirit. Oil paints take some time to dry and can be removed with a white spirit dampened brush.
I went back to the tracks applying MIG1002 track wash.
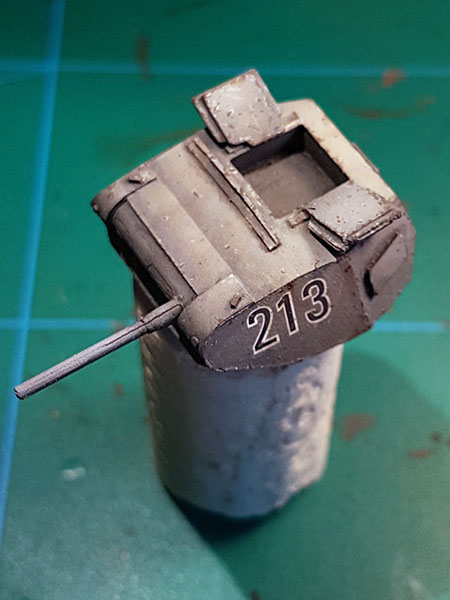
I left the tracks to dry and started to work on the chipping. Starting with working on the turret with AK165 followed by AK166. I did the chipping with Winsor and Newton Series 7 size 000 brush. You don’t have to chip the inside of the hatches as we will paint them Crème Weiss. I missed that at this stage.
We will then add AK711 inside the chippings we just painted. We will finish the chipping with AK711 colour but this time apply it with a sponge.
We continue chipping the rest of the tank in the same way as described above.
We will now paint the exhaust. As I mentioned at the start of the guide, I wanted this part to stand out as a point of interest and that’s the reason why I went a bit over the top with the rust effect.
I started painting the exhaust with AK,721 the same colour as the tracks. Next step is to add some AK8040 corrosion texture and let that dry for a couple of hours. After the texture is dry I started to add AK medium rust pigment followed by AK4113 dark rust deposits. We let this dry for a couple of hours. We finish of the rust by adding AK4111 light rust deposits randomly but keeping it more to the centre part.
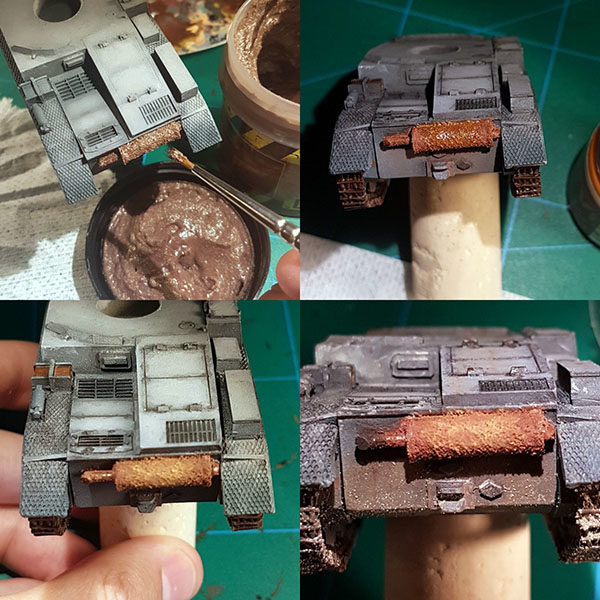
The last step is to add some AK smoke pigments to the end of the exhaust.
Next step is to add some subtle rust streaks from the chipping. I wanted it subtle so I used AK013 rust streaks, let it dry for a couple of minutes, and then used a brush dampened in white spirit to do the streaking. If you are unsure of how that works there are a tonne of videos on YouTube.
After the rust streaks are done its time to add some dust. I’ve used enamels for this and used the same technique as with the oils. I’ve used AK4062 light dust deposits, AK017 earth and AK023 dark mud.
I dampen the area first with some white spirit, then apply the enamels, let them sit for a minute, and then use a brush damped with white spirit to start the blending. You can repeat this process until you are satisfied with the results. On vertical panels, I´ve used the same technique as when I did the rust streaks so the result will be as if the dust has partially worn away.
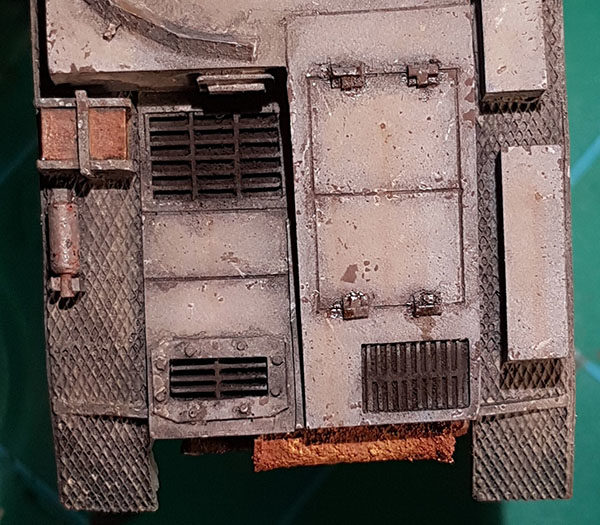
When the streaks were done I went on to add some fuel stains using, well, MIG fuel stains! I added a little black to it and applied it as some oil grease in the areas where this would be logical, like around the hinges to the hatches.
I went back to the tracks again and did a light wash with the light dust deposits used in the previous step.
When this was done I used some smoke pigments on the end of the barrel and on the vents. Don´t cover the whole part of the vents, keep it to the centre.
In this picture, you can see some of the oil grease we previously added using MIG Fuels stains and some black paint.
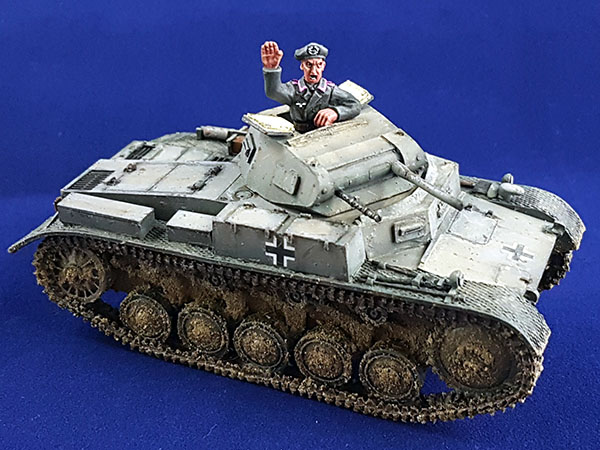
It´s now time to get the tank dirty. I wanted it to have a dried mud look so I started with AK8027 dried mud and applied it to the lower part of the tank. I let that set for a couple of hours and then added more until I was satisfied with the result. It’s important to work in layers to get a good result with this product. I let that dry for a couple of hours and then added some dark mud in the lowest parts of the mud, and at some random spots where the mud would be a bit wetter. You can work with more colours/effects if you want to, but I was satisfied with the results of this so I stopped there.

When this was done, I started to work on the star of the show, the commander!
I used AK3010 set for Flesh and skin and started with the base colours of the face. Moved on to the base colours of the uniform using AK3001 set for Panzer crew uniform.
When the base colour of the face was done, I start to work on the eyes. Start off with black, then add white either on each side of where you want the pupil to be, and leave a black edge as an eyeliner, or you can paint the whole area white and leave a black edge. Then go back and add the colour of the pupil. I did the first.
You can always touch up the eyes later on as long as they look ok-ish at this stage. I feel that it’s important to get the pupil right and then you can tweak the rest as you go.
I start with highlighting the face. After that, I start working on the shadows and overpaint some of the highlighted areas to get a smooth transition.
When the shadows are done, I go back to the highlighting colours and start blending the parts that should be highlighted again, going over the edges of where I’ve painted the shadows. I do this until I’m satisfied with the results. This means that I can go back and forth a couple of times with both the highlighting colours and the shadow colours.
I paint the hands in the same way after I’ve painted the uniform.

Before I start painting the uniform I painted the details white and the piping pink.
The uniform is painted in the same way as the flesh, but with different colours, of course. I start with the bright colours and do all the highlights. I then paint the shadows and start blending the areas together to form a smooth transition between them.
When the tracks have dried I used a graphite pencil to add some metallic effect to the outer part of the tracks where they would be worn the most.
Lastly, I repainted the inside of the turrets hatches with AK092. Washed it with AK093 and took the excess off with a brush damped with white spirit. Added some chipping with AK711 and a sponge.
And that’s that!
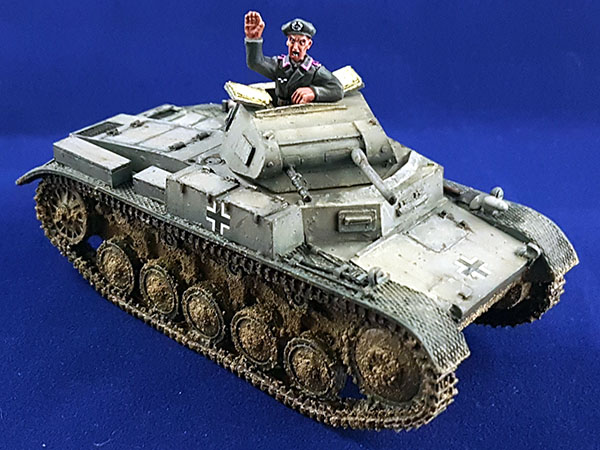
Hope you enjoyed the guide!
If you want to see more of my work find me on Instagram as @myt4z
Do you have an article within you? Are you itching to show your collection to the world of Bolt Action? Then drop us a line with a couple of pictures to info@warlordgames.com or share with all over at the Warlord Forum
Get ready to invade England!