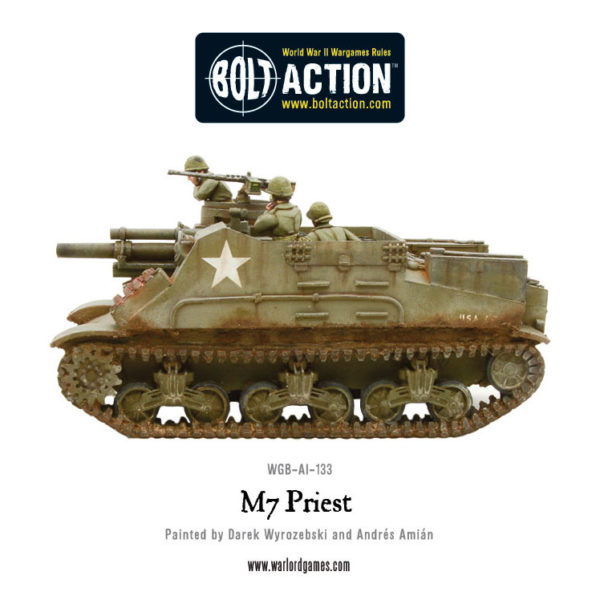
Learn how Warlorder Michele Isaja converted his M7 Priest into a Priest Kangaroo!
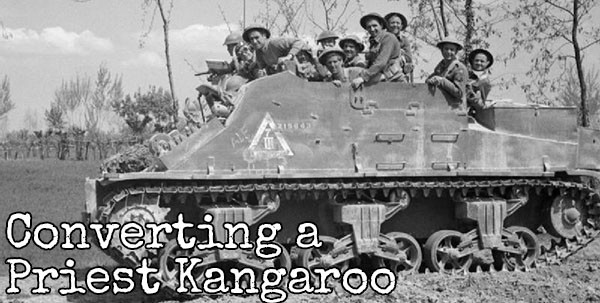
Michele: Inspired by an iconic picture like this one; and after a few days spent researching historical sources (see my other article), I decided that such a piece (or two!) had to be included in my growing 51st Highland Division themed army.
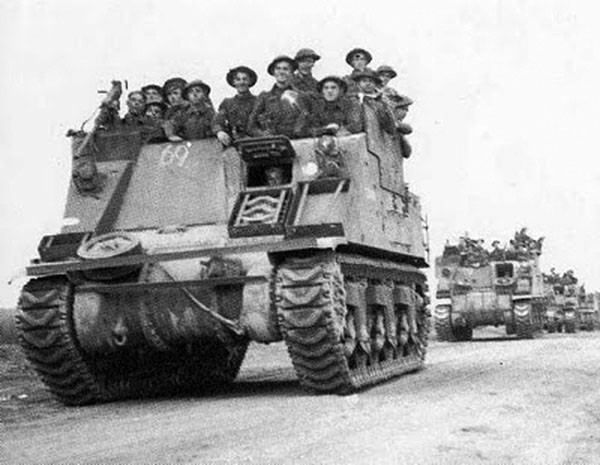
So I decided to get myself a couple of M7 Priests. After an in-depth look at archive footage, it was time for action!
Step 1: Interior Removal
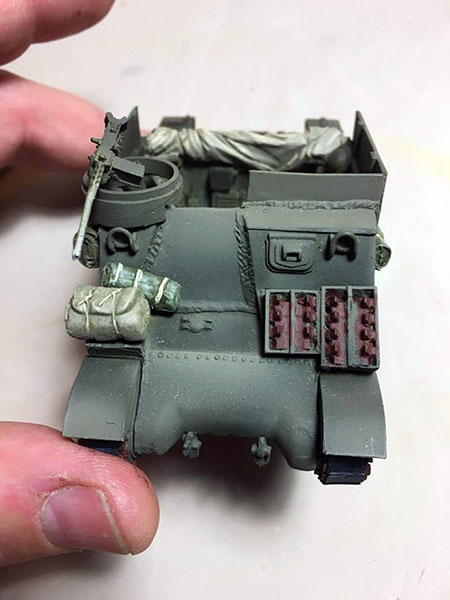
What was surely the most difficult bit of the project, the resin kit has the shells boxes filled with ammunition, and the mechanism holding the 105mm howitzer, so I had to remove everything.
After few unsuccessful trials with a simple cutter, I decided to get out my Dremel rotary tool, I then used various grinding and sanding tools (be sure to use a mask!). After an hour or so I reached a good level (I could have used finer dremel heads for a better finish, but I ran out quickly and I dont have a decent hardware shop near me, typical!)
A very important tip is to use a mask of any sort to avoid breathing in the finely sanded resin powder you inevitably will make.
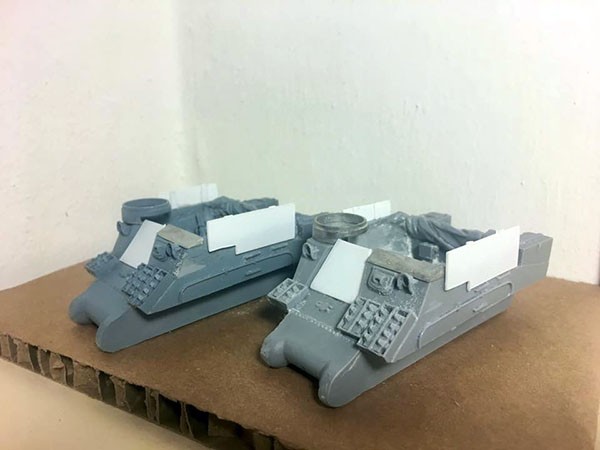
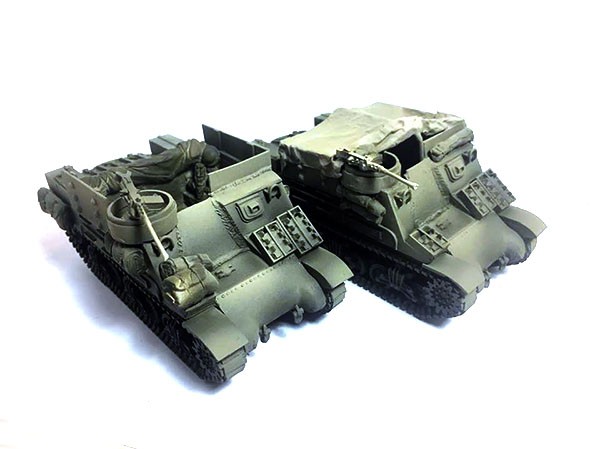
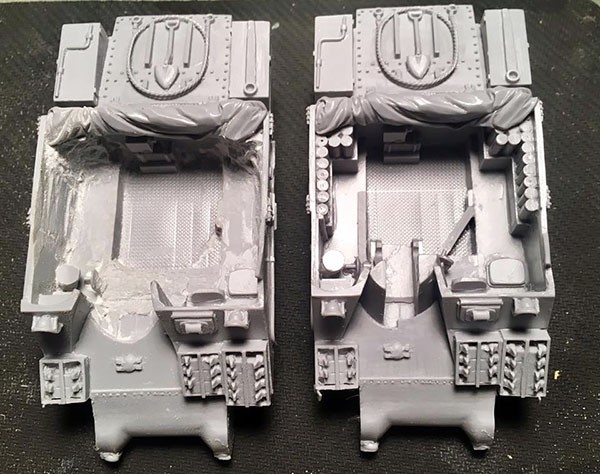 Left an 80% sanded piece, Right the M7 Priest chassis as sold
Step 2: Plasticard
Plasticard work in progress.
After an even closer look at other Priest Kangaroo models, I finally went to the local model shop to get some 0.75 mm thick polystyrene (plasticard).
With a bit of help from paper and scissors I made a template that helped me cut the sides and frontal parts into shape for extra protection.
I’ve used some greenstuff putty to simulate the welded areas around the edges (maybe a bit exaggerated, but makes a point and look good on the table)
Together, with the Priest, I bought a couple of stowage and tarp rolls kit and I had fun adding them to my Kangaroos, I’ve added some rivets made from cheap chinese nail art gems (slightly too big, I should have used smaller ones)
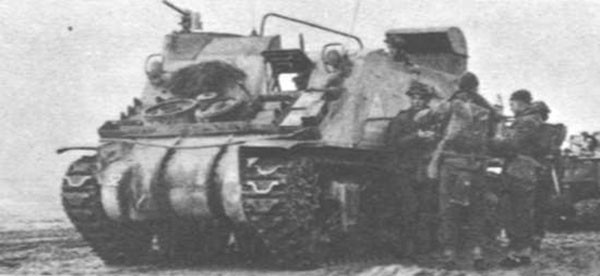
Kangaroo on the Italian front with rail bar for cover.
Step 3: Canvas cover
After seeing this picture on the web, this specific Kangaroo is in Italy not Normandy, I decided to have one half covered with a canvas cover, so I got a metal wire bent and cut into shape, and glued on top some thick aluminum foil (from a bottle of prosecco neck!)
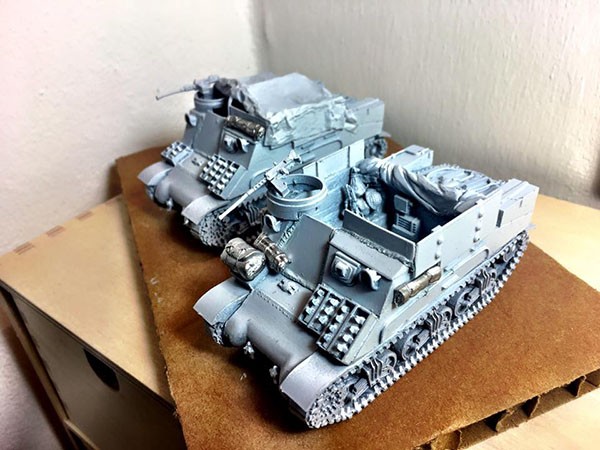
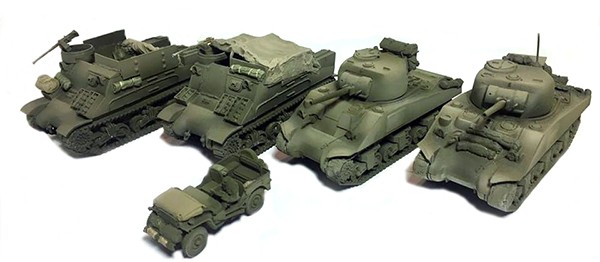
This is the final result, primed and ready for some painting!
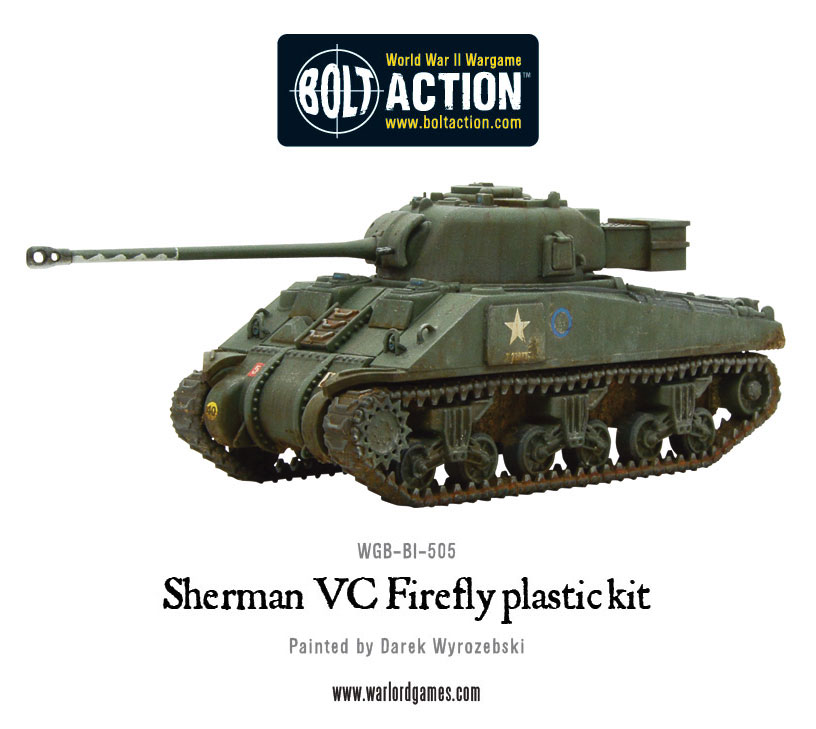
 I’m going to work on my Shermans at the same time to get a unified look – It’s also quicker to batch paint this way for me.
So till next time, keep painting!
Do you have an article within you? Are you itching to show your collection to the world of Bolt Action? Then drop us a line with a couple of pictures to info@warlordgames.com or share with all over at the Warlord Forum
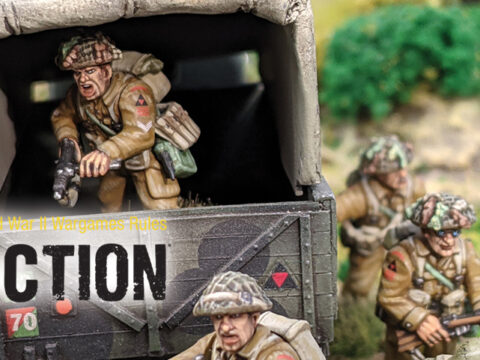
Prepare for the next attack!