Warlorders Tom and Rich managed to sneak away and play a quick game of Bolt Action this week. They’re trying out one of the scenarios from the new Western Desert book, using some of our beautiful 8th Army and DAK plastics from the HQ store’s extensive collection.

Tom: Having written a lot of articles for the Western Desert release, I’ve been itching to try out some of the bits and pieces in the new book, especially some of the new scenarios. I’m a bit of a Bolt Action novice, so the opportunity to get some practice in and cut Rich down to size is always welcome.

Rich: I’m always up for a game of Bolt Action, and the chance to poke Monty in the eye and kick the 8th Army back across the desert was too much to resist. We’re always looking for ways to make the game more accessible to you guys, and trying out these scenarios at low points values really helps get an idea of what it’s like for players who don’t work at a wargames company.
The Scenario
Tom: We were looking for something evocative of the desert war, that was achievable in a 500pt game, and that could be wrapped up in a couple of hours. We picked the Dawn Raid scenario from the new campaign book, adding the Commando Raid variant to spice things up.
The basic premise is that one side has to pull off a lightning raid against a dug-in position, destroying three objectives before vanishing into the desert. For our objectives, we used a Flak 88 and a couple of Opel Blitz trucks carrying the ammunition.
I imagined that the Germans were using the 88’s long-range firepower to shoot up a Commonwealth attack column. My plucky Sikhs have been sent in to neutralize the gun and escape before the Germans can organize any serious resistance.
The attacker gets 3 victory points for every objective neutralized, plus an additional victory point for every unit that makes it off the table after at least two objectives have been destroyed.
The defender will get a victory point at the end of every turn for each objective still in play, and 2 victory points for each enemy unit destroyed.
The Armies
Rich: Our armies are broadly similar – a couple of full-strength infantry squads with a pair of weapons teams and an armoured car or light tank for support. These are broadly representative of the kinds of forces you’ll see at 500 points, and give you lots of tactical choices on the battlefield.
Tom’s Army
| Unit Type: | Unit Name: | Upgrades: | Total Cost: |
| HQ | 1st Lieutenant (Regular) | 1x additional riflemen | 85pts |
| HQ | Forward Artillery Observer (Regular) | 1x additional riflemen | 10pts |
| Infantry | Infantry Section (Regular) | 5x additional riflemen, 1x LMG, 1x SMG | 123pts |
| Infantry | Infantry Section (Regular) | 5x additional riflemen, 1x LMG, 1x SMG | 123pts |
| Infantry | Light Mortar team (Regular) | – | 35pts |
| Infantry | Anti-tank Rifle team (Veteran) | – | 39pts |
| Vehicle | Light Tank MkVIC (Regular) | – | 85pts |
| Total Points Cost: | 500pts |
Rich’s Army
| Unit Type: | Unit Name: | Upgrades: | Total Cost: |
| HQ | 1st Lieutenant (Regular) | 1x additional riflemen | 85pts |
| Infantry | Infantry Section (Regular) | 5x additional riflemen, 1x LMG, 1x SMG | 123pts |
| Infantry | Infantry Section (Regular) | 5x additional riflemen, 1x LMG, 1x SMG | 123pts |
| Infantry | Light Mortar team (Regular) | – | 35pts |
| Infantry | Anti-tank Rifle team (Veteran) | – | 39pts |
| Vehicle | SdKFz 222 (Regular) | – | 95pts |
| Total Points Cost: | 500pts |
Setup
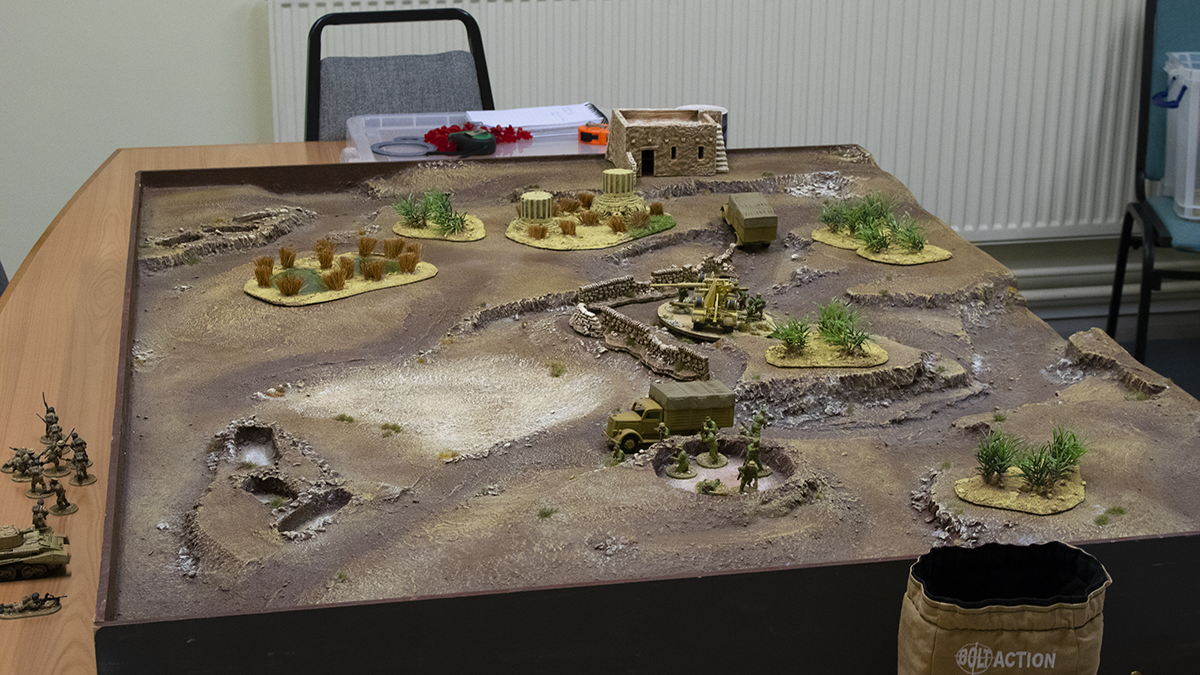
A shot of the battlefield before the action begins.
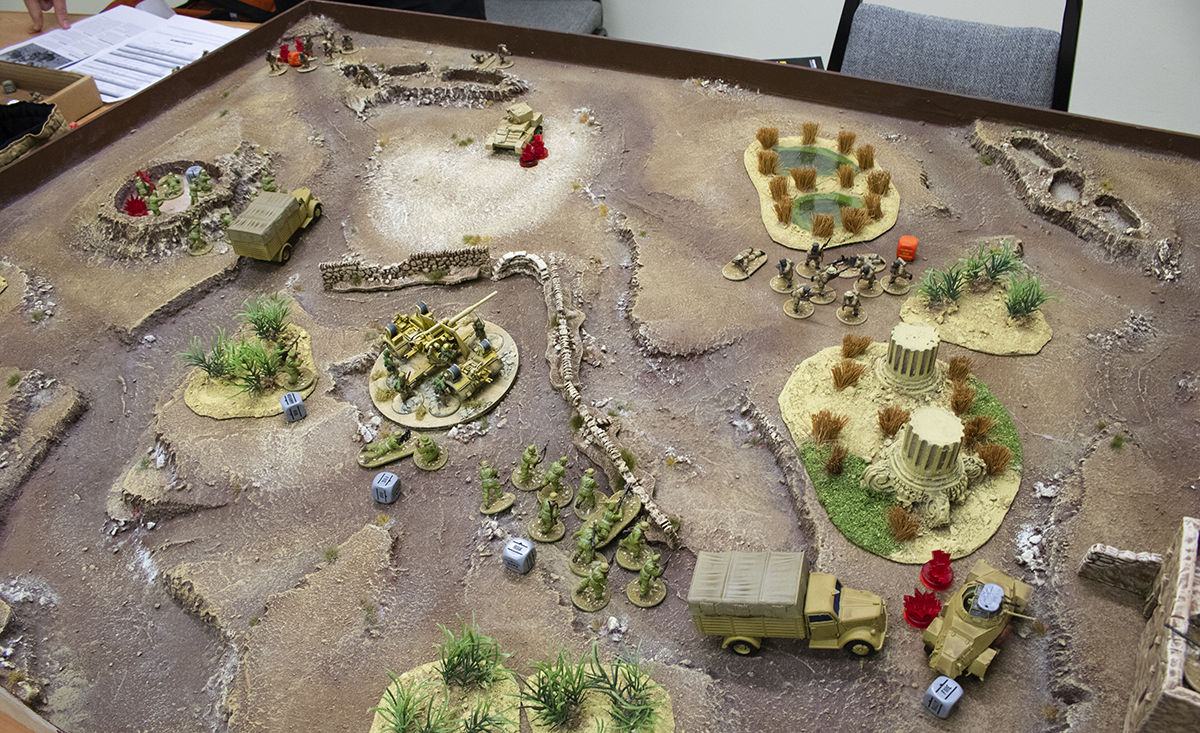
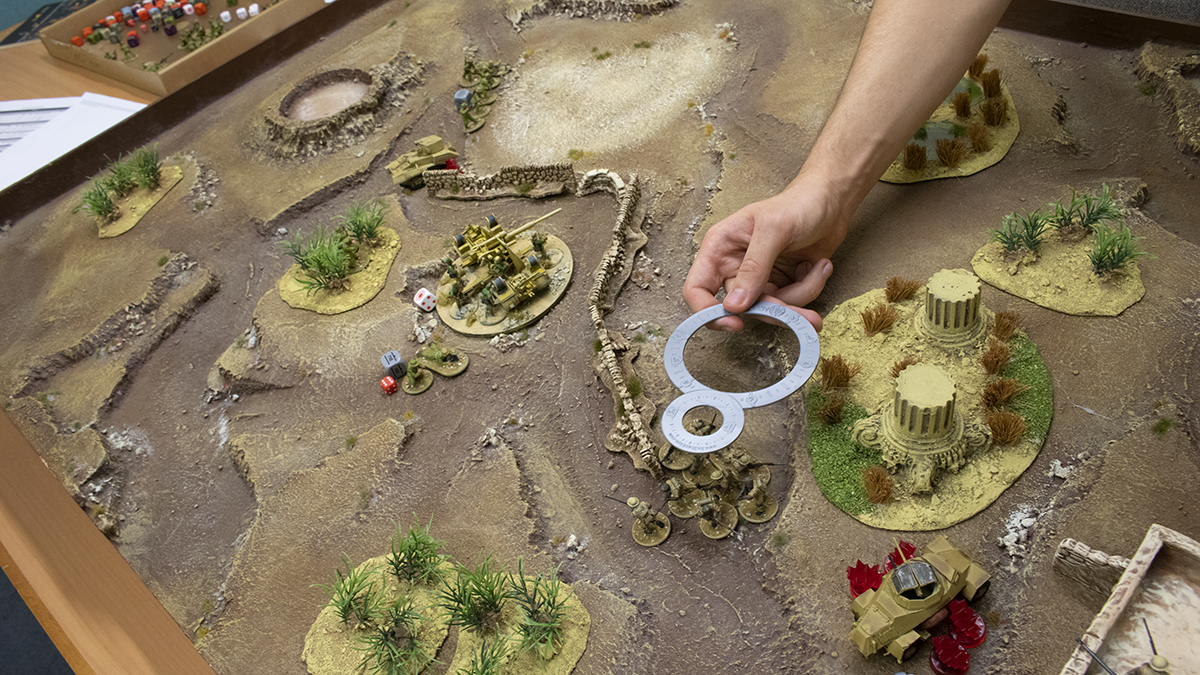
Tom: We’re using a 4×3′ table for our battle. Even without any terrain, the table’s got some fantastic features, including a circular gun position and strings of foxholes. We added a small house on the short northern edge, and some leafy scatter terrain to provide soft cover and break up line of sight.
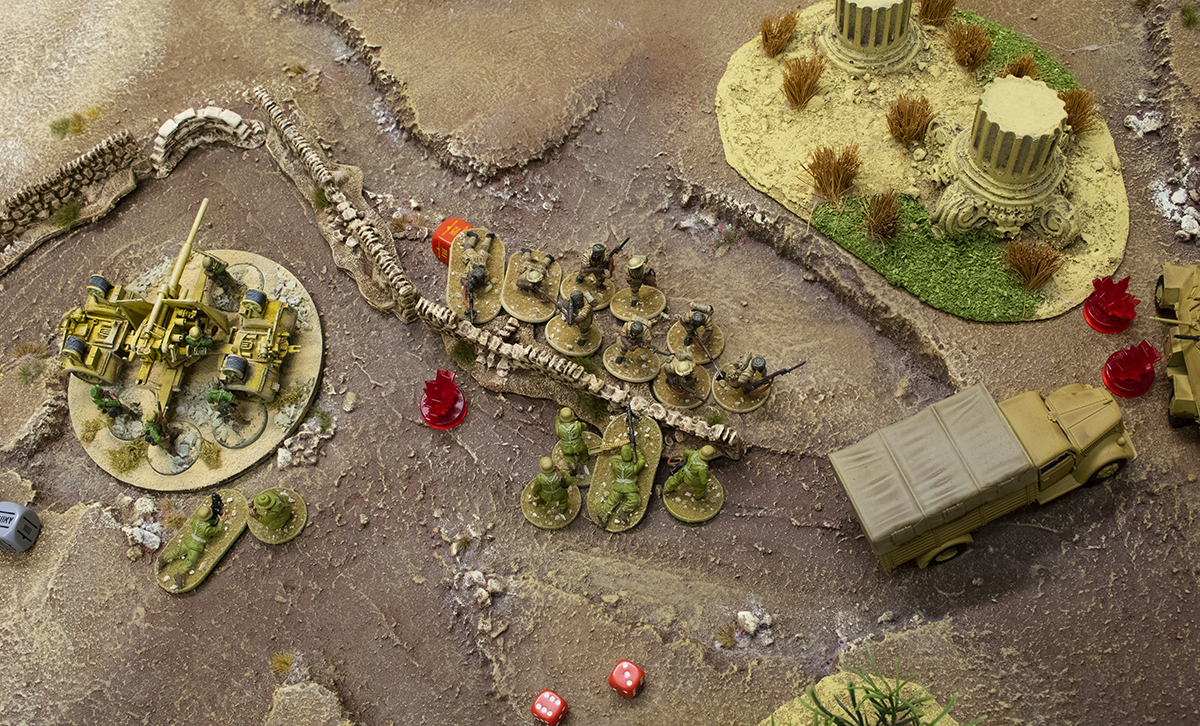
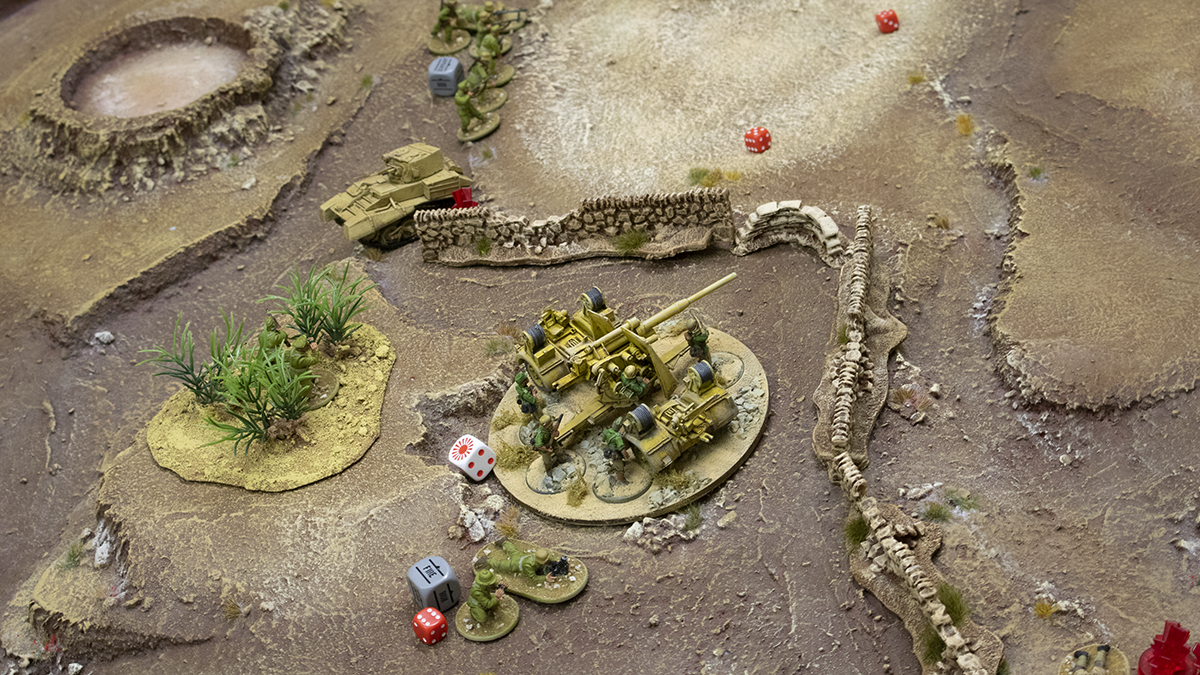
Rich: My deployment zone runs straight down the middle of the table, with the objectives spaced roughly 8″ apart. The scenario rules stated that I could deploy up to half my force, with the rest coming on as reserves. I’ve stuck one of my infantry squads in the artillery pit, covering the southern objective. My officer is concealed in the bushes behind the gun position, with the anti-tank rifle bedded down in the wadi to the west.
Tom: My first wave has to advance onto the table from the western table edge. I’ve chosen the light tank, my officer and an infantry squad. The rest of my troops have to come in from reserve, but get the option to outflank, giving me plenty of tactical flexibility.
The Battle
Turn 1 – Opening Shots
Tom got the first order dice out of the bag, wasting no time in trundling his MkVIC onto the table, blasting away at the German squad in the artillery pit, missing every single shot. The Sikh officer came on next, scuttling into cover behind the advancing tank.
Unfortunately for the tank crew, Richard’s anti-tank rifle team was lurking behind a low wall, ready to spring into action. Dashing into the wadi, the gunner set his sights on the tank and sent a 7.92mm round screaming through the armour.
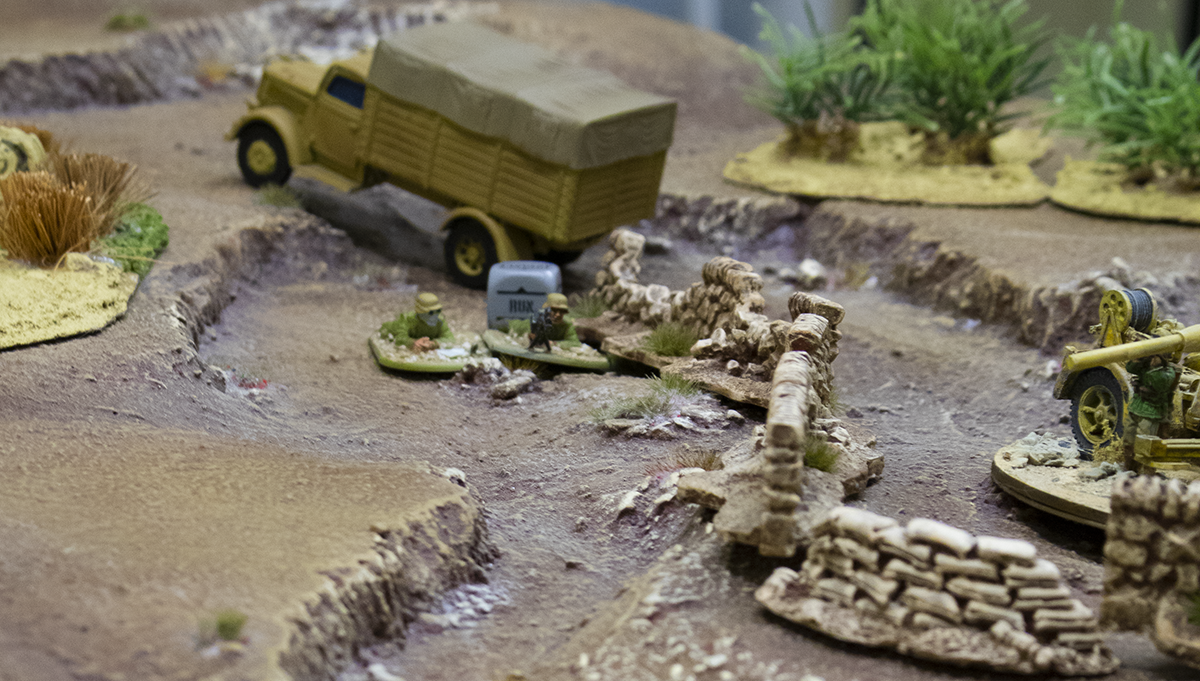
The German anti-tank rifle team set up in the wadi.
A quick roll on the damage table left the crew stunned, but otherwise unharmed. An unlucky damage roll on Richard’s part.
The MkVIC takes a hit in the side armour!
The remainder of the turn was pretty uneventful as both players jockeyed for position. The first Commonwealth infantry section advanced from the north-west, while both German units on the table took up ambush positions.
Both players were forced to assign dice to their reserve units (see boxout.)
At the end of the turn, neither side had scored any victory points.

Turn 2 – Ambush!
Tom’s second infantry squad charged onto the table at full pelt, straight into the teeth of a German ambush. Hitler’s buzzsaw tore into the Sikhs, causing a total of 5 hits, alongside 4 hits from the rest of the squad. 3 Sikhs were shredded by the relentless machinegun fire, some of the game’s first casualties.
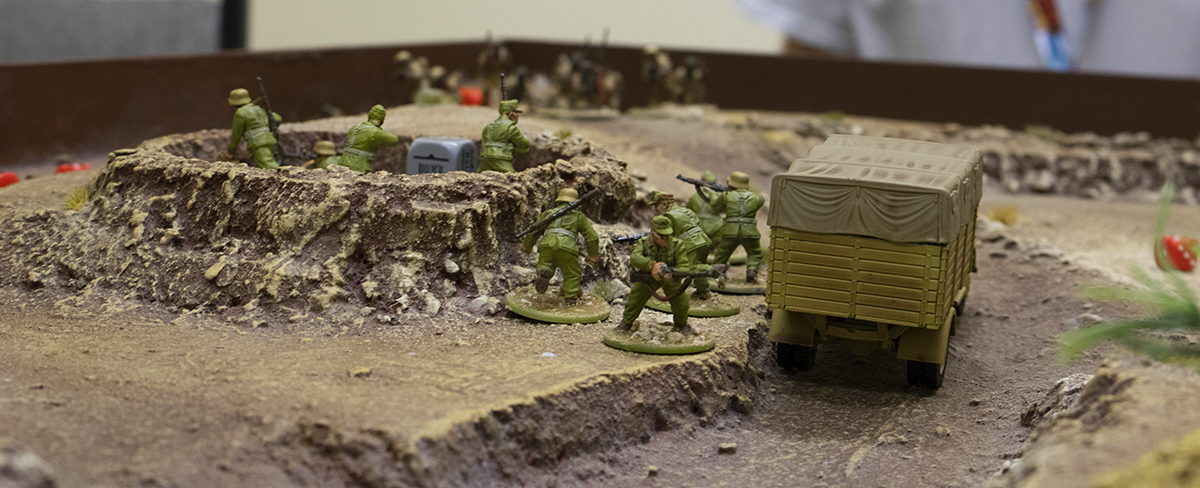
The Afrika Korps dig in, ready to blunt the Commonwealth assault.
Richard drew the second dice and attempted to bring his other infantry squad into the fight, but a failed order check left them kicking their heels.
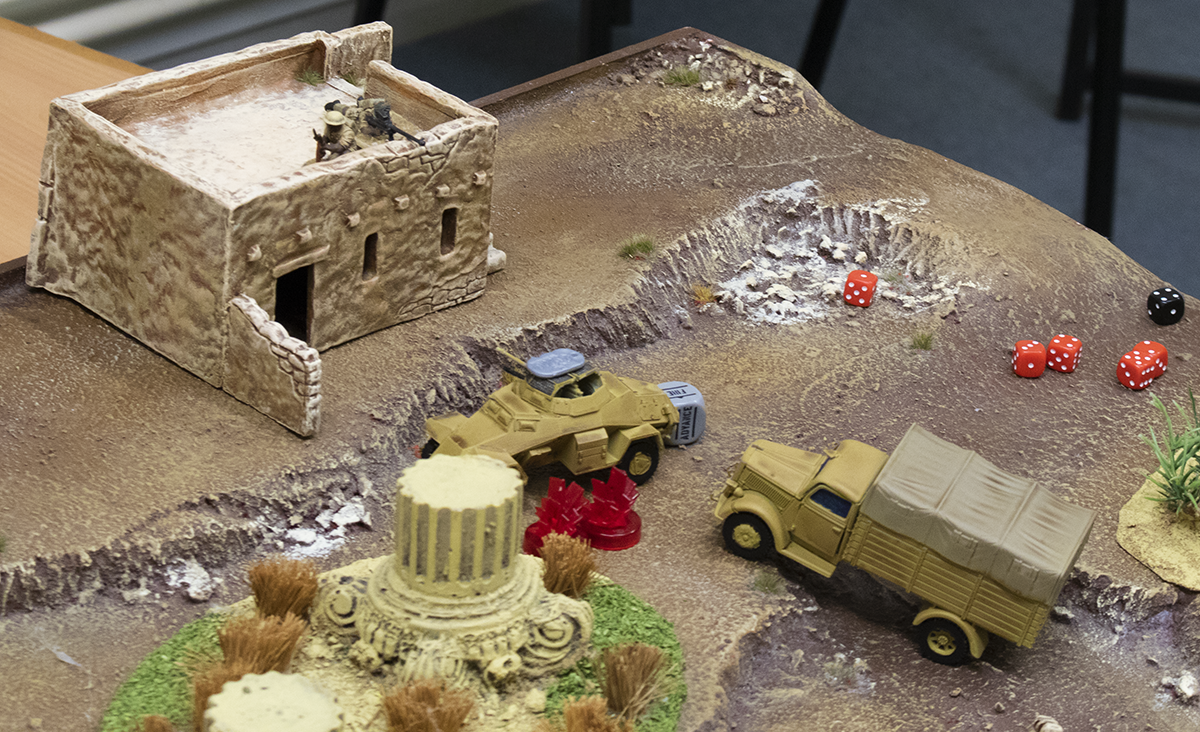
On the other side of the table, Richard’s Sd.Kfz 222 gunned its engine and slewed to a halt, traversing the cannon to engage the Commonwealth infantry squad in the north-west corner. The cannon hit wide of the mark, but the coaxial claimed a casualty.
The German anti-tank rifle missed a follow-up shot on the MkVIC, which failed its order test and was remained in the depression.
In the north, Tom’s anti-tank rifle arrived on the enemy flank, taking up position on the roof of the small building, where they immediately engaged the Sd.Kfz 222 at almost point blank range!

The anti-tank rifle takes up position, ready to engage Richard’s 222!
The .55 calibre bullet disappeared through the 222’s top armour, straight into the engine block, immediately immobilising the vehicle.

Tom’s light mortar scrambled onto the table, hastily scraping a position for themselves before laying down fire on the German squad in the artillery pit. Tom rolled a much needed 6, but failed to score any casualties.
Continuing to draw dice, Tom pressed his attack, manoeuvering the north-westernmost squad into cover behind the ruins. The forward observer failed his order test, while the HQ moved up behind the south-western squad to bolster their morale.
At the end of the turn, the Flak 88 fired off another salvo at some distant target. As all 3 objective markers remained on the table, Richard gained 3 victory points.

Turn 3 – Stalemate
“Driver, reverse!” Kohler screamed, the smell of diesel and cordite stinging his nostrils. The fighting compartment of the Sd.Kfz 222 was full of smoke, reverberating with the sound of crunching gears and shattered machinery.
“It’s gone clean through the engine block, sir!” The driver responded, his face singed and blackened. “We’re going nowhere!”
“Damn Tommies!” Kohler grunted, reaching for the turret traverse controls. He’d give them a taste of their own medicine.
Continuing his run of good luck, Tom drew the first dice again and attempted to activate his MkVIC but failed his order test.
Across the battlefield, the commander of the Sd.Kfz 222 took aim at Tom’s anti-tank team and emptied his magazines into the building. Unfortunately, the dice were not in Rich’s favour and he failed to so much as scratch the death-defying tank hunters.
Richard’s dice betray him and the anti-tank riflemen survive.
A run of Commonwealth dice saw Tom’s north-western infantry sweeping up the wadi to annihilate Rich’s anti-tank rifle team, while the south-western squad dashed into cover to avoid any further enemy fire.
Regaining the initiative, the second German squad loped onto the table, taking up position behind the low wall between the north-western and central objectives.
The second German squad passes its reserve roll and runs onto the table.
The anti-tank rifle team, clinging onto for grim death as cannon fire slashed around them, missed their shot at the 222. The forward observer failed his reserve roll again and decided he’d have another cup of tea before joining the battle.
While the Commonwealth dithered, the Germans pressed their counter-attack, with the light mortar opening up on the south-western squad to no effect and the squad in the artillery pit passing its order test despite 3 pins, scoring 4 hits and 1 casualty.
At the end of the turn, Rich gained another 3 victory points, as Tom had failed to knock out any of the objectives.

Turn 4 – Deadlock
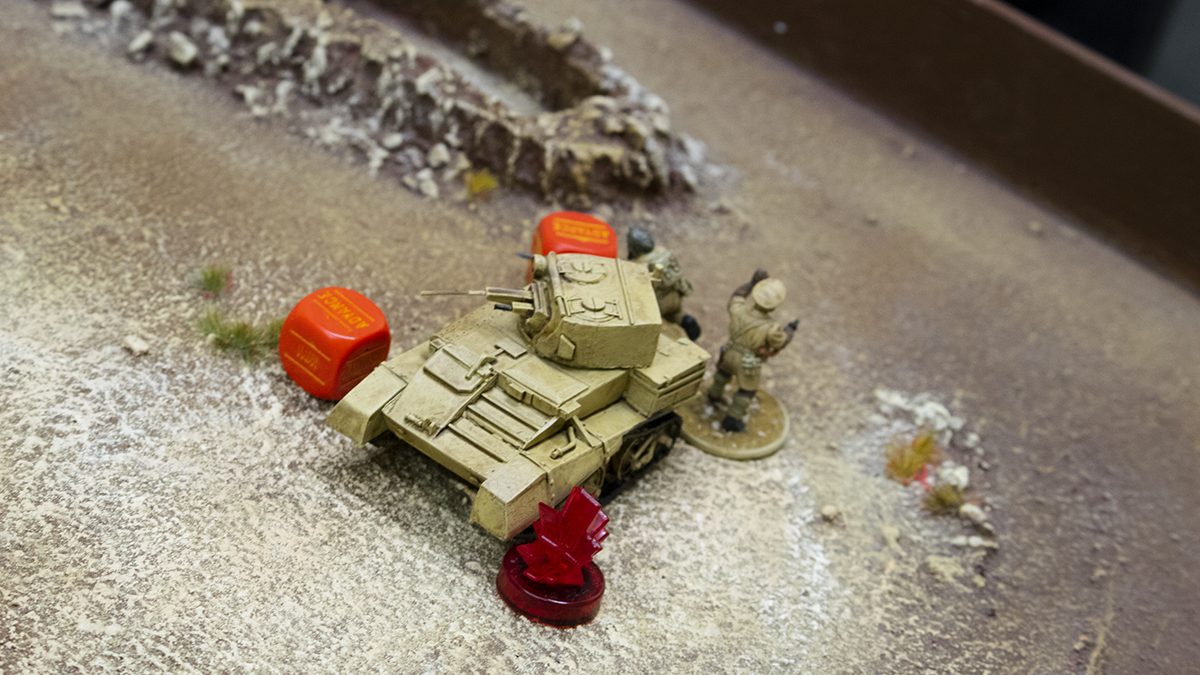
Seizing the initiative, Tom finally got his MkVIC moving. Gunning the engine, the driver raced towards the southern-most objective, ending his move in base contact with it.
Tom’s tank captures the southern objective.
Despite passing their order test, the anti-tank rifle team continued to miss the 222, while their comrades in the nearby infantry squad advanced into the wadi and blasted the Germans behind the wall, killing two of them.
The south-western squad managed to pass their order test despite the two pins and charged up the ridge, emptying their magazines into the squad in the artillery pit, causing another two casualties.
With a juicy target in the open, the German mortar attempted to engage the south-western squad but missed their shot. Its Commonwealth counterpart attempted to engage the squad in the artillery pit but missed again.
Despite the incoming artillery fire, the Germans in the artillery pit rallied and managed to remove 3 pins.
With the Sikhs bearing down on them, the German squad behind the wall failed its order test and was forced to go down.

The Germans fail their order test in the face of the enemy!
The Commonwealth forward observer finally finished his tea and advanced onto the board. Desperate the deadlock, the Commonwealth officer threw caution to the wind and barreled forward, blasting one of the Germans in the artillery pit with his trusty revolver.
With the fighting compartment still choked with smoke and oil, the 222 failed its order test and remained in the sights of the anti-tank team.
At the end of the turn, Tom had managed to knock out one of the objectives, gaining 3 victory points. Richard gained 1 point for each surviving objective, taking his total to 8.

Turn 5 – Breakthrough
Havildar Nagarkar slotted another magazine into his Thompson. Around him, the men of his section were busy fitting bayonets to their rifles. Just over the hill crest, a chattering machine gun belched long strings of tracer in their general direction, accompanied by desultory rifle fire.
Steeling his quaking nerves, Nagarkar motioned to the rest of his section before jumping to his feet and charging off in the direction of the incoming fire.
Tom opened turn 5 by activating the infantry squad in the north-west and immediately ordering an assault on the Germans behind the wall. Despite the boost provided by the wall, the Germans only inflicted 1 casualty on the attackers, who scored 4 in return. Buoyed on by their successful assault, the Sikhs consolidated through the wreckage of the German position and into base contact with the northern objective.
The Sikhs launch their assault!
The turn continued with both armoured vehicles failing their order tests, while the southern Commonwealth infantry squad assaulted the artillery pit. Unfortunately for the Sikhs, they killed 2 Germans for 4 of their own, and they were annihilated, giving Richard 2 victory points.
Continuing its run of bad luck, the German mortar missed, while the southern squad opened fire on the Commonwealth officer, killing his attendant.
Still ensconced on the roof of the now-dilapidated building, the Commonwealth anti-tank rifle team hit the 222. As the round passed through the crew compartment, it ignited a puddle of fuel oil and filled the crew compartment with scorching flame, knocking the vehicle out.
Desperate to get to safety, the Commonwealth officer attempted to activate but failed his order test on a double six. FUBAR!
Luckily, Tom rolled a 4. The officer turned and made a dash for the safety of the depression.
With the last dice out of the bag, Tom gained 3 victory points for knocking out the northern-most objective, while Richard gained another point for control of the central objective. Richard had also managed to kill a unit this turn, giving him a further 2 points.

Turn 6 – Withdrawal
With the initiative in German hands, Rich drew the first dice out of the bag and immediately sent the remnants of his southern-most infantry squad after the Commonwealth officer, gunning him down in the open ground. The kill netted him another 2 victory points.
Rich’s light mortar opened up on Tom’s northern-most infantry squad, scoring another 2 casualties and adding another pin marker.
Rich’s light mortar opens fire!
A run of Commonwealth dice saw the withdrawal begin, with both the light mortar and anti-tank rifle teams dashing off the closest board edge. As per the scenario rules, Tom gained a single victory point for each.
Hampered by the numerous pin markers, the MkVIC failed its order test and went down. Unable to escape, the crew are likely to become prisoners of war (or the objective of the next battle!)
The MkVIC goes down in sight of the central objective.
Tom’s northern-most squad passed its order test and escaped off to the east, adding another victory point to the score, followed quickly by the forward observer.
Rich drew the last dice of the game and sent his officer in to assault the tank. Rapping on the hatches with his pistol-butt, the officer began the arduous task of prising the crew out of their armoured home.

Rich celebrates his victory!

Aftermath
Tom: Well, that didn’t go how I expected. I got a bit sidetracked fighting Rich’s units and not playing my objectives. Outflanking more of my units might have allowed me to roll up his defensive line quicker and get on the objectives before he accrued quite so many victory points.
I got careless towards the end and gave up four points by letting my commander get killed and in that botched assault.
Next time I’ll have to play more aggressively from the start and make sure I keep on those objectives.
Rich: What a great game! Full of drama from the start. It was touch and go in places, and getting my armoured car taken out of the fight by that pesky anti-tank team certainly didn’t help. Thankfully I was able to pull it back and hold the line, keeping Tom away from that central objective and killing enough of his units to swing the game in my favour.
German infantry are rock-hard in defence, with those LMGs kicking out 5 dice a turn. Hitler’s Buzzsaws indeed!
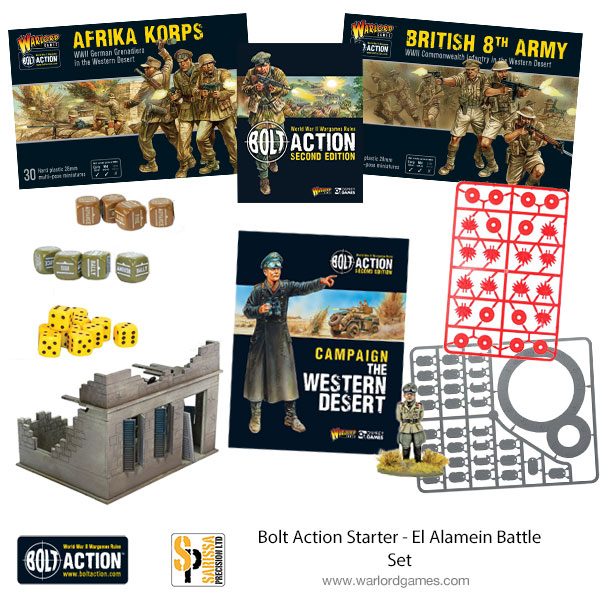
Getting Started in the Western Desert
If you’ve been inspired to start your own desert campaign, grab a copy of our fantastic El Alamein starter set today!