One question I get a lot in customer services is “what do I need to start the hobby”, this is a pretty essential question for beginners and I thought I’d create a catch-all article to explain the ins and outs of starting a miniatures collection.
There are four main materials used in warlord games products: plastic, metal, resin and Warlord resin. They all have slightly different techniques to using them so I will outline them all.
Building your models:
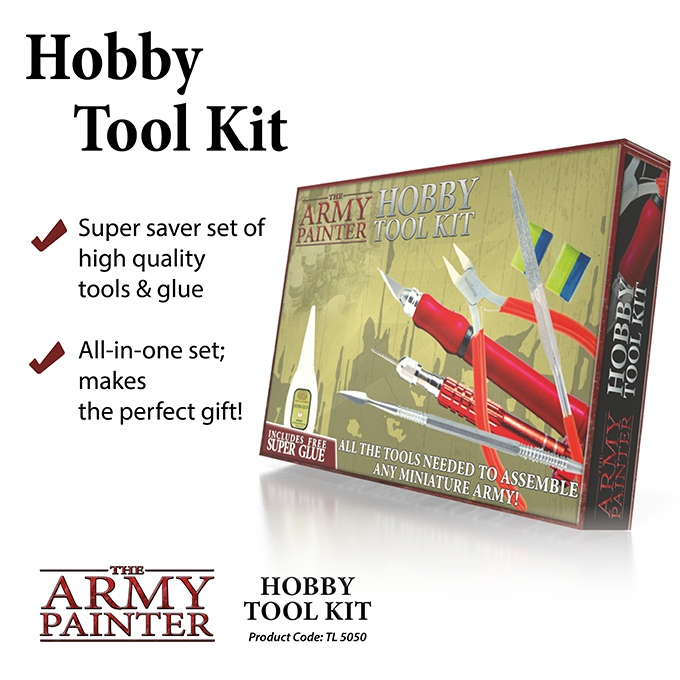
You will need some tools and glues to build your models. There are a lot of options out there. The hobby tool kit listed below makes a very comprehensive place to start. Tools and glues are also sold separately:

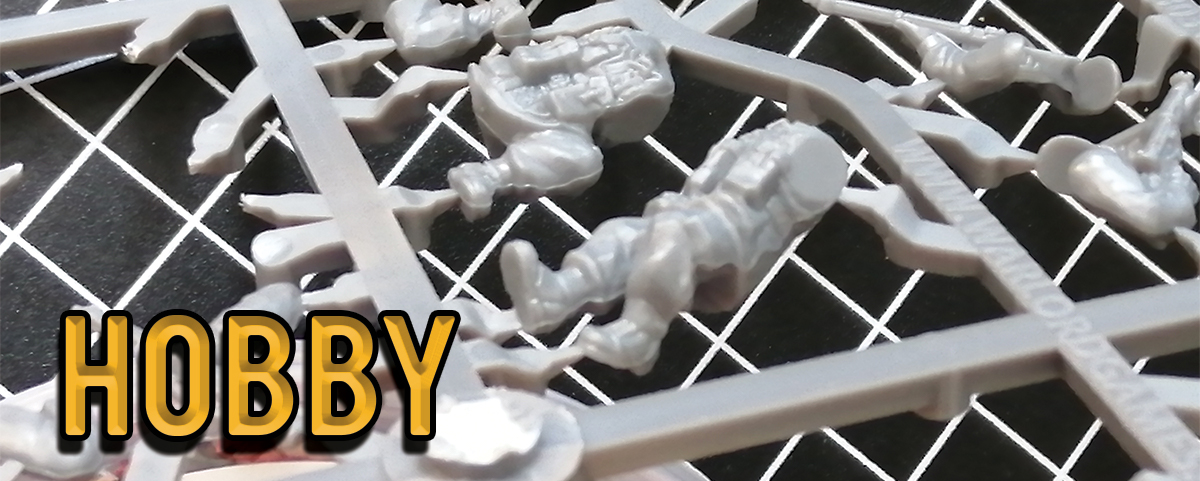
Plastic
To start with you will want to carefully clip out your parts with a side cutter. This will naturally leave some of the frame behind on the model, use a scalpel (carefully) or a mould line remover to remove these rough edges from the model. After that, you will see “mould lines”. These are a normal part of the production process; where the two halves of the moulds meet, you will encounter mould lines. These happen in metal, and the resins as well. For plastic models the best way to remove them would be a mould line remover, this is a metal tool that you scrape gently across the mould lines to get rid of them so they don’t appear on your model when it’s all painted.


Now that the components are tidied up, you can glue your models together, for best results use Plastic Glue. This forms a very strong bond on plastic models, as it slightly melts the plastic on both sides of the pieces you wish to stick together. When it sets they are functionally one piece.
As with all the materials, patience is essential. The glue doesn’t take very long to harden, but you still should hold the components together as it sets.


Metal
Metal models are the second most common material we work in as it is tough and offers a huge range of detailed models. Metal models have mould lines, which can be removed with a mould line remover, by scraping the tool along the model on the mould lines to get rid of them. Metal models often also have “flash” on them, flash is little sections of metal that jut out of a model that need snipping off. They are there so that the models get cast properly. You should carefully snip these off with a pair of side cutters, and if required smooth them out with the mould line remover or a file to get a smooth surface.


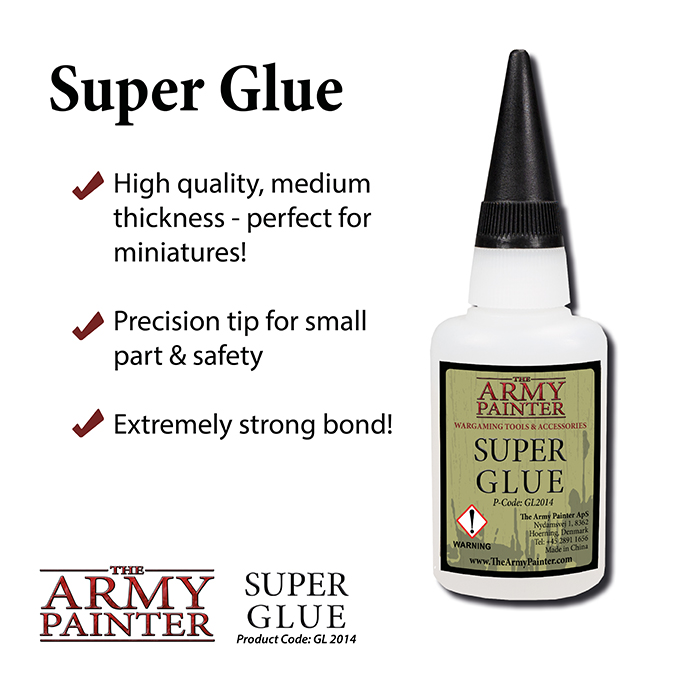
Metal models require super glue to put together. Be careful when using this substance as it will stick together skin which can be dangerous or painful to separate if it sticks fingers together. This substance also takes a few minutes to set, so patience is absolutely essential with multi part metal models.
Resin
Resin makes up a large collection of our vehicle or other larger kit options and features a lot of detail. Resin kits require washing before anything else, otherwise, the separation agent on the model that is used to stop it sticking to the mould will stop glues and paints adhering properly to it. Simply wash in some cool soapy water and wait to dry.
Resin models will feature “feed lines” that often look like tubes that stick out of the kit. This is normal and is how the resin is poured into the mould. Simply snip these back with your side cutters and file them down flat, or if they are small feeds use a hobby knife to cut them off cleanly.


There may also be mould lines; if present use your mould line remover to take them off by gently back scraping the model with it.
Finally, glue the pieces together using super glue. This can be used on both resin and metal parts, so if for example, you have a metal gun and a resin turret they go together fine with a little super glue.
Warlord Resin
Finally, there is our newest material. Warlord resin is an exceptionally durable material that has a very high level of detail thanks to new processes.
The warlord resin sometimes also has feed lines or flash similar to the metal and other resin, that can usually be snipped off with side cutters or a hobby knife, often the knife is the better option here as the material is quite soft and flexible.
If mould lines are present, carefully scrape them off with a hobby knife as mould line removers don’t work fantastically on this material and you are better off using a sharp knife. Very carefully angle the blade 45 degrees away from the model in the angle that won’t just cut into it and push away gently. The motion should look like small scale whittling and take off tiny slithers of resin every time.


Priming
After your models are assembled you will want to leave them for at least an hour to let the glue set before you prime them. Primers make the model a uniform colour to paint from and also better allow the paint to stick, without a primer your paint job will rub or chip off over time.
We sell a range of colours to suit any force, simply pick the best colour you want. Spray your models from a range of 30cm /12” and make sure you aren’t applying this too thickly so you don’t lose any detail. I find short bursts of spraying makes this easier to control.
For a nice neutral base Uniform Grey works a treat, but there a lot of options for colours:

Painting
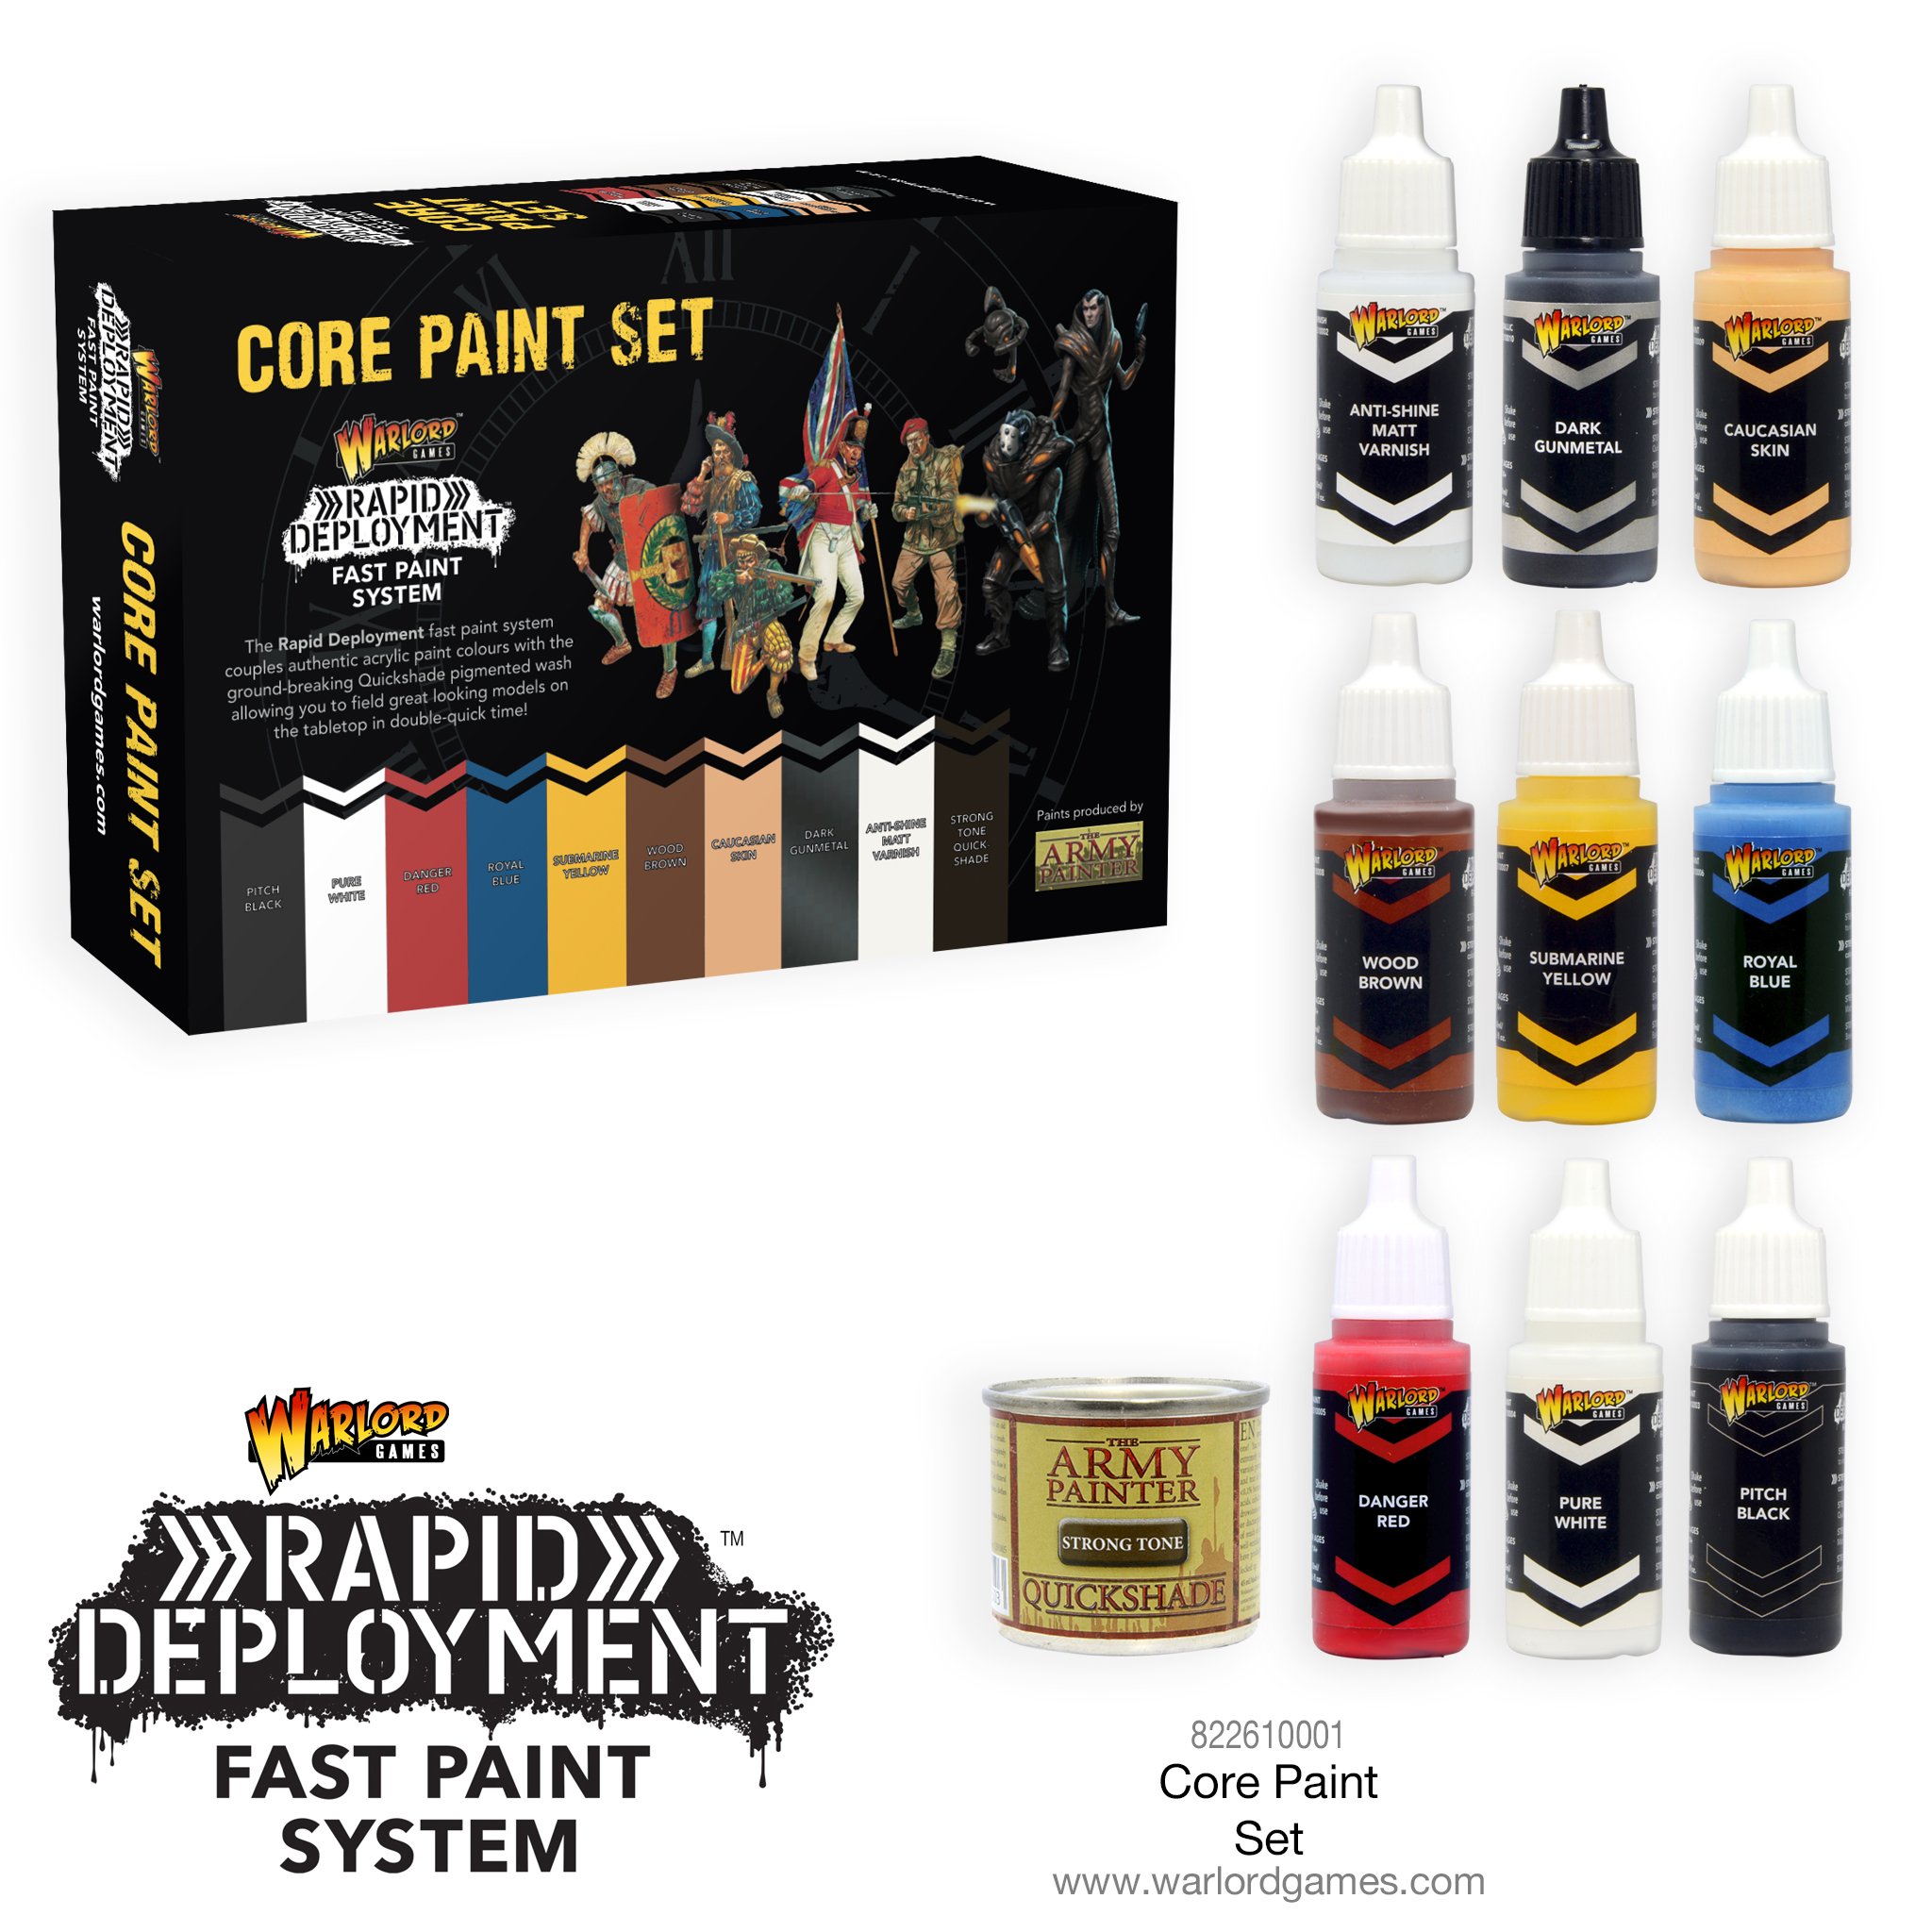
If you have never painted before I recommend a core paint set plus an army specific paint set. For example, in this article, I’ve used photos of British Airborne and German Grenadiers.
This makes for a fantastic core of colours to start from:
And then add the relevant paint set for the army you want, these are just examples of course, there are a whole range of paint sets on our webstore and individual paints if you have something specific in mind!


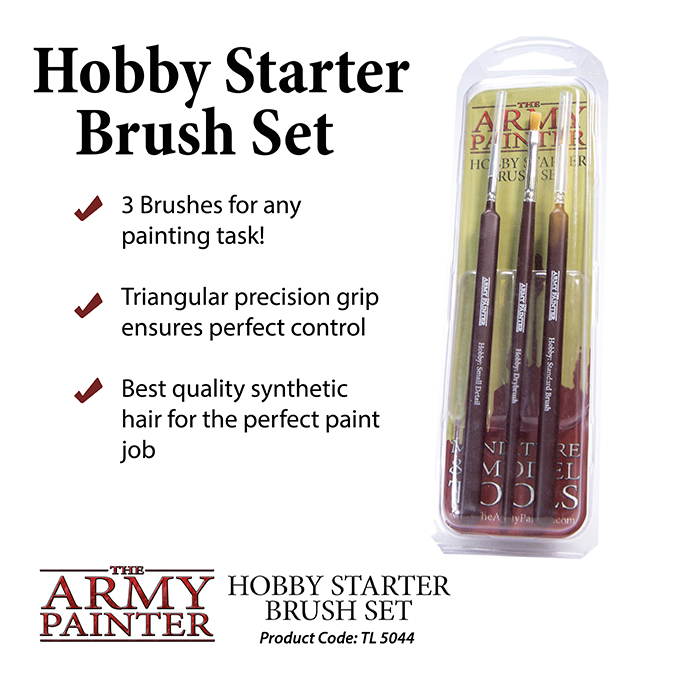
You’ll also need at least one brush, I think this kit makes a great starting point with a base coat brush, a detail brush for the small details and a drybrush for texture and paint effects:
You will want something to decant the paint onto as a palette, anything non-porous will do, so old plates and wall tiles are great cheap starting points! Apply some to your palette and mix in a little bit of water. If you don’t apply some water (called thinning) the paint will likely apply a little lumpy. The watering down also stops the paint drying out on your palette as fast so you will waste far less. This will lower the coverage so it will likely take 2 coats instead of one, but as a wise man once said “two thin coats are better than one thick one”, sagely words.
Washes can be used to speed up your painting, by applying these your recesses will be shaded easily and speedily adding depth to your figures. You can highlight back up with a lighter colour as you get more ambitious.
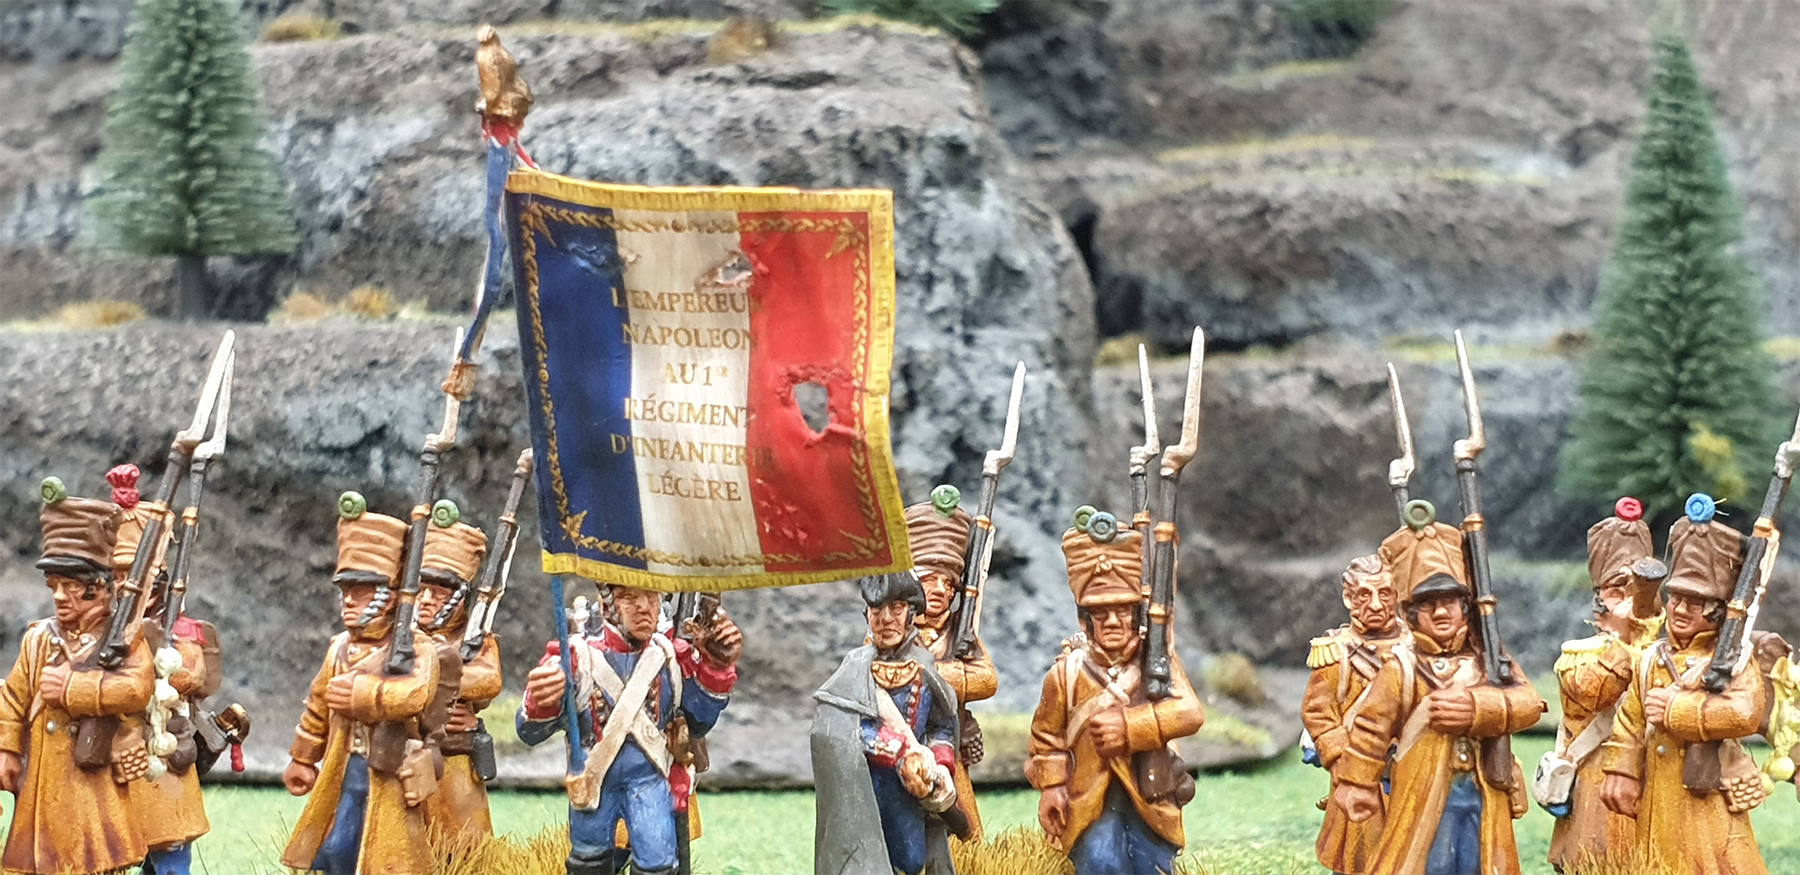
Painting takes time, so take your time, put on something in the background or some music and relax. With practice, your skills will increase fast, enjoy this experience and think how amazing your army will look when it’s all painted and table ready!
Once the paint is on, apply decals by setting them in water and carefully placing them on your models. Once the decals are on and dried, apply a layer of matte varnish to take the shine off so they don’t reflect like mirrors! If you have used Army painters Dip pots you’ll want to apply the matte varnish to the whole model (also available as a spray) so they don’t shine.


Basing
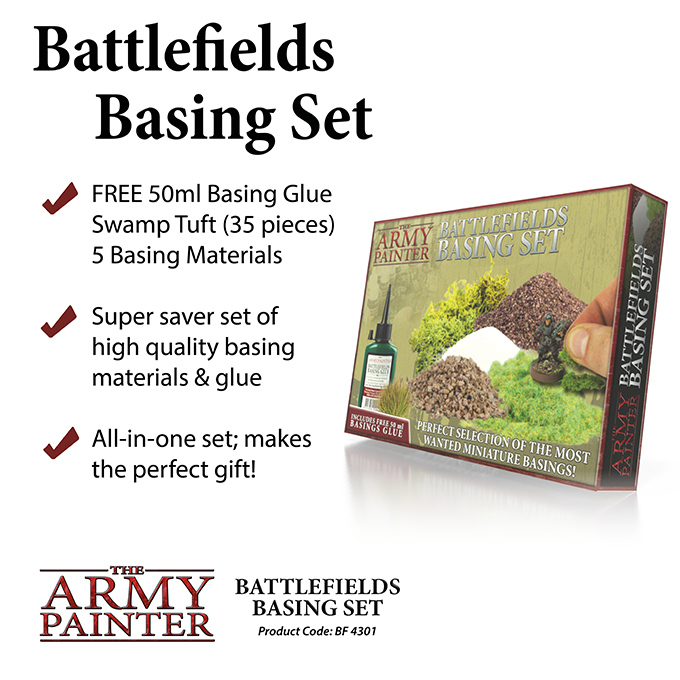
Finally you will want to use PVA glue and basing materials to add the final touch of realism to your figures. Take care not to get PVA on your models or the basing materials will stick to them as well as the bases.
As it contains all you need to get started making your models complete, a great set for beginners who want to base a collection is :
Moving forward
As you practice, adding more paints to change your highlights or trying new colours is a natural part of the hobby and is a fantastic way to develop a unique style and improve. Following guides from articles and publications is also a brilliant way to improve, and can also inform you which paints you will find most useful.
After that, sharing pictures of your models around in the Warlord Games community and playing games with your new force is a great reward.
I hope this was helpful to everyone and Happy Hobbying from the Warlord team.