Words and Images provided by Norm Flam of Toy Soldier Gallery in PA.
First, I get steel wire. I use 36” Music Wire, 0.015 dia. It’s the perfect size to use as rigging for the ships and it doesn’t sag over time. I then spray paint it black. This can take several sprays but it’s best to get a good coating of paint on the wire.
I temporarily base the models for easier handling and painting, then I paint the ships although I don’t put any parts together and I leave the masts and other accessories on the sprue. I make sure I have a good sealing coat on the ships so I don’t damage the paint job when I work with the models.
In order to cut the wire, you’ll need a good pair of wire cutters because the wire will damage cutters not made to cut steel.
-2")
-3")
-4")
Now it’s a good idea to dry fit the mizzenmast (rearmost and shortest mast) into the hull before glueing so cut it from the sprue and paint over the cut spots. There are 2 spars that will be glued to it, get them ready too. I use a hand drill to make sure the hole in the hull is big enough for the mast.
When gluing, I use white glue with a bit of black paint in it (because the ratlines are painted black) and a thin superglue. I put a bit of each of these into separate bottle caps because it’s easy for me to use with toothpicks, there’s very little waste and it’s all completely disposable when I’m done. In some of the photos, you’ll see my bottle caps and glue. There’s no secret, water helps super glue to set, especially the water in white glue (or on your moist fingers). So when I want to glue a rigging line in place, I put a bit of super glue where I want the line to adhere and a bit of black glue on the end of the rigging line, then hold them together with my tweezers.
-5")
-6")
-7")
I cut free all the masts at this time, then I punch out the sails for each of the masts and line them up together so I don’t get confused. You’ll notice in the photo that the sails are curled. This is very important if you want them to glue easily. I wrap the sails around the handle of my exacto until I get the appropriate curl for a good fit. This can be difficult for the square-ish sail at the rearmost of the ship, the spanker. At this time and for this sail, you must determine which way the sail picks up the wind. How you curl the spanker sets this parameter and will become important again when you rig the bowsprit and jibs. Okay, glue the sails on the mizzenmast, main and fore masts allowing enough time for them to dry/cure. For these ships, the yardarms are black allowing me to use the black glue I’ve already mixed. I put a bit of this glue on the yardarm and an extremely thin line of superglue on the sail, then hold them together until they’re stuck.
Then I glue the mizzenmast into the hull (making sure it’s perpendicular to the center line of the hull). When it’s good and stuck, I glue the two spars to the mast making sure the spanker sail fits nicely between the top spar (gaff) and bottom spar (boom). Once they’re dry, glue the spanker sail into place. It’s best to glue the ratlines into place at this time, before adding the steel or brass rigging lines. A good set of tweezers is very useful at this point. It makes it easier to place ratlines and rigging lines. I’ve included photos to make placement obvious.
-8")
-9")
-10")
Now the real fun begins. I measure (read: eyeball) the lengths of the rigging lines and cut them. There’s one line from the gaff to the hull and four to the mast: one to the end of each yard arm and one to the masthead. Glue them in place.
Next it’s time to glue the mainmast in place. The sails should already be glued onto the masts and then the mainmast is glued into the hull. The next lines are a bit more difficult to eyeball and it just takes practice. Those are the three from lower down on the main mast to higher up on the mizzenmast, to the platforms on that mast. Remember, lines that were cut too big can be trimmed but I’ve not yet figured out how to regrow lines that were cut too short. Those I just put aside for use later when I need a shorter piece. Once those lines are glued in place, glue the ratlines in place. I’ve found it easier to work from the center of the hull outward.
The next rigging is from lower points on the center of the mizzenmast to the yardarms of the mainmast and one from the hull just behind the rat lines to the masthead of the mainmast.


Once the mainmast is rigged, we do it all over again with the foremast. Glue the foremast into the hull, cut and glue in place the lines between the main and fore masts, glue on the ratlines, then add on the rigging between the mainmast and the yardarms and masthead of the foremast.
Now glue the bowsprit into place. Make sure it’s straight and centered. Then make sure the glue is dry before you continue. The bowsprit must be stable before you start rigging it.
Now I cut and glue the rigging on the front of the ship into place. Don’t forget the line to the dolphin striker. Then glue the lines from the bowsprit to the foremast.


Now it’s time to glue the jibs into place and this takes a bit of effort. The sails need to be curled a bit. I curl them around a sculpting tool I liberated from my kitchen because I’ve found the exacto handle to be a bit too big.
Look at where the sails will be glued to the lines running between the foremast and the bowsprit and curl accordingly, making sure they pick up the wind in the same direction as the spanker. The longest side of these sails gets glued to these rigging lines. Then a support line is glued from the part of the sail sticking out to the hull. You have two or three of these sails to place so plan ahead so that they don’t interfere with each other.


And there you are! You can put the flags on now. I like to let the entire ship dry/cure for a bit, maybe an hour, then I spray the completed ship with a sealing spray. When that’s dry, the ship is ready for basing and gaming.
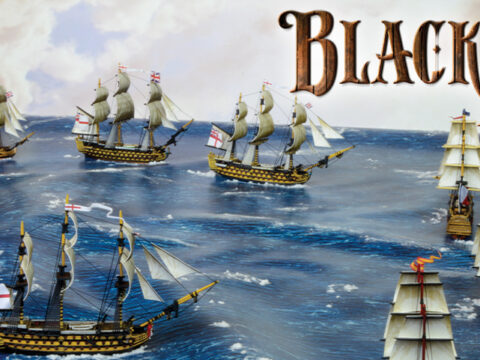
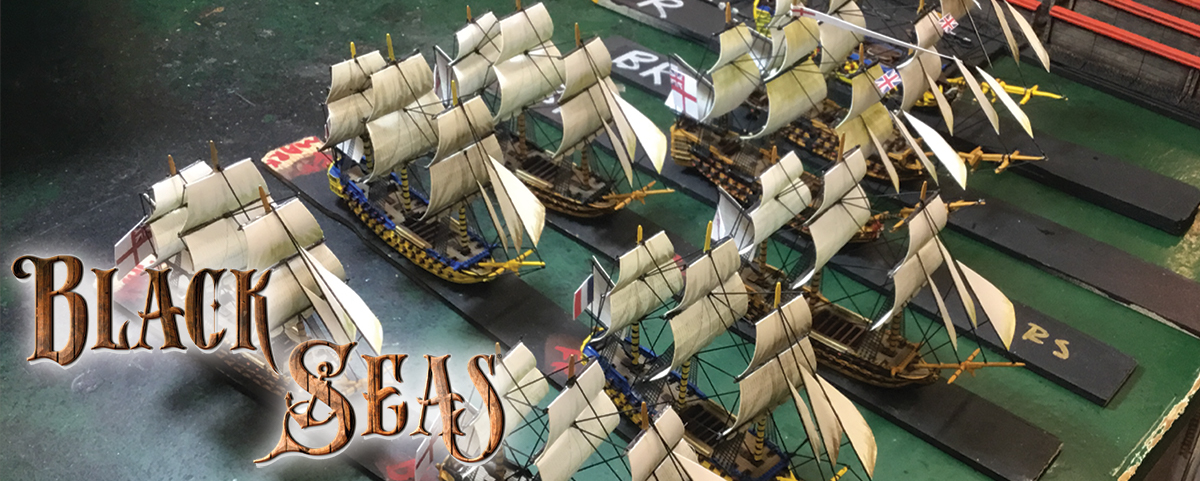
Begin your Black Seas Voyages
Alongside a softback copy of the Black Seas core rules, you’ll get nine beautifully detailed plastic miniatures; three frigates and six brigs. You’ll also get sails, rigging and flag sheets for all your ships and all the ship cards, wake markers and tokens that you’ll need to play.
We’ve also included an A0 battle mat, dice and rulers!
The Starter Set comes with an exclusive 28mm miniature – the Sea Wolf! Brandishing a pistol, with a dirk strapped to his arm, this ferocious fighter is the perfect starting point for a Black Powder landing party!