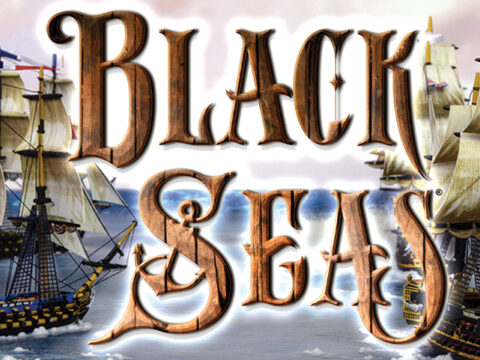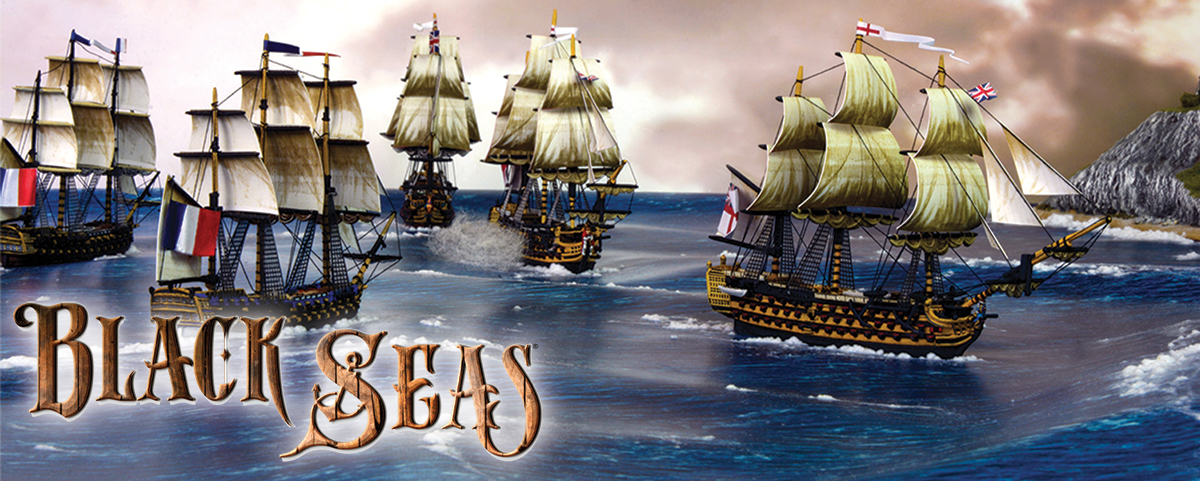
The 21st October marks the anniversary of the greatest naval battle in military history. We take a look at the celebrated battle, and look at replicating the game using the Black Seas rules system!
After pursuing the Admiral in charge of the Franco–Spanish Fleet, Pierre-Charles Villeneuve, to the Caribbean and back, Admirals Lord Nelson and Collingwood engaged the enemy. On the 21st of October 1805, just off the southwest coast of Spain, west of Cape Trafalgar, near the town of Los Caños de Meca, the two mighty fleets finally engaged.
What followed was arguably the most famous naval battle in military history.
England Expects That Every Man Will Do His Duty – Admiral Nelson
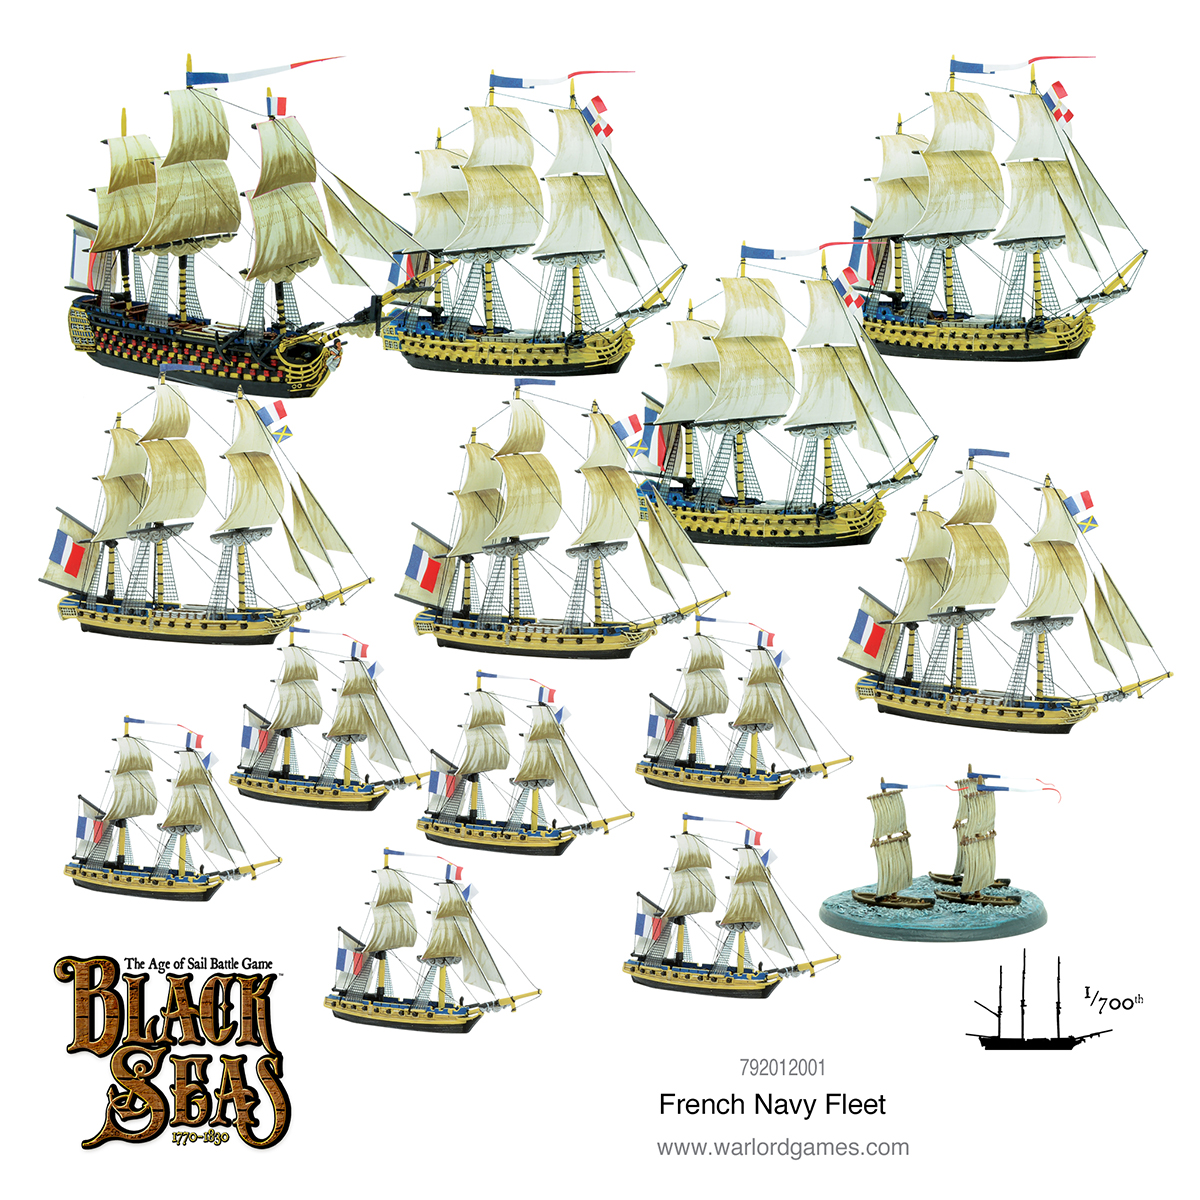
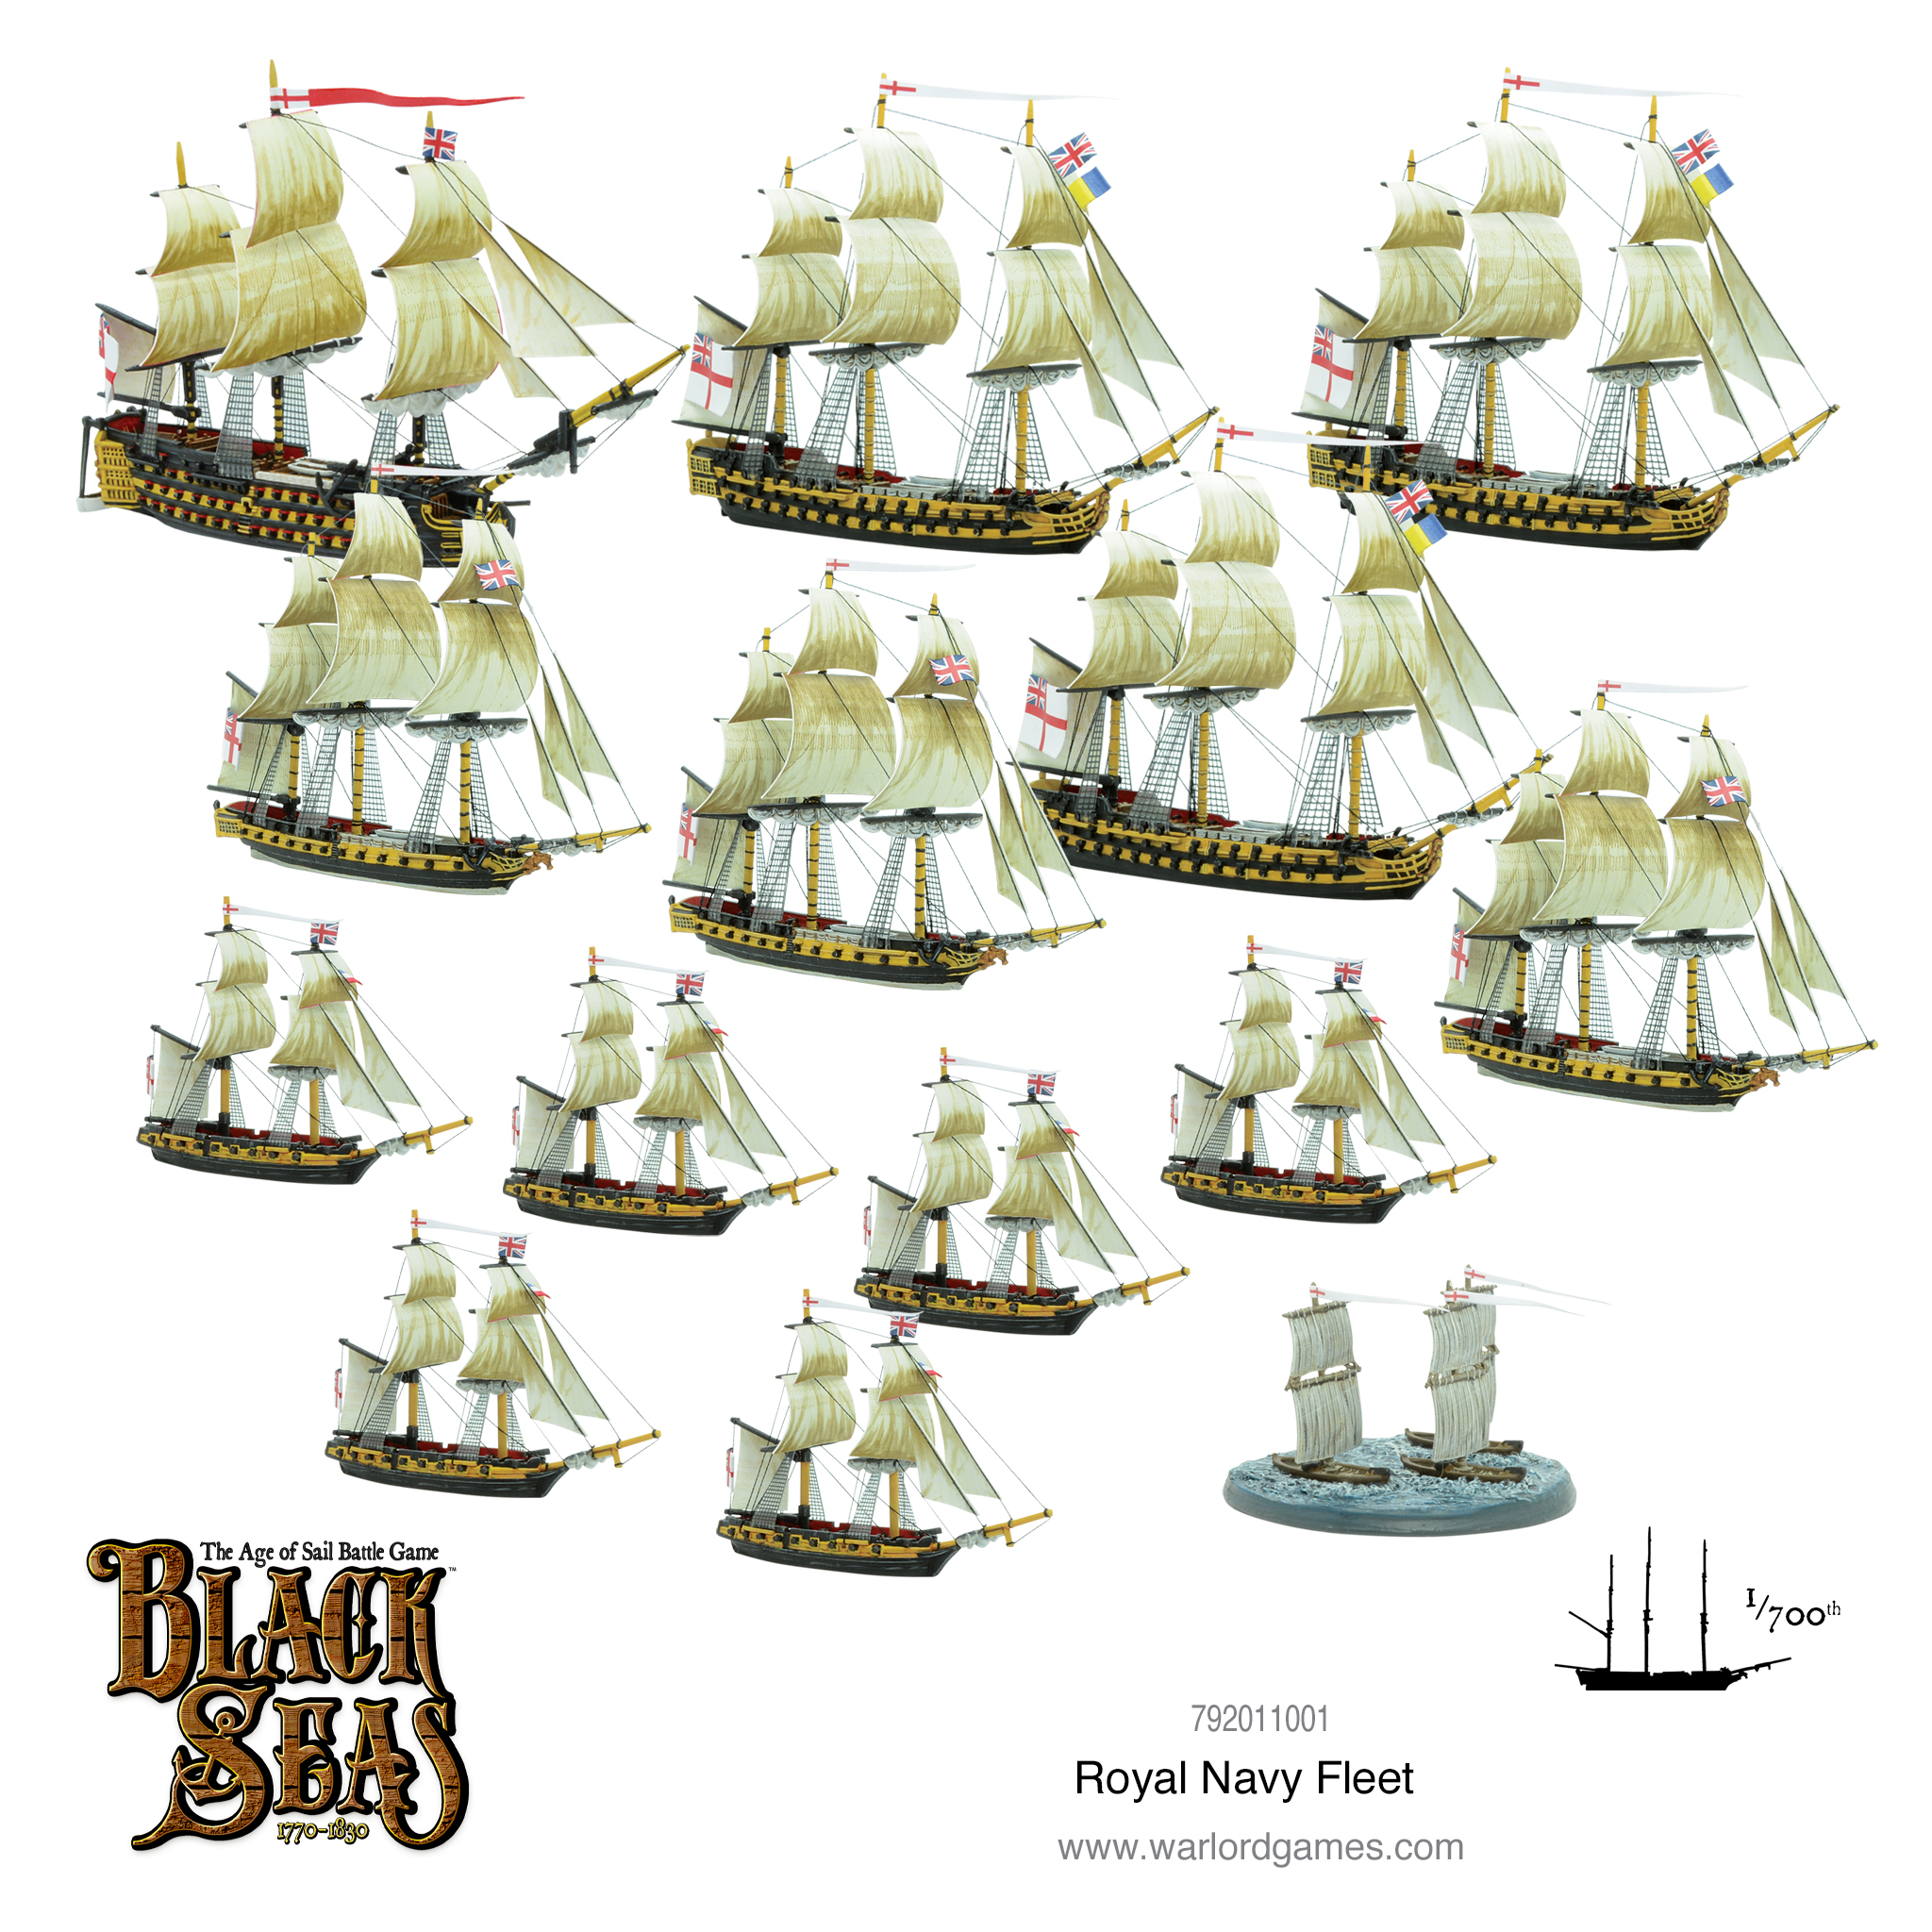
| British Fleet | Franco-Spanish Fleet |
Vice-Admiral Horatio Nelson
|
Admiral Pierre-Charles Villeneuve/Admiral Francisco Gravina
|
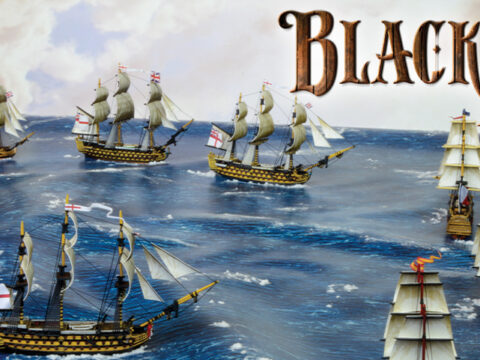
Nelson’s tactics were brutally simple – charge straight at ’em. Conventional wisdom held that the most efficient way to engage the enemy fleet was in a column, exchanging broadsides until one side retired. Forever unconventional, Nelson decided to take advantage of his crew’s exceptional gunnery skills and maximise his firepower by forcing a hole in the enemy line of battle and blasting them to pieces with a storm of shot.
The only drawback – weathering the fire of the whole enemy fleet, directed at his ship’s vulnerable sterns. Weather conditions left both fleets practically becalmed, and some British ships were under fire for over an hour before they could bring their own guns to bear.
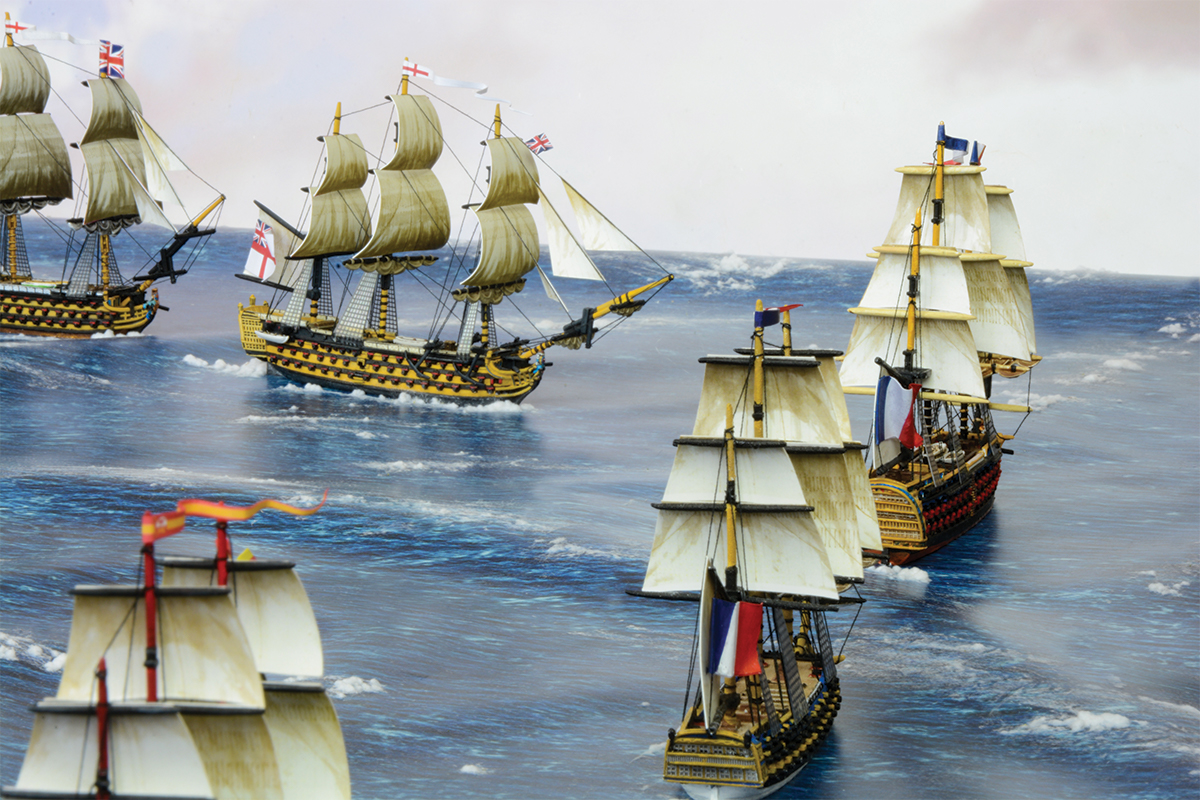
Despite taking a ferocious battering from the French and Spanish ships, the two columns of British ships thrust their way into the enemy line of battle, their own double-shotted broadsides wreaking absolute havoc. Nelson’s flagship, HMS Victory was at the very heart of the battle, locked rail-to-rail with Redoutable.
In the ensuing boarding action, Admiral Nelson was felled by a mizzen top sniper. Despite the loss of their commander, the British columns piled into the Franco–Spanish line, overwhelming those ships still fighting the centre and driving off both van and rearguards.
The Leeward Line
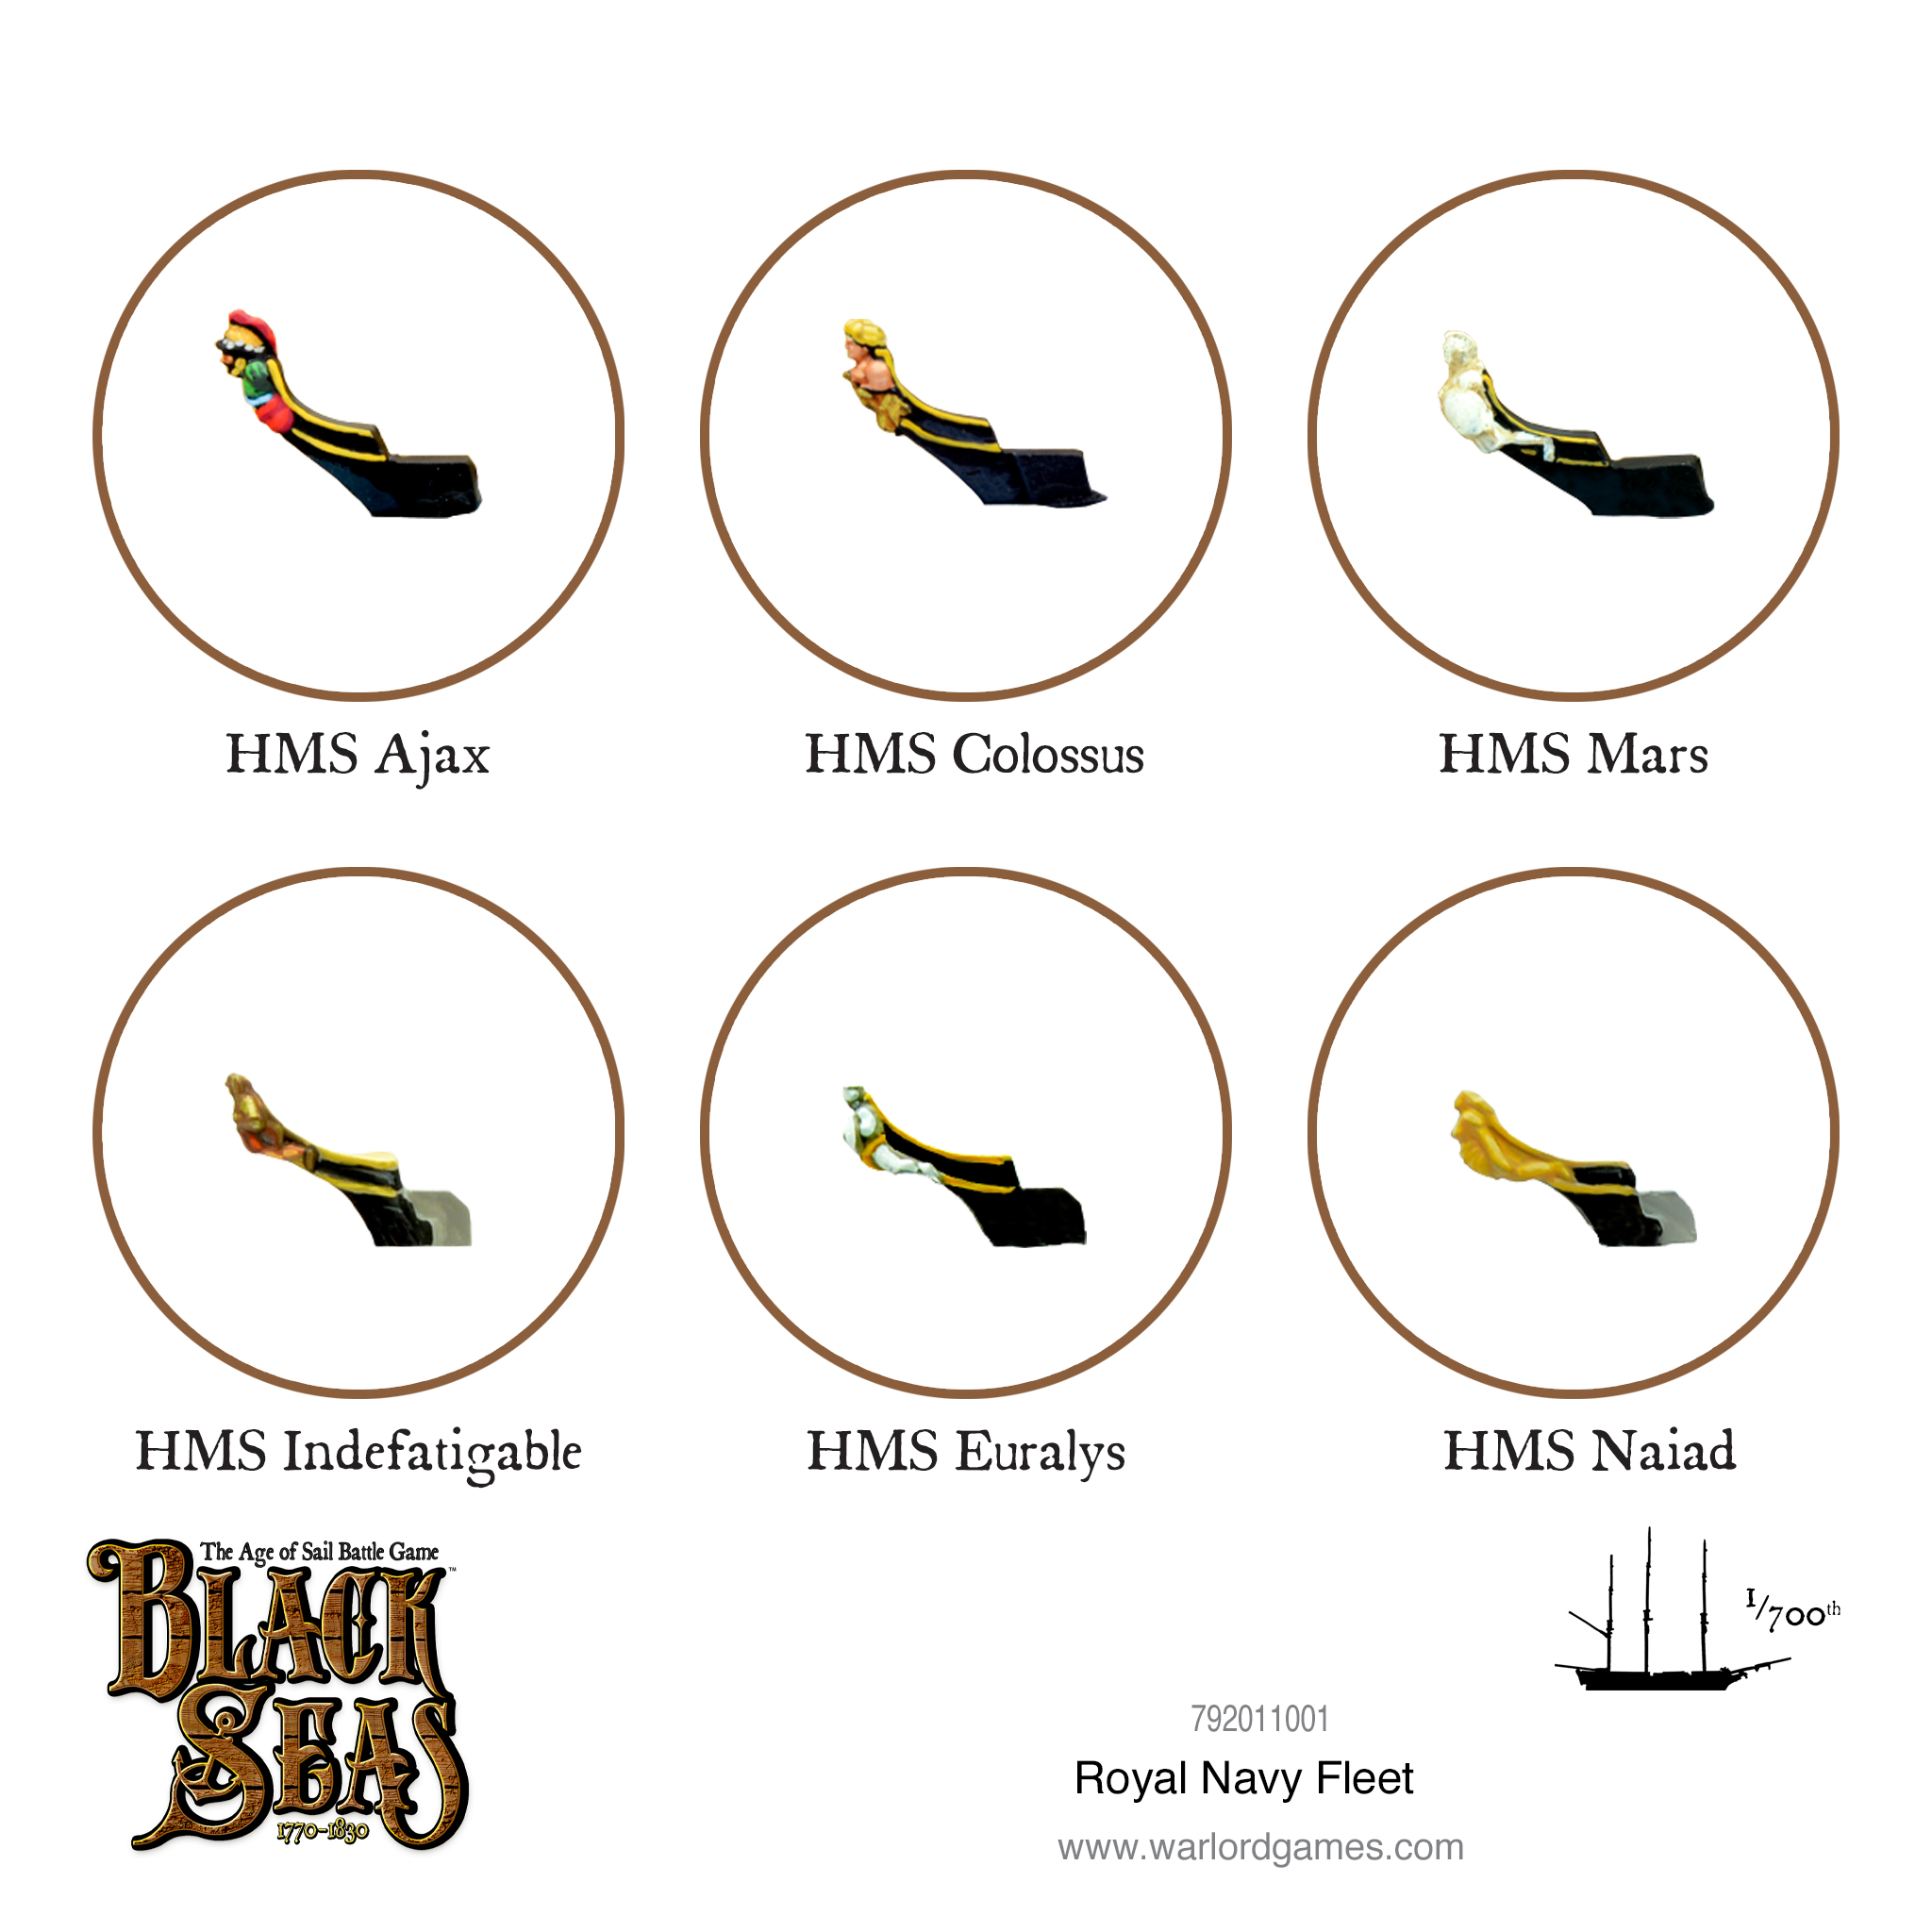
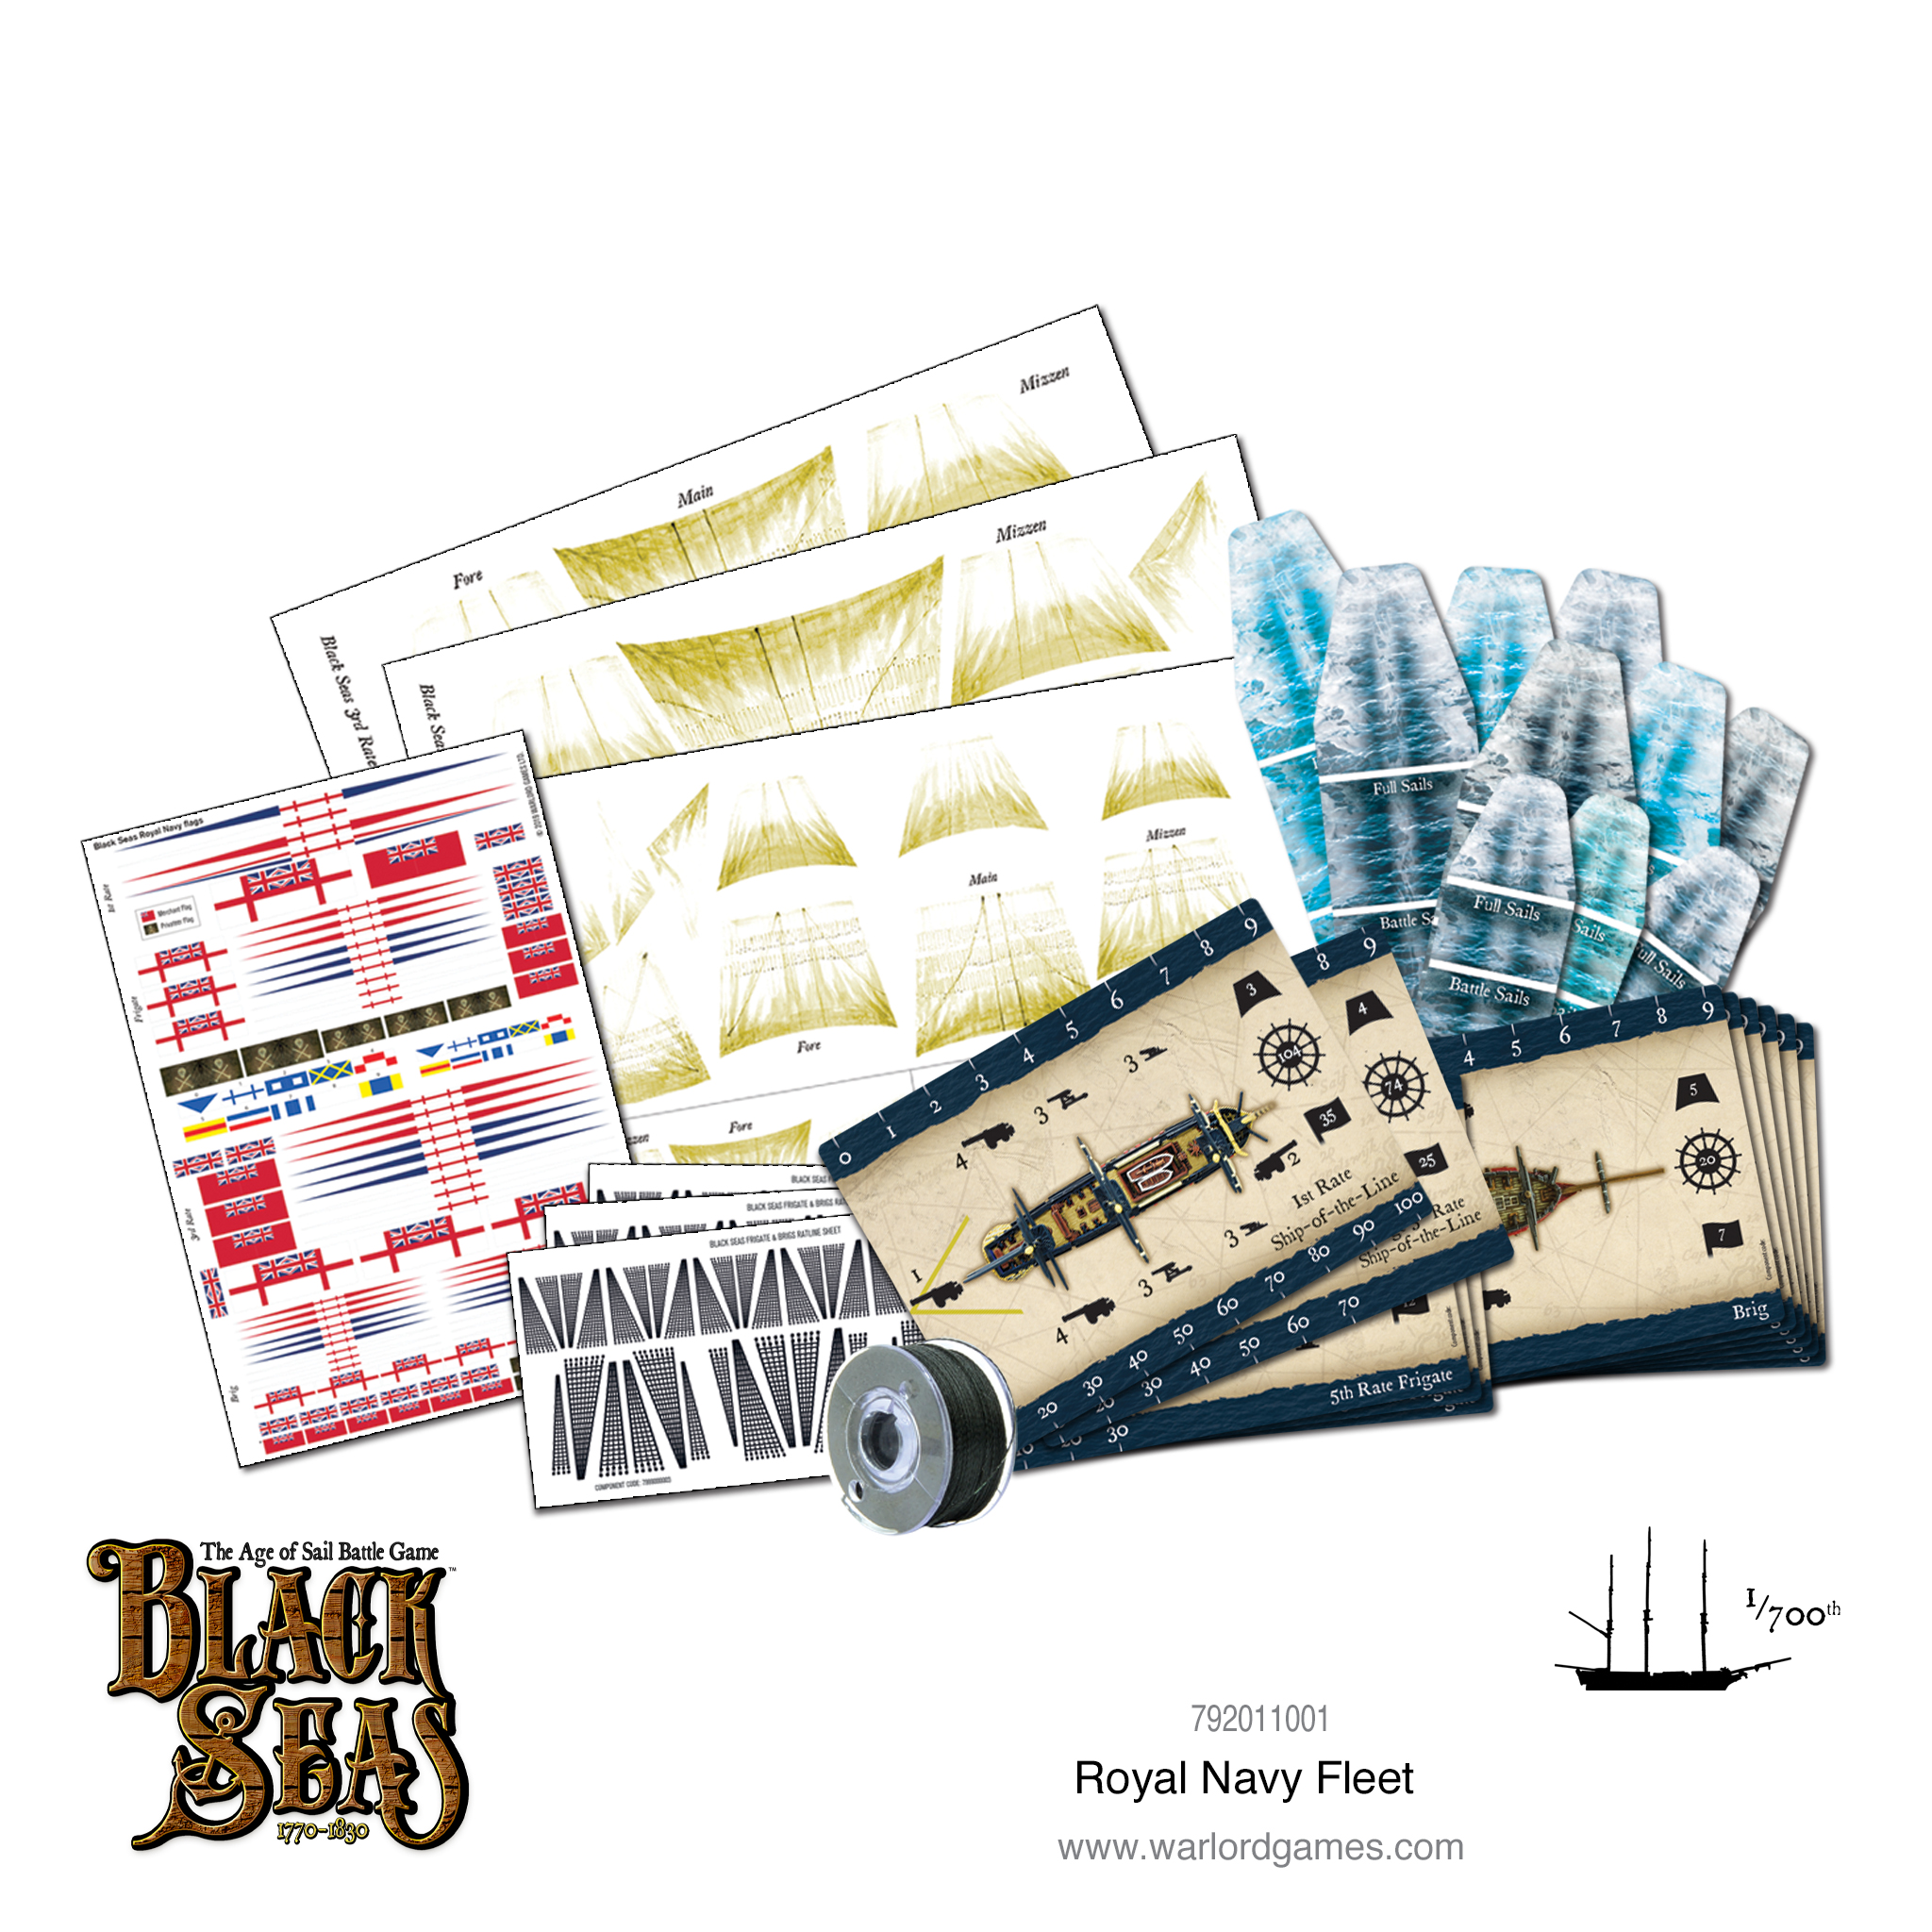
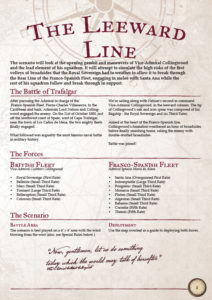 Black Seas comes complete with a scenario covering the whole battle from start to finish. In addition to this, we’ve chosen to zoom in on the head of Collingwood’s leeward line, focussing on his close-range confrontation with the Spanish first-rate Santa Ana! Written by Warlorder A. Langton, this fantastic scenario will allow you to get to grips with Black Seas and experience the chaos of Trafalgar, all at once!
This scenario is free to download: Trafalgar Leeward Line!
The British victory at Trafalgar broke the back of French naval power for the best part of a decade. Napoleon’s grand amphibious invasion of England was forstalled, and his continental empire would be defeated on land before the French navy recovered its strength.
Sail into Action!