TALLY-HO! Guns blazing the LRDG speed into action in this special scenario from Bolt Action rules writer Alessio Cavatore, representing a fast, mobile and well-armed force that manages to catch up with a retreating enemy force, which is larger in numbers, but low on supply.

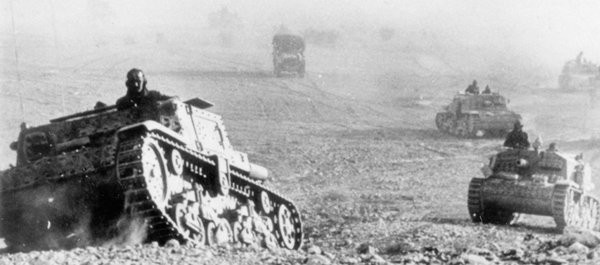
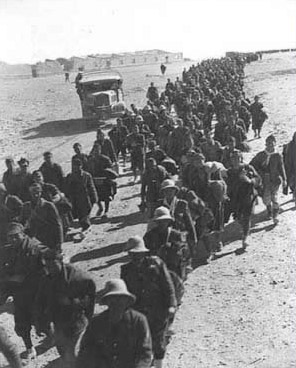
November 1942, after the decisive battle of El Alamein, the retreating Axis forces were pursued by the winning British. Montgomery’s cautious and methodical approach meant that most of the retreating enemies made it back to their bases in Lybia, but they left behind most of their heavy equipment. Some units, particularly Italian ones, had to retreat for days on foot across barren desert terrain. These columns, though consisting of a large number of troops, were very low on ammunition, fuel, water, food and of course morale. They were very vulnerable to air attacks and at continuous risk of being caught and surrounded by fast enemy advance guards and heavy recon patrols.
Terrain
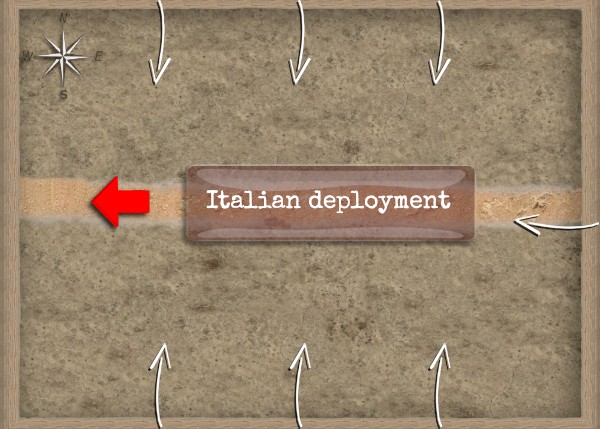
This scenario is played along the length of a six by four feet gaming surface.
A 6”-wide road stretches from the ‘east’ short table edge to the ‘west’ short table edge, roughly bisecting the table into two equal halves.
The rest of the table should be covered by a low density of broken terrain, representing the desert and rough going surrounding the road.
Opposing Forces
This scenario is played between a British attacking force and an Italian defending force. The attacking force should consist of half the points of the defending force (for example 500pts of attackers and 1000pts of defenders).
The British platoons should be taken from the 1940 – 1943 – Behind Enemy Lines selector in the Armies of Great Britain book. In addition to the choices in the selector, the force may also include one armoured car from the – 1942 Operation Lightfoot selector per platoon.
The Italian platoons should be taken from the 1940 – 1943 – The War in Africa selector in the Armies of Italy and the Axis book. They may not include vehicles, nor any artillery units, so only HQ and infantry units.
You may of course play this scenario with forces of different nations to represent an ambush on an enemy retreating column anywhere else in WWII. In this case agree or roll a die to randomly determine which force is the attacker (taking the place of the British) and which is the defender (taking the place of the Italians).
Set-up
The Italian player must deploy his force on the road itself, more than 24” from the West table edge and more than 12” from the East table edge, no units can be left in reserve.
No British units are set up on the table at the start of the game. The British player declares which units he is leaving in reserve, then any units not left in reserve form the player’s first wave.
First Turn
Let the battle begin! During turn 1 the British player must bring his first wave onto the table. These units can enter the table from any point on the long table edges or the Eastern short table edge, and must be given either a run or advance order. Note that no Order test is required to move units onto the table as part of the first wave.
Objective
The Italian player must try to move as many of his units off the West table edge. The British player must try to stop him, and inflict maximum damage. Note that in this scenario, Italian units are allowed to deliberately move off the table from the West table edge.
Game Duration
Keep a count of how many turns have elapsed as the game is played. At the end of turn 7, roll a die. On a result of 1, 2 or 3 the game ends, on a roll of 4, 5 or 6 play one further turn. At the end of the further turn, roll again, and keep rolling every turn until the game ends!
Victory!
At the end of the game calculate which side has won by adding up victory points as follows. If one side scores at least 2 more victory points that the other then that side has won a clear victory. Otherwise the result is deemed too close to call and honours are shared – a draw!
The Italian player scores 1 victory point for every enemy unit destroyed. He also scores 2 victory points for each of his own unit that has moved off the West table edge before the end of the game.
The British player scores 2 victory points for every enemy unit destroyed. If the unit is destroyed by number of pin markers exceeding the unit’s Morale value, the unit surrenders and in that case the British player scores and additional 2 victory points for that unit (a total of 4!). This is because the British are trying to convince the Italians to surrender rather than wipe them out.
SPECIAL RULES
RAF and Royal Navy support
Instead of the usual free artillery observer, the British force gets a free air observer. Any artillery observers purchased normally represent Navy liaison officer calling in naval bombardments from ships off the coast to the North.
Low morale
After set-up, but before the start of turn 1, place one pin marker on every Italian unit.
In addition, the Italian column is then struck by a preliminary bombardment (and remember the British ‘bombardment’ rule!), which represents the battered conditions of the retreating units.
Finally, in this scenario, Italian units cannot use their Defensive Strategy special rule and can never be ordered to Rally.
Out of ammo
Every time an Italian unit opens fire, before rolling to hit, roll a dice for each model firing, on a 4+ that model can proceed to fire, on a 3 or less, that model cannot fire this turn as he scrambles around his pack looking for ammo.
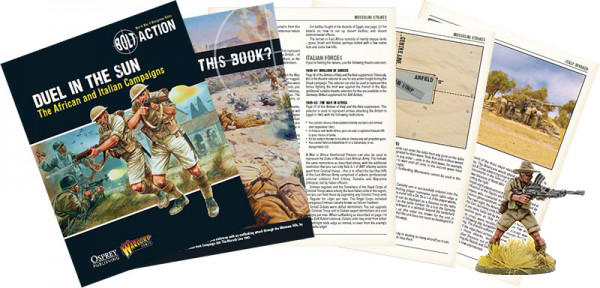
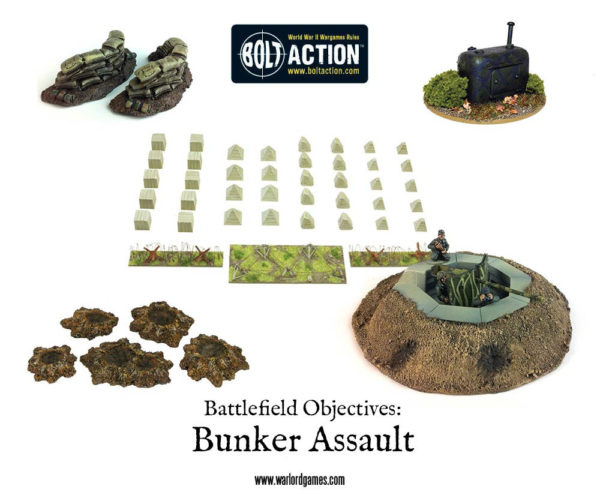
For more set piece scenarios take a look at Duel In The Sun, make your own scenarios using some of our great battlefield objective sets, or use the great range of resin tanks as objective markers: