Warlord Games studio painter Andrés Amián presents his expert guide to painting US Marine Corps camo:

I tend to think that for wargames figures it is better to paint a camouflage approximation rather than an exact copy of the pattern. Why? Well, I believe that it would require a lot of time and effort to paint the whole scheme as it was in real life, and you can get the same effect on the tabletop by cutting corners, for example making the patches and dots bigger than they should be or adding a bit more contrast between the different colours.
With that in mind I’ll explain my technique for the two different camo patterns used by the US in the Pacific theatre. This camo pattern was also used by US soldiers fighting in North West Europe, although it was withdrawn from service after several instances of friendly fire due to GIs being mistaken for Waffen-SS!
In both of the tutorials I added the camo after the rest of the miniature was finished because I can see better where to put the patches. You can do it before if you are worried about spoiling other painted parts.
I have used Army Painter Warpaints (AP), Vallejo Model Color (VMC), Vallejo Game Color (VGC) and Vallejo Panzer Aces (VPA) paints.
Painting the green pattern
I’ll explain this first because I only used the basic colour without highlighting it. I started with AP Army Green as base colour followed by AP Green tone ink (you could skip the inking if you wanted to paint it faster; I use it because it adds a bit more depth to the cover material and creases). Then I highlighted again with AP Army Green leaving inked parts visible were the creases should be.
Next came another highlight with AP Necrotic Flesh (fig.2). If you want to do this easier just go for the base colour using AP Necrotic Flesh and then paint the patches as follows.

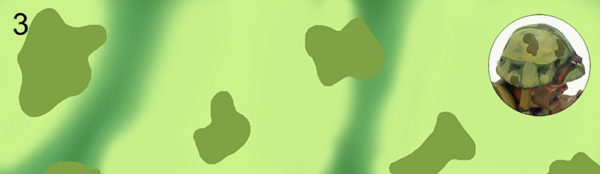
All the patches and dots were painted in the same way – I just added irregular shapes of several sizes, painting them in order by colour. Each batch of patches overlaps the patches in the previous colour, covering them partially, as you will see in the pictures. The first colour used for the patches was VMC 924 WW2 Russian Uniform (fig.3).
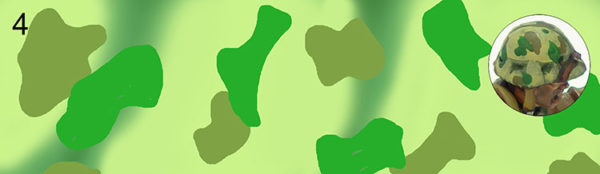
The next group of patches was painted using AP Greenskin (fig.4), then followed by another group in AP Leather Brown (fig.5).

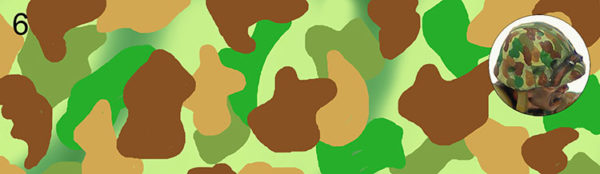
The last group of patches was painted with VMC 984 Flat Brown (fig.6).
Some people may think the colours are a bit brighter than the ones you would see on the battlefield or in any films on the subject, but it will help to give a good view of your troops when they are fighting on the table. In case you want to mute the colours down you can give them a wash with AP Strongtone Ink or any similar colour you have, but I have left mine as they are.
Painting the brown pattern
For this pattern I have followed the same principle I used with the green one, but I have added a highlight in each group of patches, that is, I have used a base colour and a highlight in every stage.
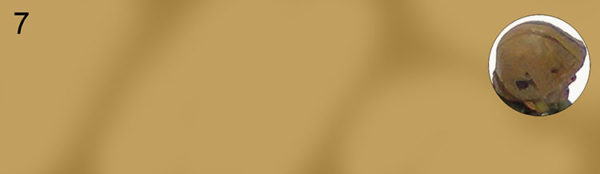
As I did with the green one, I started with the base colour for the whole camo, in this case AP Monster Brown, followed by a wash with AP Strongtone Ink, then highlighted with AP Monster Brown again (fig.7).
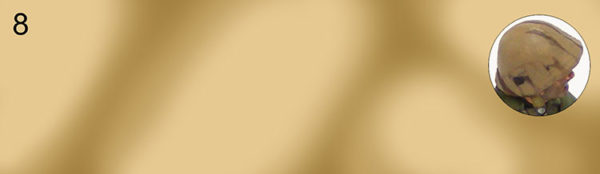
Then I added a final highlight using a mix of 60% AP Monster Brown / 40% AP Skeleton Bone (fig.8).
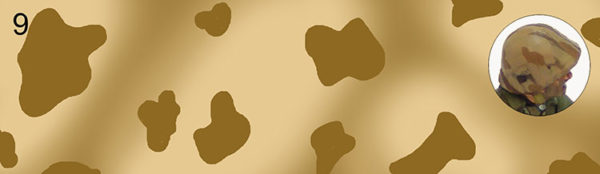
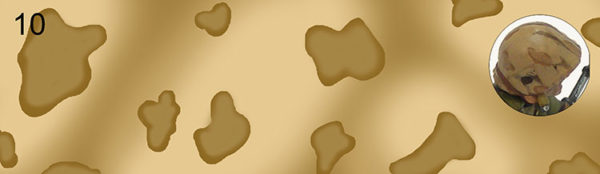
I started painting the first group of patches with AP Leather Brown (fig.9) and then I highlighted them with AP Monster Brown (fig.10).
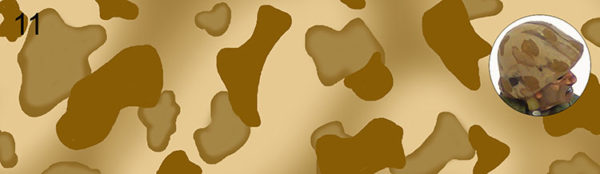
For the next group of patches I used VMC 983 Flat Earth as base colour (fig.11) and then I added the highlight with VPA 311 New Wood (fig.12).

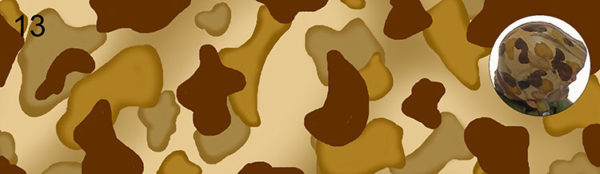
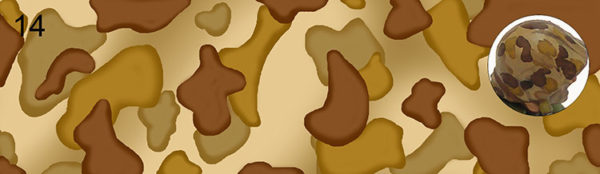
For the last group I used VGC 45 Charred Brown as base (fig.13) and then I highlighted with VMC 984 Flat Brown (fig.14).
As I said before, if you like a more settled tone camouflage you can add a last wash with AP Strongtone Ink or any other Sepia ink you have at hand. By eliminating the base colour in each group and only using the highlight colours you can save time and speed up the whole process in the same way as we did with the green camo pattern.
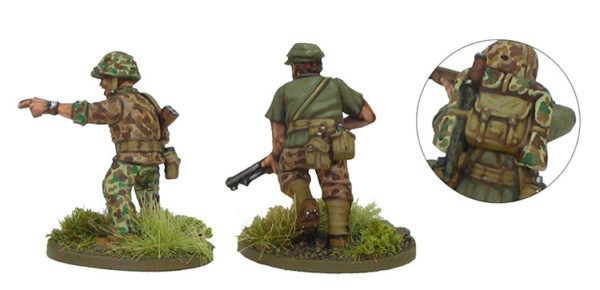
You can use the camouflage on jackets, trousers and ponchos to add a bit more variety to the unit as you can see in the last picture. The clothes were reversible, so when you have rolled up sleeves you can paint the reverse colour on the uniform too.
I hope this all helps and if you try this tutorial, please don’t hesitate to share your paint jobs and even new recipes on Warlord Games’ Forum. and if you haven’t already go check out our great painting guides for the US and other armies: