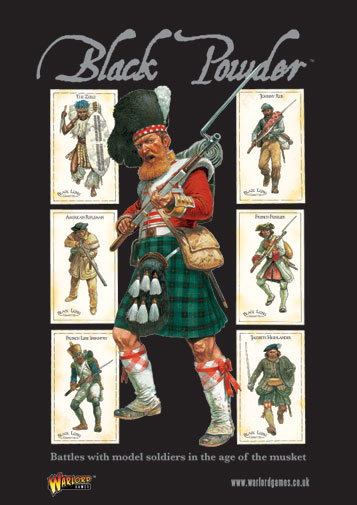
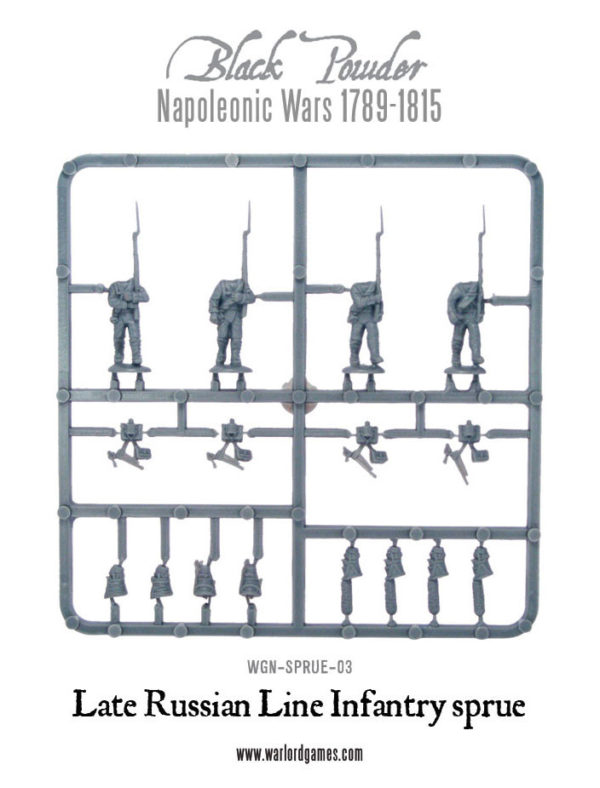
Ever thought of starting a Black Powder Napoleonic Russian army, or indeed any other? Peruse this fantastic guide by Laurens Vannijvel of Abrushwithbattles fame, as he takes you through the steps to completing a battalion in a weekend:

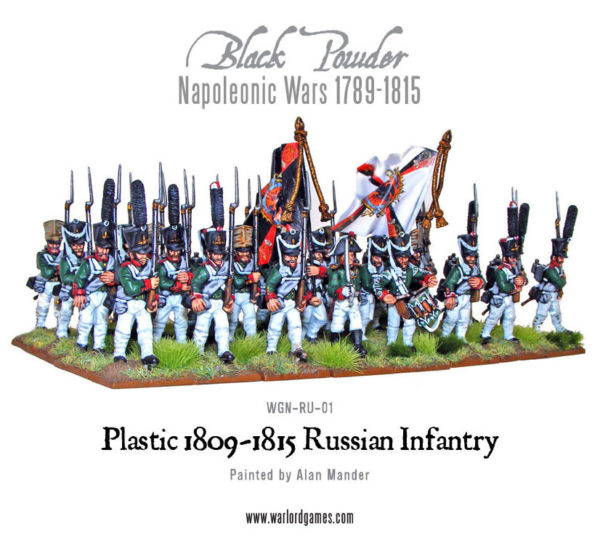
Laurens: Above and before all else (and before all those lovely Cossacks, Licornes and Jaegers) a budding Russian Napoleonic player will be needing infantry. A little over two hundred years ago the Russians fielded block upon block of staunch infantry in generally big battalions. Even though these soldiers were serfs who had worked the land of their overlord before being pressed into the ranks, they acquitted themselves well in the many campaigns of the era. After one battle, a French spectator remarked how accurately he could see which positions the Russians had held the day before – owing to the fact that their dead had fallen in a neat line!
Time, then, to tell you how I go about painting Russians. I have tried to go for a ‘late war’ batch of models (suitable for 1812-1814) but if you have a different idea of how that is supposed to look, feel free to alter the scheme in any way you see fit. The same holds true for earlier uniform styles, if Austerlitz or Friedland tickle your fancy. The painting process outlined below should work for most, as the Russian Line uniforms did not change too much over the period.

Assembly & Preparation
Simple enough – glue the backpack onto the back of the model, and glue the head onto the neck. These models are in businesslike marching poses so I always like to turn some of the heads sideways a bit, I feel this breathes a bit more character into them. You’ll probably want to base your models four or six per base using Infantry Bases, so it’s best to stick them to temporary bases at first – use bits of cardboard, cork, bottlecaps, old paint pots,… I’ve used old square bases for these (The models my bases came with are now supposed to be mounted on round bases, or so I’ve heard, but no one plays that game anymore. Play Black Powder, good sir, and rejoice in the manly sport of historical wargaming!).
When assembled, undercoat your models. It helps immensely if you have a green undercoat spray at hand – I have used Army Painter Greenskin. As well as being a massive time saver, I’ve found that most of the colours cover well over it – it’s not too light to cause coverage problems for dark colours, and not too dark for the lighter ones. Huzzah! With that done, let’s grab a brush and start painting.
Step one – basecoats
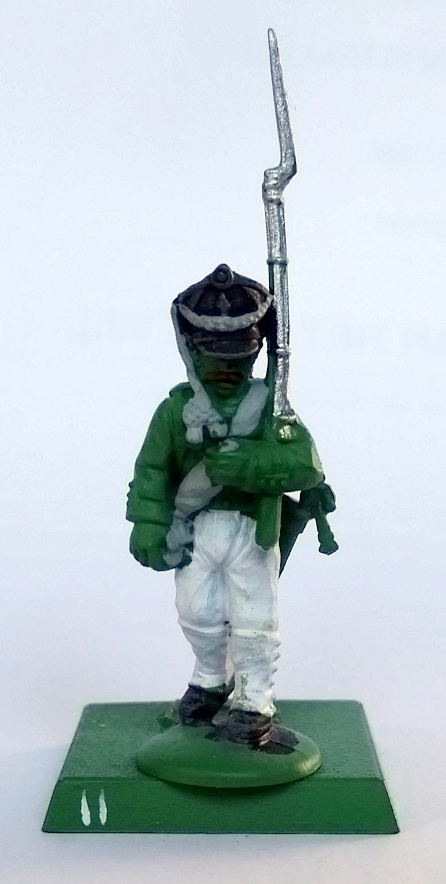
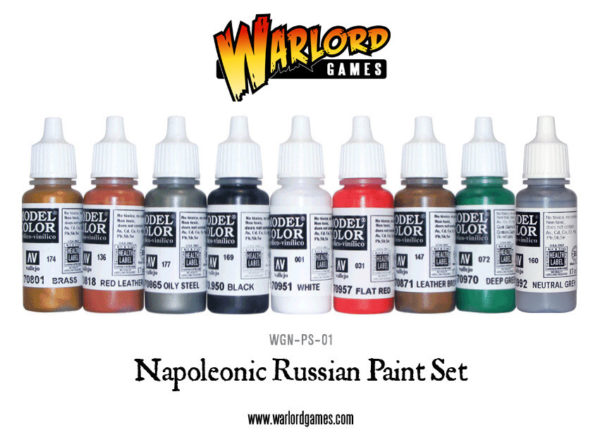
First we’ll block in all of the colours. These are:
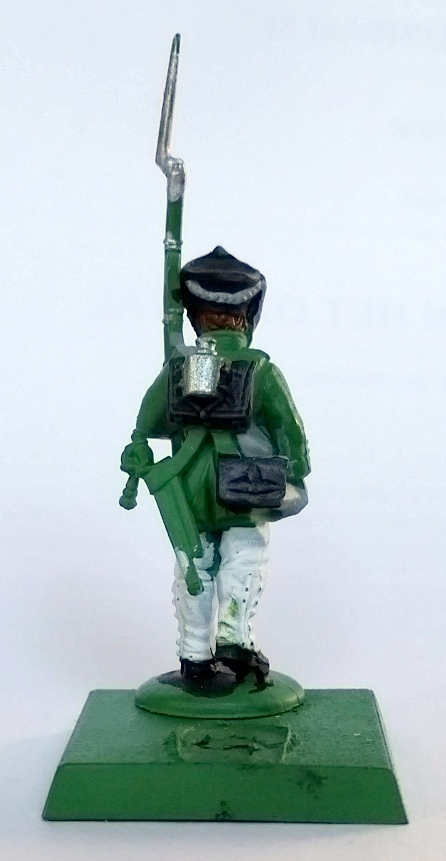
- the trousers (white)
- shako, shoes, backpack and ammunition pouch (black)
- musket barrel and canteen (silver)
- the rolled-up greatcoat (any medium grey)
- shako cords (light grey)
If you’re going for brown-haired soldiers, you can also already paint their hair in any medium brown or dark you have to hand. Use a fairly large brush (size 3-4) for this, but make sure it’s got a good point. Tidy up any mistakes, and get a good coverage by applying two thin coats rather than one thick coat.
Step two – grey highlight
We need to take one more step before we start shading, apply a highlight to the black. Obviously a black basecoat can’t be shaded by a black wash (though you’re welcome to try!) so apply a light drybrush of medium grey to the black. Don’t worry if you’re a little sloppy, as the next step will cover your mistakes.
Step three – black wash
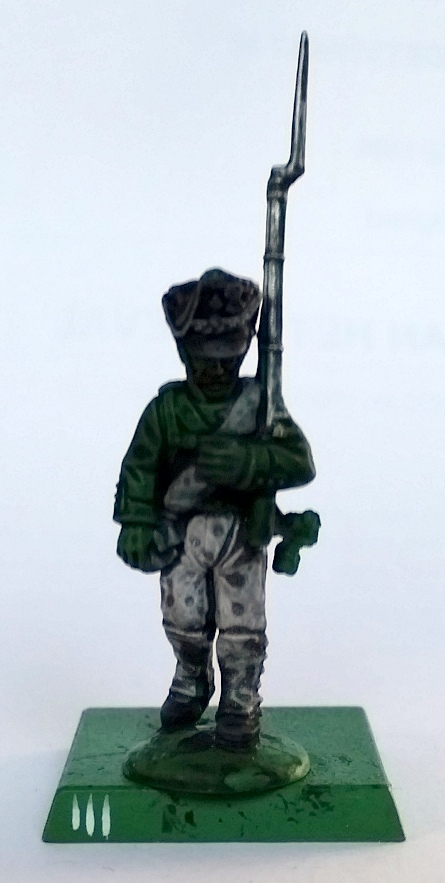
If you’ve read my Prussian or French painting tutorials, this will be familiar to you. Apply a black wash (such as AP dark tone or Vallejo black wash) to the entire model. This will darken everything immensely, including the green which was previously a bit too light for Russian uniforms. Leave this step to dry thoroughly – typically about half an hour, although if you live in the Burmese jungle you might have to adjust accordingly.
Step four – skin basecoat
So far our Russian looks positively lifeless, so let’s do something about that. Paint the face and hands a dark skin tone, making sure to avoid hitting the moustache or any of the areas you just basecoated. Apply two thin coats if the first one doesn’t cover well.
Step five – skin shading
To get the facial detail to stand out, shade the skin with a flesh shade, such as AP soft tone ink. Don’t go overboard with this – if you see the wash pooling up in the crack between the face and the shako visor, use an ‘unloaded’ clean brush to suck up the excess.
Step six – skin highlights
We’ll kick up the difficulty a notch – using a light skin tone, paint on some layer highlights. For the hands, just paint each of the fingers leaving the space between them dark, then paint the backs of the hands leaving a dark rim at the cuff. Thankfully the faces are largely obscured by some lovely moustachios, so you generally only need to paint the nose, cheeks, chin and lower lip. It won’t win any beauty contests up close, but we’re going for tabletop rank and file quality anyway!
Step seven – the other colours
We’re well underway, but we still need to tackle a lot of the detail. Paint the collar, cuffs, shoulder straps, coat turnbacks and the ribbon on the shortsword a nice dark red. Paint the scabbard a light brown, and paint the gold detailing on the musket, shako, ammunition pouch, scabbard, as well as all buttons gold. Lastly, paint the musket stock in any medium brown you like.
Step eight – a final shade

Shade all the areas you just basecoated with a dark brown wash (I used VGC umber shade wash with a little black added to it or you could use AP Strong tone). We’re well under way now to finishing the model!
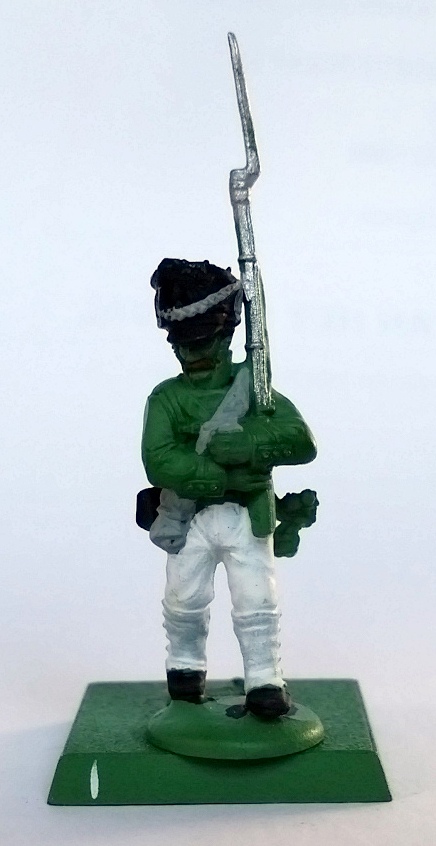
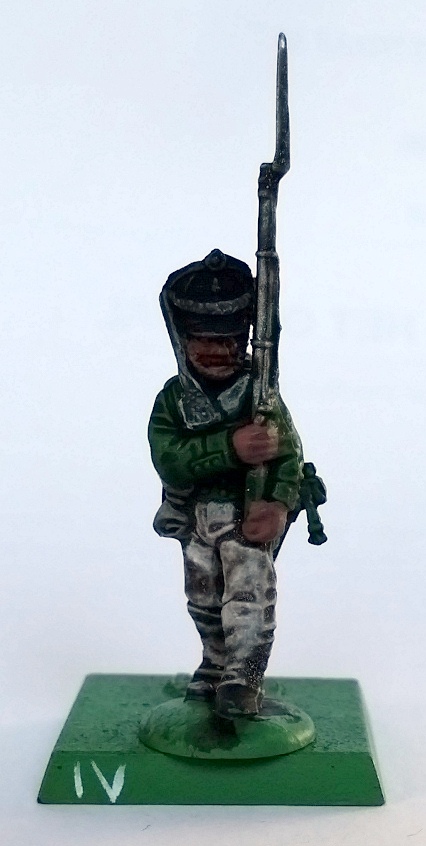
Step nine – the big one
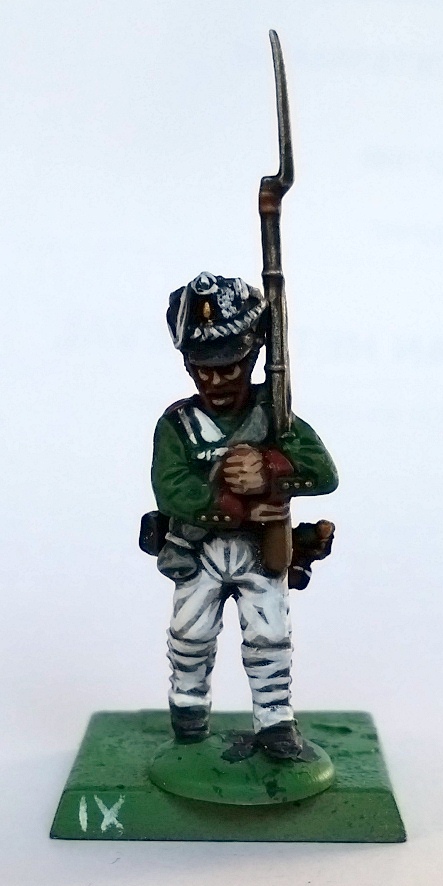
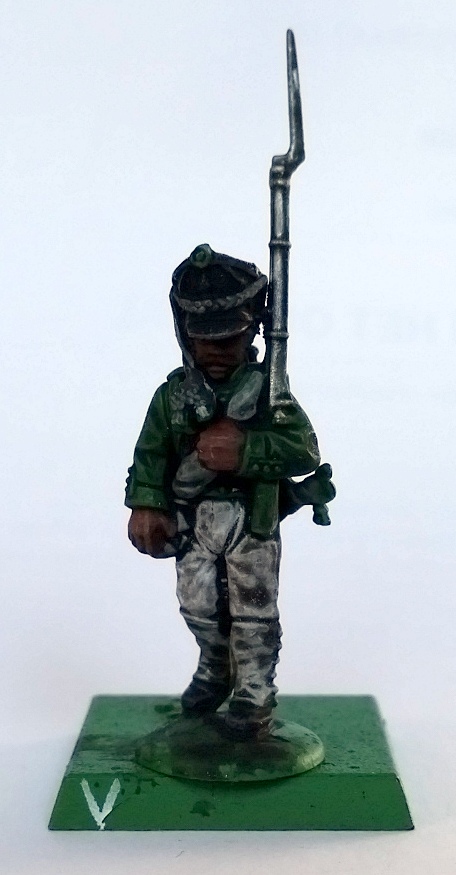
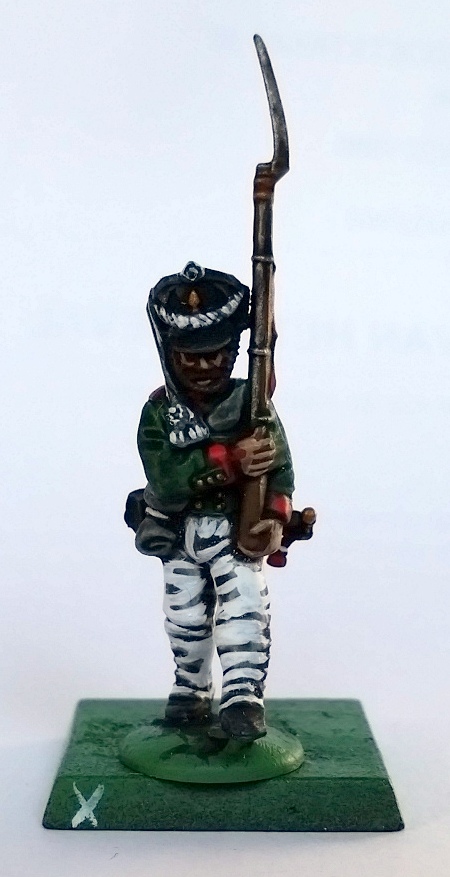
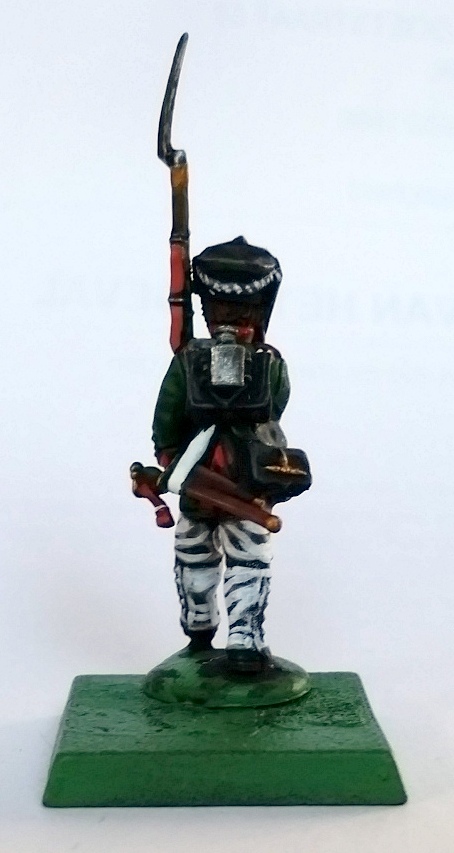
Unfortunately this step is hard work, so you’ll just have to grit your teeth. Using white, highlight the trousers and shako decorations, and paint all the straps. Try to be as accurate as you can with this step, as it is what will stand out most on your models. As you can see, I myself was not always equally successful with this, and these enlarged pictures certainly bring all mistakes to the foreground, but persevere as they will look convincing as a group on the tabletop and all will be well.
You can also paint the musket strap at this point, I used a rusty colour for this but the choice is, again, up to you.
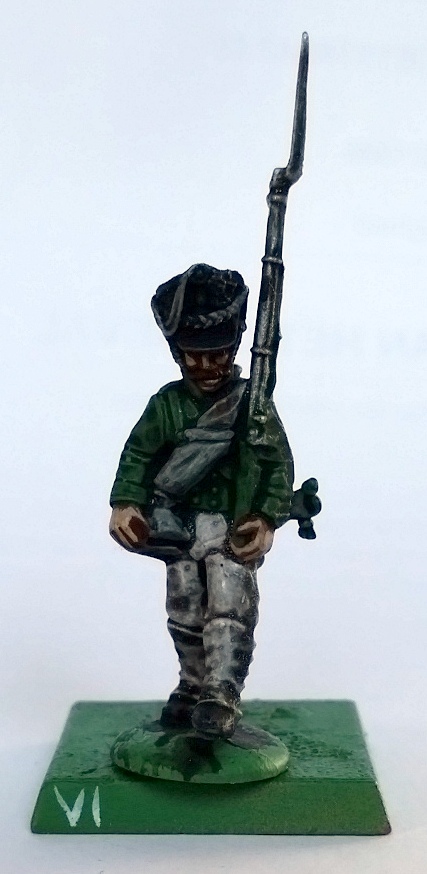
Step ten – a spot of highlighting
This last step is completely optional. I’ve used a medium red to highlight the prominent red bits on the model, to really make them ‘pop out’ among the green. If you want, you can take the paint job even further and highlight the green as well – but keep in mind you have a hundred or more further sons of the Motherland waiting for their turn! Best not to go overboard…
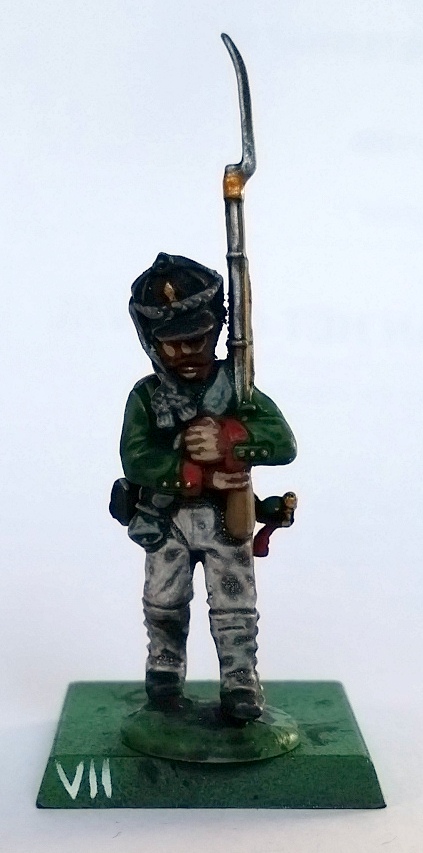
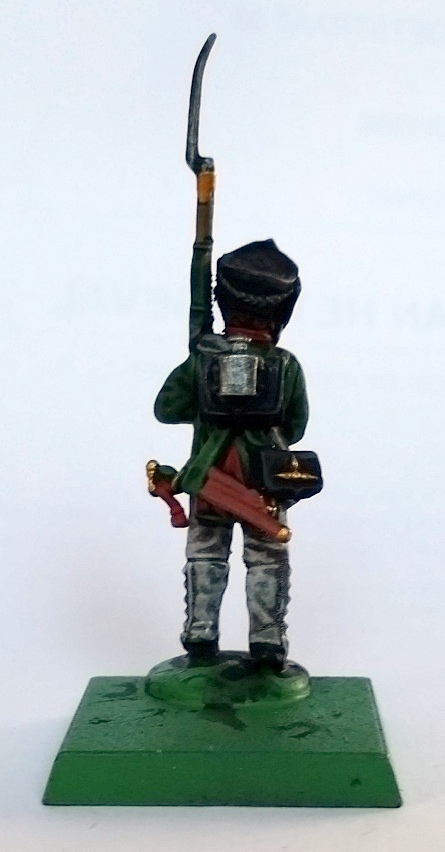
Step eleven – job’s a good ‘un
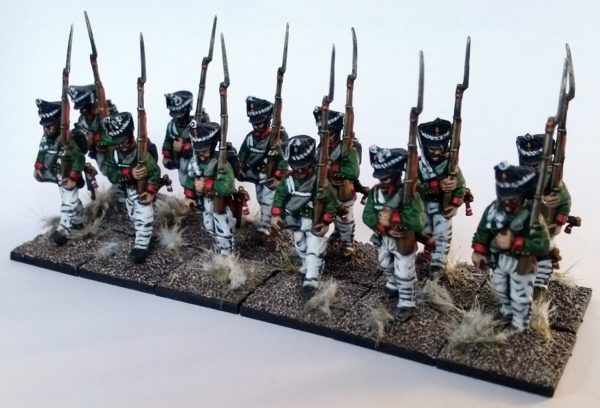
All that is left now is to take the models off their temporary bases and mount them onto their final squares, apply sand and tufts and static grass to your liking, and sit back and admire your paint job.
Using this technique I’m sure you can crank out a battalion in a weekend. Just make sure to paint in big batches so that you don’t spend too much time watching paint dry – literally.
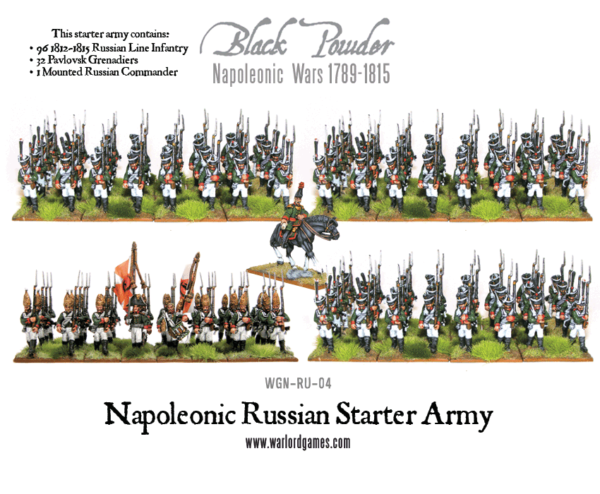
So if you’ve always wanted to collect that big Borodino army but have found the task of painting all that green a bit too daunting, I hope I’ve lowered the barrier somewhat with this article. No more excuses – order up that brigade straight away, grab a can of green undercoat spray, and chase those godless French out of your Motherland!
Laurens
Just a small part of the Warlord Black Powder Napoleonic ranges: