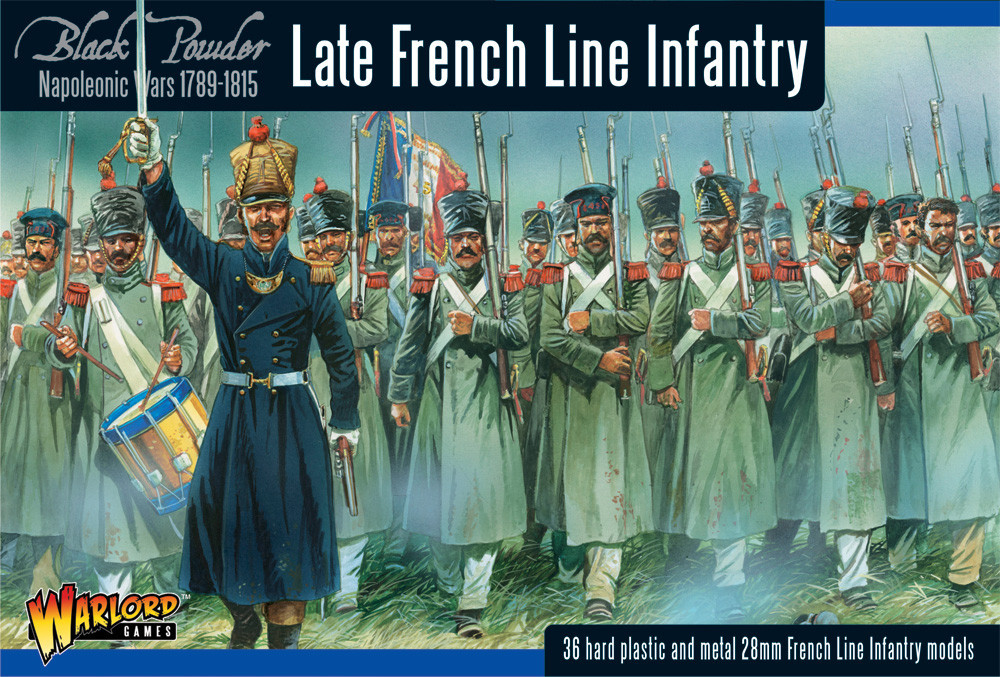
Introduction
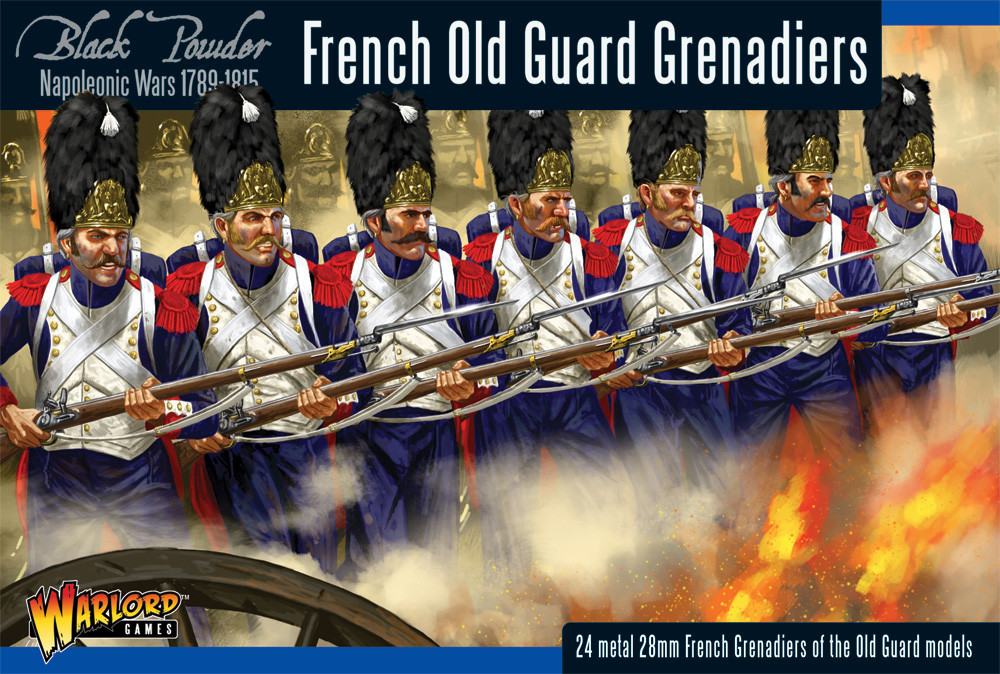
Napoleon needed infantry in droves. Far less glamorous than the cavalry, less respected still than the artillery, the massed battalions of infantry were in fact Napoleon’s battle-winning weapons. As a result, budding collectors of the French will need them by the bucketload, and over the course of this tutorial I’ll be teaching you some tips and tricks which will (hopefully) allow you to churn out rank upon rank of citoyen.
An important note: The overall quality of the following paintjob is slightly higher than that of the Prussian Landwehr soldiers of my previous article, with more complicated techniques such as layer highlighting. If you prefer, don’t hesitate to keep things more simple than I did.
Assembly and basecoat
There isn’t a great deal of assembly needed, but it’s important to get it right. Make sure you stick the right backpacks and heads to the right bodies – grenadiers and voltigeurs, the ones with the epaulettes on their shoulders, require backpacks with scabbarded shortswords and the taller tufts. Equip the remaining bodies with the rest of the heads and backpacks. I like to glue some of the heads on so that they’re turned slightly to the side, which makes for a more dynamic pose. Finish off by mounting the models on any sort of temporary base, and give them an undercoat – I’ve chosen black, as their greatcoats are usually fairly drab looking.
I – En avant!
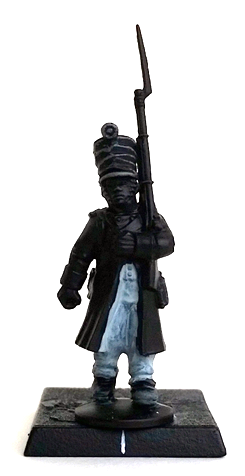
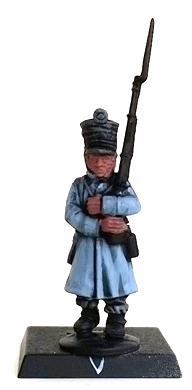
First off, drybrush the areas of the model which will remain black – namely, the shako visor, shoes, ammo pouch and sword scabbard in the case of the flank companies – with a middle grey (such as VMC Basalt Grey 869). Also paint the trousers with a light grey (VMC Pale Blue Grey 905), and use two light coats if you need better coverage.
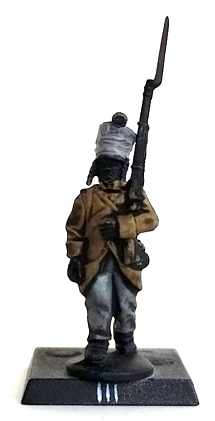
II – Great Coats
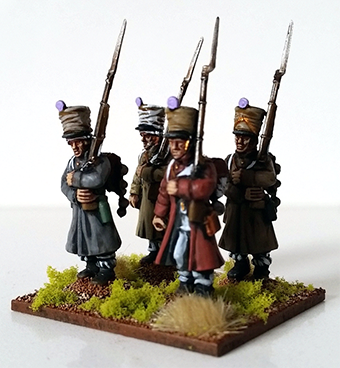
Paint your soldiers’ greatcoats with a variety of blue-greys, greys, beiges, and browns – the more hues you use, the better! Among many paint codes I’ve used VMC Basalt Grey 869, Mahogany Brown 846, Yellow Ochre 913, Pale Greyblue 907, and VGC Earth 062. Keep these paints to the side as you’ll be needing them again shortly.
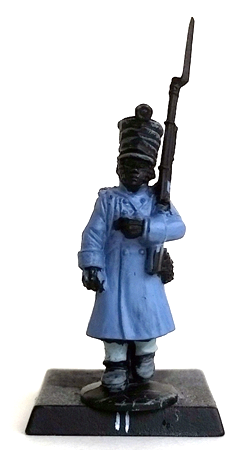
III – A Quick Wash
It’s time for some shading – apply a black wash (VGC Black Wash 73201) to the entirety of the models. Make sure this doesn’t pool up too much – keep an unloaded (by this I mean: without paint on it) brush handy to soak up any excess wash. Leave this step to dry thoroughly before moving on.
Don’t worry about the grey on the shako in this picture, it was just a colour test. We’ll get to the shakos in a little bit!
IV – Some Layer Highlighting
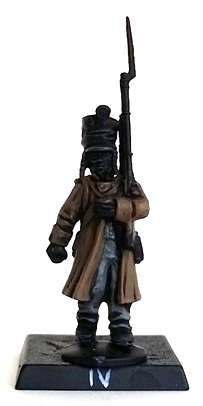
We’re kicking things up a notch now. Apply a layer highlight to the greatcoats with the same paint you basecoated them with. In the picture, for example, above I’ve reapplied VGC Earth 062 to the greatcoat (check the pictures in the next steps for the effects of the other colours).
To do this, add some water to your paint until it’s slightly thicker than milk, and don’t apply too much paint to your brush. I use a size 1 brush for this, as it’s fine enough but still holds a fair bit of paint.
Look where the previously applied black wash has pooled up and which areas it has left uncovered – it’s the latter areas you need to go for. Apply the paint there, and voilà! You’re layering like the best of them! It’s a fairly labour intensive technique, but it does pay dividends on these greatcoats – you’ll see the colour pop right back out again after that black wash.
V – Skintone Undercoat
Time to breathe some life into the model. The following steps are identical to the ones I used in the Prussian Landwehr article, so if you’re familiar with it already, skip these following steps. Paint the models’ faces, ears and hands with a dark ruddy brown or tan (VGC Tan 066) and try not to hit the areas you’ve already painted.
VI – Another Wash
Once the previous step’s paint coat has dried, apply a wash over the skin areas (VMC Fleshtone Shade Wash 73204 works well for this). Try not to get carried away with it, as it can pool up right underneath the shako visor for instance. Leave this step to dry completely.
VII – Skin Highlights
Finally, apply a light skin tone as a layer highlight onto all the areas. Pick out the nose, cheekbones, lips, chin and ears and, if you want, the eyelids as well. It’s a very stark highlight with the tone I’m using (VMC Light Flesh 928) but for tabletop quality I like good contrast and deep shading.
VIII – Miscellaneous Block Painting
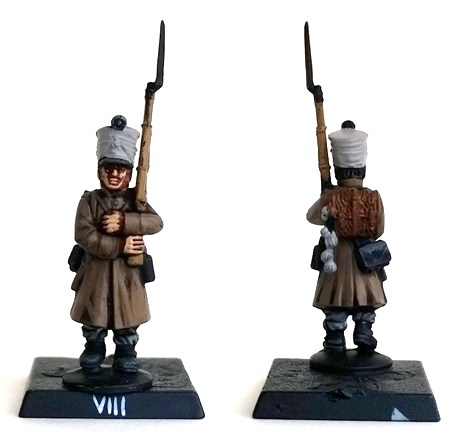
We can now move on to some of the other main areas of the model, and we’ll paint each of the areas which we’ll be shading with the same wash later. These are the shako – and the onions on some of the rucksacks – which you can paint in any beige you have lying around, the backpacks (VMC Flat Brown 984) and the musket stocks (VGC Leather Brown 72040). Some paints, such as most beiges, have difficulty covering nicely over black, so apply a second coat if needed.
Also paint the hair, preferably with different browns, sandy colours and perhaps ruddy tones as well.
IX – Metallics


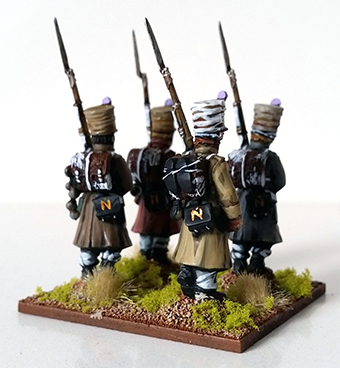
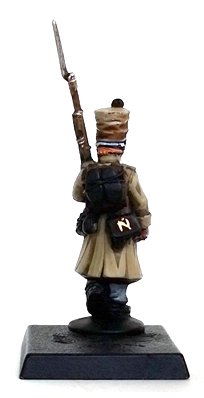
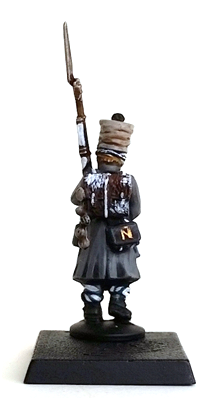
Next up are the metallics, without which no toy soldier looks warlike enough! As well as the musket barrels, paint the canteens and cooking pots silver (VMC silver 995), and paint the buttons, shako decorations and straps in gold (VMC Gold 996). If you’re feeling brave, paint a capital N with a little dot above it on the ammunition pouches – but feel free to skip that!
X – Yet Another Wash
Time for another wash! Apply an umber shade (VGC Umber Shade Wash 73203) to all the areas you just block painted – rucksacks, canteens, muskets, hair, shakos and the like. Basically anything on the models that hasn’t been washed before! I’ve used Umber Shade with a little black added in, just to darken it a bit further.
XI – Shako Highlights
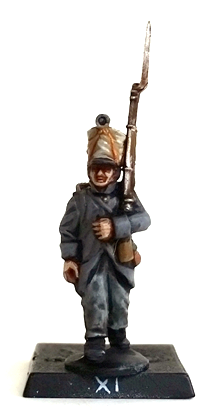
Time to start adding in the highlights again. Using a light beige, bone or white, add layered highlights to the shako. Try to follow the folds of the shako cover, and paint the sides in horizontal streaks. You can paint the tops entirely in the lighter colour, as that is where the imaginary light would fall anyway. You can use just the one highlight colour for this, but I prefer using around three or four different tones to get that rag-tag feel.
XII – Pipe Clay
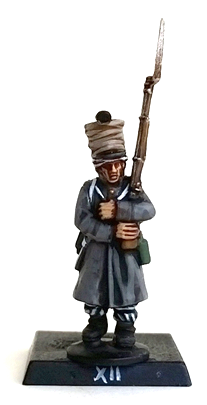
Now for the most time-consuming part – the white. This step is easily the most important one for any line infantry of the Napoleonic period, regardless of nationality.The white is what stands out when you’re rolling dice in an underlit garage, and if it isn’t painted at least decently, the entire paintjob will fall apart like an Austrian army in Italy.
Paint the rucksacks straps, musket sling, ammunition pouch strings, the trousers, and if you feel like it you can add some mottling to the rucksack. These were made of cowhide, so I would urge you to refrain from painting it as a dalmatian’s pelt!
Three considerations:
– 1. Your white needs to be accurately painted – if you need to correct afterwards, do so with black.
– 2. Your white needs to cover well without clogging up or forming blotches. Better to apply two thin coats than a single thick one.
– 3. Your white doesn’t need to be white. There are plenty of people who use an off-white to paint pipe clay, claiming it has better coverage. I personally use white paint – however, I would encourage you to experiment and find a paint you’re comfortable with, be it white, off-white, light grey, light beige or what have you.
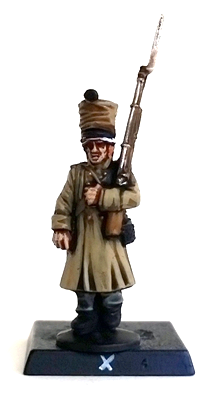
Pick out some other details in this step which you might have missed, such as the wine bottle on this model (I painted it VMC Deep Green 970) and, more importantly, the pompons on the shakos – I save these until the models have been mounted on their company bases to make sure they get the correct colour of pompons.
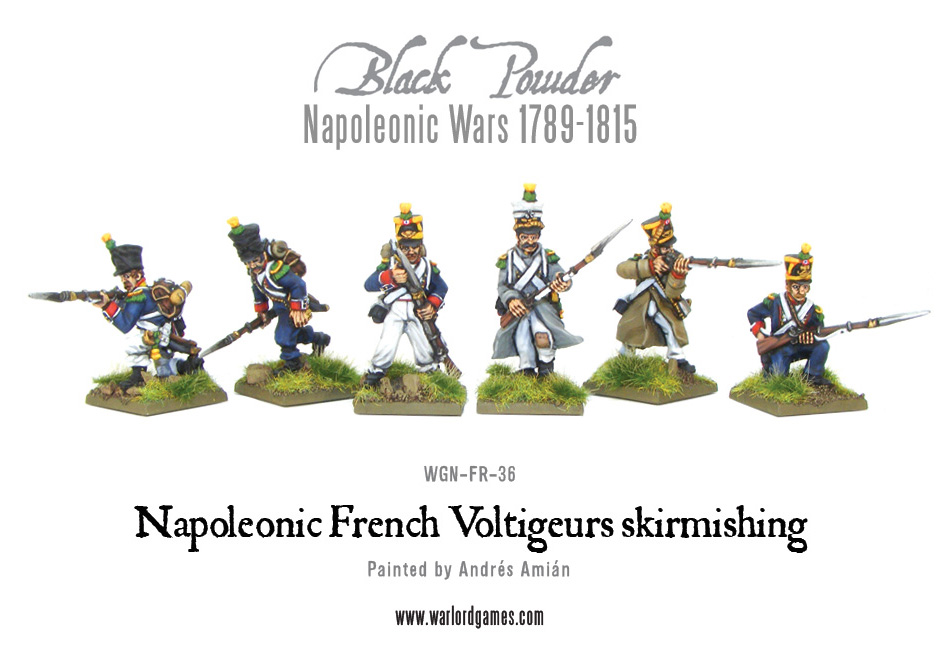
With this step completed, your ordinary line infantrymen are ready to take the field! However no French battalion would dare call itself thus without the addition of the flank companies, namely Grenadiers and Voltigeurs. Painting these up is completely identical to what we’ve just discussed, so I’ll take it from step XII with the appropriately mentioned step…
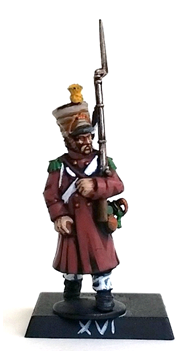
XIII – Grenadier’s Basecoats
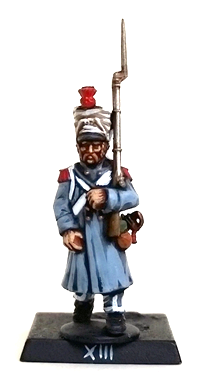
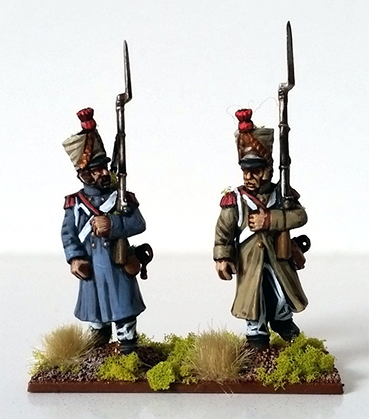
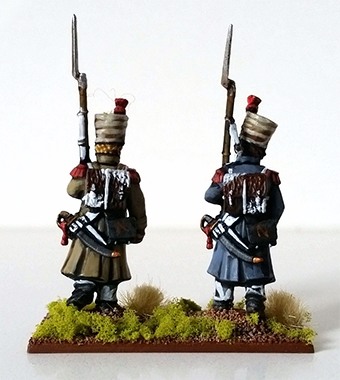
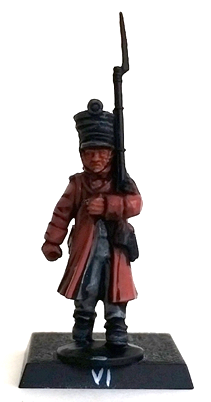
The colour red is what defined these burly chaps – the tallest in the battalion – so paint the shako plume, epaulettes and the ribbon on the short sword a nice dark red (VGC Gory Red 011).
XIV – Purple Wash
Call me mad, but I abide by purple washes for red areas instead of the more usual brown. Use what you have lying around, but trust me – you’ll be pleasantly surprised. I’ve used AP Purple Shade.
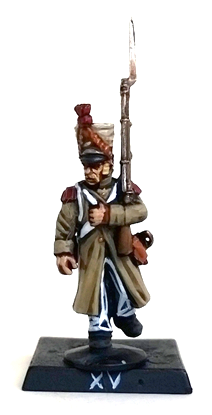
XV – Red Highlights
Finally, use a light red to highlight the different red areas. Try to paint the epaulette cords with thin streaks to catch some of that detail. Paint the cross-strap on the models’ chests red as well, while you’re at it. That’s the grenadiers done!
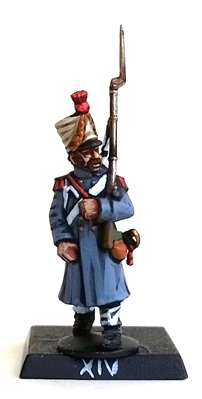
XVI – Voltigeur Basecoats
The Voltigeurs’ detailing is a little more involved than that of the grenadiers, because we’ll need to paint both yellow and green. Paint the former on the shako plume and the tops of the epaulettes (I used VMC Goldbrown 877) and the latter onto the epaulette cords and short sword ribbon (VMC Intermediate Green 891).
XVII – Two Washes
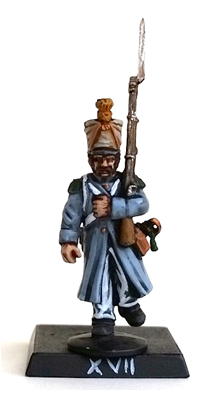
You know the drill by now. Apply a sepia wash (VGC Sepia Wash 73200) to the yellow parts, and a black or dark blue wash to the green.
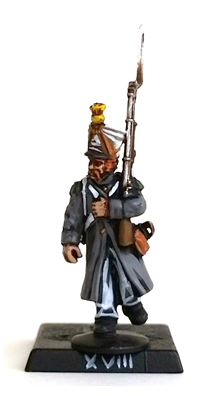
Finally, apply a bright yellow highlight (VMC Golden Yellow 948) and a lighter green highlight (VGC Goblin Green 030) to their respective areas, painting the latter on the chest strap as with the grenadier.
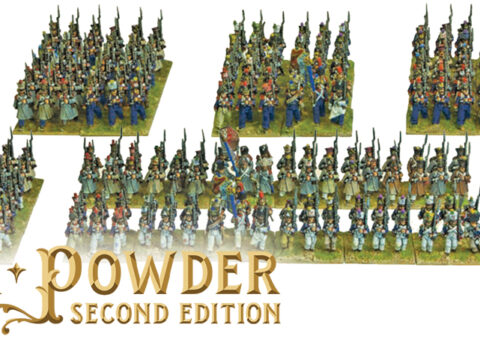
Prêt à se battre! (Ready to fight!)
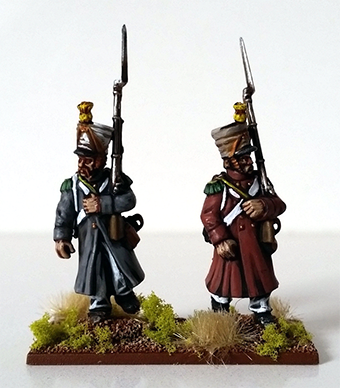
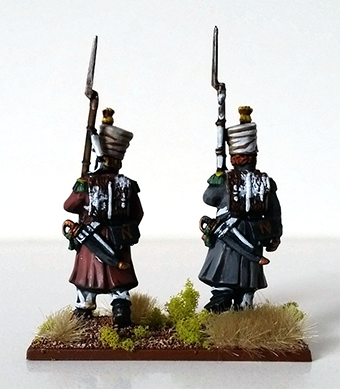
That’s it! Pull your models off their painting bases and stick them onto their final stands, base them nicely and you’ve got a fine looking battalion fit for duty. Below are pictures of some models which have been painted using the method described above. Just a few more things to discuss…
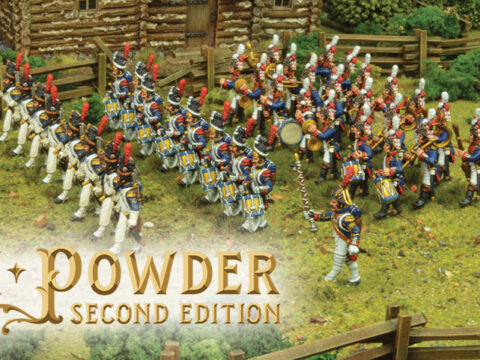
Command Models
These can be handled identically to the rest of the models, although with Warlord’s Late French command set there are a few models not wearing greatcoats. The main difference will be the ‘French’ blue that so typified their armies – and there’s no right or wrong when you paint it, just pick any dark blue, throw a black wash over it and it’ll be fine. There was no standard blue – many Brits won’t believe this, but during the Empire a sizable quantity of French uniform cloth was imported from Britain, despite the Continental System!
The command models generally have more gold and red detailing, paint these as described above. Take your time with these models as they are front-and-center in your units and will draw the most attention. Best to have them look up to snuff!
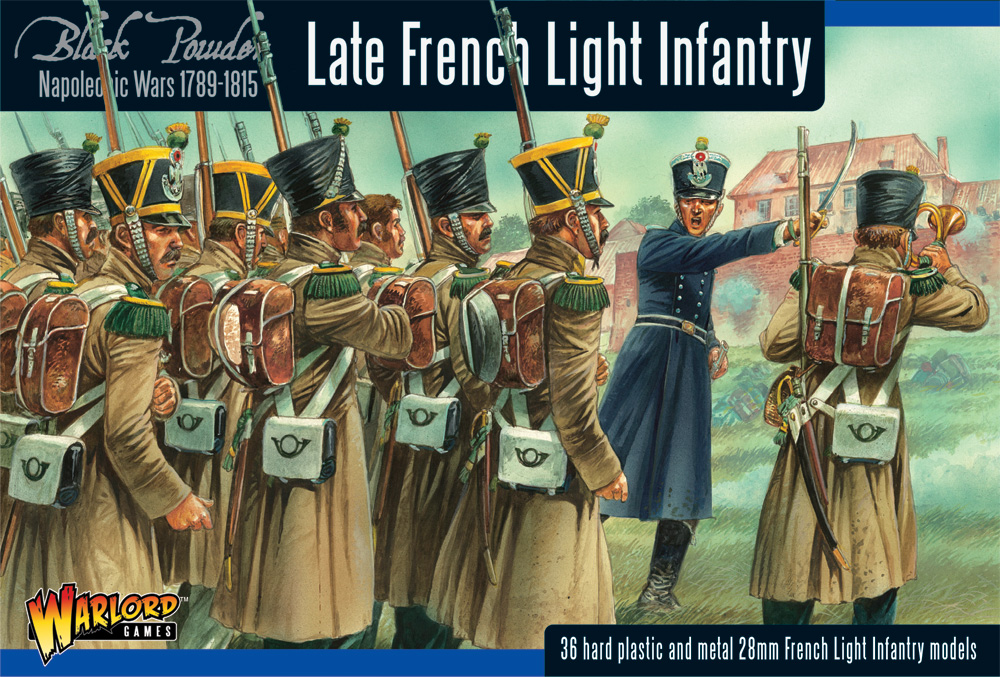
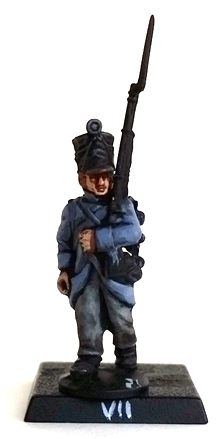
Light Infantry
If you want to paint your battalion up as light infantry, then you need only make a few alterations to the painting process. Paint the trousers dark blue instead of light grey in Step I, and paint detailing such as the buttons silver instead of gold. Light infantry ordinarily had bigger shako plumes, but don’t let that stop you from throwing these great models at miniature Hougoumonts!