Following his recent articles showcasing Polish Armour, and the Baking Soda Mud Technique, Dan Hoyt from RedOverBlue.net has tackled a few more unusual projects – including the content of this article, adding Bedspring armour to a plastic T34/85 kit – without further ado, it’s over to Dan…

The T34/85 is a vehicle synonymous with the later portion of the Eastern Front, and photographs of the vehicle with improvised spaced armour are common. This often took the form of mesh frames welded to the large flat surfaces of the vehicle as a desperate attempt to mitigate the omnipresent panzerfaust threat. The idea was that the shaped charge of the panzerfaust would detonate upon the mesh of the “bed spring” rather than the armour of the tank, thus negating much of the penetration effect.
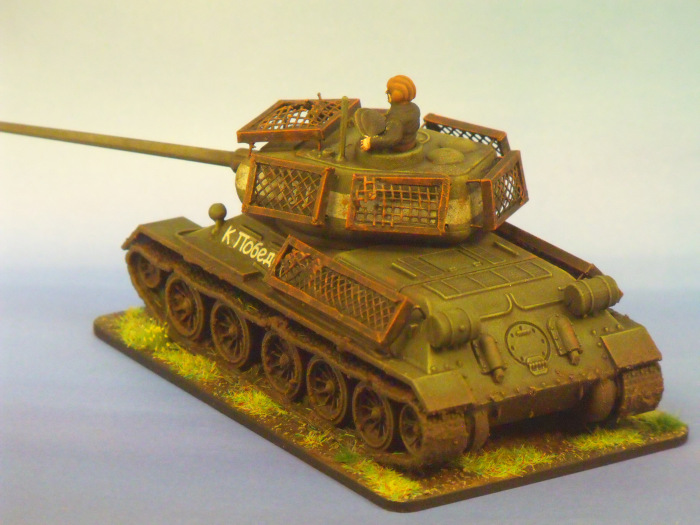
My good friend Andre has decided to begin a foray into Bolt Action, after a long absence from the hobby. Having chosen late-war Soviets as his force, I got my hands on the plastic T34/85 kit from Warlord Games with the intent of converting it to feature “bed spring” armour as a gift for Andre.
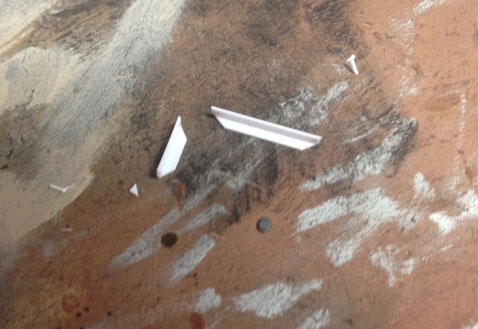
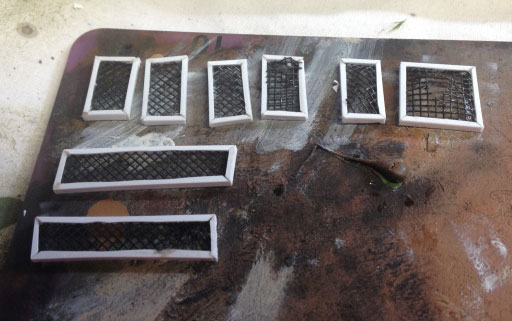
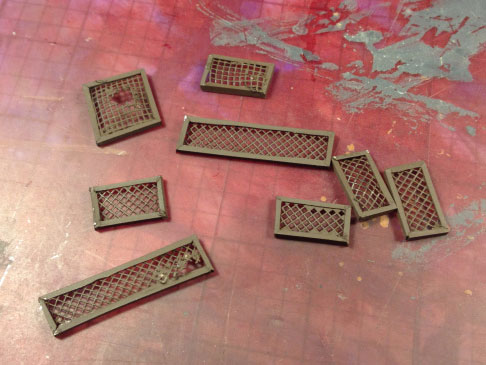
The construction of the frames themselves is fairly simple. Using L shaped polystyrene rods (1/16″) I made a series of small frames, measured to place over the turret sides, top, rear, as well as hull sides. Into these frames were placed some window screening, which was intentionally distressed. As this model is intended for handling and not just display, I wanted the frames to be durable. Therefore I did not just glue them onto the surface of the vehicle. I drilled a series of holes (one for each frame corner) directly into the model, with the idea that each frame would be pinned in place.
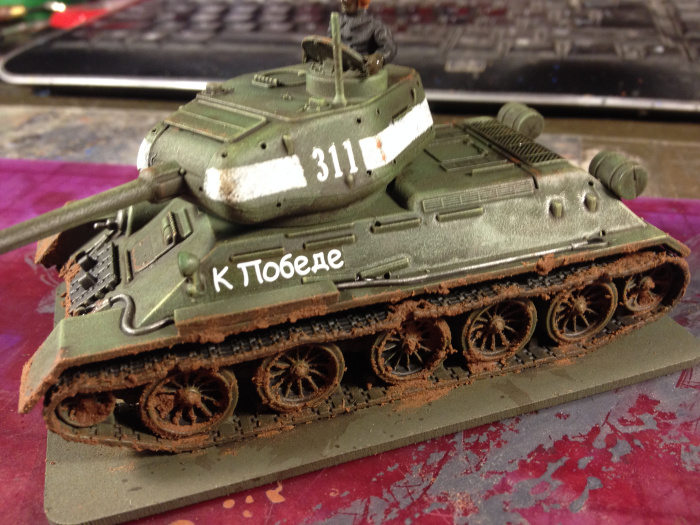
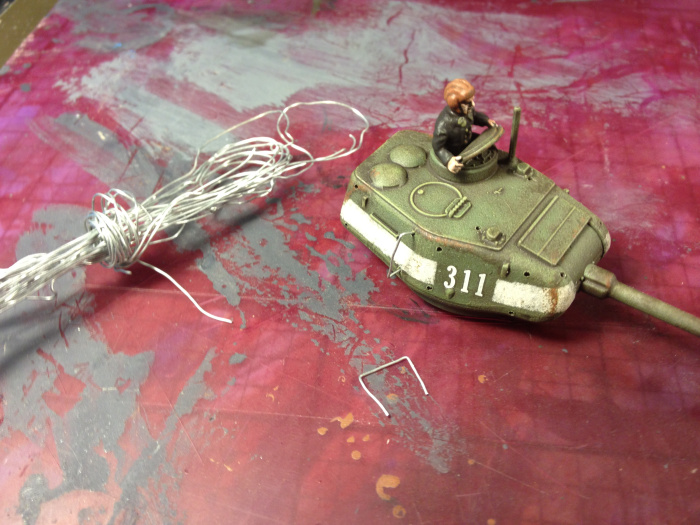
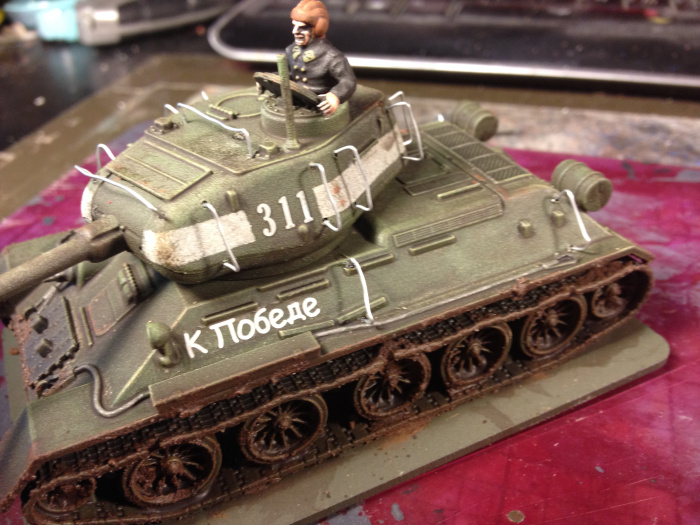
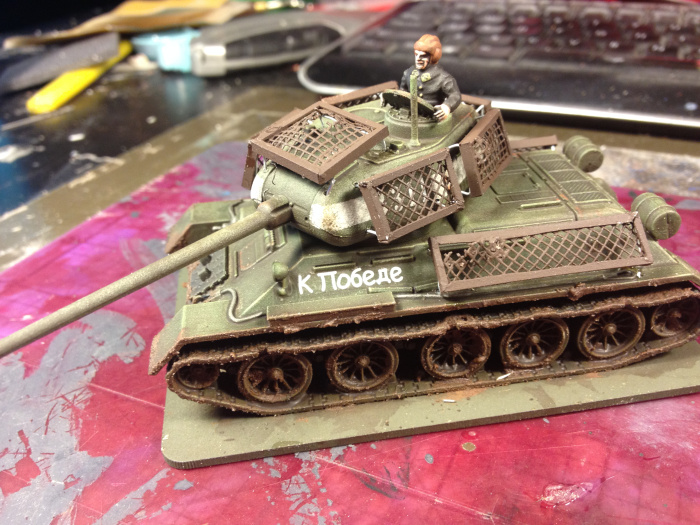
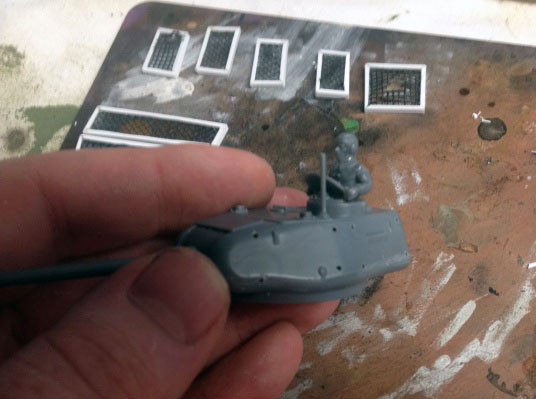
From this point I painted the vehicle as normal. I will not get into detail on the paint colours or techniques used, as that is not the main topic of this article. With the model now painted, I set about fixing the frames to the vehicle. I created small connecting bars from ornament wire (small gauge wire), and bent them into shape and glued them in place. The already primed frames (in a dark brown) were glued to these bars. Once the glue was dry, I basecoated the wires very carefully with the same dark brown as the frame. The frames were then detailed with alternating drybrushes of dark metallic and medium rust, finishing it with a bright rust colour.

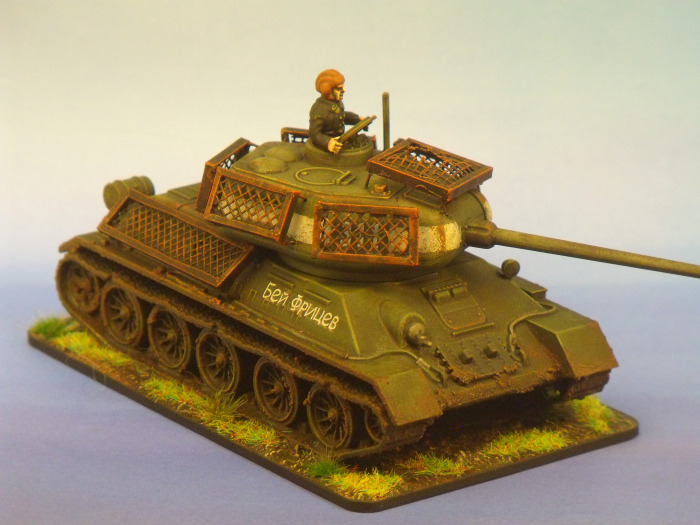

I am very happy with the results of this conversion, as it has a very improvised and almost “Orkish” look to it. This vehicle will be a perfect starting point for Andre’s late-war Soviets.