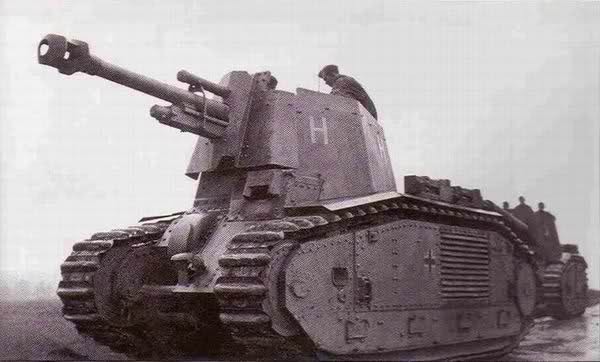
The LEFH8B2 is a unique and interesting SPG to field. Since only 16 were ever made by the Germans, the presence of this vehicle in your army will surely make for interesting conversations (and occasionally an interesting target). This article will show you how to turn a standard Char B1 into this heavily armoured artillery piece.
For this project, you will need:
- Char B1 Bis kit
- LEFH18 105mm cannon piece
- Plasticard of varying thickness
- two-part putty
- liquid putty (e.g Squadron green putty
- Tools (knife, glues, fine-grade sandpaper (600 grit or better)
- Your choice of accessories
Step One
Start off by assembling the basic Char B1 kit. When building, there is no need to make up the turret, or add the howitzer to the front.
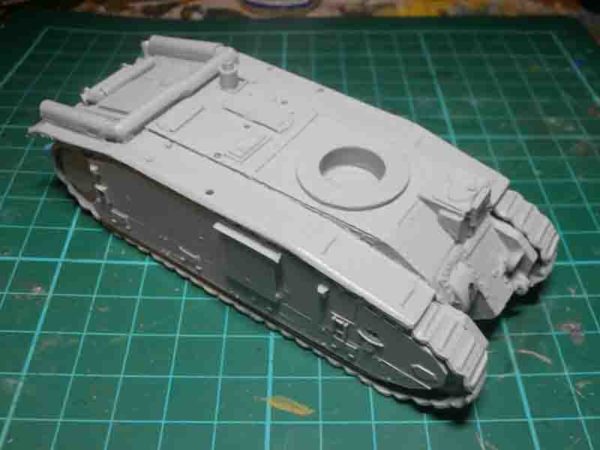
Step Two
Cut out a small round-ended rectangle from very thin plasticard. Ths should be about the size of the howitzer “pivot” plus a few mm, and glue this over the howitzer section as shown.
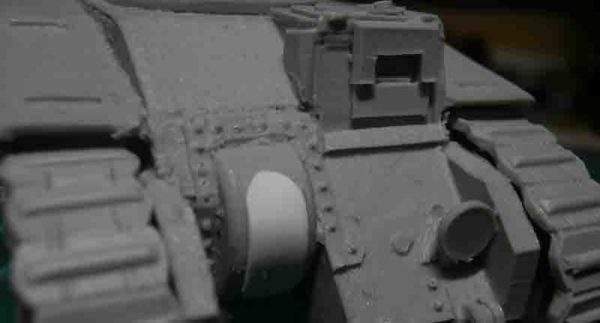
Step Three
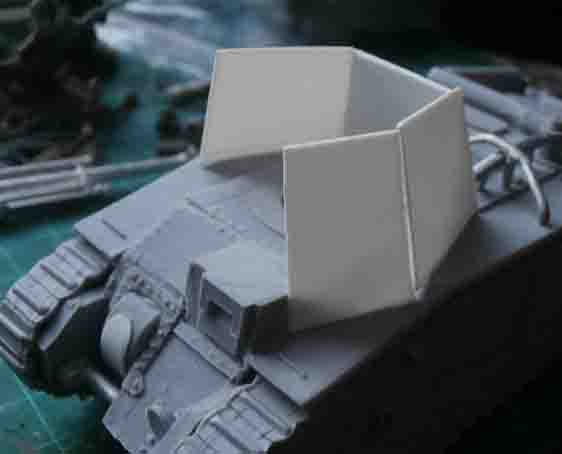
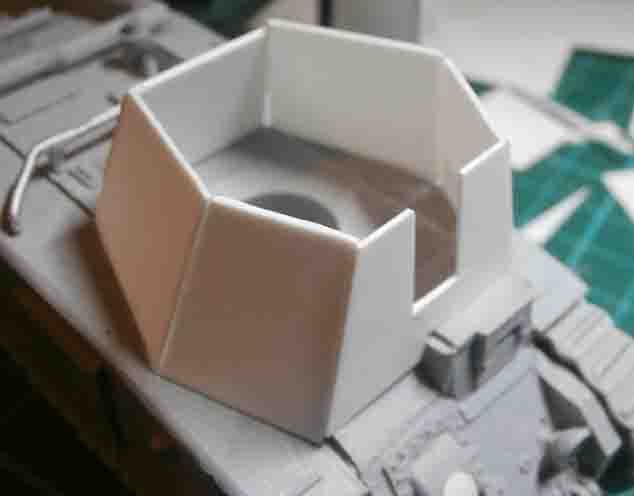
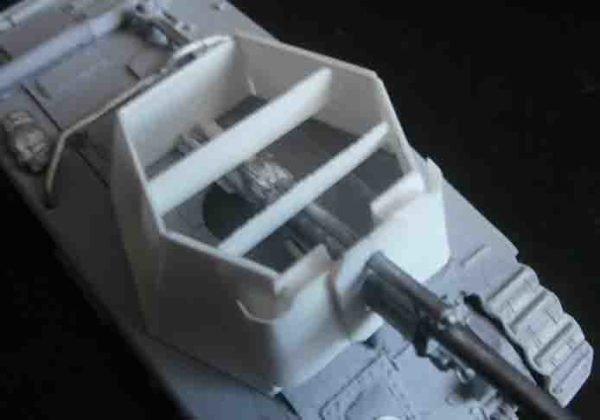
This next stage involves a lot of trial and error. Start building up the upper gun casing, using photographs for reference. The height of the super-structure sould be around 19mm from the top of the track guards. Don’t worry if it’s not perfect, we will be sorting it out later.
Be sure to factor in the angles of the hull. The front plates should be about 1.5mm away from the track guard edge at the widest point, and 5mm away from the front of the track guards.
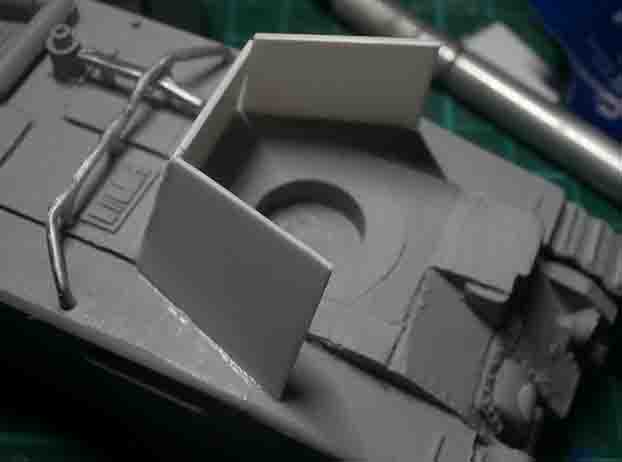
Step Four
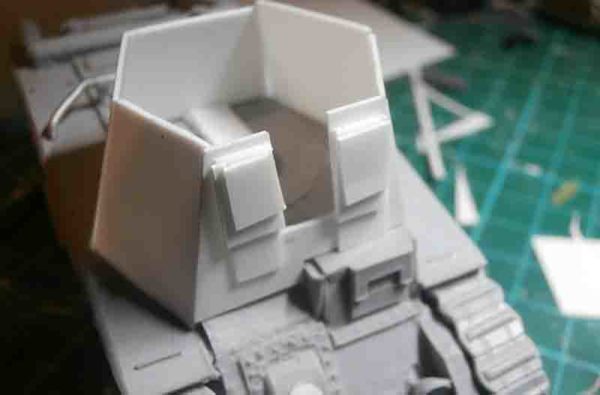
Add spacers to the front of the super-structure. They should stick out 3mm
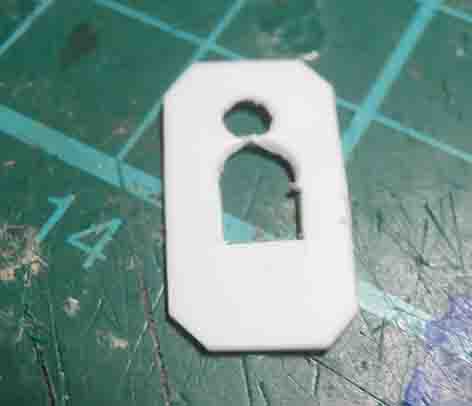
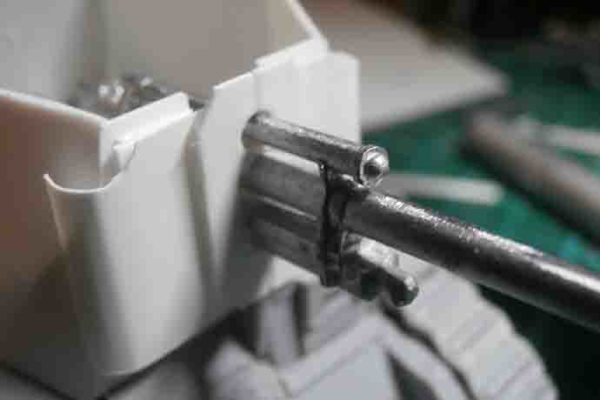
Step Five
Next, make the small gun shield. the easiest way to do this is to cut the basic shape, then cut it in half vertically. Work out where you’ll need holes for the gun on one side, then replicate it on the other half. I used a leather hole punch for this job.
Step Six
Fit the larger gun shield. This one was made with the same thin plasticard as used on the howitzer mount, then bent into shape and glued onto the spacers. Glue the smller shield on top.
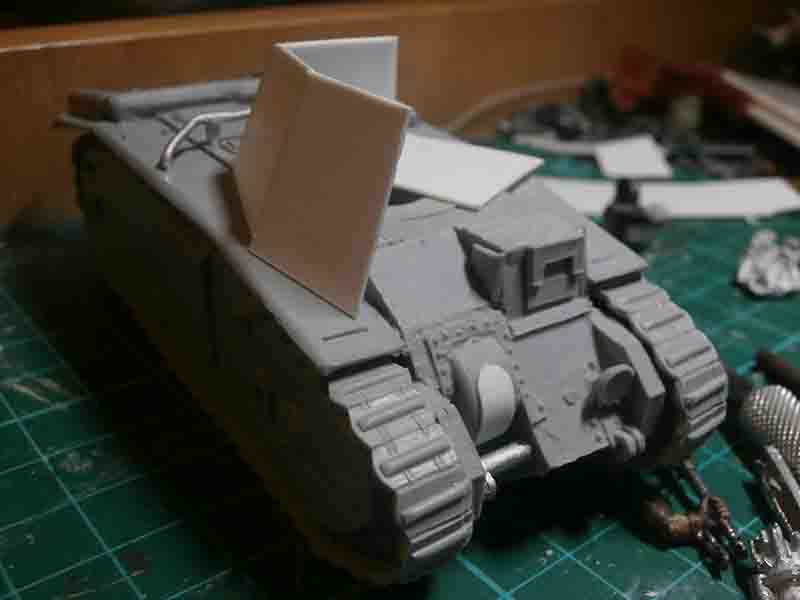
Step Seven
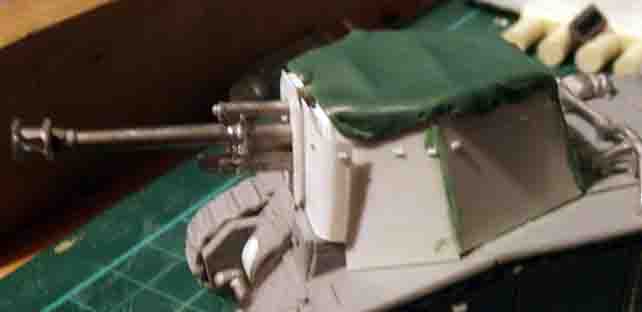
Now it is time to add a canopy. Start by adding two or three braces to the super-structure.
Step Eight
Roll out some putty into a flat sheet, then drape over the tank. Cut to size.
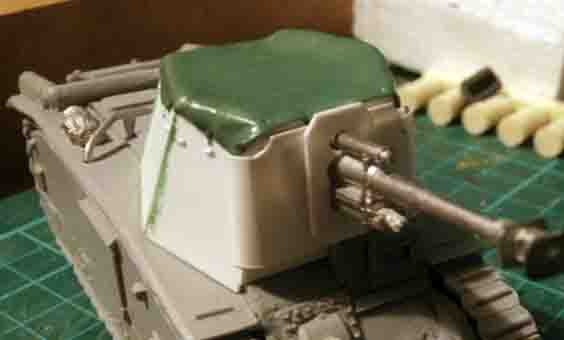
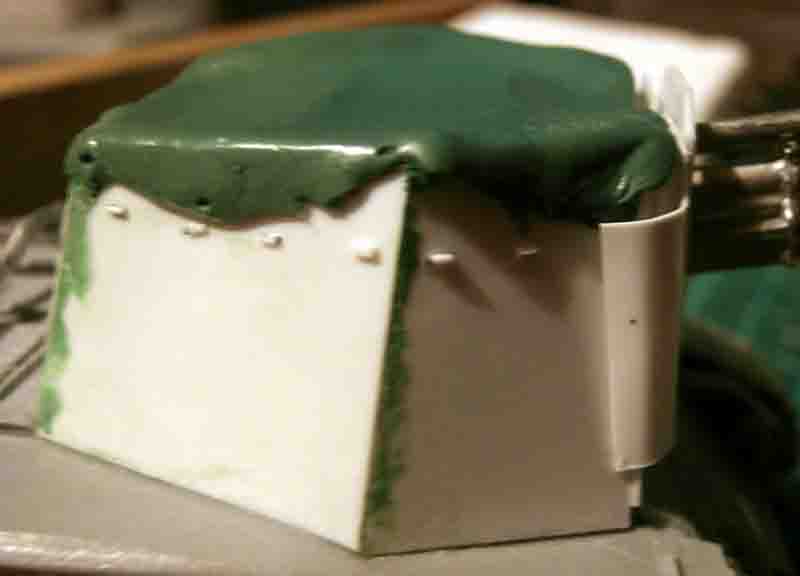
Step Nine
Add some details, such as folds, creases and tears.


Step Ten
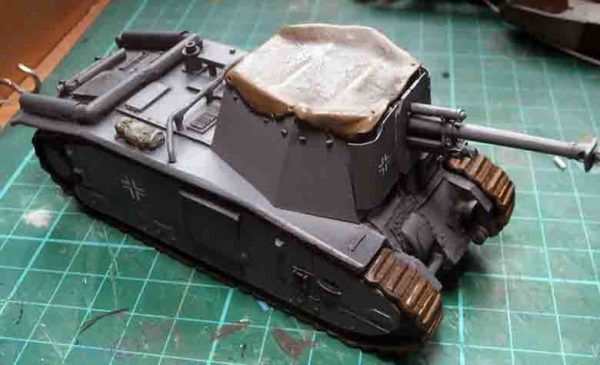
Use your liquid putty to fill in any gaps, and sand it smooth. Sit back and admire your work: the build is done. Now it is time to paint it…
Here is the finished model. I’ve gone for an early war scheme, to match the rest of my armoured units. These tanks were used up until the end of the war, so feel free to pick and choose your own schemes.