We recently spotted modelling enthusiast Bill Ferguson (aka the Scenic Doctor) working on some fantastically detailed Sarissa buildings and asked if he’d be so kind as to share his skills with us. Happily he agreed so over to Bill…
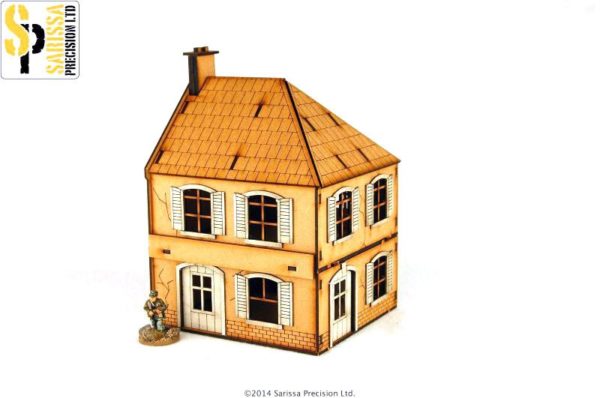
Bill: These models, designed by Sarissa Precision and sold by Warlord Games, are very easy to put together by following the progressive picture form of instructions and make very nice models when completed. However, I like to take things a bit further and make them even more realistic. In this article I will demonstrate my method of enhancement and weathering.
I’ve picked the “End Terrace Café”, as it’s a nice little model – and is typical of buildings in Europe during World War II.
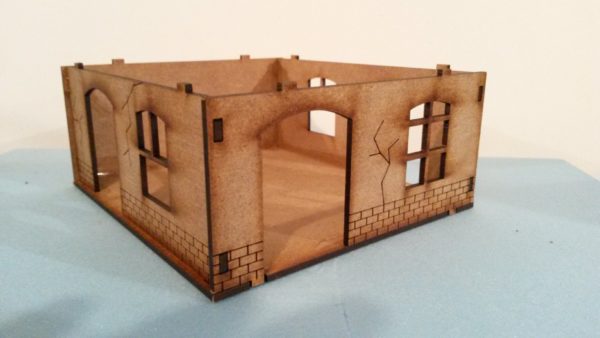
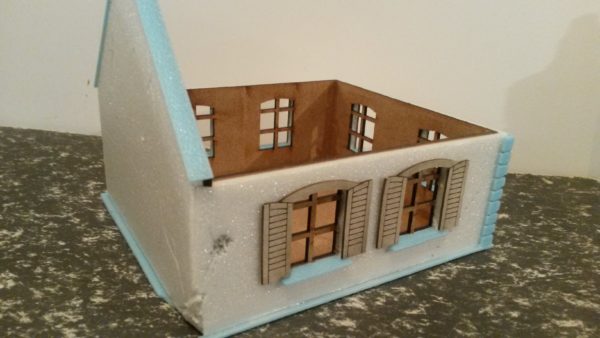
Step 1 – First of all, I put together the bottom floor, sides and ends together, without the door and window frames and shuttering. I used a white PVA glue as this I find is far the best for putting these structures together and is very strong. I allowed the parts to dry overnight before handling them again.
In the picture above you might notice that the corners and base of the building have a ridge, about 1mm, protruding. To deal with this I trimmed the corner ridges off, but kept the ones on the base as this gives a good foundation for the Depron foamboard to sit on. I left the lugs protruding from the top of the bottom floor as this allows the two floors of the building to slot in together.
(Depron is a foamboard that does not have the paper cover on the both sides typical of most foamboards. It is easy to find in most art stores, and is what I personally find easiest to use.)
Step 2 – I used 3mm depth Depron board. Cutting the Depron to a 45% angle at the ends of the sheets allows the board to go round the corner of the building when you attach it and this helps later when scribing in detail. I left the Depron as a whole sheet at this time without any windows or doors marked/cut out. I then glued this to the sides of the structure using Deluxe Materials ‘Speed Bond’ which sets in about 5 minutes.
Once dry I cut the doors and windows out of the foam board whilst ensuring I didn’t cut out the models’ window/door frames.
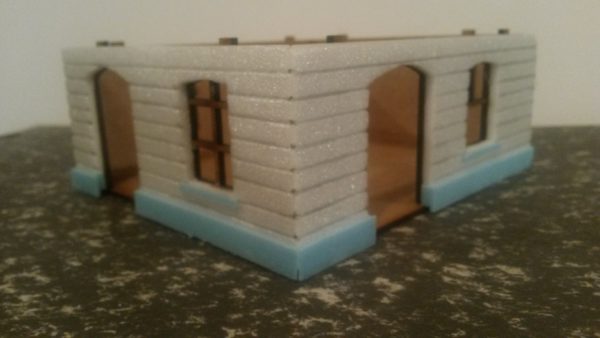
I then added more Depron, this time 1mm thick. The aim was to give more relief to the window ledges and base of the building. You can see these bits easily as they’re light blue.
Step 3 – Above you see scribed lines in the Depron. Use an ordinary sharp pencil, it leaves a grey line so you can see what you’ve done very quickly. This enabled me to more accurately follow the detail round the corner of the building.
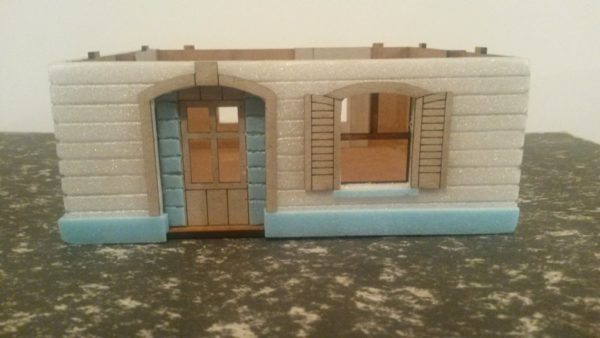
After that, I glued on the doors and shutters. I cut off the bottom part of the shutters in line with the window ledge. I then glued some more 1mm foam on both sides of the door and I added a doorstep at this time too.
Step 4 – I followed the same principal and method for the second floor. This time I also scribed in cracks and battle damage to give more authenticity to a WW2 scene. I put a layer that protrudes by about 1mm around the base of the second floor and another strip down the angle of the roof, as it hides the fact that I have added a skin to the model.
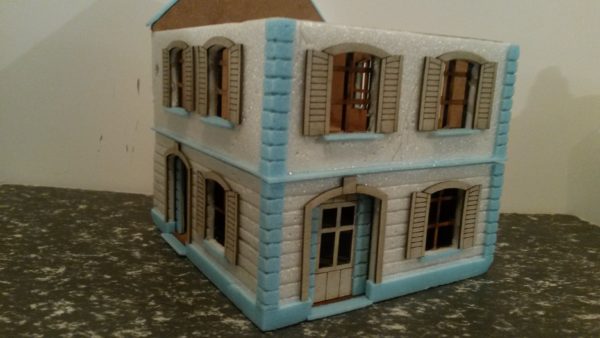
Step 5 – I added corner stones, again cut with 45% angle on the edges so they butt together (a bit like cutting a mitre joint in skirting board) to give the appearance of a whole stone. Now I slotted the two floors together.
Step 6 – I use emulsion to give an overall basecoat of paint. Being water based it does not effect or melt the foam as an oil based paint could. Naturally the foam is very soft but when painted it becomes a hard shell and not so easy to dent.
I then did a second coat mixing white emulsion with a bit of brown acrylic and white PVA glue, (PVA glue acts as a filler and hardener) but white emulsion is just as good an alternative.
I could have used Sandtex paint, (which also works on this Depron/foamboard) if I had wanted more of a textured effect. I find it handy as it comes in tester-sized paint pots.
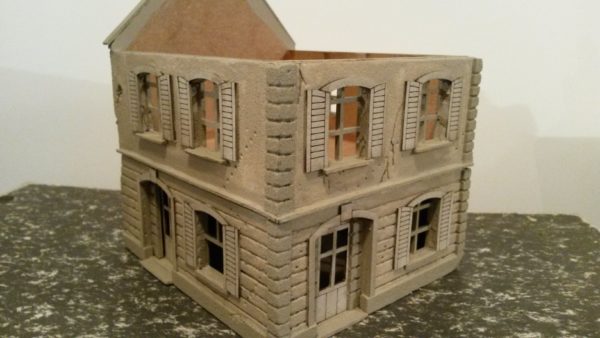
Step 7. Time to paint! I used brown water-based ink on the ground floor for shadowing and then dry brushed with the original brown undercoat paint.
The second floor I painted in white, then when dry, used black shade. When the shade was almost dried, I drybrushed white paint over and it came out with this grey colour.
The corner, window ledges and door frames were painted with a slightly lighter brown for contrast.

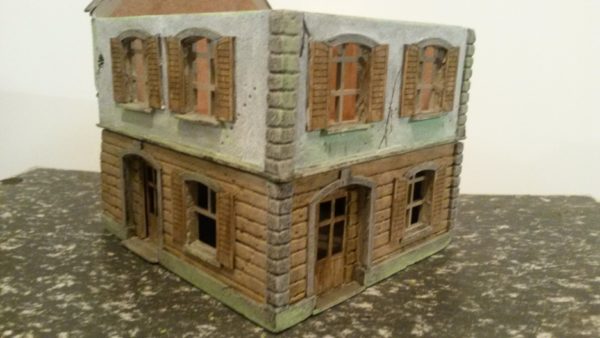
Step 8 – Weathering buildings can really blend them in to the battlefield and is a touch that might not be noticed at first glance. I added green tinge to show aging to the building by using artist’s soft pastels. Draw the pastel in streaks where water might naturally run or sit on the building, then blend the pastel with a dry brush.
So for now you should have a building that’s ready to go on the field of battle – I’ll let you catch up with your own buildings and adding some more detail. In the next part I’ll take the detailing even further, adding those final touches that make the building look ‘real’ as part of your Battlefield
Bill Ferguson
We hope you’ve enjoyed Part 1 of Bill’s terrain feature, we’ll be hearing from Bill again soon but in the meantime go visit him by following this link to his blog:


