The night before D-Day, a force consisting of 200 men of the Oxfordshire and Buckinghamshire Light companies as well as 20 sappers, men of the Glider Pilot Regiment and around 200 British Airborne Paratroopers were ordered by glider to attack and hold the bridges of Ranville, over the river Orne and Benouville over the Caen Canal.
Capturing these key bridges was vital, as the landing parties at Sword beach would be at high risk of a counter-attack, with the Germans able to send armoured reinforcements onto the beachhead. The objectives was to take and hold the bridges, utilising the element of surprise, and this was seen as a one way trip, as there was no going back, with the river behind the British and the enemy in front. The bridge was guarded by 50 men belonging to the German 736th Grenadier Regiment, as well as the 716th Infantry Division and they were under the command of Major Hans Schmidt based at Ranville, east of the River Orne.
A second force consisting of the 125th Panzergrenadier regiment was commanded by Colonel Hans von Luck, which was billeted at Vimont, east of Caen. There was also a battalion of the 192nd Panzergrenadier Regiment based at Cairon to the west of the bridges. Colonel von Luck trained his regiment in anti-invasion operations, and had also identified likely incursion points and marked out forward routes, rest and refuelling areas and anti-aircraft gun positions. Along these were the 12th SS Panzer Division Hitlerjugend, also stationed at Lisieux and yet another division was based closed by, these were both less than a day’s march from the bridges.
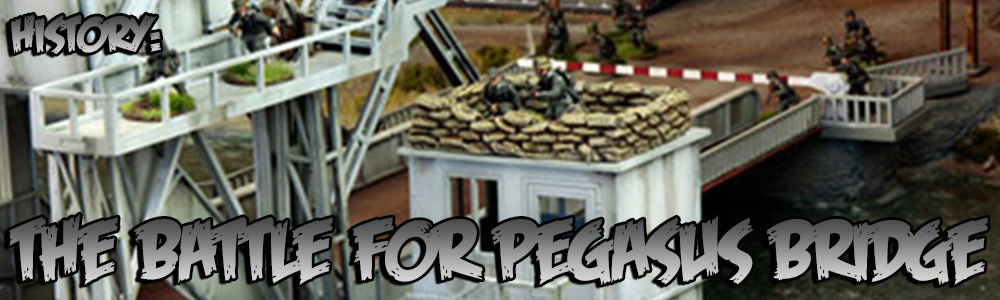
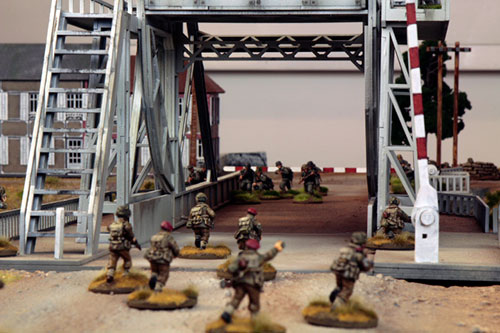
On the west bank of the Caen Canal bridge there were three machine-gun emplacements and on the east bank a machine-gun and an anti-tank gun. To their north were another three machine-guns and a concrete pillbox. An anti-aircraft tower equipped with machine-guns stood to the south, making this a formidable place to capture!
On the 6th June at 00:16 the first glider came down on foreign soil, however not all made it intact, with one glider crashing into the barbed wire defences around the bridge and one snapping in half, disgorging the infantry into a pond. One soldier drowned, marking him as the first Allied casualty of the invasion. Most of the assembled gliders either made their mark or landed nearby, with only one landing 7 miles off course!

Whilst the bridges where heavily fortified and armed, there were only two sentries on duty that night, despite the fact that the Germans knew there would be an invasion, but had no idea when and were unprepared for such an attack. As the allies advanced, one of the sentries reportedly ran away screaming “paratroops!” whilst the other stood his ground and fired his flare gun into the air to alert local fighters, he was subsequently gunned down by the advancing paratroopers.
The commander of the German forces, Major Schmidt took off in his armoured halftrack with a bodyguard of motorcycles to see what the enemy was up to, unfortunately for him he ran right into the path of the advancing British and was immediately captured! The Germans tried to order in the 21st Panzer Division to stop the allied attack, however, as they were under the direct control of the Führer, no orders were given, as Hitler was reportedly fast asleep and his subordinates dare not wake him! This was arguably a stroke of good fortune for the paratroopers…
During the firefight however, 14 Paratroopers were injured, and one was killed, a Lieutenant Den Brotheridge, who died whilst charging a machine gun position, making him the first soldier to be killed by enemy fire on D-Day. The initial attack took just 10 minutes, but the British were successful in capturing the bridges, utilising the code words “HAM and JAM” to alert HQ that’s both bridges were captured. The inevitable German counterattack was repulsed, as more reinforcements were brought up by the british forces, including commandos led by Lord Lovat (his trusty piper Bill Millin in tow) and more airborne units. After the heroic deeds of the Paratroopers, the bridge was renamed Pegasus Bridge, after their emblem of Bellepheron riding Pegasus.
At around 1:30am, two German halftracks and a number of panzergrenadiers tried to assault the bridge but were destroyed. More Panzer tanks rumbled up towards the British position, however they thought they were up against a much stronger force and fell back. The Germans would come back in force with a much more determined push onto the beleaguered defenders. This time however the British had been bolstered with some fresh infantry of their own, including a detachment of commandos, led by the skirl of bagpipes! With these reinforcements they held the bridge against the advancing 21st Panzer Division.
Written by Sam Phillips
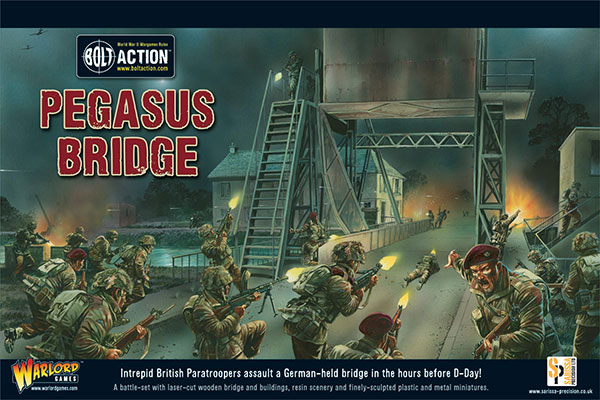
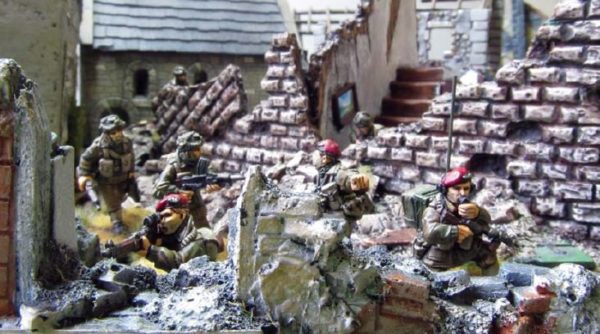
Our ‘Pegasus Bridge’ and ‘Ham & Jam’ sets contain a fantastic bundle of miniatures, scenery (even the bridge itself – which elevates!) and a special scenario booklet with which you can recreate the heroic taking of Pegasus Bridge on the tabletop – why not have a look over on the webstore?
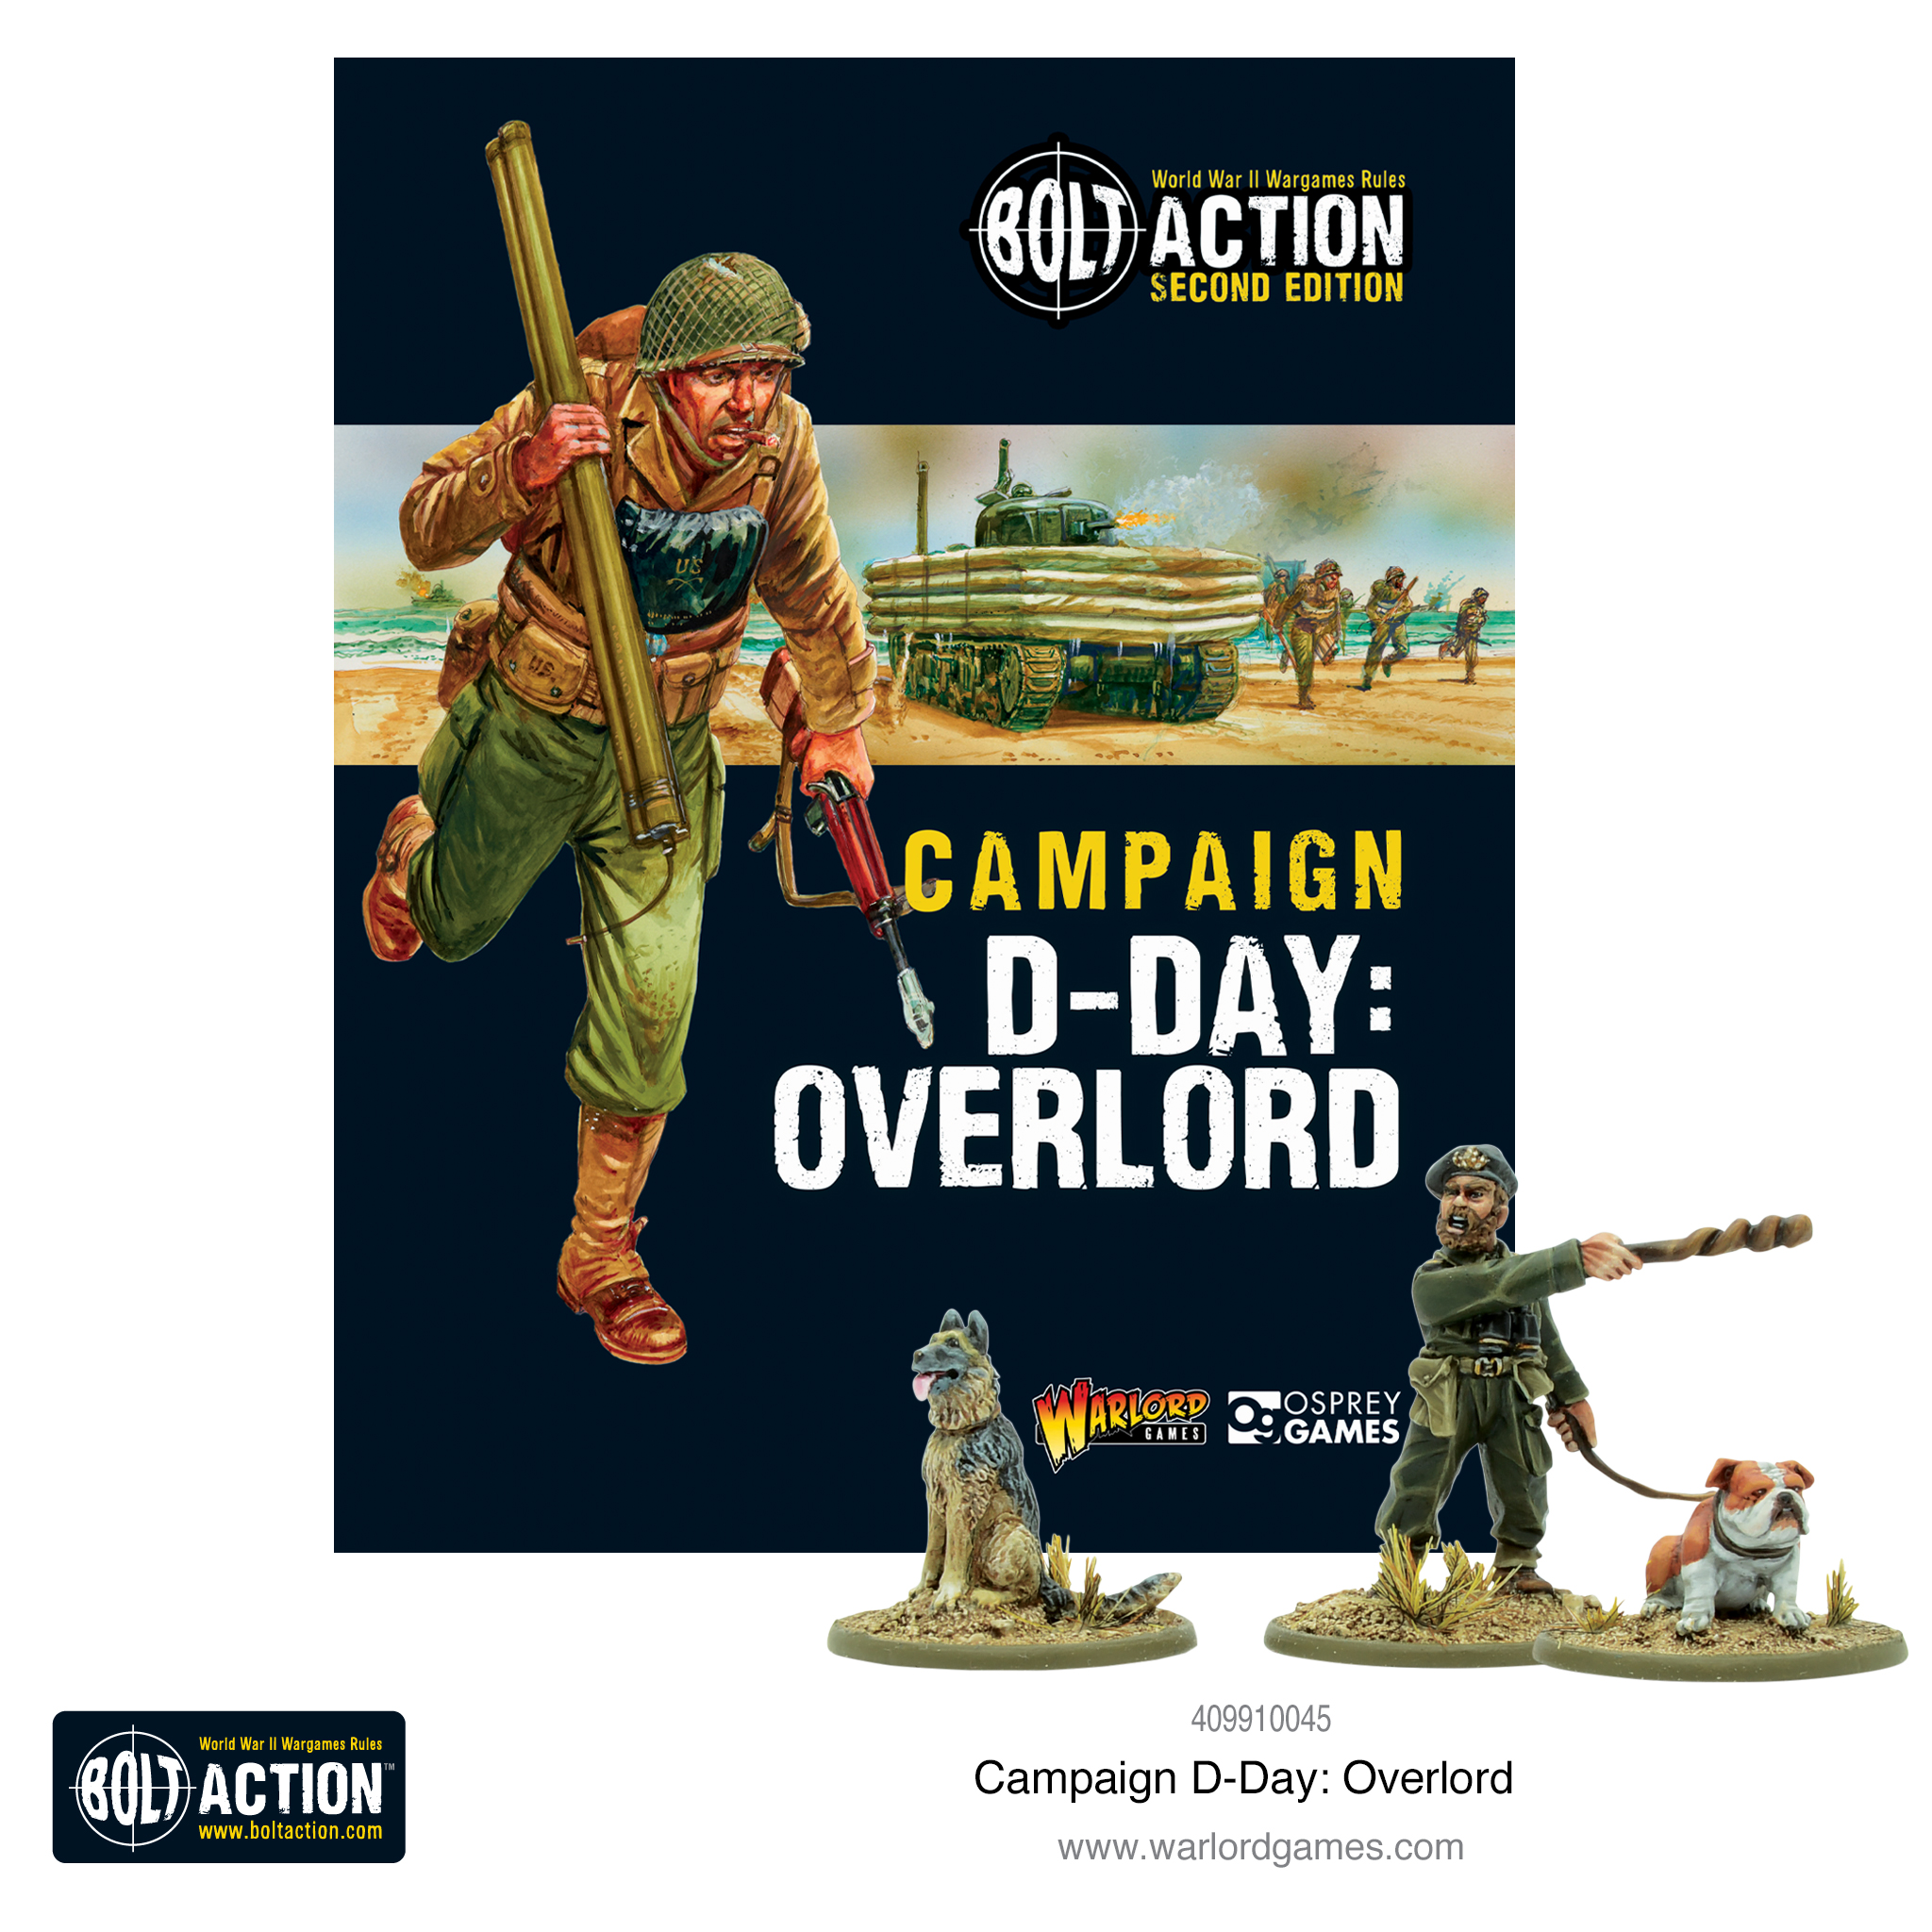
You can find rules for recreating this iconic battle in our brand new campaign book; D-Day: Overlord. You’ll also find a wealth of background information, along with new units and theatre selectors!
Head over to the webstore now for more information, and to pick up your copy!