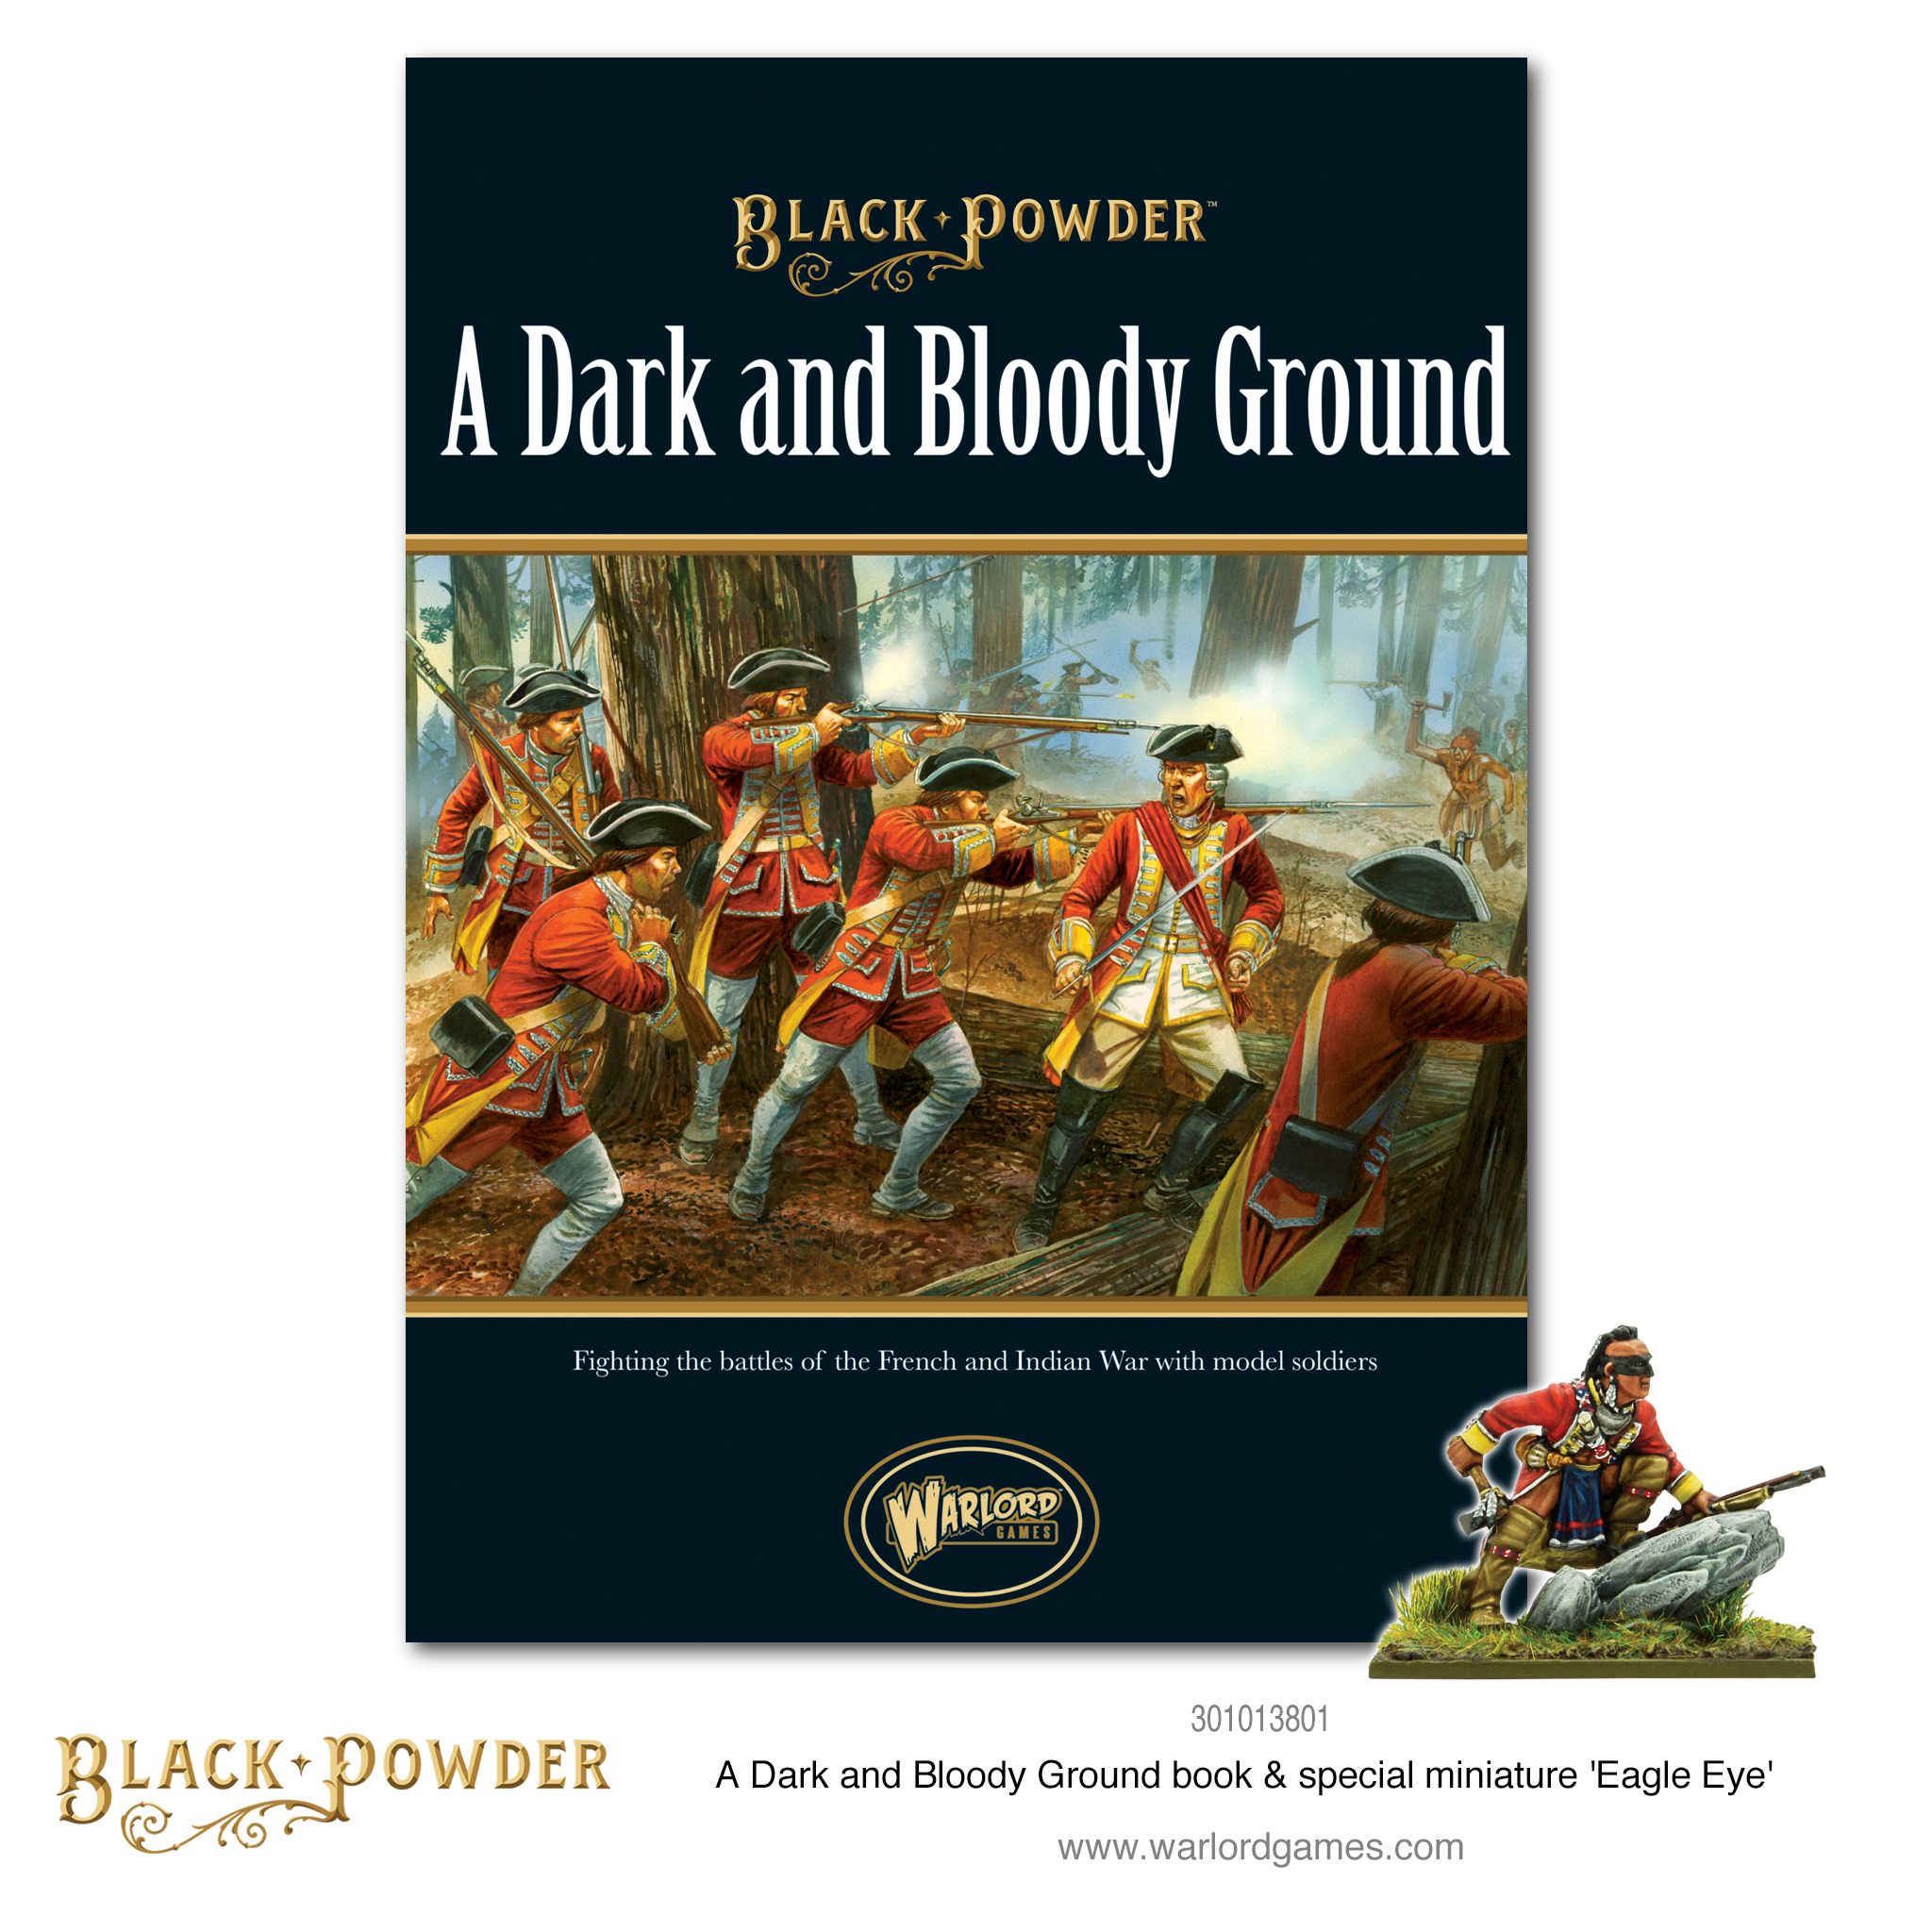
In this comprehensive article, Dark & Bloody Ground author Pete Brown examines the Battle of Quebec and suggests ways to make the battle more interesting to refight as a wargame, along with some alternative options to keep your players with 20:20 hindsight on their toes…
I have always had a love for the various conflicts in America and Canada during the early eighteenth century, which we in the UK know as the ‘French & Indian War’. From a historical perspective, the war represents a clash of cultures, not just between the Indian nations and the Europeans, but also between the British and the French, who had very different approaches to their colonies. The French settlers adopted the approach of the Indians, living their lives as hunters, intermarrying with the native tribes and co-existing with the prevailing status quo. The British settlers, on the other hand, were farmers, who cut down the trees and cleared the land to grow crops. They saw the Indians as a threat and consequently they treated them at best with contempt and at worst were openly hostile. This difference was reflected in each Nations colonial troops. Whilst the British raised militia and provincial battalions along European lines, the French raised units of tough back woodsmen, who were generally excellent shots and who were inured to the hardships of wilderness life. I speak, of course, in broad terms, as the British also raised excellent units of rangers and light infantry, whilst the French had Colonial Marines and town militias, but the distinctions generally hold true.

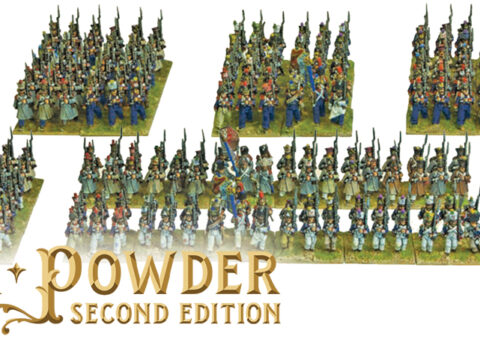
As a wargamer, the war represents the best of both worlds. It has stand-up fights between European regulars, such as at Ticonderoga and Quebec, as well as skirmishes and low-level raids between colourful units of Native Americans and colonial irregulars. There are sieges, such as the infamous attack on Fort William Henry and of course desperate last stands, such as Braddock’s defeat. From civilians defending their homesteads from Native American war parties to river crossings and ambushes, this war has it all!
The games also have the potential to look great! There are a number of actions fought in the depths of the Canadian winter, allowing modellers to use all of that snowy terrain you have been dying to try out, whilst the figures can be modelled in winter clothing and pulling sledges. Since many actions followed the line of rivers and lakes you can brighten up the tabletop with canoes, bateau and even small ships if the mood takes you, whilst the fact that the war was fought primarily in the wilderness means you will not have to outlay a huge amount of cash buying buildings.
The scale is also a huge selling point for this war, as you can start playing skirmish games with only a small number of troops on each side, slowly adding to your collection until you have enough troops to play out battles such as Ticonderoga. Many actions during this war involved only a couple of regular battalions on each side, supported by their irregular colonial militias or light troops, and so after purchasing a couple of boxes you are ready to go, something which definitely cannot be said for most theatres during the Seven Years War.
Background to the Battle
Now probably every schoolboy knows about the Battle of Quebec, but for those of you who are entirely new to this period, I shall provide a quick overview. The libraries and bookshops are full of excellent accounts, not just of the battle of Quebec but of the war as a whole and I would encourage anyone with a passing interest to check out the suggested reading at the end of this article. Even if you do not wish to wargame the period, many of these are rip-roaring accounts of battles in the wilderness which will stir the heart of any gentleman!
Briefly, British General Wolfe was dispatched by ship with a large force of British regulars to besiege the French Canadian city of Quebec, which was defended by the Marquis de Montcalm. After some abortive efforts to land troops to cut off the cities supplies, Wolfe hit upon a rather daring plan. The French had posted sentries around the cliffs that surrounded Quebec, whilst Montcalm had dispatched General Bougainville with 3000 men to cover the most likely landing spots. Wolfe hoped to land troops at L’Anse-au-Foulon, a cove situated southwest of the city. It lies at the bottom of a 53-metre (174 ft) high cliff leading to the plateau above and was protected by a battery of guns. His plan required that a small party of men should land by night on the north shore, climb the tall cliff, seize a small road, and overpower the garrison that protected it, allowing the bulk of his army to ascend the cliff by the small road and then deploy for battle on the plateau!! His orders read:
“The first body that gets ashore is to march directly to the enemy and drive them from any little posts they may occupy. The battalions must form on the upper ground with expedition and be ready to charge whatever presents itself..”
Even if the first landing party succeeded in their mission and the army was able to follow, such a deployment would still leave his forces inside the French line of defence with no immediate retreat but the river. If the enemy attacked the British whilst they were deploying they could be in some difficulty!
As luck would have it, the French sentries who saw the British row boats thought they were an expected re-supply column and let it pass. After the advance party scaled the cliff they were challenged but a Highland officer replied in fluent French and the British were soon able to overwhelm the French lookouts. With the main path now open, Wolfes men began to stream up the narrow cliff path and deploy on the heights above.
Wolfe formed his army on the plains in a single line of battalions, the right resting on the edge of the heights above the St Lawrence River with the left on a wooded area. From the right his regiments were: the 35th Foot, the Louisberg Grenadiers ( made up from the Grenadier companies of the other regiments ) the 28th, 43rd, 47th Foot, Fraser’s Highlanders and the 58th Foot. One light gun had been dragged up the cliff and stood between the 47th and the Highlanders. The 15th Foot was formed at a right angle to the line on the left to protect the flank. Two battalions formed a reserve, the 3rd/60th and the 48th Foot. Two companies of the 58th guarded the access up the cliff and 2nd/60th guarded the rear against any incursion by Bougainville’s reserve force. In addition, there was a battalion of light infantry and a unit of Rangers. Brigadiers Monckton and Murray commanded the line and Brigadier Townsend the reserves. Wolfe positioned himself with the 28th on the right of the line.

General Montcalm did not become aware of the British incursion until the morning when he saw the line formed outside Quebec. However, due to the lay of the land, he was not aware of just how many British troops had landed. Acting quickly, he believed he might still push the British back and stop them gaining a foothold on the heights. Immediately, French Regulars, Canadian Militia and their Indian allies streamed through the city towards the Plains of Abraham. Montcalm applied to the governor of Quebec for some of the guns from the ramparts, but the governor agreed to release only three. Nevertheless, Montcalm decided to attack the British line, forming his army as follows: from the right a battalion of Canadian militia, then the regiments of Bearn, La Sarre, Guienne, Languedoc, Royal Roussillon and another battalion of militia. Skirmishing Canadians and Indians formed on the flanks. The two armies were almost equal in numbers, with the British having 4,800 regulars whilst the French had 2000 regulars, 3000 militia, Indians and colonial troops.
A savage fight developed on Wolfe’s left between the skirmishers and the British Light Infantry and the reserve regiments under Townsend whilst the three French guns and the single British gun fired at the opposing lines. The French regular battalions advanced quickly to the attack, possibly following Montcalms belief that the British were not on the plains in numbers. However, the advance was a little too quick:
“We had not gone twenty paces when the left was too far in the rear and the centre too far in front..”
The British regiments, who had been lying down to avoid the artillery fire, rose up. The French fired ineffectually at too great a distance and then came on again. The British foot withheld its fire until the range was 35 yards, when they; “gave them, with great calmness, as remarkable a close and heavy discharge as I ever saw.” Some sources state that Wolfe had ordered his men to “double-shot” their muskets, meaning that each soldier had loaded two musket balls instead of one, whilst others attribute the effectiveness of the volley to the drilled platoon firing of the British regulars. After the first volley, the British lines marched forward a few paces towards the shocked French force and fired a second general volley that shattered the attackers and sent them into retreat. The British infantry then advanced and drove the French from the field. General Wolfe, although having been shot in the wrist early in the battle, had continued to lead from the front and was hit once in the groin and again in the chest just as the British volleys crashed home. He lived just long enough to be told of his victory. Dying just at the point of victory, and more importantly, the victory that won Canada for Britain, made Wolfe a national hero. But in many respects, it was lucky that he died in this manner, as Richard Holmes pointed out: “had he escaped French musketry he would have died of the galloping consumption that was already eating him away!” This attack was the last gamble for fame by a dying man, which paid off in spades! Montcalm too had been hit by two balls, possibly from canister, and was carried back into the city along with his fleeing men. He died the following morning.
The battle was not over, however, as the Highlanders fought a bitter battle with the Canadian Skirmishers and Indians on the flank, who continued to carry out a fighting retreat for which the Highlanders paid dear. This was made worse by the fact that many of the Highlanders had thrown down their muskets and drawn broadswords to pursue the fleeing French only to find accurate fire coming from the stubborn French irregulars to which they could not reply!

At the rear, Brigadier Townsend had to quickly rally two British battalions and form them up to face Bougainvilles relief force which had just arrived on the plain. Seeing the main army in retreat, Bougainville chose to retreat and preserve his force, although a swift attack by him at this stage may have recovered the day for the French. With Bougainvilles withdrawal and Montcalms death, the Governor of Quebec decided to evacuate what forces he could to join with Bougainville and surrender the city to the British.
The fall of Quebec was the death knell for French Canada, and although the war was to drag on, there was no realistic prospect of a French victory.
Re-Fighting Quebec
On the face of it, this is a fairly even battle, with similar numbers on both sides facing each other across a flat plain with woods on one flank. However, the French are always at a disadvantage in terms of quality, as much of their force is made up of irregulars and militia. With the benefit of hindsight, the French commander is unlikely to rush this missmatched force into battle with the British and is much better advised to hang back under the protection of the rampart guns from Quebec and engage the British in a long-range skirmish in the hope of wearing them down. In the long run, the regulars will always win if they can engage the French in a firefight which will quickly put the militia to rout.
This does not mean the battle cannot be fought out as it is, but there follows a number of suggestions to make your game more interesting and also to throw in a few surprises for those members of your club who know all about the battle and who think they will be prepared for everything!
The L’Anse-au-Foulon Options
The Marquis de Montcalm attacked quickly with his army as he believed that the British had only a small foothold on the plains. What if Wolfes troops had landed more slowly and found the path to the heights heavier going? In this scenario, the French are told that the British are landing and have some troops on the heights but, as happened historically, the French player is not told how many British are on the Plains of Abraham and how many are still climbing up the path from L’Anse-au-Foulon. The British player rolls 2d6+1 and that is the number of battalions which are currently deployed in line on the plain. The rest must march on board, one at a time, in march column along the road from L’Anse-au-Foulon. The British player notes on a piece of paper where his battalions are. The French player must advance to within 24 inches of the British line ( notionally cresting the rise that hid the British numbers ) before the British player places any of his units on board. This scenario places the French player in a dilemma. To rush forward and catch the deploying Brits, or hold back and fight a defensive battle.
The second option here calls for the Quebec Garrison commander to release the garrison to join the French attack. This would add another 2,200 men to the attack along with extra guns. This might be enough to tip the balance in the French favour.
The Bougainville Options
The first of these options calls for the quick return of Bougainville with his Reserve force. Each turn the French player rolls 1d6. On the roll of a 6, Bougainville appears at the rear of the board behind the British lines. Every turn the French player gets to add +1 to his roll, dramatically increasing the chances of the reserves early arrival! This will certainly surprise any player who has 20/20 hindsight and who will not be expecting to be outflanked.
The other option for this force is that Montcalm sent only scouts to watch the possible landing sights and retained Bougainville with him at Quebec. This will allow the French to deploy these substantial numbers of extra troops in their main battle line which will certainly even up the odds. This scenario is made doubly difficult for the British if combined with the option to release the Quebec Garrison!
The St Foy Options
After Quebec was taken, General James Murray was left in charge of it with a reduced garrison. On the 28th of April, 1760, a French army under Francois Gaston, Chevalier de Levis, and numbering 6,910 men ( made up of eight regular and two marine battalions, along with militia and Indians ) advanced to retake the city. Murray marched his ten battalions, numbering just 3,866, out to attack them on the plains, by a windmill on the St Foy road. This time the British were beaten and driven back into Quebec to undergo a lengthy siege. Fortunately, a British fleet arrived to relieve the garrison and the French retreated.
This scenario certainly provides an alternative to the standard Quebec battle, as the British are outnumbered and on the defensive. If you have time, why not play out the first battle and if the British take the city then play out the St Foy battle to see if the French can take it back!
Special Rules
All infantry who do not have the ‘skirmishers’ special rule can form a skirmish formation only to go into terrain they could not otherwise enter, and will automatically revert to line when they leave it (as per irregulars).
The British Army
CinC General James Wolfe: Command Rating 9
First Brigade: Brigadier General Robert Monckton: ( CR 8 )
15th Amhersts ( 594 men )
43rdKennedys ( 715 men )
48th Webbs ( 852 men )
78th Frasers Highlanders.( 1219 men )
Second Brigade: Brigadier General Charles Townshend: ( CR 8 )
28th Braggs ( 591 men )
47th Lascelles ( 679 men )
2nd Battalion 60th ( Moncktons ( 581 men )
Louisberg Grenadiers ( 326 men )
Third Brigade: Brigadier General James Murray: ( CR 8 )
35th Otways ( 899 men )
58th Anstruthers ( 616 men )
Third Battalion of the 60th Lawrences ( 607 men )
Rogers Rangers ( 207 men )
Combined Light Infantry ( 200 men )

I have decided to make the Light Infantry and the Rangers small units as they fielded only 200 odd men each. However, the Light Infantry can choose to skirmish or form up. We know the British battalions practised their platoon firing as Major Henry Fletcher of the 35th wrote:” I gave directions for teaching the men the platoon firing exercise during the eight weeks we were at sea and those on board my transport fired exceedingly well”. That and the “double-shoting” of the British muskets leaves me in no doubt that the British should have the “First Fire” and “Platoon Firing” special rules. I have made the Louisberg Grenadiers a little tougher than the average British troops to represent them being picked men.
The French Army
CinC Louis Joseph, Marquis de Montcalm ( CR 9 )
First Brigade: Francois Gaston, Chevalier de Levis ( CR 8 )
Regiment Bearn ( 454 men )
Regiment La Sarre ( 489 men )
Regiment Guyenne (436 men )
Regiment Languedoc ( 473 men )
Regiment Royal Roussillon ( 485 men )
2 Units of Indian Allies ( unknown strength )
1 Unit of French Woodsmen ( strength unknown )
Quebec Militia
Trois Riveires Militia
Montreal Militia
3 guns
Reserve Brigade: Louis Antoine de Bougainville ( CR 8 )
Regiment Berry ( two Battalions of 908 men total )
Regiment La Reine ( 440 men )
2 Battalions “Troupe de Colonie”
1 battalion Montreal Militia
Colonial Cavalry ( 200 men )
Quebec Garrison: Pierre de Rigaud, Marquis de Vaudreuil
2,200 Seamen, City Militia, marines and naval Gunners.

Special Rules
Not Clear: French Militia is classed as a ‘Not Clear’ target and receive a -1 modifier when being shot at. This is to represent their tendency to lay down to reload after firing.
You may wish to give the French another CR 8 Brigade Commander with Montcalm, just to make his force more flexible. I have made the French Regulars fairly bog-standard, as their numbers had recently been bolstered by a draught from the militia of those “least fit” for warfare in the woods. This does not inspire me with confidence in their ability! The colonial marines I have made a little brittle with low stamina, as are the Militia. However, to reflect the fact that the militia engaged in very ungentlemanly “lying down” to reload, I have classed them as an unclear target. This is possibly the only battle where you may get to deploy cavalry, so I have made them a little better than they should probably be, but I like cavalry!
Please feel free to change any of the stats you see above to suit your perceptions of this battle and how it should play out. So long as you are having fun, that is all that matters.
Bibliography
“Death or Victory; The battle of Quebec and the Birth of Empire” Dan Snow
“Paths of Glory; The life and Death of General Wolfe” Stephen Brumwell
“Quebec 1759: The Battle that Won Canada” Osprey campaign Series.
“Musket and Tomahawk: A Military History of the French Indian War” F Parkman
For inspiration, be sure to watch “Drums along the Mohawk” or “Nothwest Passage”, which are old Hollywood classics, or of course “Last of the Mohicans” which has some great battle scenes, or why not read Fenimore Coopers original!