A veteran of the Bolt Action community, and ban-hammer wielding admin of the Bolt Action and Bolt Action International Facebook pages, Brian Ward is an experienced painter and modeller – and very kindly offered to write us a “Beginners guide” to working with resin and metal vehicles for people that might be new to such things.
This guide is designed to provide you with some of the key basics to help get your models from kit form to battlefield-ready as quickly and pain-free as is possible… anyway – over to Brian!
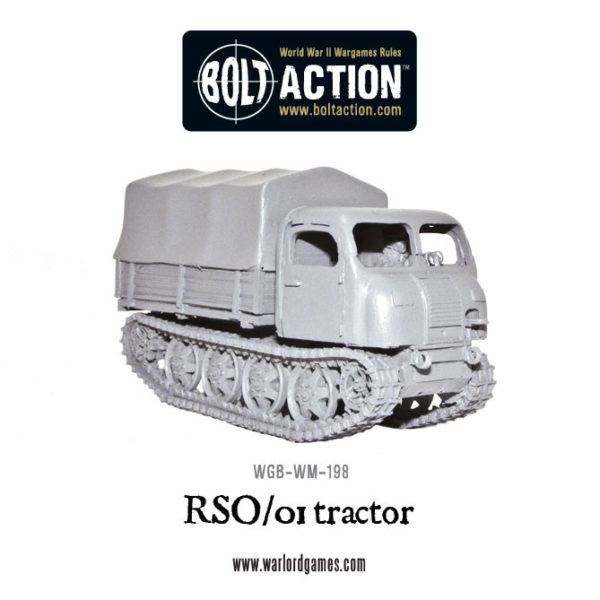
I recently received a Raupenschlepper, Ost from Warlord Games. A brief history of the vehicle can be found here, but for the sake of saving time, the RSO was developed with experiences of the Wermacht on the Eastern front with muddy, dirt roads and the inability of wheeled vehicles to ferry supplies and/or men across the great plains of the Soviet Union in these miserable conditions. The RSO was deemed a great vehicle and 23,000 of them were made before the war’s end.
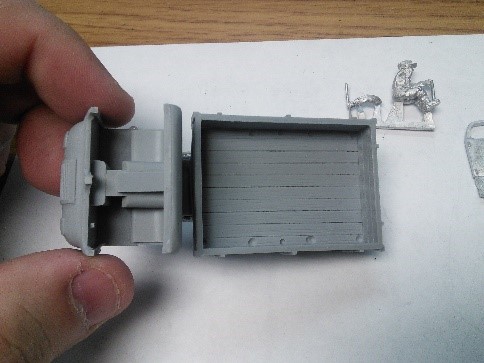
The parts I was presented with from Warlord are shown below.
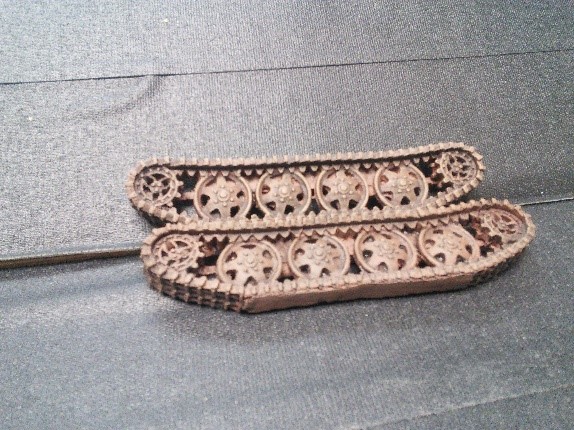
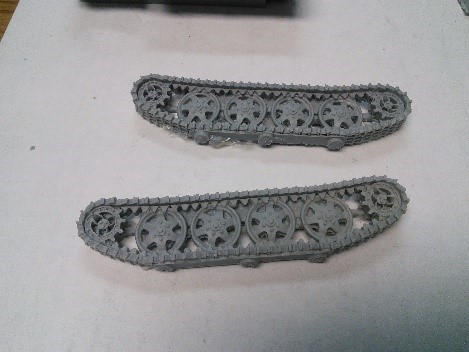 As you can see here, the tracks are both a single piece, left and right. There is some trimming to do to the resin on the bottom of the tracks as you can see in the picture here. There is also some thin resin “flash” in the actual wheels and pulleys of the tracks themselves. These small imperfections are an inevitable part of the resin casting process, and are easily removed with clippers and a craft knife.
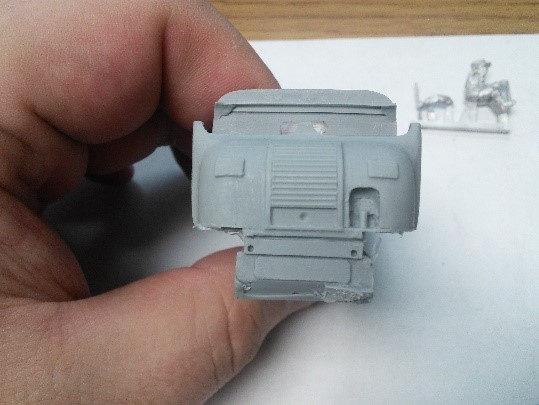
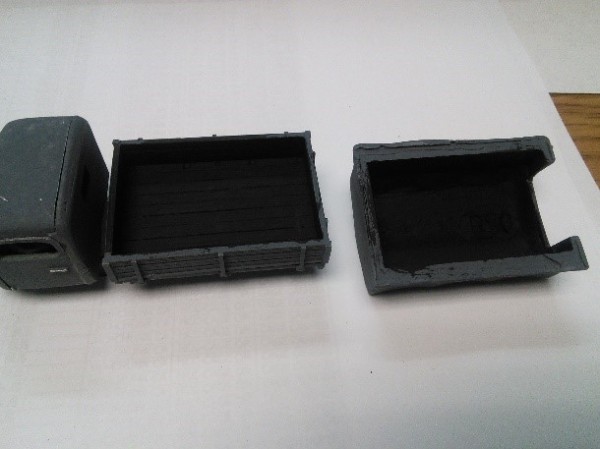
The next piece we have here is the top of the Cab of the RSO. This cab design implementation is very familiar to those of you that might have put a Opel Blitz together, but let me assure you that this kit was 100% developed with that kit in mind and they seemed to have fixed the Opel’s frustrating alignment issues with it’s cab.
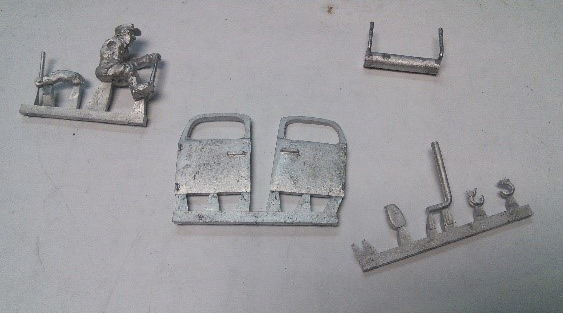
Next we find ourselves looking at the driver, who is sitting with the track levers in his hands in the forward position. The exhaust and muffler are a two piece fixture on the rear of the vehicle. The other bits included are a light and a couple of tow hooks for the front of the tractor, plus of course the doors. These are the only metal bits of this kit which is nice, as working with both materials can present trouble for a beginner and sometimes even a veteran.
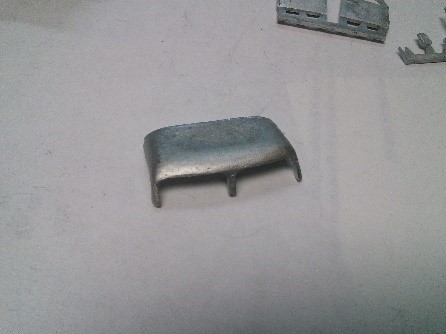
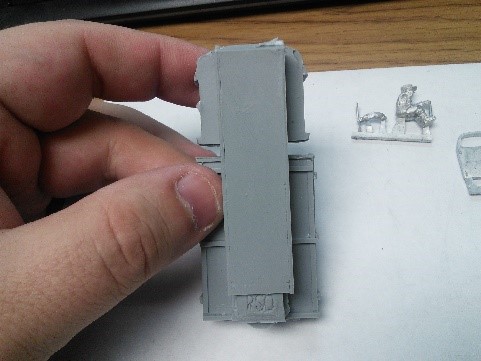
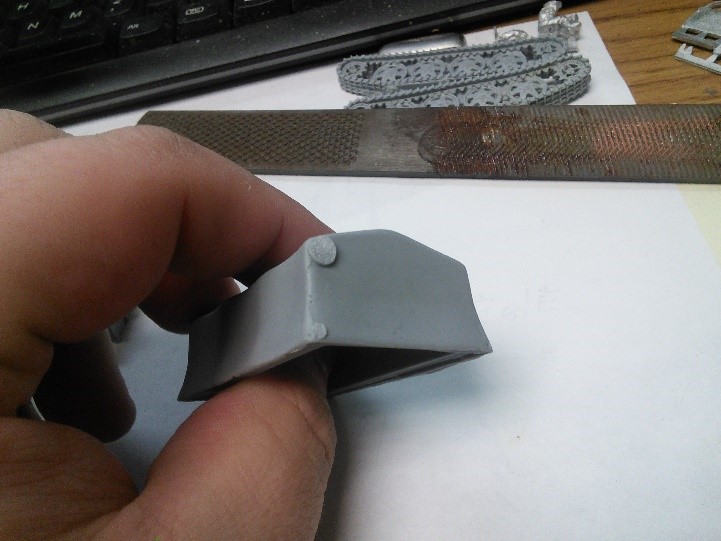
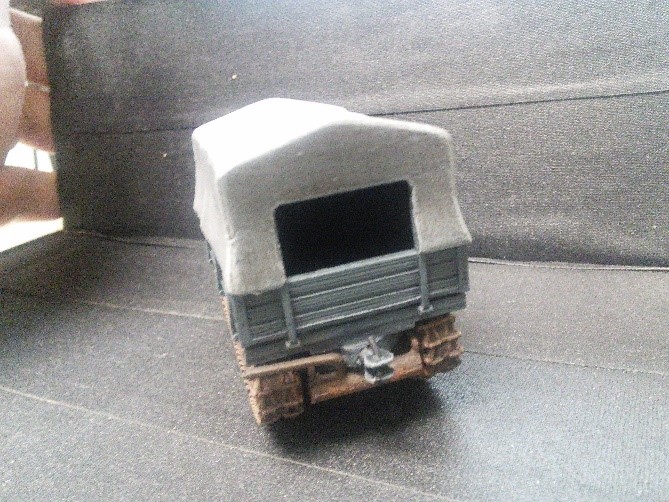
The canvas cover on the back of the RSO comes in a single piece as well. There is a spot of resin from the casting process on the side facing the cab, that needs to be pared away.


Do NOT cut the overhang of the resin flat. The cover simply snaps into place with this little ledge of resin. The rear facing part of the canvas is very clean, and the lines are nice. All and all this part of the kit is pretty easy to work with, and does not present a challenge to the builder.
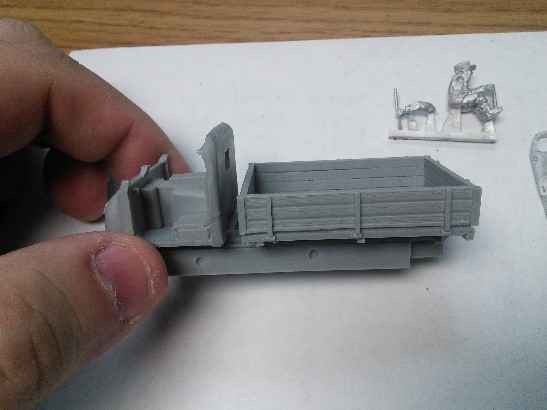
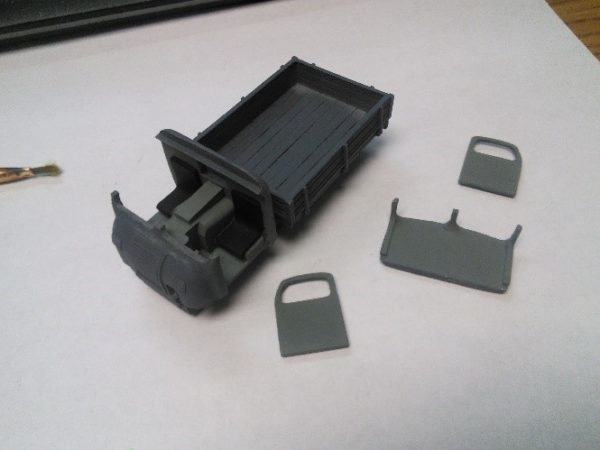
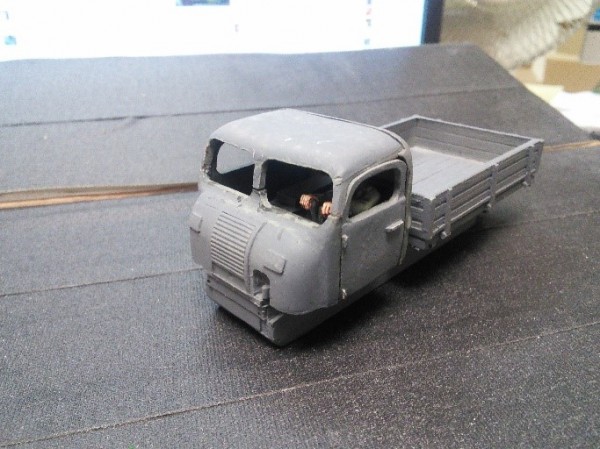
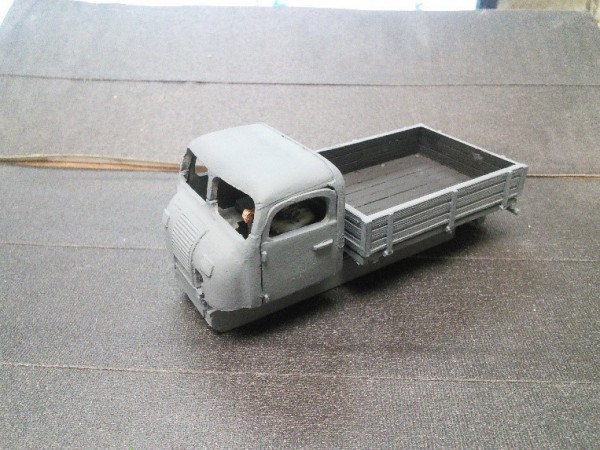
The main chassis of the RSO again is another single piece. The cab is very accurate to the actual vehicle with the motor sitting between the driver and passenger. The seats have nice lines and will be easy to paint. The chassis is one piece and the bed looks like there are holes set into it so you could make your RSO appear to have no canvas, just the skeleton ribs of the bed showing. So you could make a nice piece by throwing some stowage and cargo in the back!
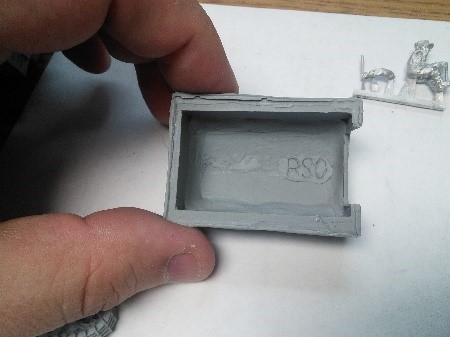
The front of the cab shows signs of the moulding process and there will be some clean-up on it that can easily be handled with a hobby knife.
Cleaning the Resin
Dealing with resin can be tricky. The first thing you should do with all resin parts in any kit is wash them in warm water with a mild soap, I use dish soap, as it’s conveniently next to the sink. This washing removes the greasy mould releasing agents used in the casting process. Let the resin dry thoroughly. I cheat and use a desk fan in this process, but then again, if you know me, I am impatient.
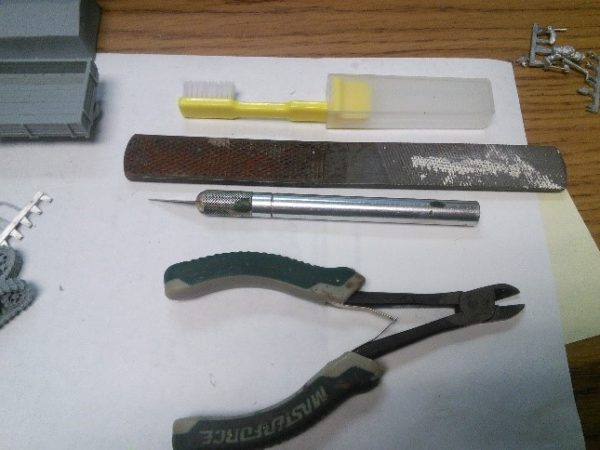
Here are the simple tools I used on this project. From the top down. A cheap travel toothbrush from the dollar store. A file that ranges from very coarse to fine on both sides. A hobby knife (known as an X-Acto knife here in the States) and a set of side cutters. I use the side cutters mainly for removing the metal parts from their sprue, so I did not use them much in this kit, but felt I should include them for the sake of showing every tool I used in the project. I use the toothbrush to remove all the thin resin flash on the model by roughly brushing the model all over, especially the tracks to remove anything before and after cleaning with the hobby knife. This works very well and does not damage the resin in the slightest.

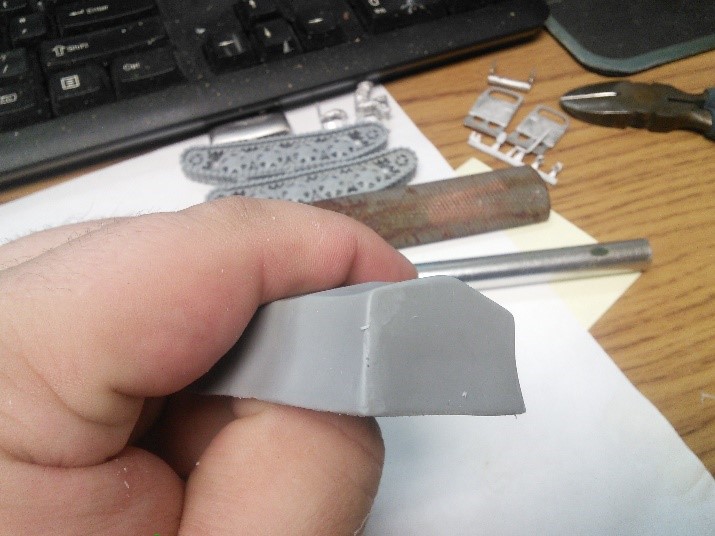
Before and after using the hobby knife and file to remove the casting excess on the canvas:
Painting
I now primed the all the parts with Krylon Colormaster Gray Ultra Flat primer. I use this as it works well with both metals and resin and it is an enamel based primer, which I prefer. You can use whatever you want, White, Black, Red, whatever colour you like, whatever brand you prefer.
After priming I painted the inside of the cab a pewter grey and the seats black. The driver I painted outside the vehicle, on the top of an empty paint bottle with his bottom stuck to some blu-tack. I painted him in the feldgrau colors appropriate to the period I was painting this vehicle.
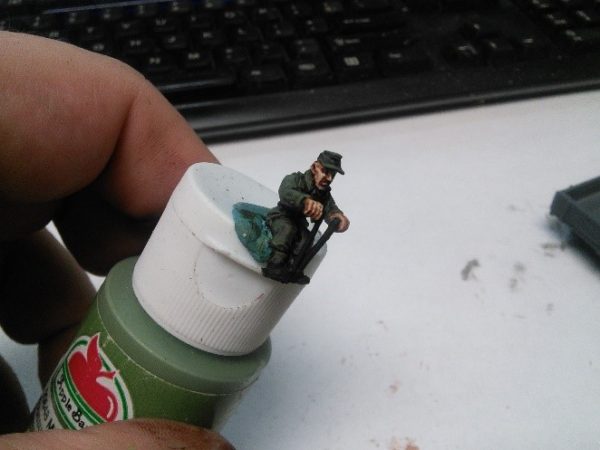
Now that the driver was painted, I overly exaggerated his skin tones as he will be in a dark cab and when he is viewed I wanted the contrasts to pop a little.
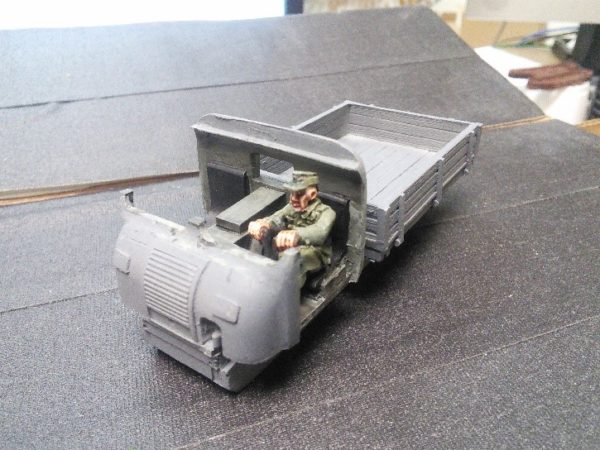
Now I assembled the cab roof and doors to the chassis. Be sure you test fit the doors and cab before gluing so that you know it’s going to fit correctly when you are done. There are some gaps around the doors and a little space in the front of the window connectors, but all in all a good fit. If you are an experienced modeller and have some liquid green stuff, these seams are easy to fill.
The tracks I painted with a dark brown to begin with, then I dry brushed the same brown adding a few drops of white to the brown until I was satisfied with the dirty, rusty look. I added some orange to the top layer for a rustier look.
Here I painted the inside of the bed and the inside of the canvas canopy black. You really are not going to see inside there anyway, so my thinking was make it as dark as possible in there.
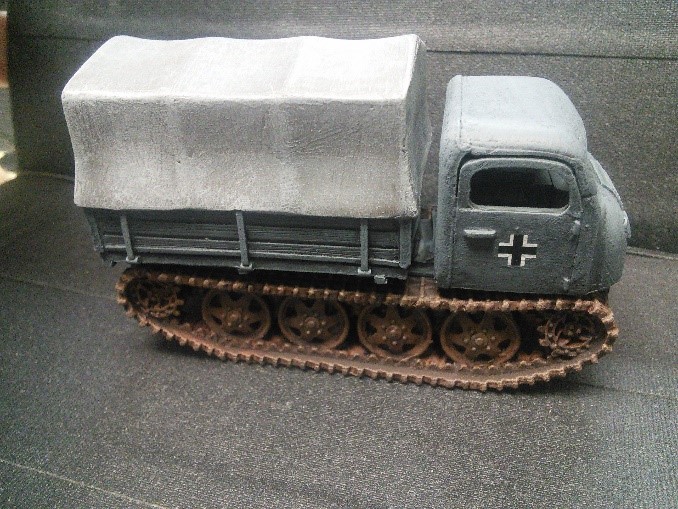
I now also painted the exterior of the RSO Panzer Grey with a little hint of black in it to make it slightly darker. Then I took a large soft brush and took the original panzer grey and dry brushed heavily over the entire chassis being careful not to hit the driver’s arm. The canvas, I painted a lighter shade of panzer grey almost a 50/50 mix of panzer grey to white. Then I dry brushed again with a slightly lighter shade made by adding a few drops of white to the mixture, to give it a warn edges look and to highlight the internal frame under the canvas.
Next I assembled all the pieces together, the canvas down on the bed, and the tracks onto the side. At this point I painted the exhaust on the RSO in very much the same technique as the tracks, added some Balkenkruz decals to the doors of the RSO and I had finished this wonderful kit.
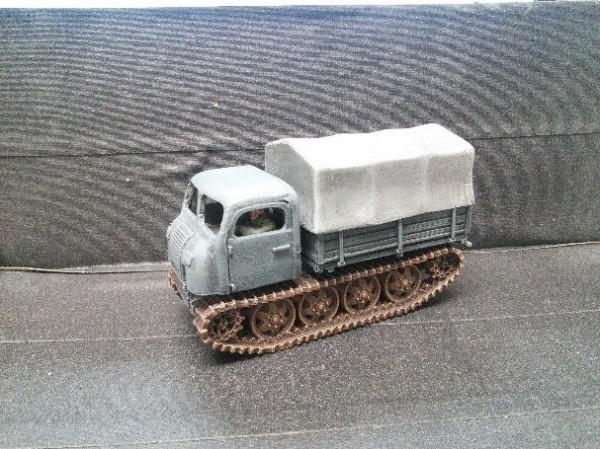
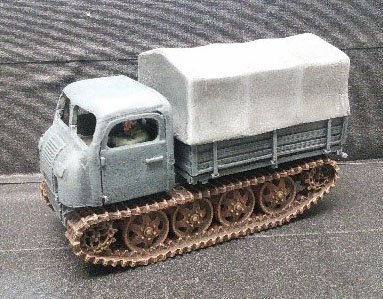
The Completed Model

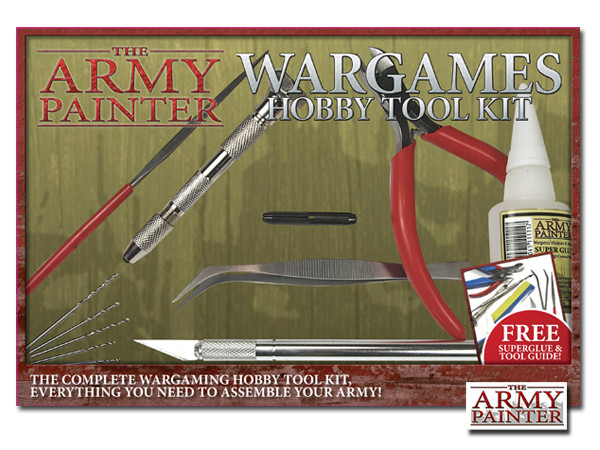
If you’re brand new to the hobby – the Army Painter Wargames Hobby Tool Kit is a great bundle of all of the tools that you’ll need to get started preparing and assembling your models!