Bryan Cook yet again astonishes us with his painting and drops a few words of wisdom on the new Australian Commandos.
Review
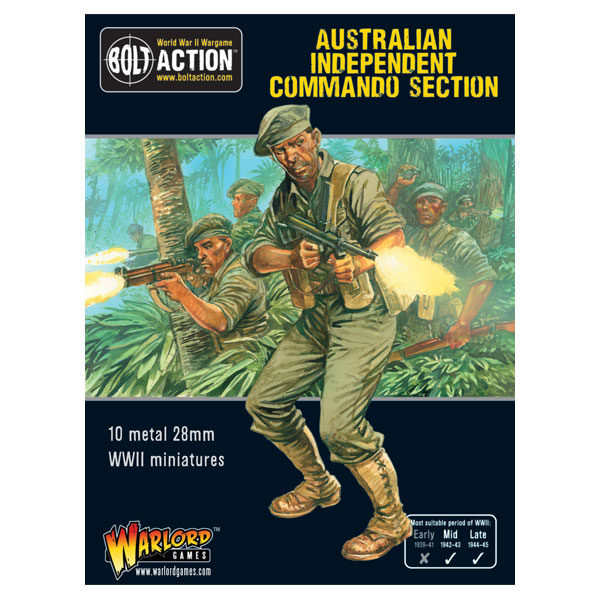
Bryan: G’day fellas! Warlord Games has finally released the first of it’s Australian range in the form of the Independent Company Commandos. The miniatures are fantastic sculpts, very accurate and a pleasure to paint. Read on and I’ll go over the boxed set in a little more detail, as well as a step by step painting guide you can follow to paint your own Aussies.
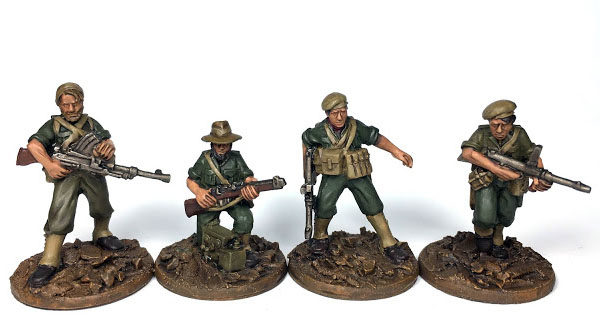
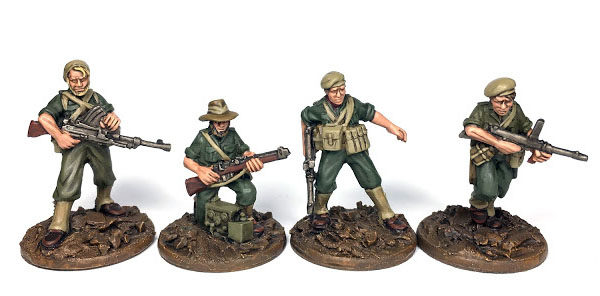
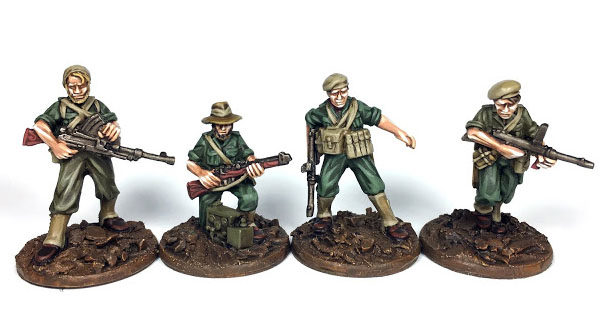
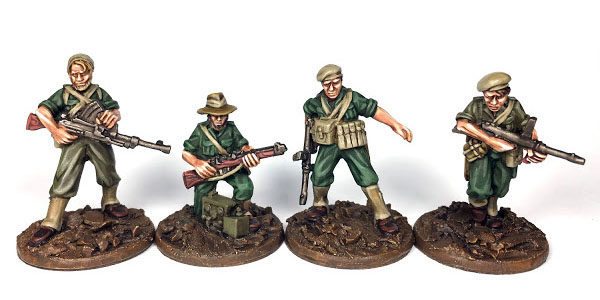
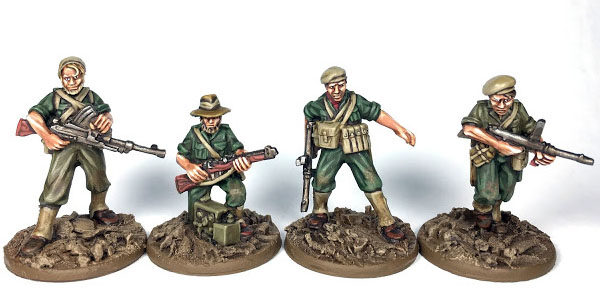
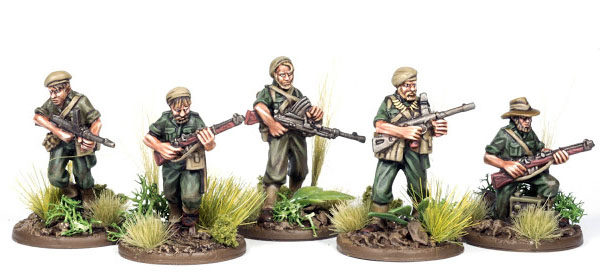
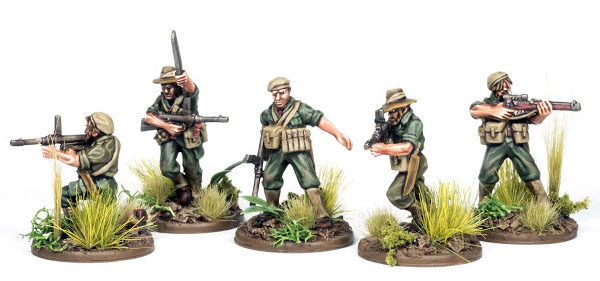
The boxed set contains a full strength section of Australian Independent Company Commandos, being 10 men. They are equipped in a historically typical fashion with 6 sub machine guns, 1 Bren light machine gun and 4 Lee Enfield rifles. One of those rifles has a scope and the sub machine guns are the iconic, Australian designed and made Owen Gun. These really help to give the models that Australian look.
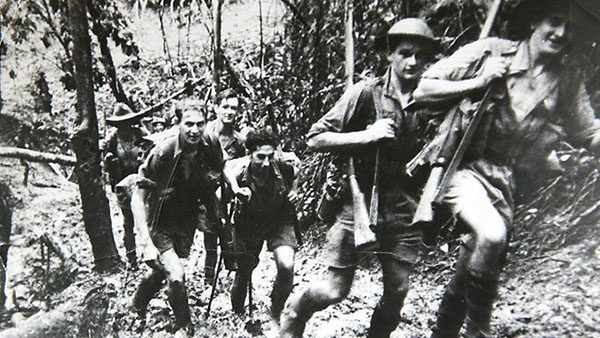
The sculptor, the talented Steve Saleh, has taken this further by really paying close attention to period photos of the men he is representing in miniature. Take a look at this photo on the left and you’ll see what I mean. He has managed to capture the rugged look of the men of these units. They often sported beards as they would be out on 12 day long patrols in the jungle, behind Japanese lines.
The style of beret worn by the Australian Commando units is also slightly different to their more well known British counterparts. Less a sign of elite status and more a practical piece of jungle head gear, the miniatures again capture that individualistic approach to uniform regulations in the Australian Independent Companies.
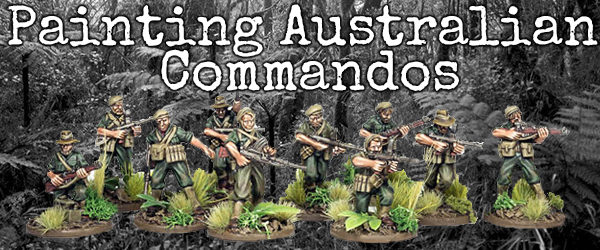
The sculpting is fantastic, and the equipment and uniforms are accurate, so I give these 5 out of 5 Owen Guns. The models are all single piece sculpts and do not have separate heads. Okay, onto how to paint your Pacific Australians.
Painting Guide
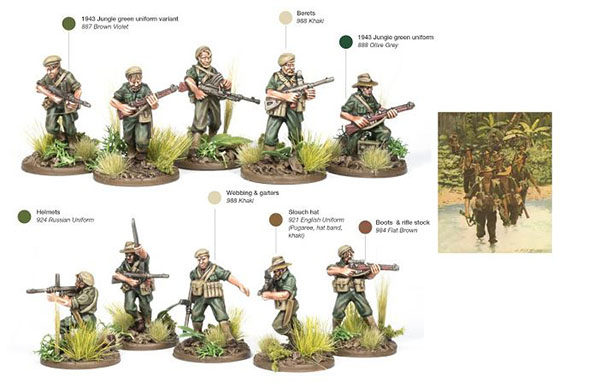
Above is the basic colours used to represent this uniform on the right, at the Australian War Memorial. The Jungle Green uniforms had no real standard shade of green and the harsh environment quickly changed them anyway. But these are useful for reference.
Step 1: Coloured Primer
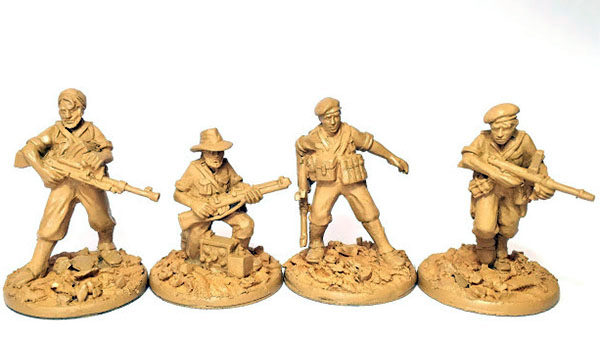
Undercoat your models with Army Painter Desert yellow (or anything similar really). This light coloured primer is a good base to work from.
Step 2: Base colours
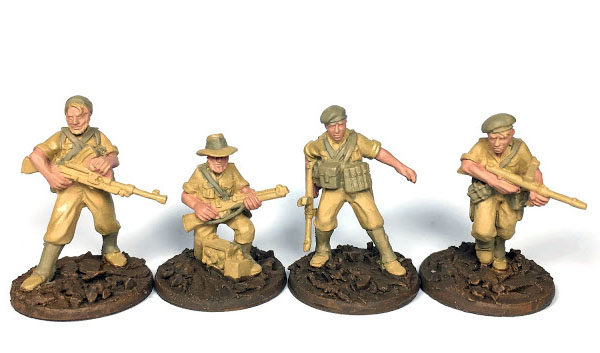
I start off by painting on some of the lighter parts of the model which are also harder to reach later without making mistakes. This means we don’t have to clean up as the darker colours that come next cover up any mistakes in this stage. The colours I use are either Vallejo (VJ) or Games Workshop (GW).
Beret, webbing pouches, gaiters: VJ 988 Khaki
Flesh: GW Cadian fleshtone
Step 3: Base colours (cont’d)
Now we finish off painting the base colours. The jungle green uniforms worn by the Australian troops in the pacific varied widely in colour, due both to the various manufacturers in Australia, as well as the effects of the climate on the material. Weeks of rain, sun and sweat tended to fade the material and most uniforms would literally rot away and need replacement after 3 months of frontline use in the New Guinea jungles. To represent this I have chosen to paint to different hues of green randomly across the trousers and shirts of the various models.
Jungle green uniform variant 1: VJ 888 Olive Grey
Jungle green uniform variant 12: VJ 887 Brown Violet
Wooden gun stock: VJ 9884 Flat Brown
Metal gun barrel: GW Leadbelcher
Slouch hat and water bottle: VJ 921 English Uniform
Boots: GW Rhinox hide
Bases: VJ 826 German Camo Medium Brown
Step 4: Wash
Wash the entire model in Army painter Strong tone acrylic wash (not the dip). Then wash just the metal areas with GW Nuln oil, or any other black wash.
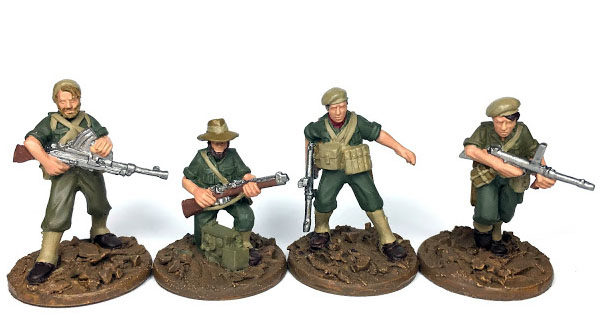
Step 5: Highlights 1
Once the washes are dry it’s time to apply highlights to the raised areas of the miniature. For this I use a fine detail brush (size 0). Be sure to not paint over the recces es in the darker areas achieved by the wash.
Beret, webbing pouches, gaiters: VJ 988 Khaki
Flesh: GW Cadian fleshtone
Jungle green uniform variant 1: VJ 888 Olive Grey
Jungle green uniform variant 12: VJ 887 Brown Violet
Wooden gun stock: VJ 9884 Flat Brown
Slouch hat and water bottle: VJ 921 English Uniform
Boots: GW Rhinox hide
Step 6: Highlights 2
To build up depth I highlight a second time with a lighter shade than the previous step. Be sure to paint an even finer highlight this time and not cover up the previous two stages work.
Beret, webbing pouches, gaiters: VJ 821 German Camo Beige
Flesh: GW Kislev flesh
Jungle green uniform variant 1: 70/30 mix of VJ 888 Olive Grey & VJ 819 Iraqi Sand
Jungle green uniform variant 12: 70/30 mix of VJ 887 Brown Violet & VJ 819 Iraqi Sand
Wooden gun stock: GW Tuskgor Fur
Slouch hat and water bottle: VJ 880 Khaki Grey
Boots: GW Doombull Brown
Step 7: Highlights 3 + glazes
In this stage I apply a final highlight to the largest areas of the model. I also paint on a watered down glaze over Jungle green uniform variant 1 and the flesh areas. This adds colour back to the highlights (which are a bit pale and pastel at this point) but keeps that great contrasting depth achieved by the highlighting.
Flesh: Highlight VJ 928 Light Flesh, then wash with GW Ogryn Flesh (or any sepia wash)
Jungle green uniform variant 1: 50/50 mix of VJ 888 Olive Grey & VJ 819 Iraqi Sand, then glaze with GW Biel-Tan Green (or any green wash)
Jungle green uniform variant 12: 50/50 mix of VJ 887 Brown Violet & VJ 819 Iraqi Sand
Wooden gun stock: GW Tuskgor Fur
Slouch hat and water bottle: VJ 988 Khaki
Step 8: Final details
Almost there! Time to add the final details.
Eyes: Paint a horizontal white oval for the eyes, then finish off with a black dot for the pupil. Eyes are not easy, use the smallest brush you have and don’t be afraid of holding the mini on it’s side or even upside down to give your brush better access to the face of the model.
Hair: Blonde hair was a base coat of VJ 921 English Uniform, highlight with VJ 819 Iraqi Sand
Brown hair was GW Rhinox Hide base with a VJ 983 Flat Earth highlight
Bases: drybrush VJ 826 German Camo Medium Brown, then drybrush VJ 876 Brown Sand
Step 9: Jungle bases
To achieve a jungle effect on the bases I collected as large a variety of materials to use as I could. This includes grass tufts from Gamers Grass, lichen and clump foliage from a hobby shop, and finally plastic aquarium plants. With these I used side cutters to clip off the individual leaves from the larger ‘plants’ to glue on to each base.
Thanks for checking out this review and painting guide, hopefully it has helped you paint up your Pacific Theater Australians or inspired you to collect some!
If you want to check out the opposing side than here is our Japanese painting guide.
That’s it for now but be sure to follow us at the Bolt Action Alliance on Facebook for more just like this.
Right, I’m off to the pub…
Bryan
Time to beat the Japanese back!