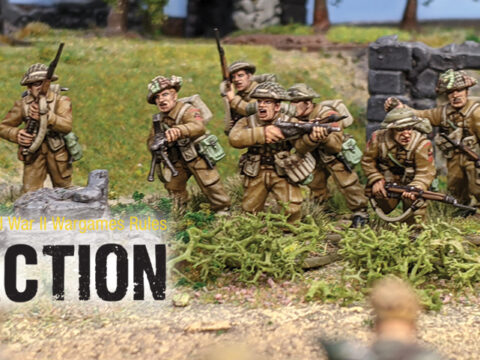
Before we get into this article we would just like to point out this is a fun, optional set of rules which we’ve created in order to add a little fun twist to your games as you battle across Battleground Europe: D-Day to Germany. Please give them a go, have fun with them, and let us know your thoughts on the Forum!
The rules of Bolt Action deal with paratroopers and glider troops by assuming that they have dropped/landed outside the playing area and regrouped by the time they arrive on the table. We feel that the reserve rules, and particularly the outflank option, allow the player to simulate the situation where these troops arrive on the battlefield from an unexpected direction.
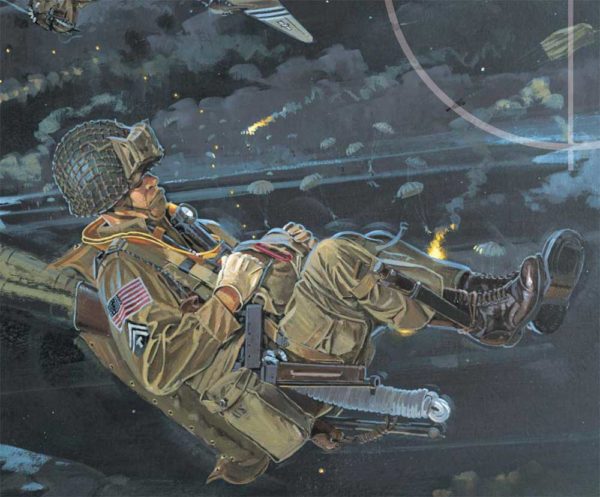
However, we have all watched movies where paratroopers land under fire and indeed there have been a few such instances in history, most notably during Operation Market Garden. The optional rules presented in this article are an attempt at recreating those few dramatic occurrences in your games of Bolt Action.
PARATROOPERS – COMBAT JUMP
The units listed below can use the Combat Jump rules, even when they were simply chosen as part of a normal Reinforced Platoon. They can do so even if they are chosen as part of an Armoured Platoon, in which case you cannot purchase a transport vehicle for them, much like cavalry and motorbike units.
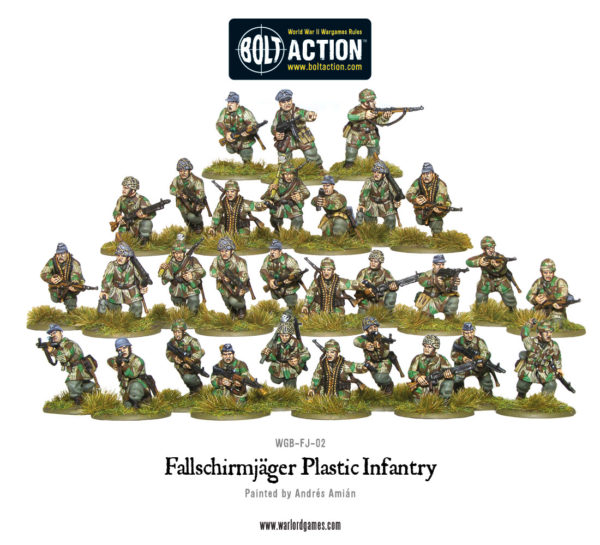
Armies of Germany: Fallschirmjäger squad (early war, late war).
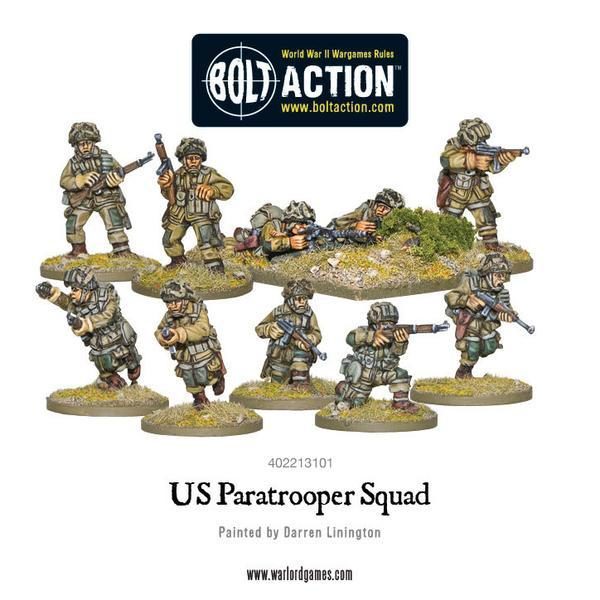
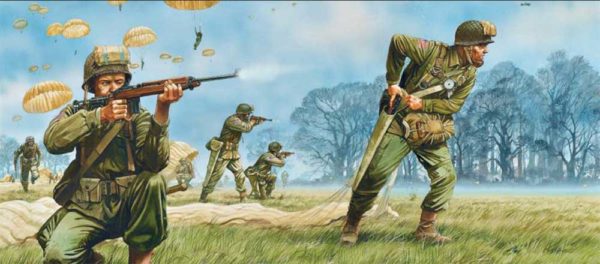
Armies of the United States: Paratrooper squad.
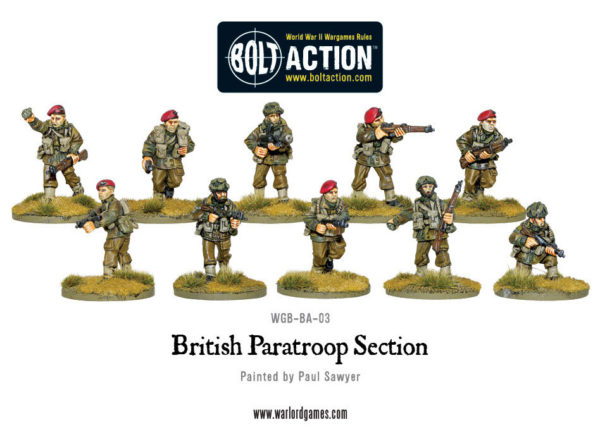
Armies of Great Britain: Paratroop section.*
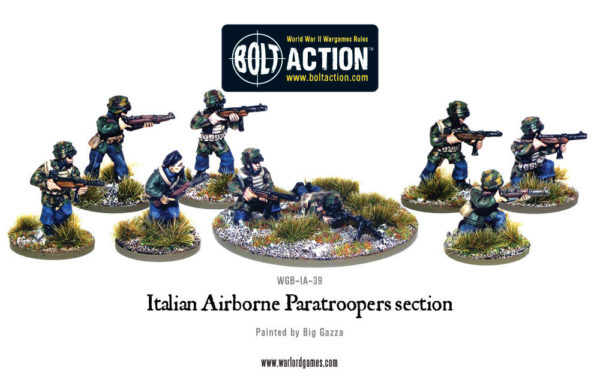
Armies of Italy: Paracadutisti infantry section.**
*You can use this entry to also represent the Polish paratroopers of the 1st Independent Parachute Brigade that was created in Britain by the Polish government in exile and participated in Operation Market Garden.
AIRBORNE PLATOONS
To represent the various support units that were part of the airborne divisions, you can pick one or more platoons from the Airborne Platoon selector below. All units in this platoon have the ability to deploy using the Combat Jump rule. However, the entire platoon (or platoons), must deploy through combat jump. Also, all units must be chosen at Veteran level, or at Regular if a Veteran option is not available. Inexperienced units cannot be included in this platoon.
AIRBORNE PLATOON SELECTOR
1 Lieutenant (First or Second)
2 Airborne infantry squads (chosen from the list of Airborne units above)
0-3 Airborne infantry squads (chosen from the list of Airborne units above)
0-1 Captain or Major
0-1 Medic
0-1 Forward Observer (either Artillery or Air)
0-1 Machine gun
0-1 Sniper
0-1 Flamethrower
0-1 Anti-tank team
0-1 Mortar (light or medium)
0-1 Light anti-tank gun, light anti-aircraft gun or light howitzer
Combat Jump rules
Units that choose to, or have to deploy through Combat Jump are left in Reserve (even in scenarios that do not allow this). When they become available, instead of entering the table from the player’s table edge, they use the combat jump procedure below.
1. The landing and roll distance: the player controlling the unit performing the combat drop places the Order die for the unit on the table with the directional arrow pointing to indicate where the unit is attempting to land and the direction in which it is travelling. The opponent gets to change the direction of the arrow by up to 45º clockwise or anti-clockwise. The player then rolls two dice. The sum of these in inches is the distance the marker is moved.
2. When the final position of the marker has been established, place the first model of the unit in base contact with the Order Dice, touching the side of the dice opposite the one the arrow is pointing at (in other words ‘behind the dice’). Then place all other models in the unit in a ‘stick’ of models 1” apart and in a straight line behind the initial model. Any models landing in impassable terrain are removed as casualties.
3. Once all the models have been placed, the unit immediately suffers one pin marker. The unit’s Order die is turned to the Rally face and the unit’s turn is over (without actually executing a Rally order – this simply represents the airborne troops spending time regrouping). Enemy units in Ambush can now fire against the unit as normal if they wish to. In addition, all enemy units that are not in Ambush and have flak weapons with a Pen value of +2 or less can fire these weapons for free against the unit (just as if they were in Ambush) – this does not require an Order but can be done only once per turn.
4. From the next turn the unit can fight as normal.
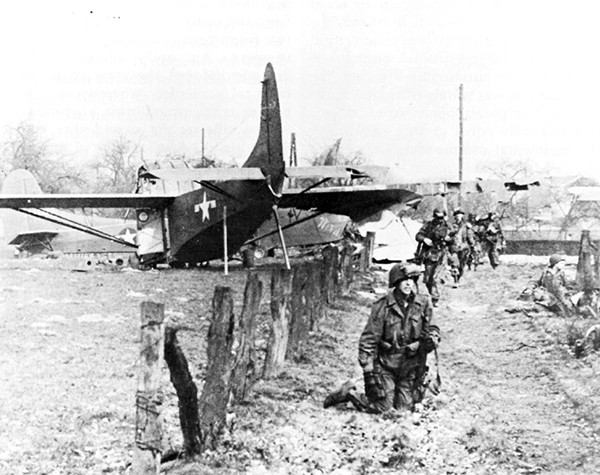
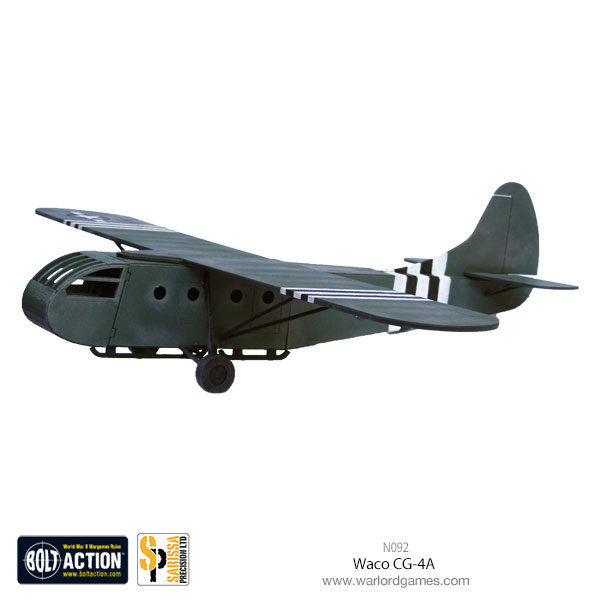
GLIDERS
Parachute landings were always problematic because they scattered the attackers over a wide area so disposable gliders were the airborne method of choice for delivering a coherent team for a raid on a specific target.
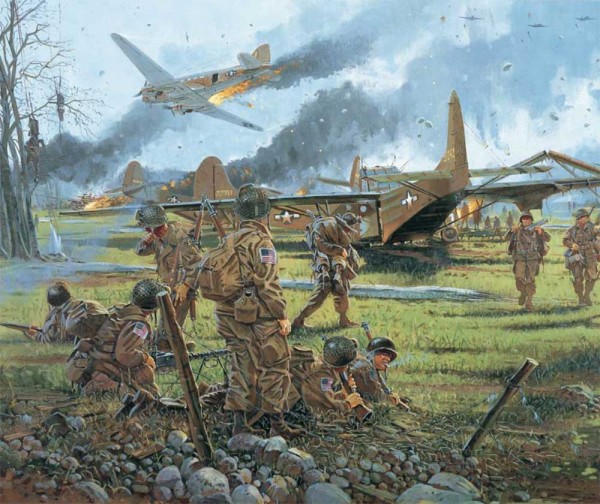
One of the first and most successful raids by air was the attack by German Fallschirmjäger on the Belgian Fort of Eben Emael. The German parachute was particularly problematical as the paratroops dropped separately from their weapons. So the delivery method of choice on the Eben Emael raid was the DFS 230 glider.
Gliders were nearly silent and very accurate, normally landing within one hundred metres of the target. They also delivered a concentrated squad with their equipment in the same package. The primary problem with a glider landing was finding a large flat area of land clear of obstructions near to the target to act as a landing zone.
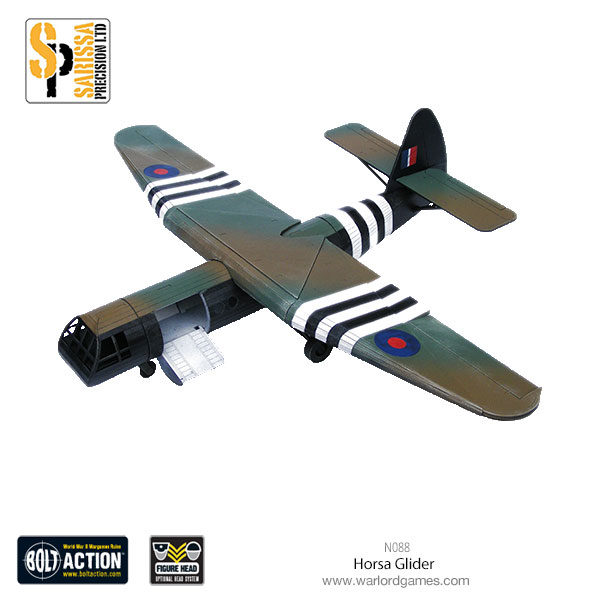
Gliders were designed to drop steeply into the landing zone but the length of landing roll was always problematical. At Eben Emael the DFS 230s were equipped with a spike that ploughed into the ground as a break. The British Airspeed Horsa I glider used for the Pegasus Bridge raid was modified with rear mounted parachutes to kill speed on landing.
The main problem with gliders was that a hard landing could cause injuries to the troops on board, even rendering them unconscious or killing them. The breaking parachutes were a largely untested innovation that tended to tip the glider’s nose down.
GLIDER LANDING UNITS
The units listed below can use the Glider Landing rules, even when they simply chosen as part of a normal Reinforced Platoon. They can do so even if they are chosen as part of an Armoured Platoon, in which case you cannot purchase a transport vehicle for them, much like cavalry and motorbike units.
Armies of Germany: Heer Pioneer squad, Sturmpioniere squad, Fallschirmjäger squad (late war), Waffen SS squad (late war).
Armies of the United States: Paratrooper Squad, Glider squad.
Armies of Great Britain: Paratroop Section, Regular or Veteran infantry section (mid-late war).
Armies of the Soviet Union: Veteran squad, Airborne squad.*
*Use for what-if scenarios, as these troops did not get a chance of being deployed through glider landing in WWII.
GLIDER LANDING PLATOONS
To represent the various larger glider-landing units that were part of the airborne divisions, you can pick one or more platoons from the Glider Landing Platoon selector below. All units in this platoon have the ability to deploy use the Glider Landing rule. However, the entire platoon (or platoons), must deploy through Glider Landing. Also all units must be chosen at Veteran level, or at Regular if a Veteran option is not available. Inexperienced units cannot be included in this platoon.
GLIDER LANDING PLATOON SELECTOR
1 Lieutenant (First or Second)
2 Glider Landing infantry squads (chosen from the list of Glider Landing units above)
0-3 Airborne infantry squads (chosen from the list of Glider Landing units above)
0-1 Captain or Major
0-1 Medic
0-1 Forward Observer (either Artillery or Air)
0-1 Machine gun
0-1 Sniper
0-1 Flamethrower
0-1 Anti-tank team
0-1 Mortar
0-1 Light or medium anti-tank gun, light or medium anti-aircraft gun, or light or medium howitzer
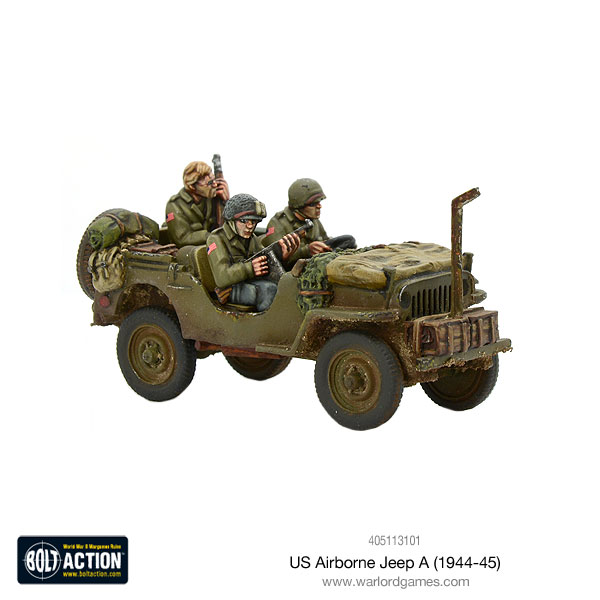
0-1 Jeep (any type, Allied armies only)
0-1 Tetrarch light tank (Allied armies only)
Glider Landing rules
Units that choose to, or have to deploy through Glider Landing are left in Reserve (even in scenarios that do not allow this). When a unit transported in a glider becomes available, instead of entering the table from the player’s table edge, use the Glider Landing procedure below.
1. The landing and roll distance: the player controlling the glider places a marker on the table with a directional arrow to indicate where the glider touches down and the direction in which it is travelling. The opponent gets to change the direction of the arrow by up to 45º clockwise or anti-clockwise. The player then rolls two dice. The sum of these in inches is the distance the glider moves before stopping. Move the marker or glider model accordingly.
2. Breaking parachute: after observing the glider’s roll distance, the player can choose to deploy a braking chute. Roll a die. The number in inches is the reduction in roll distance. However, the use of a braking parachute adds +1 to the landing impact die roll.
3. Placing the glider: when the final position of the marker has been established, place the glider model (if you have one) with the nose on the marker and the tail pointing back towards the direction of entry. The glider counts as a soft-skinned transport vehicle that cannot move. If you don’t have a glider model, use a 12”-long, 3”-wide rectangular marker, or alternatively you can simply place the models lying down in an equivalent area on the table and/or mark them with a token that identifies them as ‘inside the glider’.
4. Activating units in the glider: After the glider has landed, all units inside it have their order dice taken out of the bag, assigned to them and turned to Down for the turn. All units are assumed to be in the glider, extricating themselves from the fuselage, counting as units embarked onto a soft-skinned transport.
From the following turn, when you intend to give an order to a unit in the glider, first roll a die for that unit to see if it exits safely. Add any modifiers and apply the result from the landing impact table. At the start of each following turn roll again for any units still in the glider (same modifiers apply).
5. Exiting sections leave the glider as if dismounting from a transport vehicle.
Landing Impact Table
Die Roll Result
1 to 4 Section exits safely
5-6 Section is stunned and does not exit glider this turn
7+ Section is stunned and does not exit glider this turn; one man is badly injured, remove from the game (controlling player’s choice)
Modifiers
Deploying breaking parachute: +1
Striking a solid object such as a building, telegraph pole or gun pit: +1
ALTERNATIVE DEPLOYMENT RULES
Watch out – extra wackiness alert!
PARATROOPERS
Instead of placing the Order die for the arriving unit and then rolling for distance travelled, you may hold the die roughly two foot above the table and let go.
If the die bounces off the table, the unit is placed back in Reserve and you will have to roll again for it next turn. Of course you can agree with your friends before beginning the game that any such incident means that the unit’s transport plane has been destroyed instead, along with the unit – harsh!
If the die lands onto the table, proceed with deploying the stick of paratroopers as described above.
GLIDERS
After reading the way we deal with paratroopers, I‘m sure you guessed it… make a paper airplane to represent the glider (using an A4 sheet of paper!), then instead of following the procedure described above, place your back to the table, walk a couple of steps away from the table and then turn around and throw the paper airplane onto the table.
If the paper airplane lands off the table, it is placed back in Reserve and you will have to roll again for it next turn. Of course you can agree with your friends before beginning the game that any such incident means that the glider has been destroyed instead, along with all the units it was carrying… very, very harsh!
If the paper airplane lands on the table, replace it with the glider model and continue as described above.
To further explore some of the iconic battles of the conflict on the Western Front, pick up a copy of our first Theatre Book for Bolt Action – Battleground Europe: D-Day to Germany – which contains historical backstory, additional scenarios, supplementary rules, new Theatre Selectors, and is packed with additional information to add extra flavour to your games!
Article written by Richard Dando
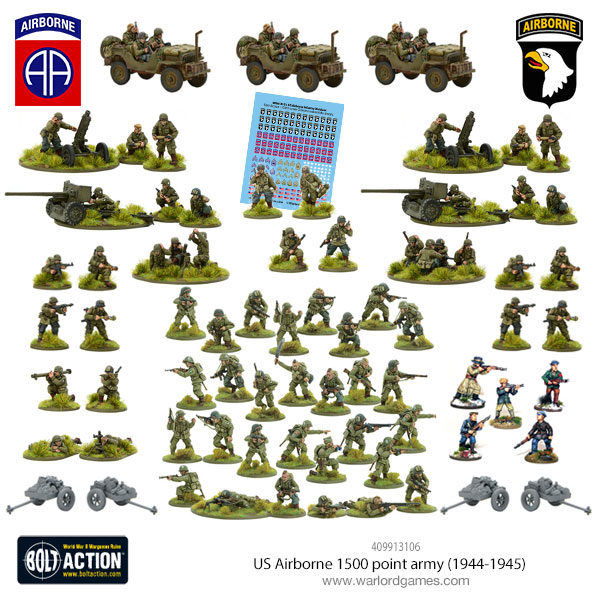
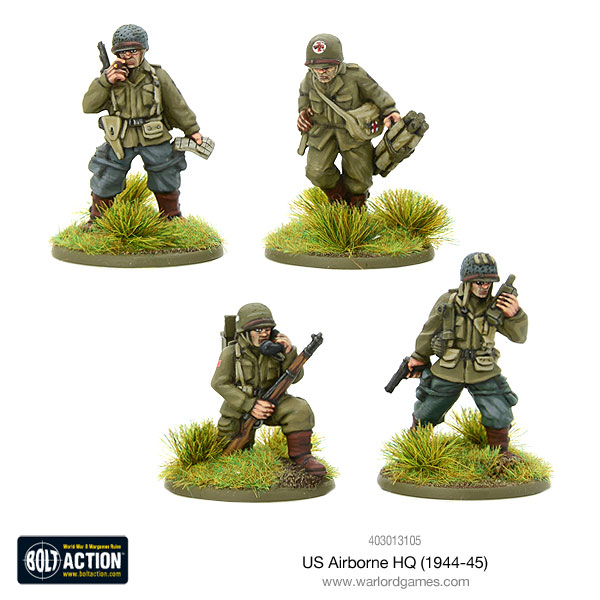
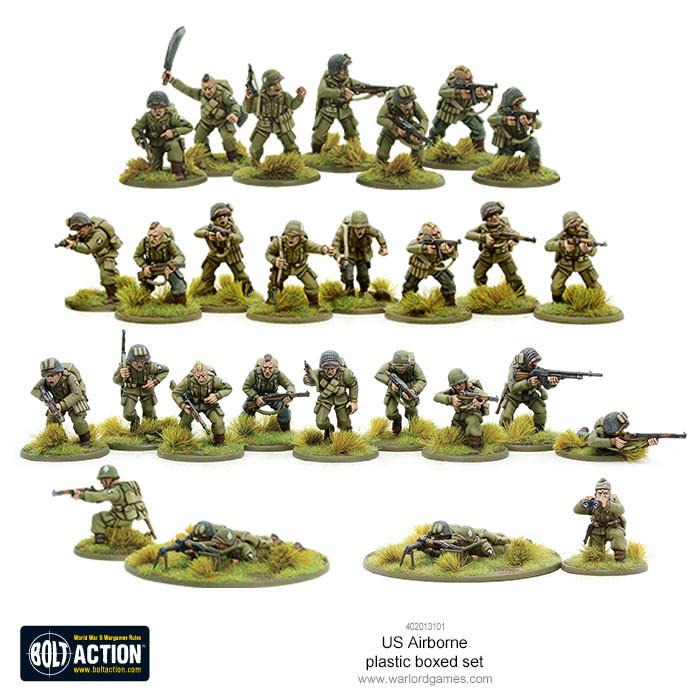
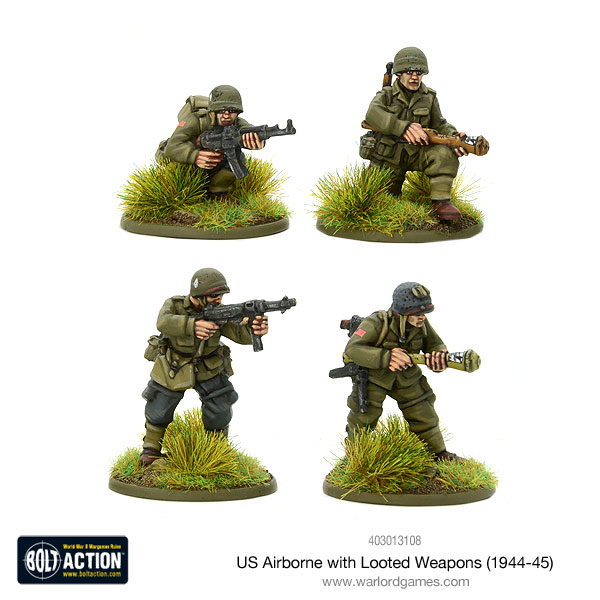
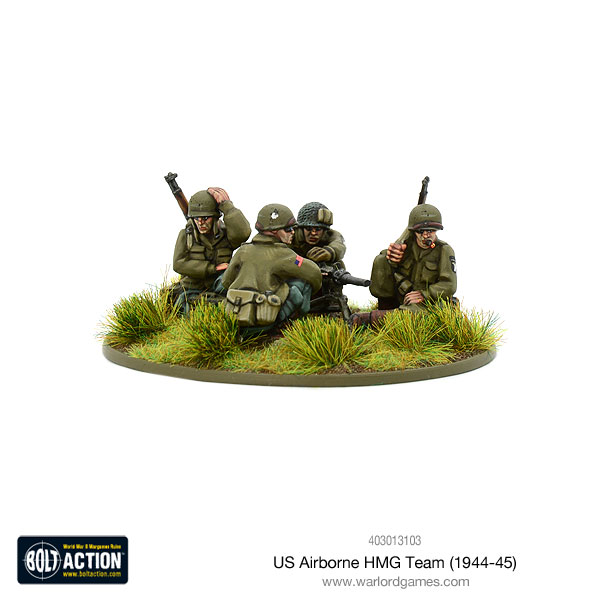
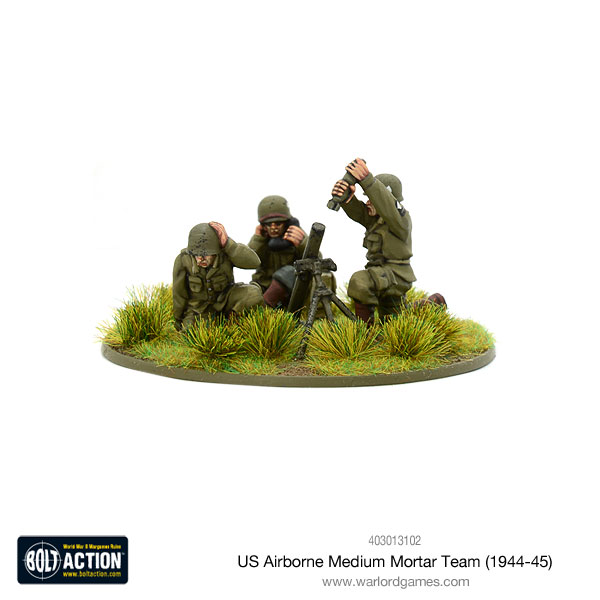
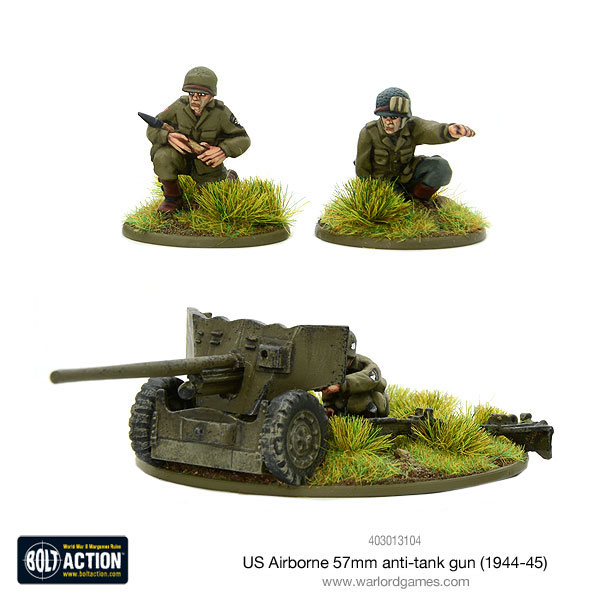
Start building your US airborne force today!