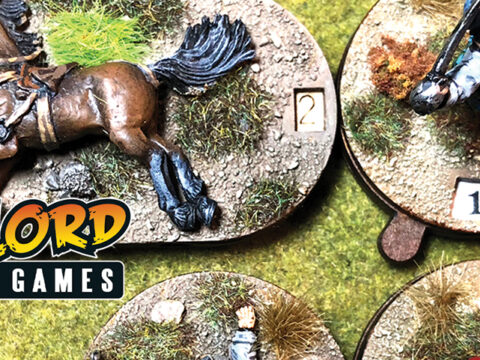
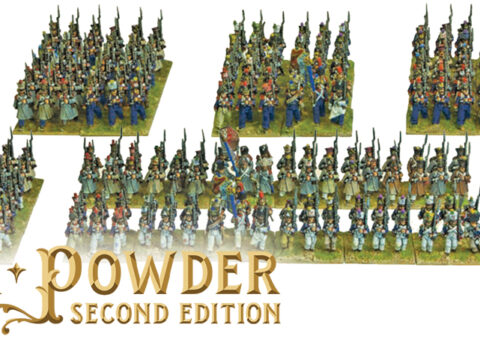
Zulu! a Black Powder supplement packed with fantastic background and colour inspiration – Warlords own Daz Evans presents a step-by-step guide to painting up your British Infantry Redcoats for the Anglo-Zulu War.
Over to Daz:
“So chatting in the office a few days ago the conversation wound around to Black Powder and the rather nice Zulu book. After saying how much I dread painting regiments, or any mass of infantry, we talked about how to break the back of such an undertaking.
Firstly you’ll need a plan or at least a rough idea of how the final unit will look – including any uniform reference (such as the relevant Osprey book). When painting a regiment you can worry less about the look of individual models and more about the overall appearance, so stick to a simple paint palette and use big blocks of colour.
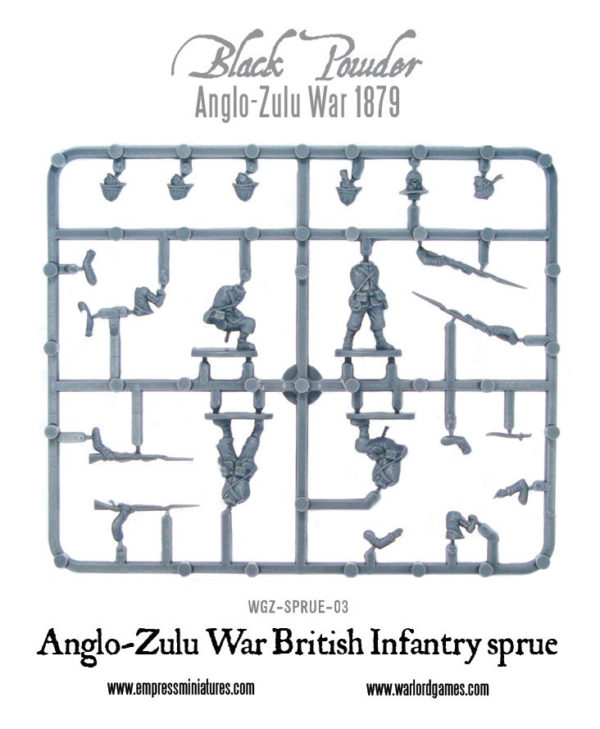
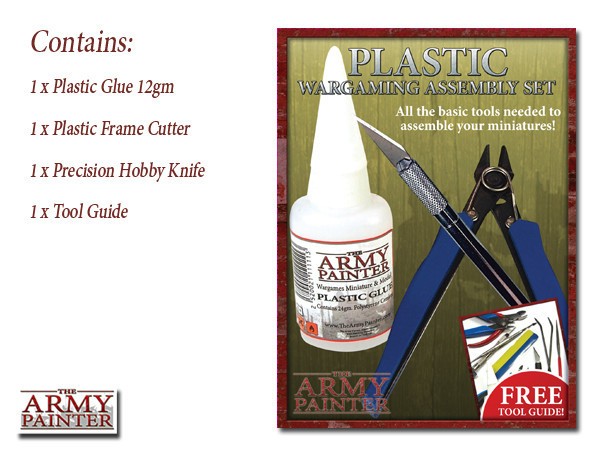
If you are assembling plastic figures, use plastic glue as its the fastest and most efficient way, but remember that plastic glue works by melting both parts together so be frugal in your application or you could spoil some of the finer details!
Next is the undercoat. I choose white as a base because it gives a nice plain surface to start with.”
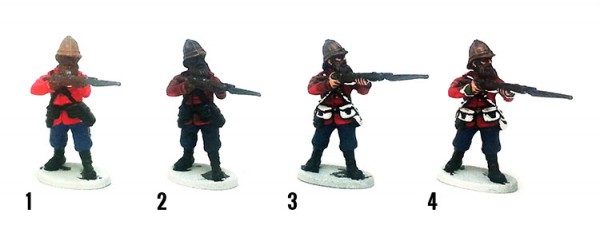
Stage 1
For the tunic I chose Pure Red just to give it that pop – they’re not called Red Coats without reason! I picked Deep Blue for the trousers, with Oak Brown for the base flesh, and for the wooden rifle furniture, boots and webbing I used Matt Black. Remember to shake the paints before you use them, just to make sure the pigment is well mixed.
Stage 2
Next I applied Dark Tone Quickshade. You could apply Red Tone and Blue Tone Quickshades, but I was going for speed and tidiness here, and using a single shade is a nice way to add uniformity to a rank of figures. Of course, if you have hours and hours to lavish on each regiment then there are more detailed ways to approach each model, but if you yearn for the patter of rolling dice and crushing your friends into the flock of a gaming table, then this is a quick way to get a great looking regiment onto the battlefield.
Stage 3
Once the Quickshade is completely dry, I painted on basic highlights using the base colours on the raised surfaces like sleeve creases and raised pouches. The flesh highlights were picked out in Barbarian Flesh. Next, I picked out webbing straps and ammunition pouches in White. Some of the pouches can be done with a swipe of Leather Brown.
Stage 4
With a steady hand I added a bit of piping and detail on the trousers, cuffs and collars, showing you can really make even the most basically painted figure shine.
Stage 5
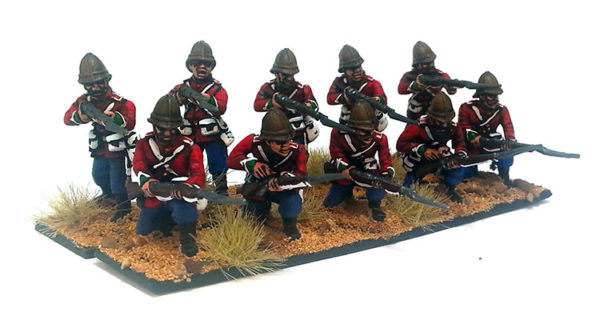
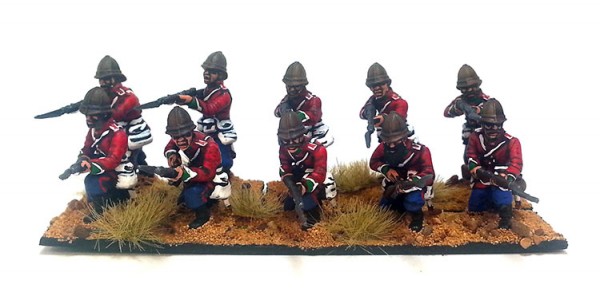
The last stage is to put our single figure into context within a regiment. Fully based and anti-shine varnished they work a treat! The finished force, from undercoat to detailing, took me 6 hours over two nights.
Hopefully you’ve taken an idea or two from this missive – see you on the gaming table!
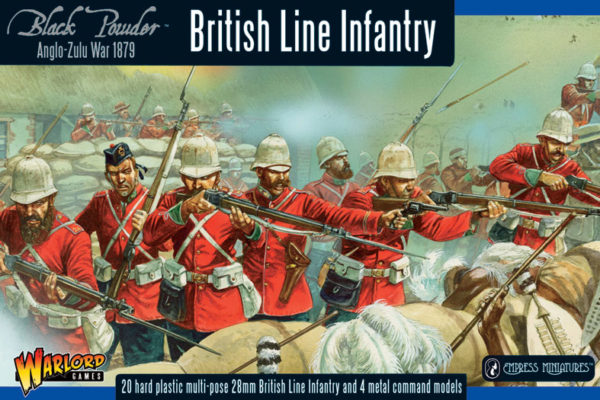
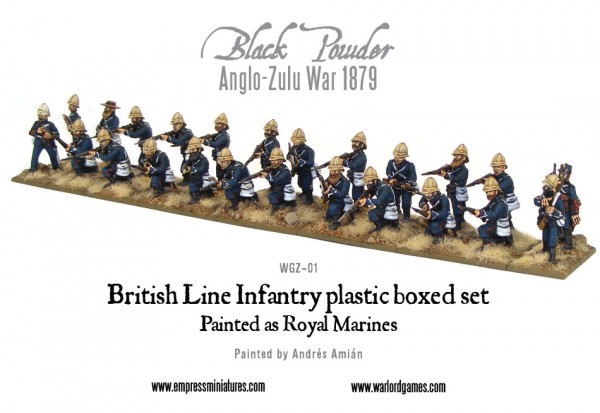
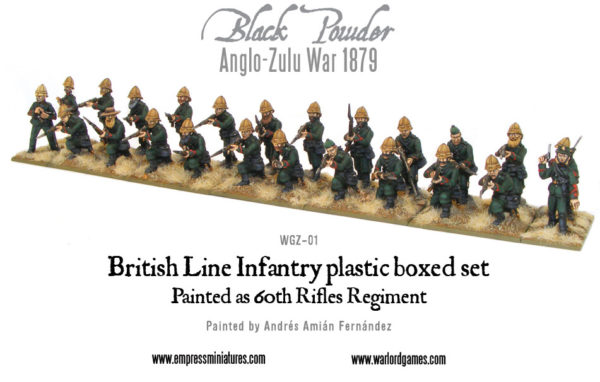
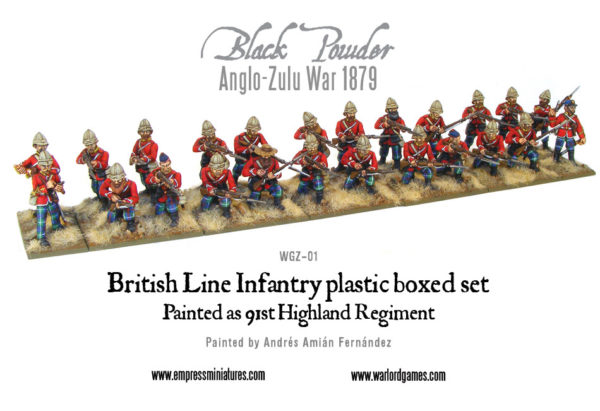
Daz used figures from our Anglo Zulu War – 1879 British Line Infantry plastic box set from the fantastic Empress Miniatures range:
Do you have an article within you? Are you itching to show your collection to the world of Bolt Action? Then drop us a line with a couple of pictures to info@warlordgames.com