By Peter Motas
Wet palette
First off – I´ve used a wet palette. If you don´t know what that is I really recommend you to search for it on Google and YouTube. There are tons of instructions on how to make your own wet palette. I feel it is essential in order to get the blending and transitions looking good.
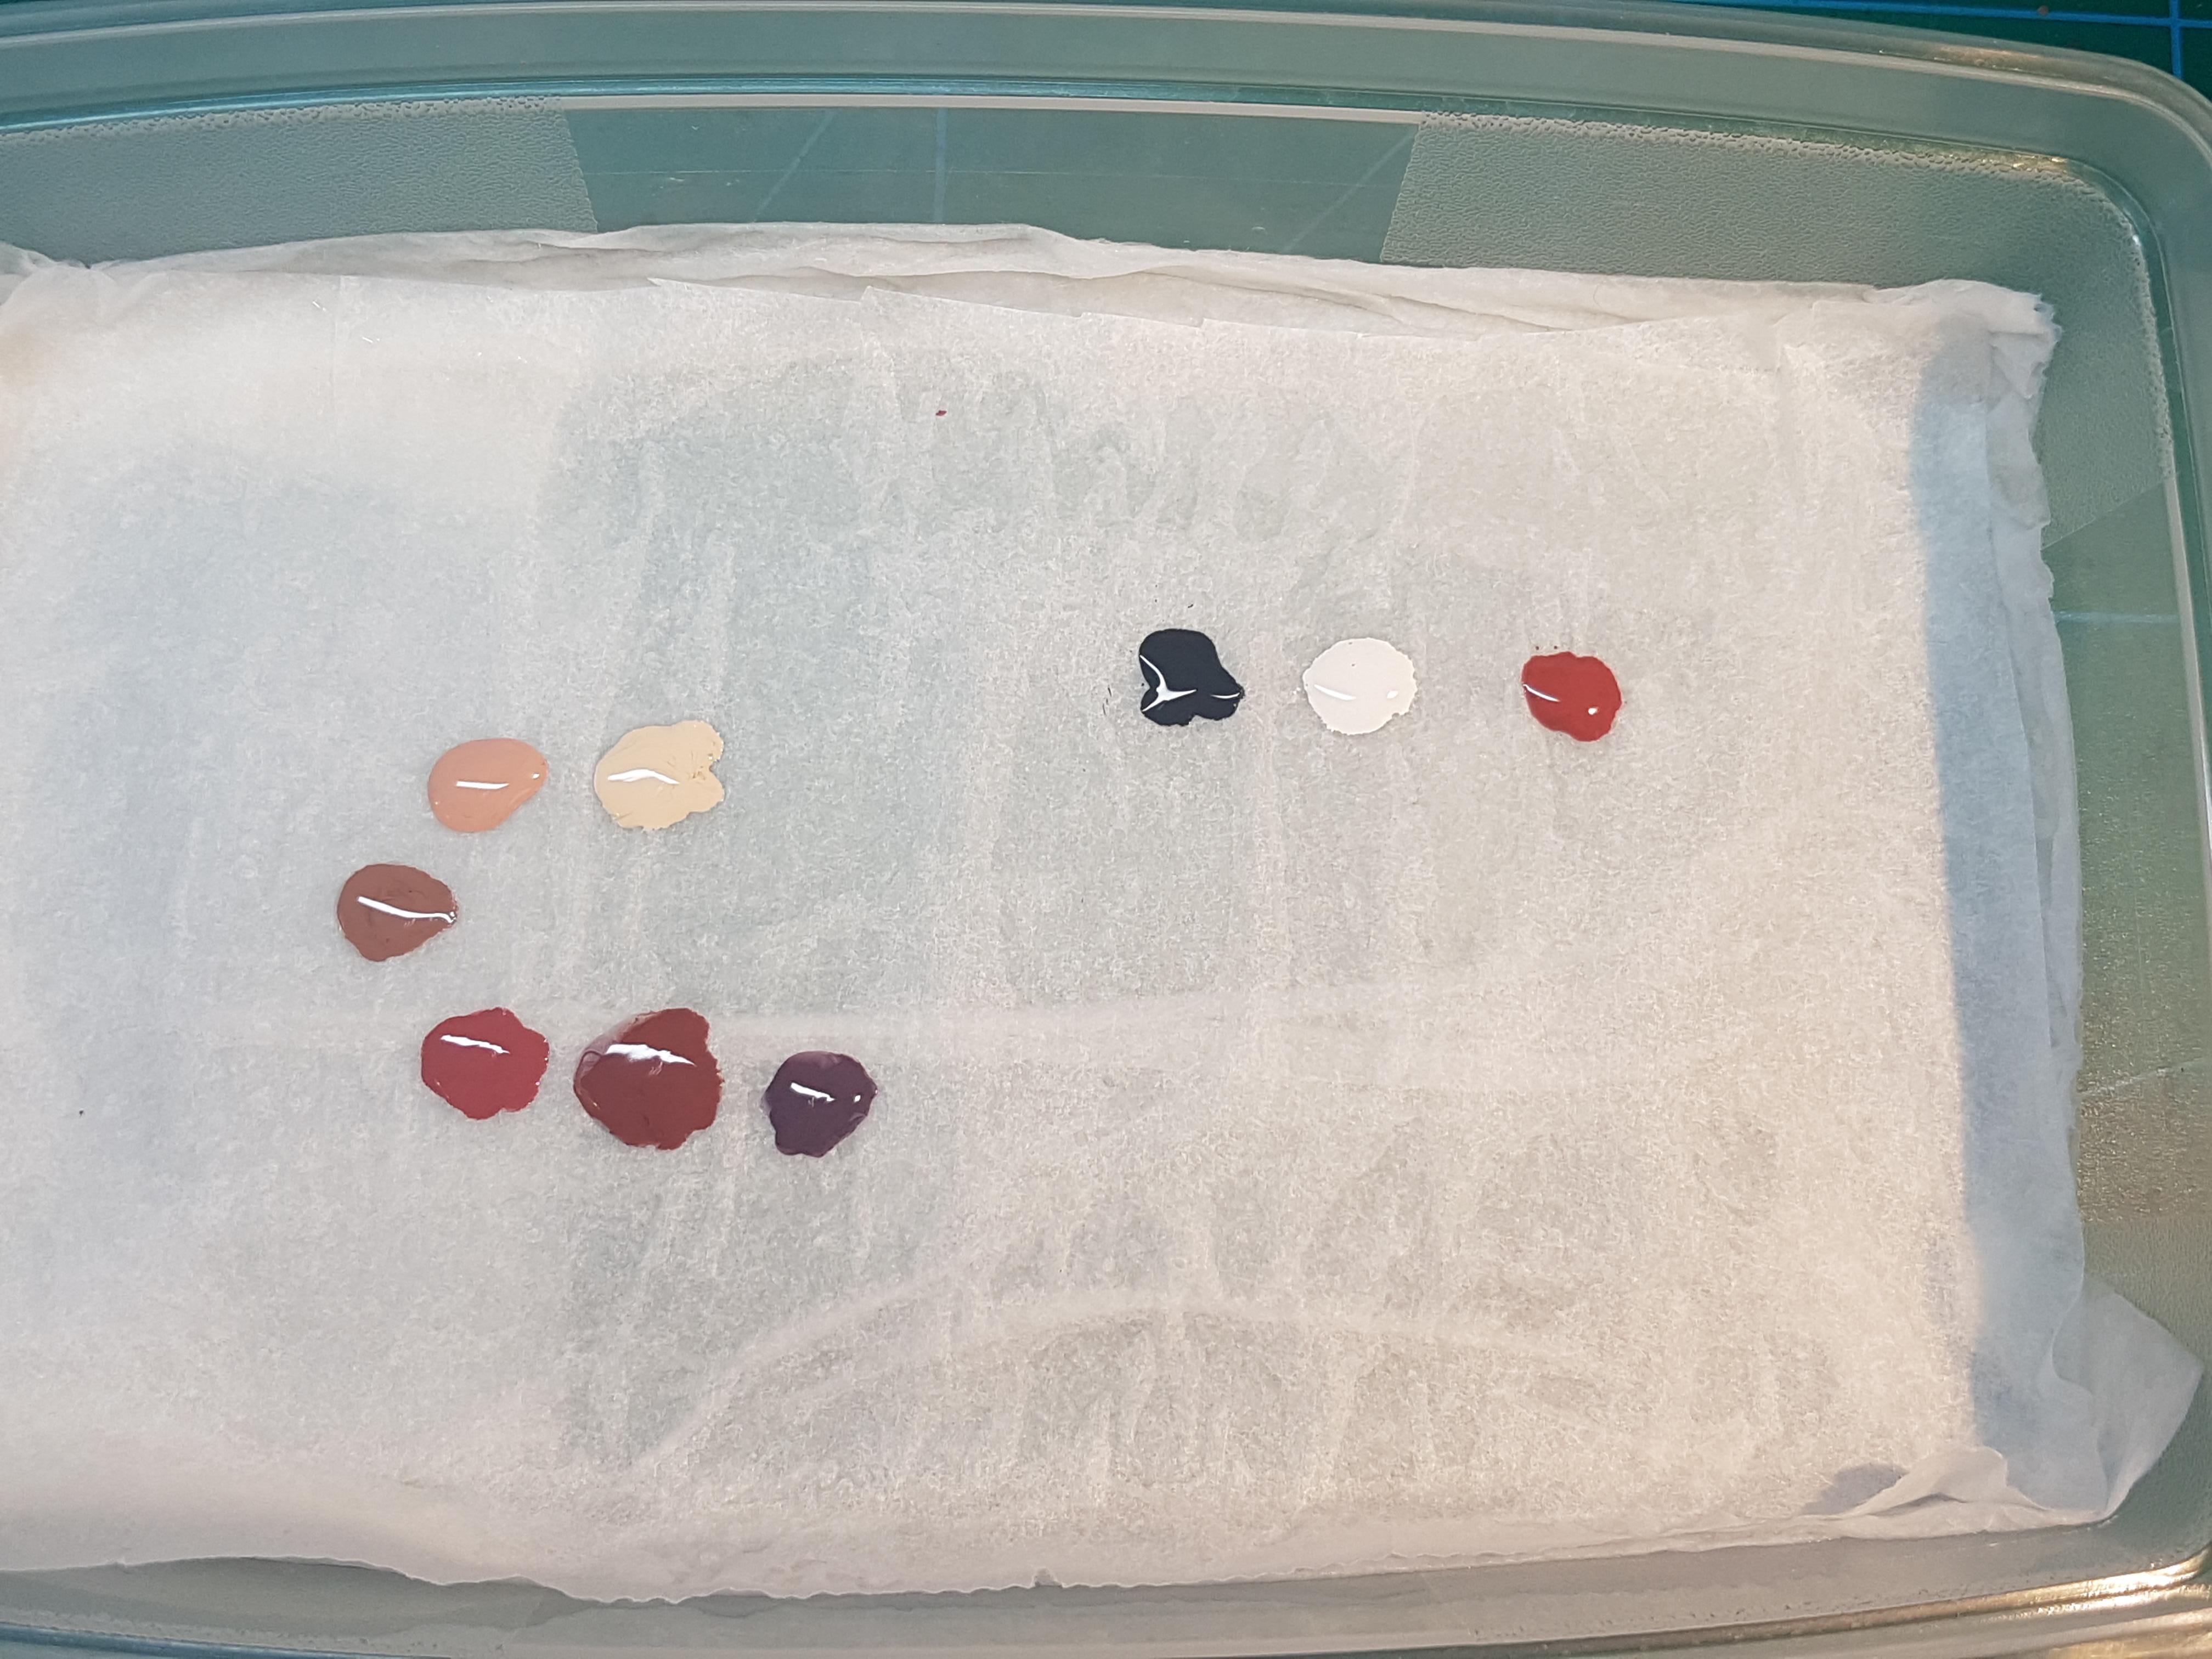
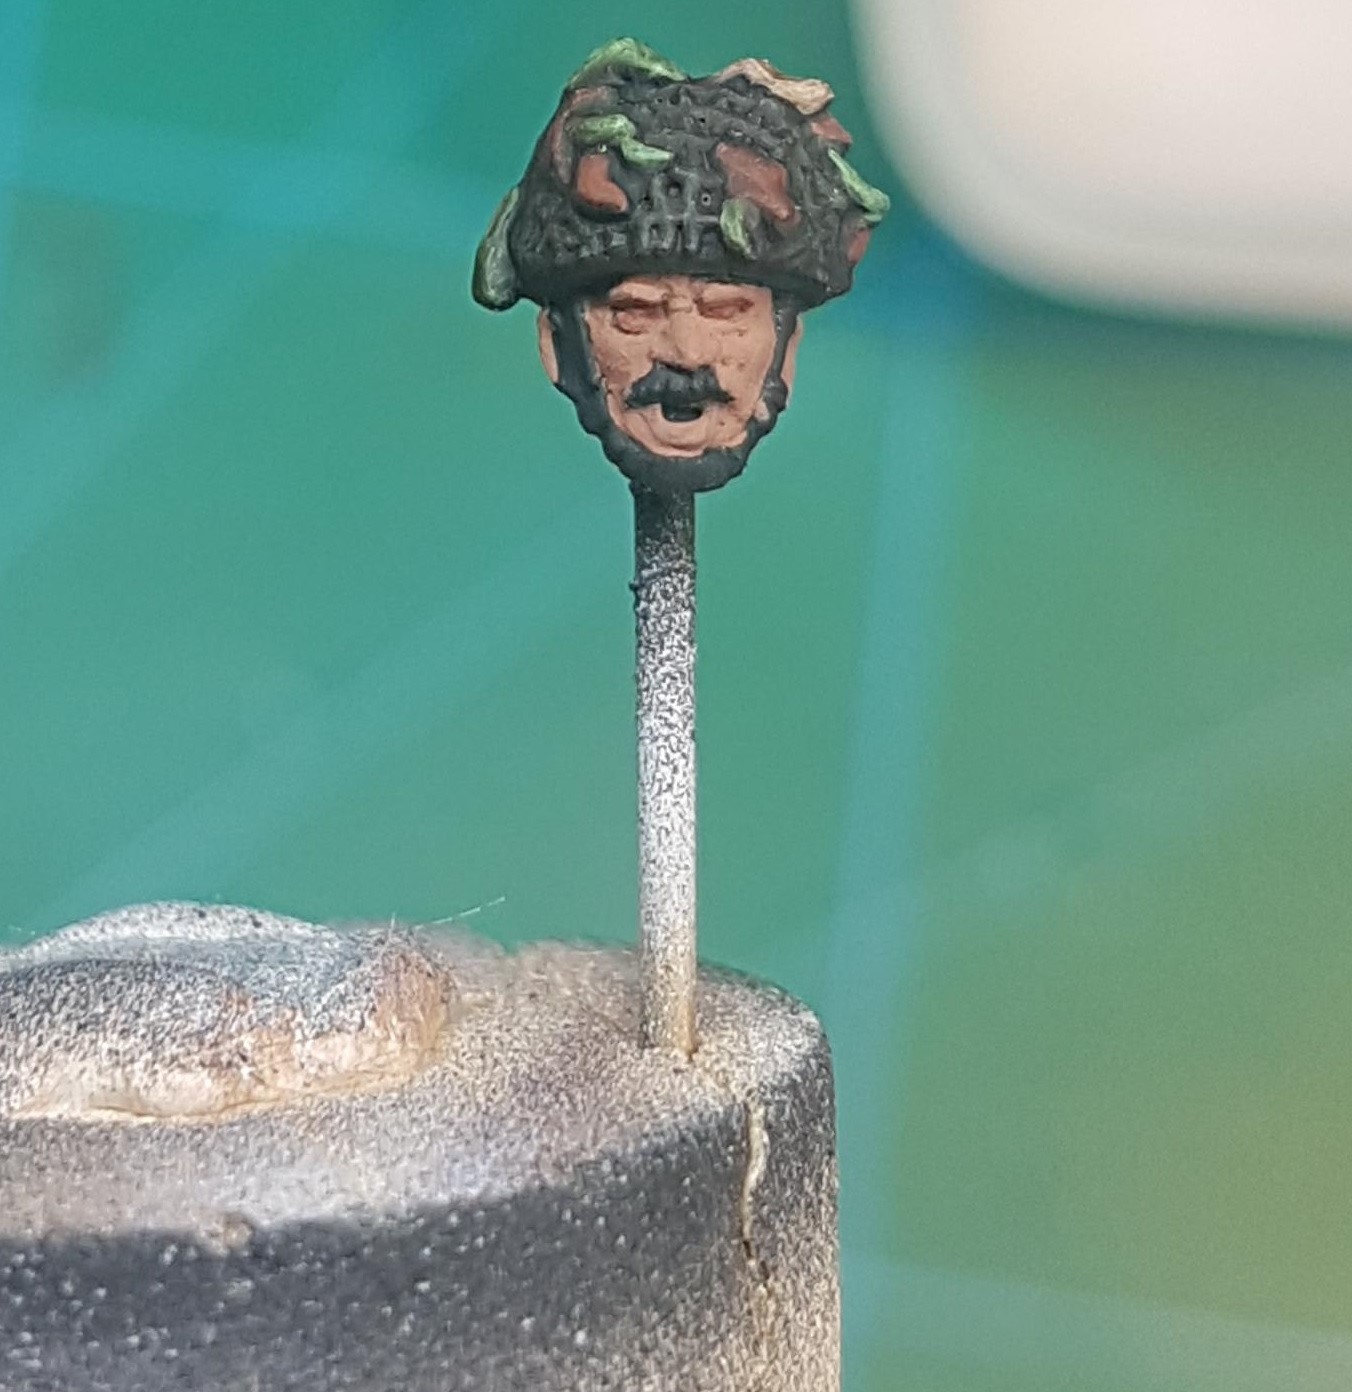
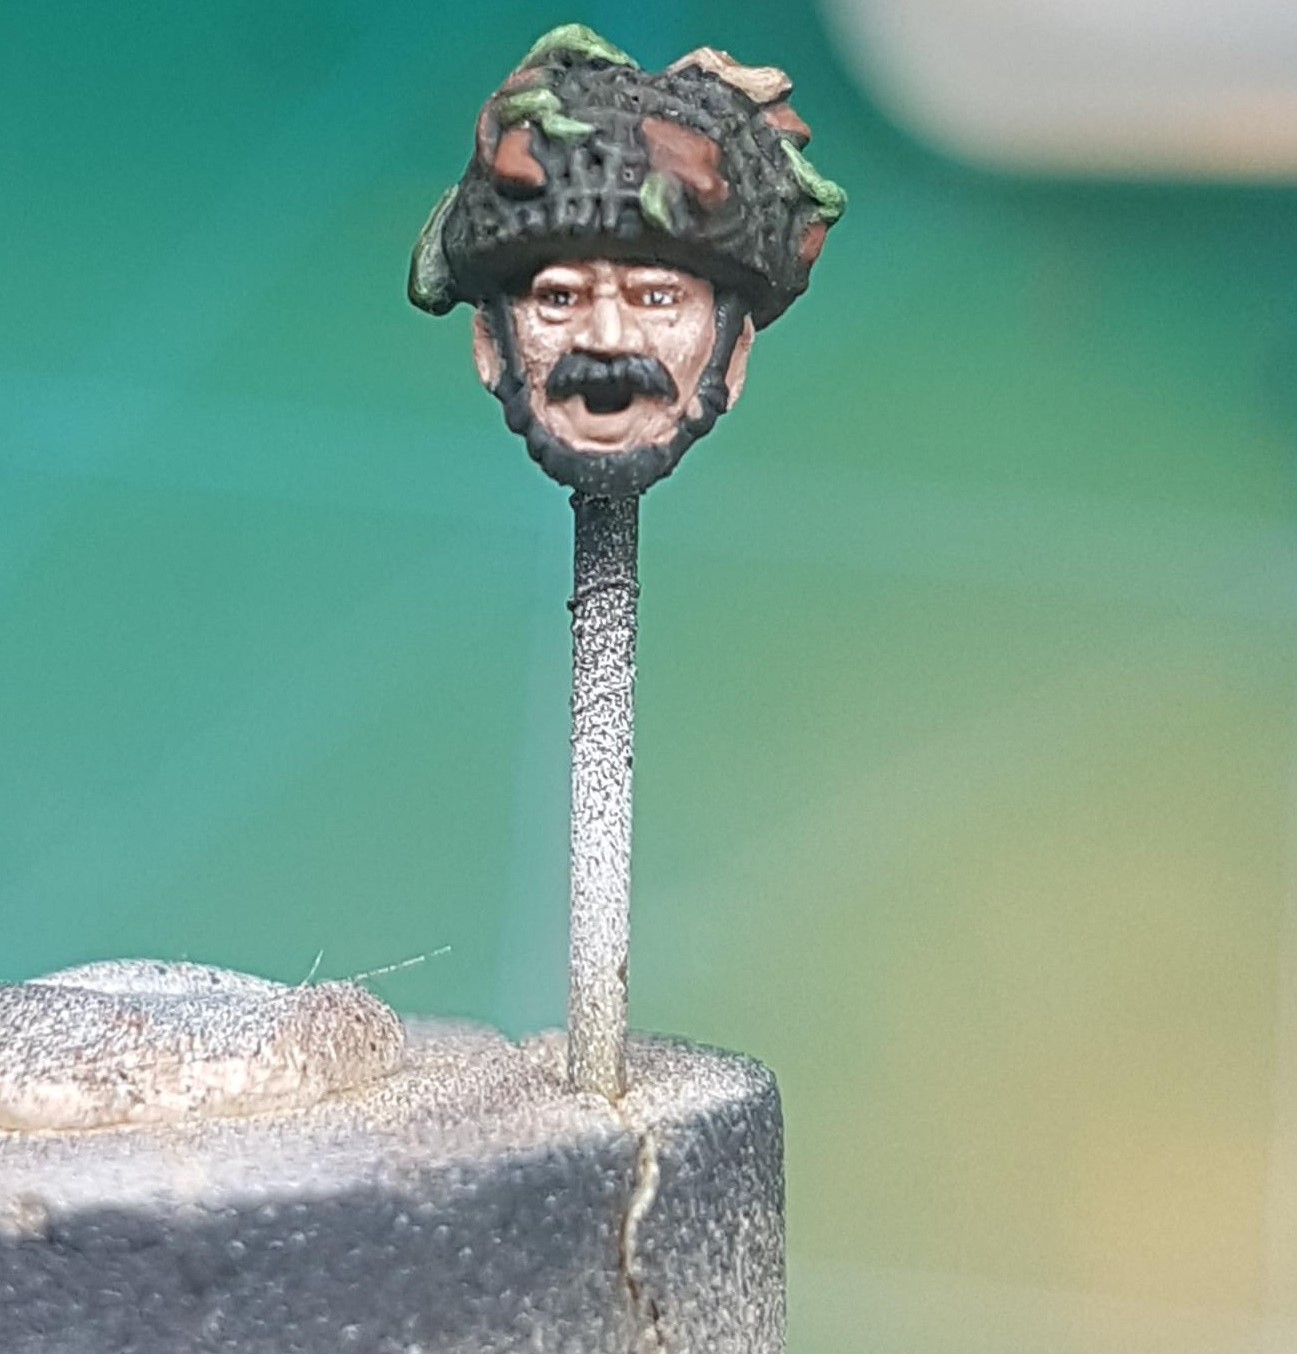
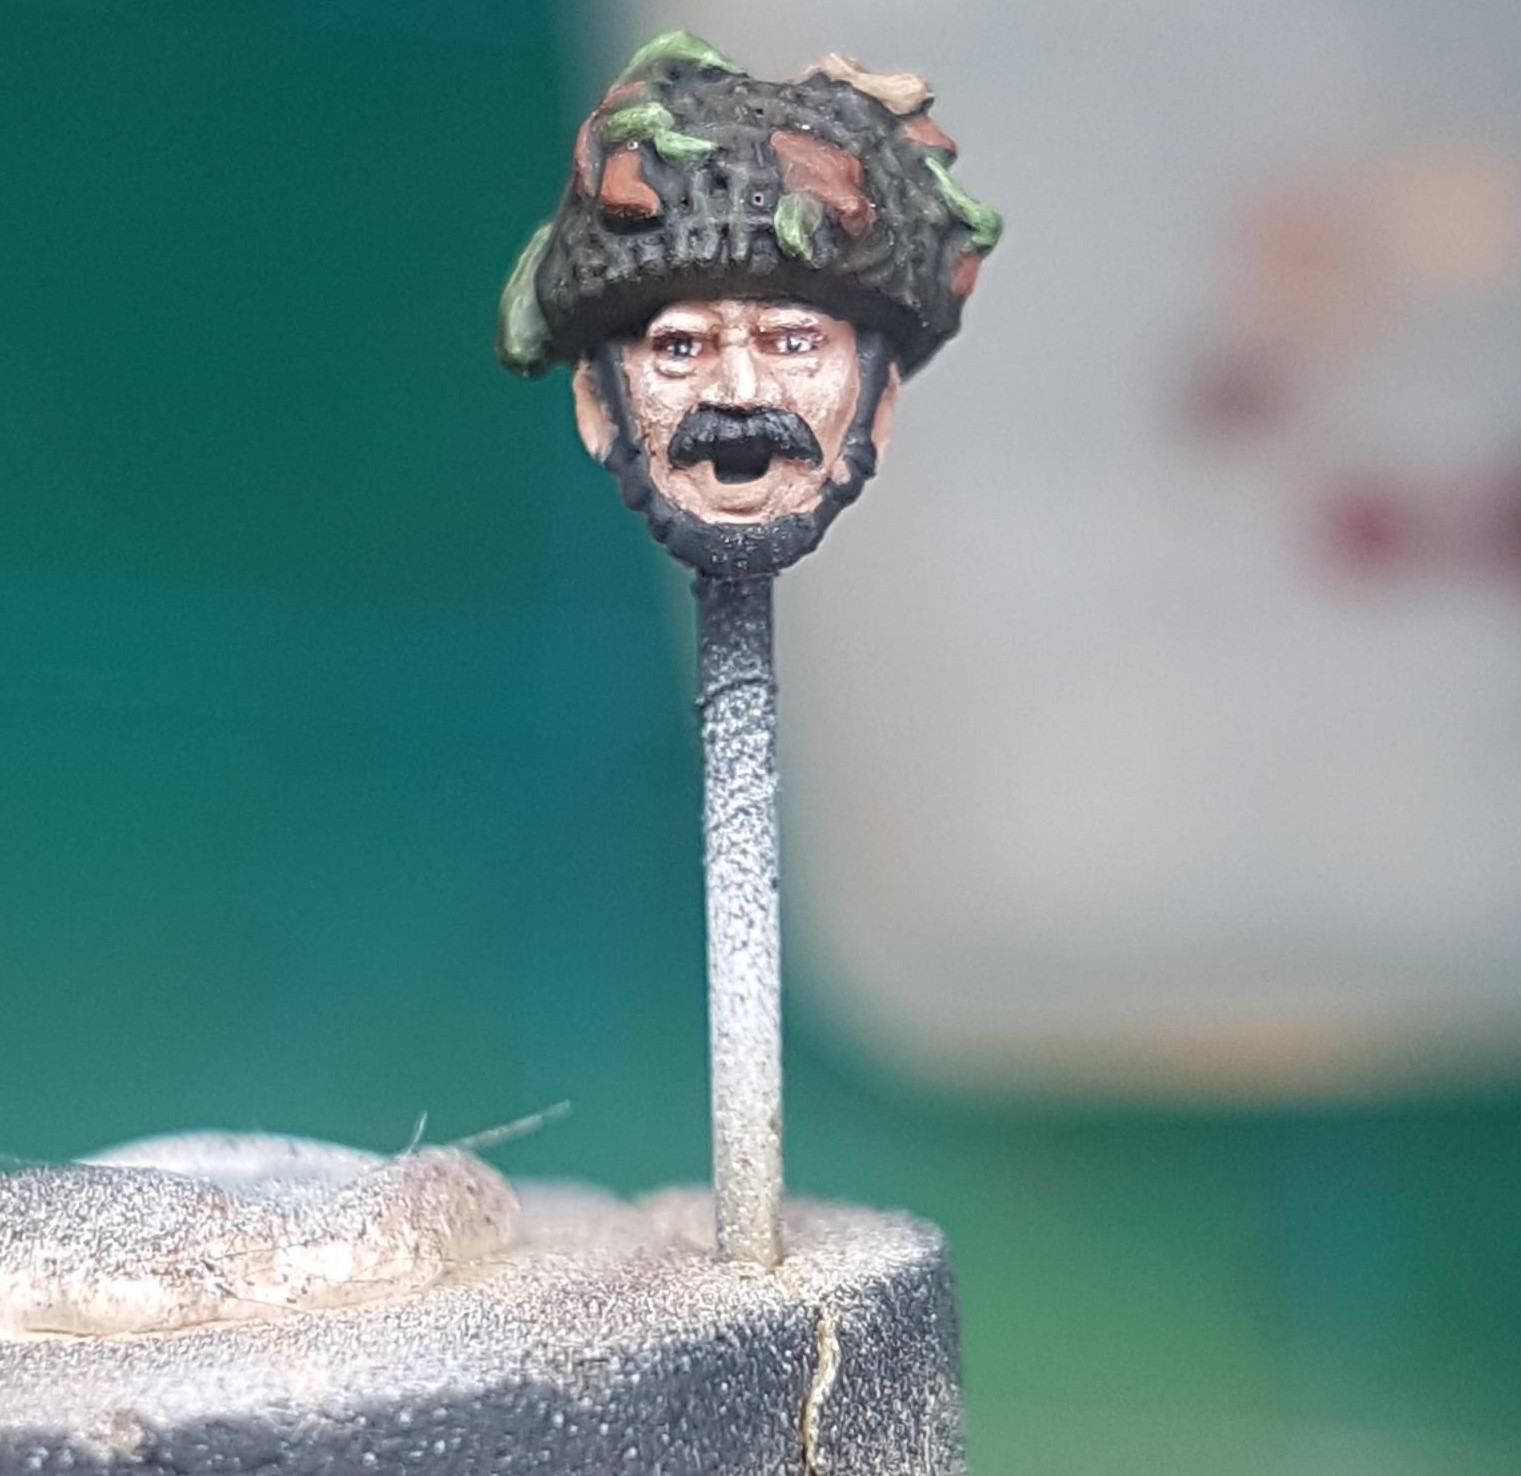
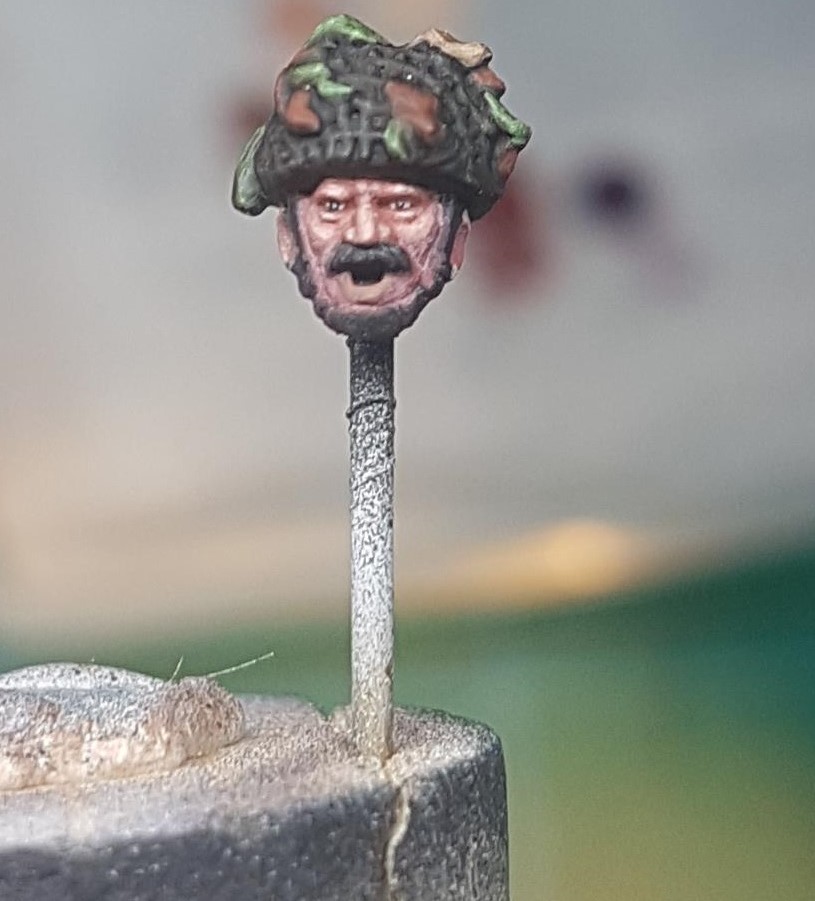
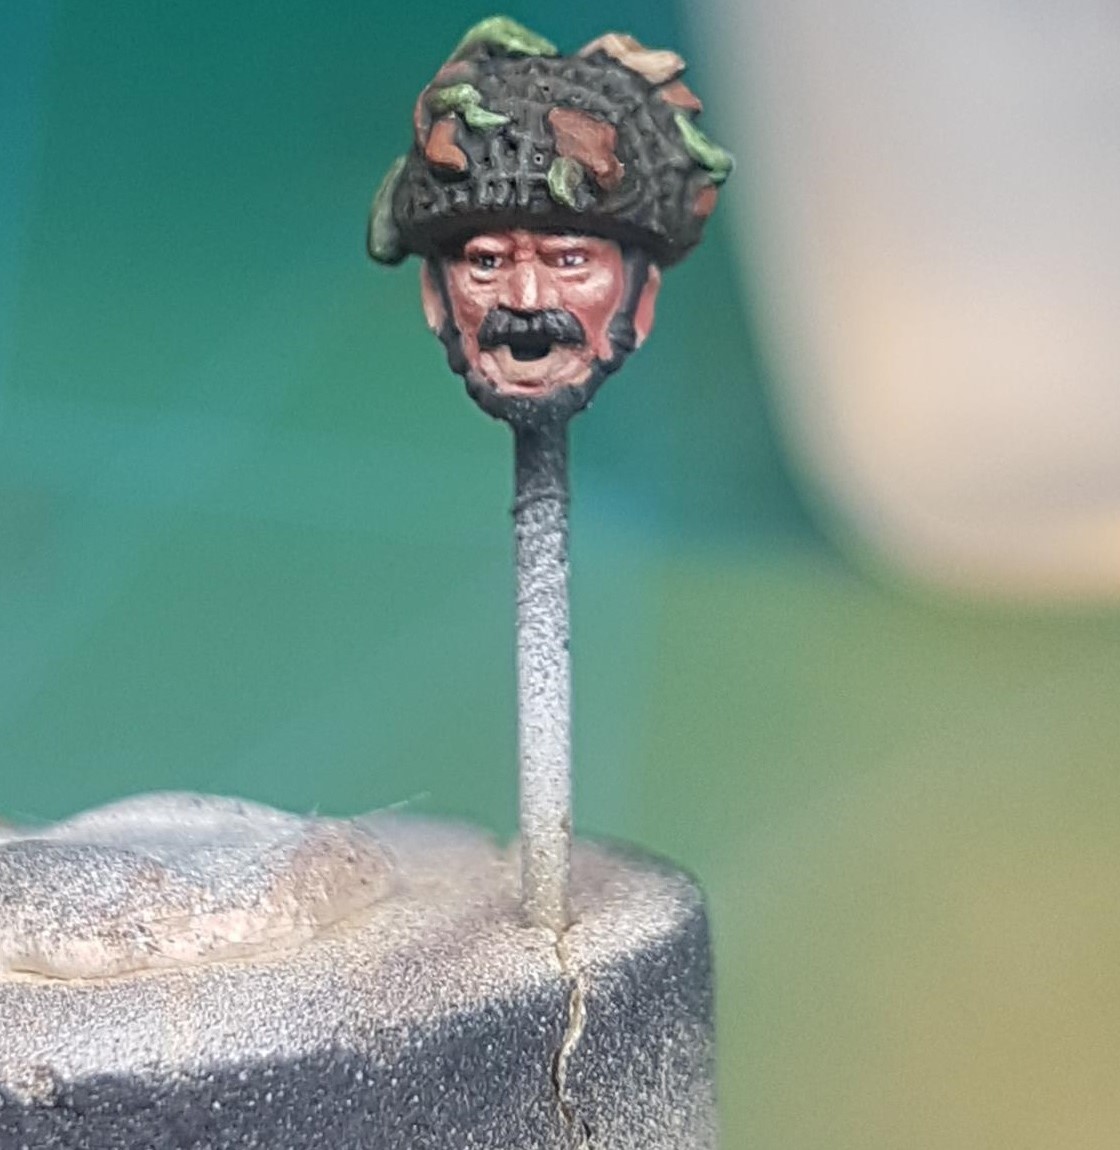
For this tutorial, as it’s on just the head, I´ve mostly used a Winsor & Newton series 7 miniatures series size 000. I start off by priming the heads with black and then zenithal (a single light source) highlights with white. You don´t have to do that, but I like that it brings out the details and you get a good sense of where to put your highlights and shadows later on.
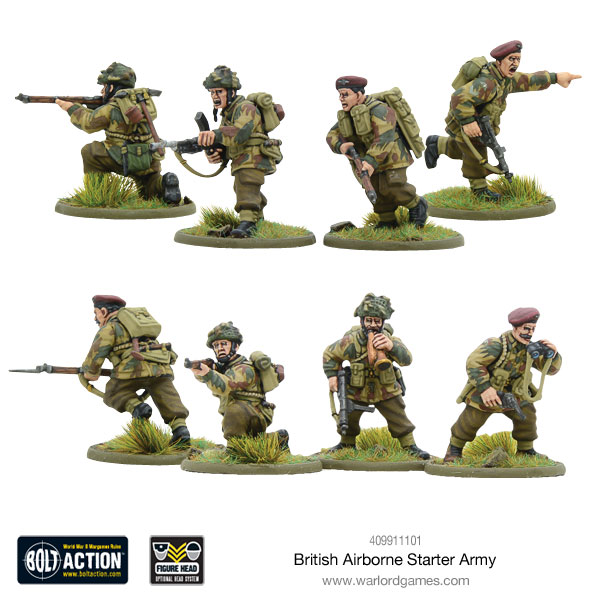
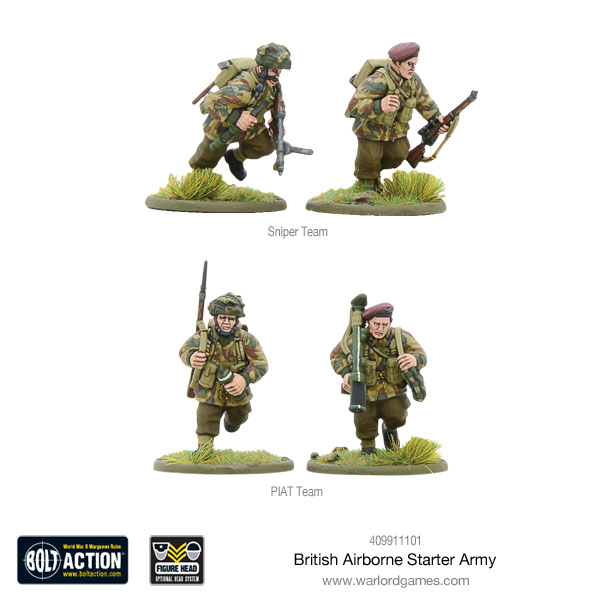
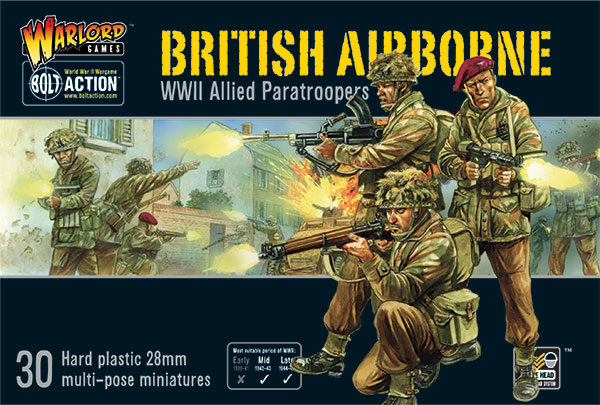
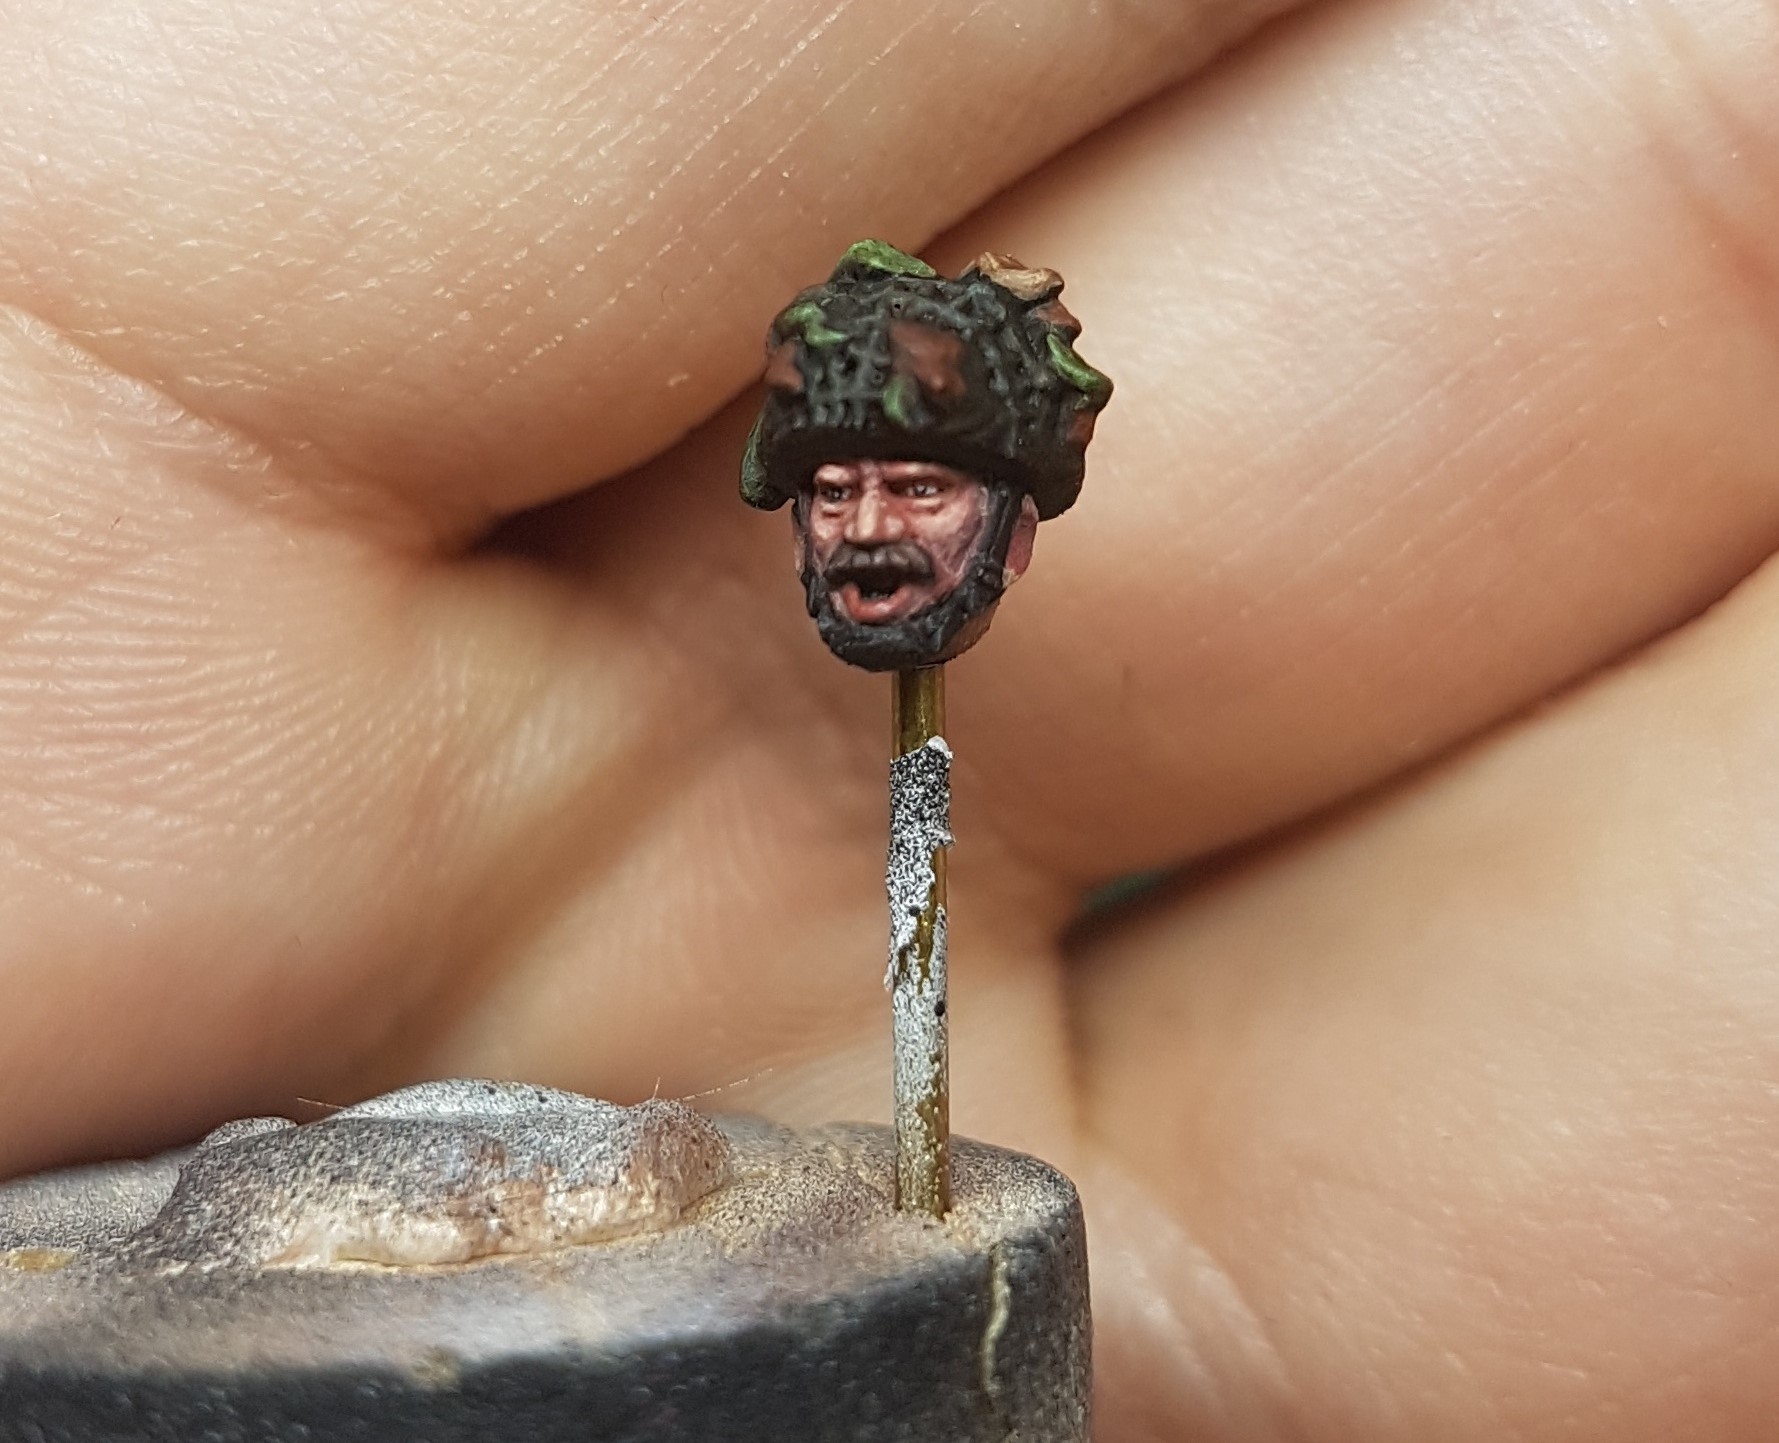
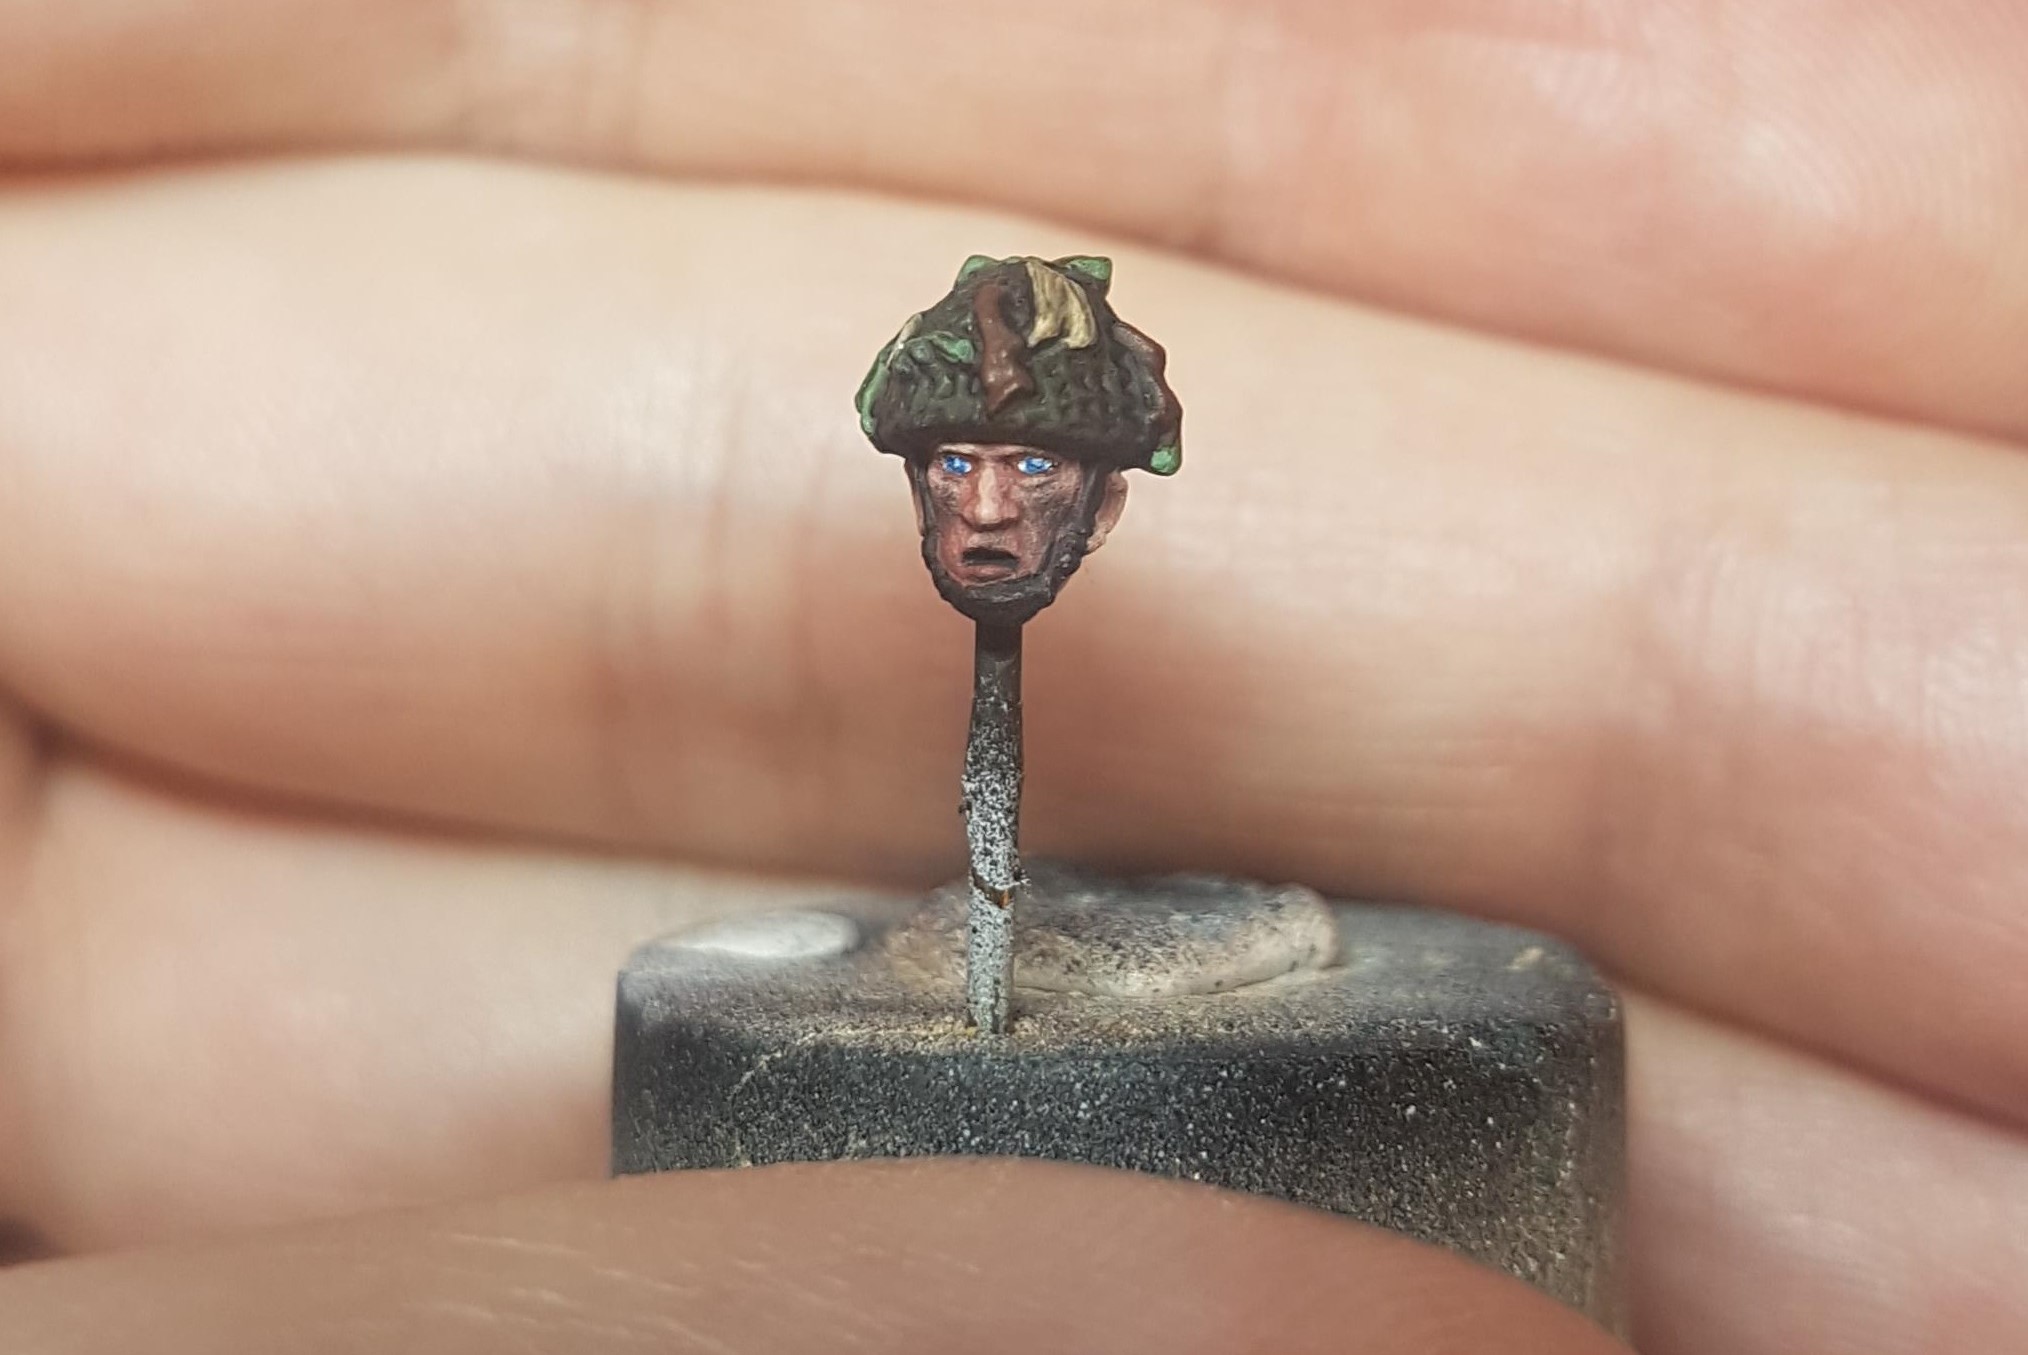
The heads are from Warlord’s excellent plastic British/Polish paras kit. I’m going to build a Polish paratrooper army for Operation Market Garden.
The first step is to apply the base colour and we will use AK3011 for this. Remember to use extremely thinned colours through all of the steps in this tutorial, I use approx 7 parts water to 3 parts paint and paint in several layers.
It’s all in the Eyes
I know that people have different approaches to paint eyes, and I´ve tried a couple and found a way that I feel comfortable with. Try some different approaches and get a feeling for what works for you.
I start with the eyes after the base skin tone is finished. The reason is that I find it hard to paint eyes (who doesn’t?) and I rarely get them as I want them to be on the first try. For that reason, it is easier to be able to touch up the eyes and not the finished skin around the eyes. I find it much harder to go back and touch up the skin then to do the eyes first.
Anyhow, I start to apply a dark colour in the area where the eyes are going to be – in this case I´ve used AK3015 Dark Shadow Flesh. If you want a darker or brighter colour go ahead.
When I´m happy with how it looks I start to paint the eye using Vallejo Off White, leaving only a thin line of the dark colour we applied in the previous step.
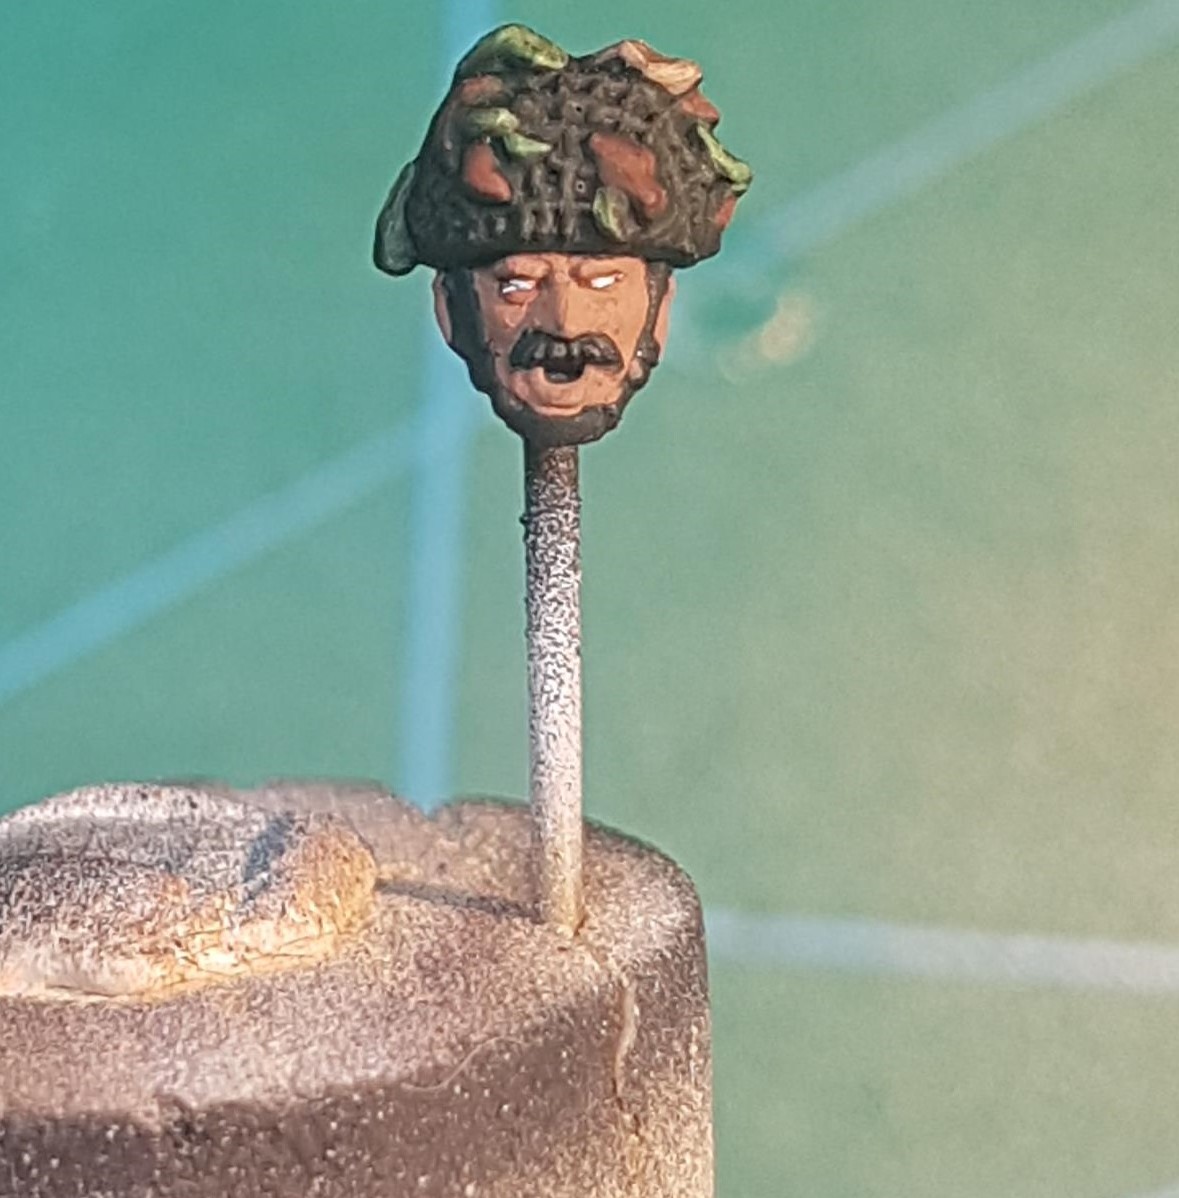
Its now time to do the pupil, and I´ve chosen Vallejo black for this. As I said before, I rarely get it on the first try, so don´t be afraid to touch it up and try several times. It´s very important to use very thin paint, so you still have a flat area to paint on even after a couple of touch-ups. When painting the pupil, try to not just doing a dot. Try to connect the black colour to the upper and lower eyelid. If you just apply a dot it can give the impression that the guy is “crazy, very surprised etc” 🙂 I think you know what I mean, we´ve all been there! Remember, you can always touch it up in a later step.
In this step, we´ll add some reflection to the eye. I just recently started to do this as I think it really adds life to the eye and to the whole face. It’s a bit tricky, but try it out. We´ll add a spot of Vallejo off-white, leaving just a little bit of black around the reflection.
Try to get the white at an angle in the pupil. I went for the upper part of the pupil. The reflection doesn’t have to be perfectly in sync, it will look good either way.
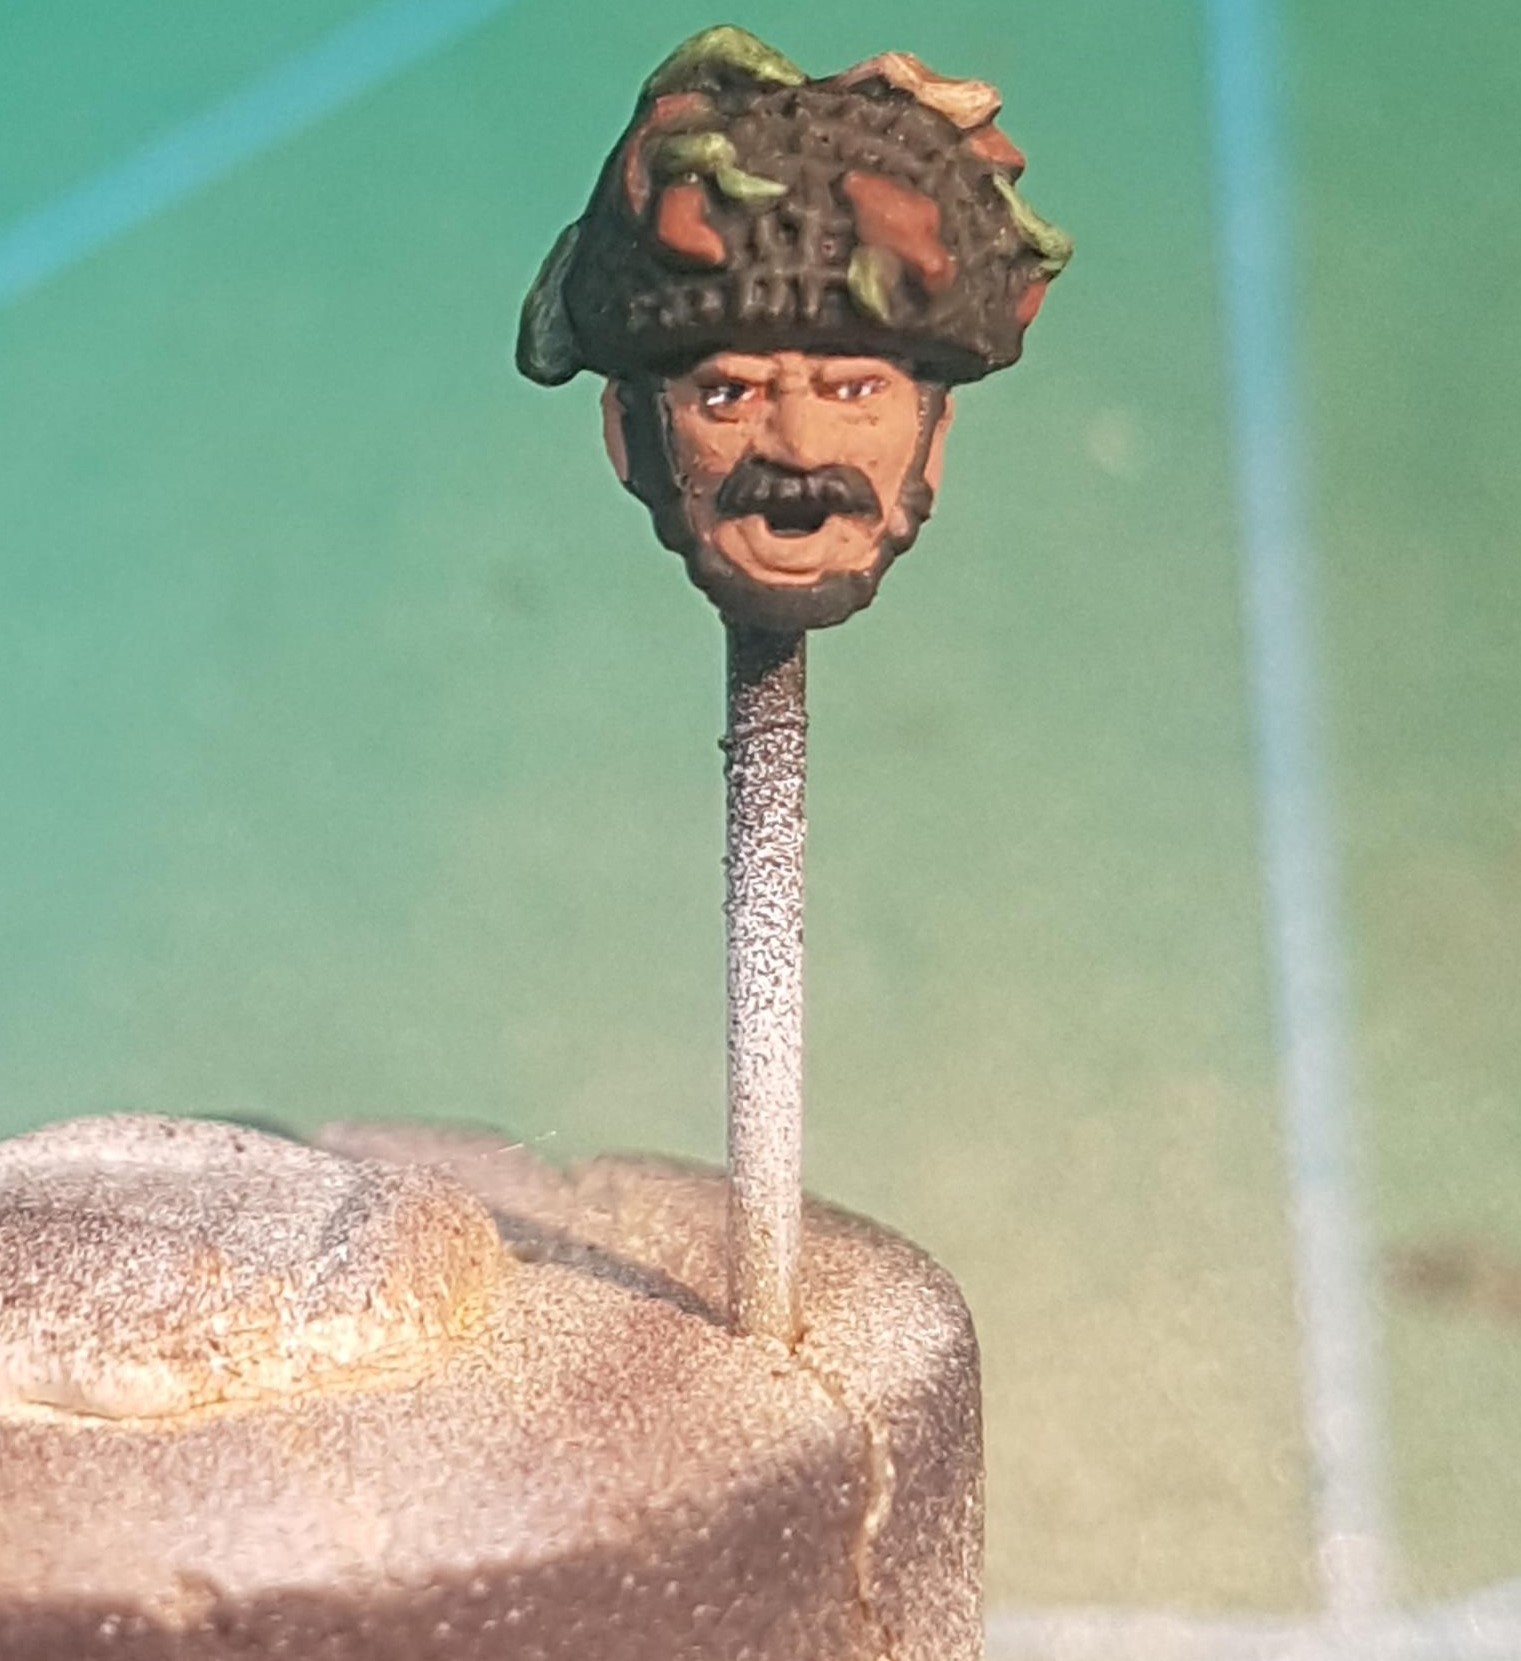
When we are happy with the eyes, we start touching up the area around the eyes with our base flesh colour AK3011.
It´s now time to start adding AK3012 into the mix, (I often go 1/3 of the new colour then 50/50, and then only the new colour when doing my transitions), and apply it to the raised parts. We´ll focus on the upper parts of the face, such as the areas where the eyebrows would normally be, the upper part of the cheek and nose.
After this, we´ll mix in some AK3013 to the light flesh, and apply it to the tip of the nose, the brightest spot on the cheeks and above the eyes where the eyebrows would be.
We will now start to work on the shadows. I don´t blend in the highlight colours here, I just use pure AK 3014 very thinned down with water. I apply it at the lower part of the face, around the nose to bring out some contrast. When applying the shadows, always go on top of the other parts of the highlighted areas. The reason is to get nice transitions between the shadows and the brighter parts of the face.
Add AK3015 Dark Shadow flesh, also without mixing it with any other colour, to the areas where the darkest shadows would be. You can see now that the face is starting to come to life. I go back and forth between all of these steps, to get as smooth transitions as possible until I’m happy with how it looks.
For the lips, I´ve used army painter red mixed with AK3011. To get the reflection I´ve added some off-white to the lip, and then went over it with the red mixed with AK3011, do it with extremely thinned paint. Like 9 parts water to 1 part paint.
The final step is to use AK3016 cheekbone glaze underneath the lip to bring it out a bit.
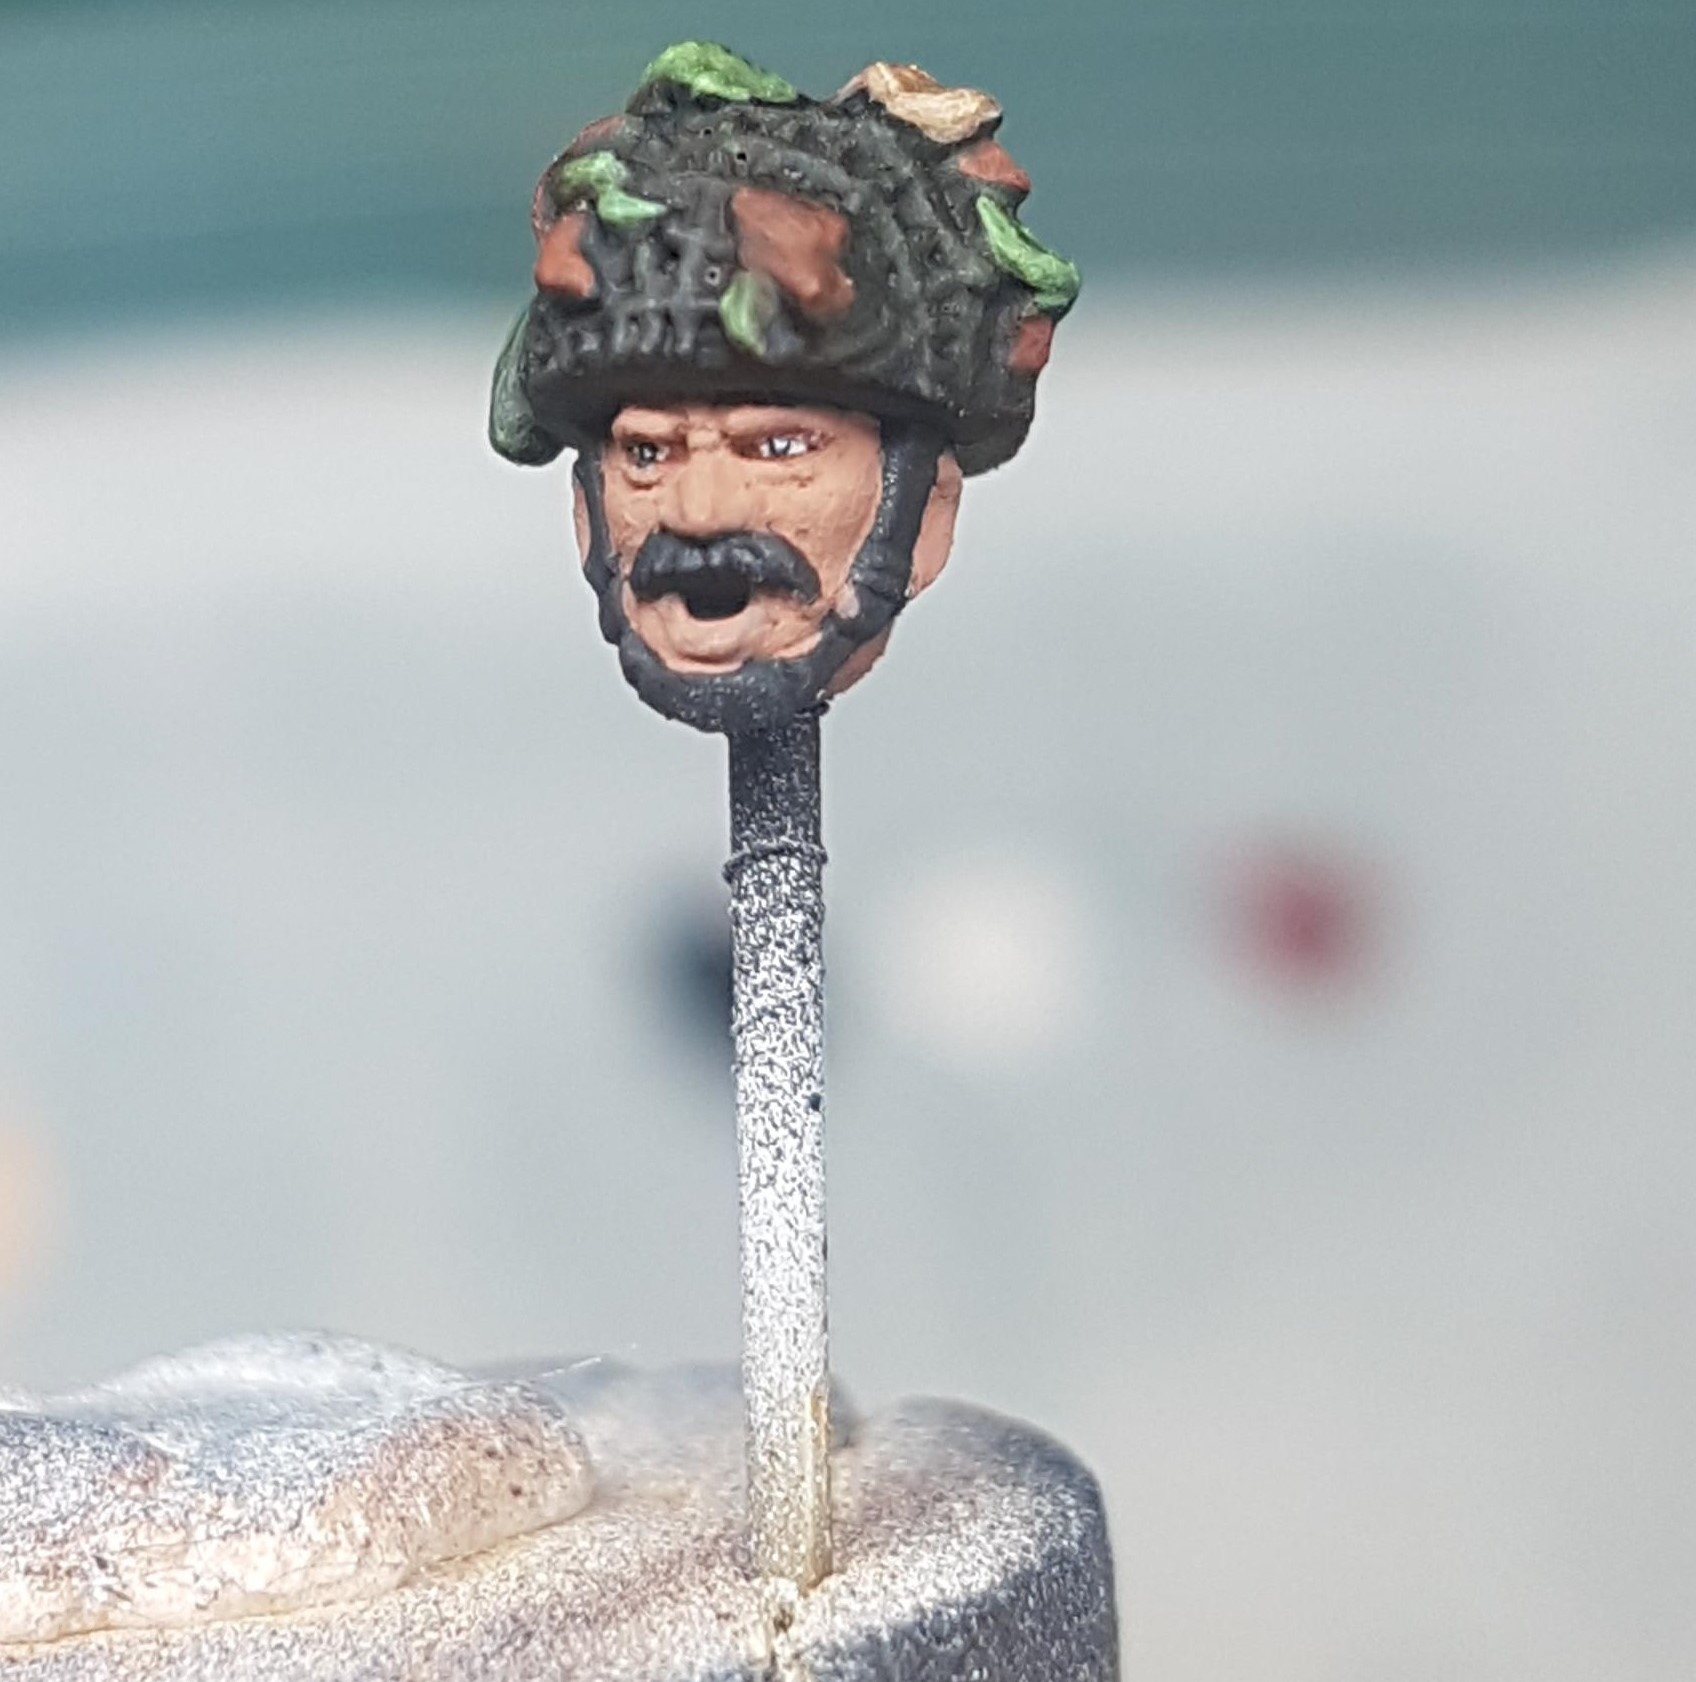
The moustache was painted with Vallejo Flat brown, and highlighted by mixing in some ivory.
All done!
Face Camo
Some of the paratroopers had face camo, and I´ve tried a couple of different approaches to this and finally found out that the easiest (for me) was to use pigments. I´ve used AK smoke pigments and added them with a brush. Use EXTREME caution when applying them as they can easily ruin the whole face if applied to heavily. In this case, it really is – Less is more!
A good idea is to look at reference pics before adding your camo!
Stubble
If you don’t want your paratrooper to look like he just shaved and is heading for Sunday mass at church, it might be a good idea to paint some stubble on some of them.
Look at some reference pics before doing this!
To paint stubble I´ve mixed AK3016 and AK3011. You can choose how dark you want it. I often start off bright and mix in more AK3016 if needed. When painting stubble, start off by really thinning your paint –
9 parts water to 1 part paint and apply several extremely thin layers. Let every layer dry before applying the next. You will see how the stubble will “grow” 😉 with each layer. Don´t cover all of the skin paint beneath.
To get some more volume in the stubble, apply more layers at the lower part of the face, to give the impression of shadows.

Ok, guys! That´s all for this tutorial. I hope this will help you painting faces. If you have any questions don´t hesitate to contact me on Facebook – PM Painting or Instagram – Myt4z
Do you have an article within you? Are you itching to show your collection to the world? Then drop us a line with a couple of pictures to info@warlordgames.com or share with all over at the Warlord Facebook page
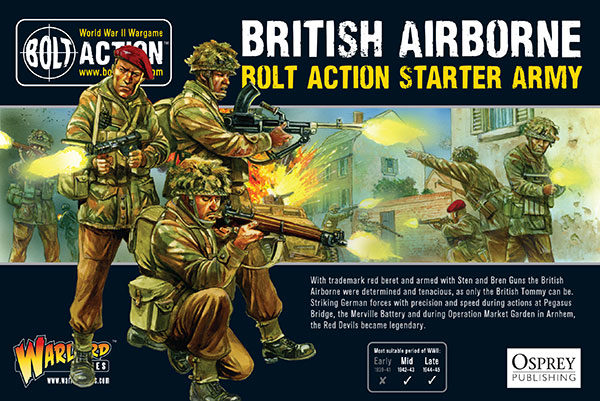
Get Airborne