Following on from last weeks article on creating Bolt Action scenarios we came across Brian McGonigle’s Anzio campaign; and the following the victories for the Axis in the previous rounds, the Allies had been forced back to “The Overpass”…
A bit of Context
Brian: The Allies have to hold the overpass (the top part of it being the objective and to contest units have to be on it). However, having been pushed back, the Allies were now in range of Naval artillery support which allowed a preparatory bombardment against the attacking Axis. If it came in, the first roll of 1 could be assigned by the Axis against the Allies. (It’s little ad hoc addition like this that make campaigns so much fun)
The Forces
Gary Franks (almost) all regular Allied Forces consisted of:
- 1 Senior Lt + 1
- 2 x 6 man Guards with 2 LMGs
- 2 x 9 man rifle squads
- 1 x 12 Shrabstraf (Inexperienced shirkers with 5 rifles and the rest being human shields)
- 1 x 12 man free inexperienced squad (fanatics as from Stalingrad selector)
- 4 x AT rifles
- Heavy Mortar plus spotter
- Gaz jeep with MMG
- Maxim MMG with Gunshield
- Quad maxim truck
- 2 x ZIS 3 guns
The all veteran Axis force of Fallschirmjager consisted of:
- 1st Lt +1
- Medic
- 3 x 5 FJ’s with 1 SMG and 1 LMG
- 2 x 8 man FJ’s with 5 SMG’s and 2 Panzerfausts
- BMW 75 MMG
- Medium Mortar
- Sniper
- Flamethrower
- Goliath AT Demolition team
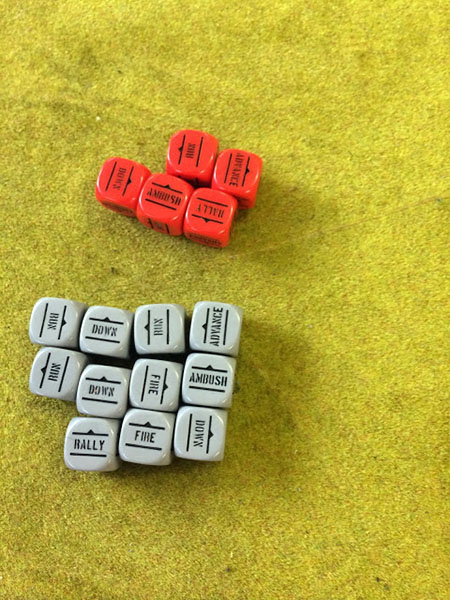
With a total of 17 Order dice for the Allies and 12 for my Germans.
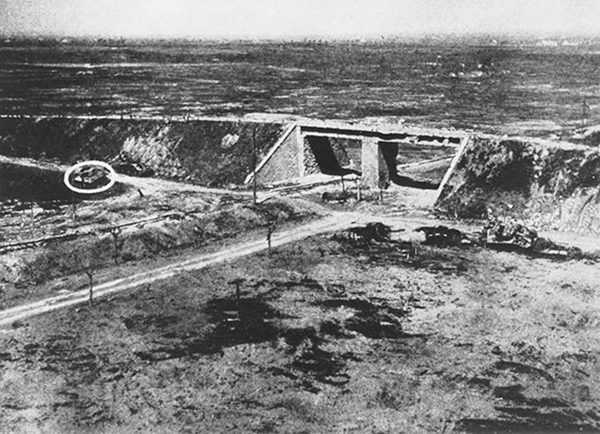
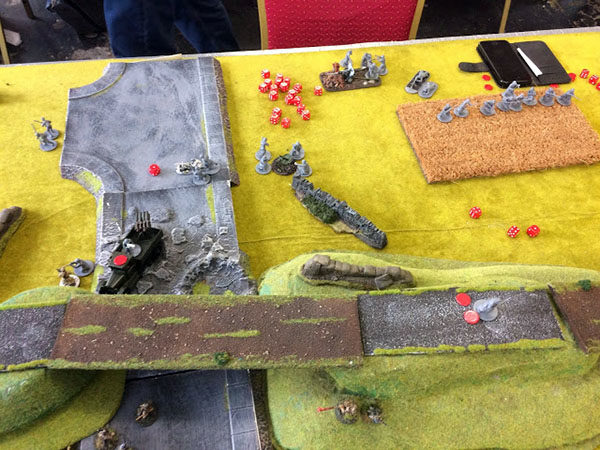
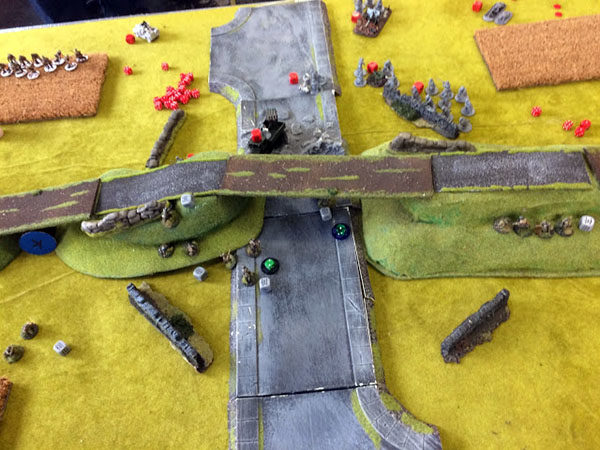
The Allies were allowed two infantry units plus 1 more to guard the Overpass, and Gary deployed both Guards units up on the slopes and a Zis 3 underneath. The set up was as close as we could to the picture Dan Miller dug up, with the central road “Over” being a hill ridgeline that obstructed LoS over it. The board was fairly open, and again, such set-ups help make the campaign games tactically challenging, especially with the overpass needing to be occupied at the end and anyone on it being exposed…
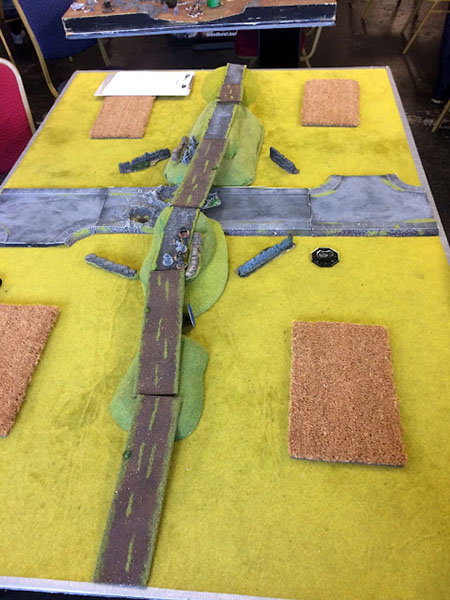
With the Zis 3 being under the underpass, I suggested I could not target it with indirect fire. Rules like this can make the game feel more real!
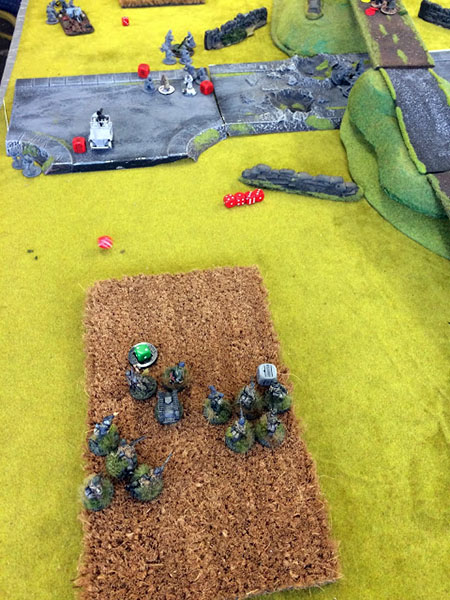
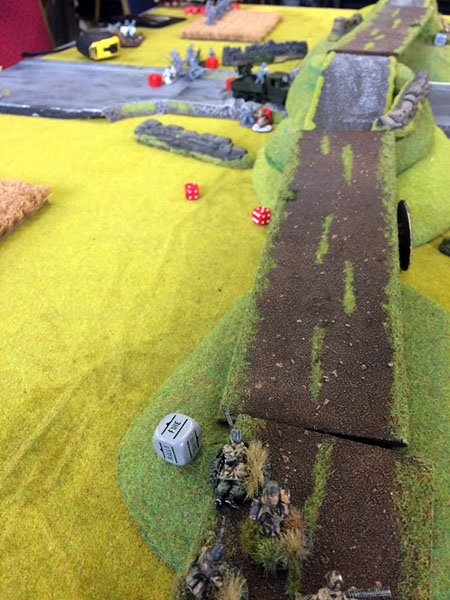
I deployed everything but the BMW, which would outflank (up my left). I planned to skirt the hill on my side of the road with both assault groups, and take the underpass gun out and sweep up on top later. I set up my forces heavily on my left, to lure the Soviets there and away from the objective. In the top wheat field were two LMG squads and the Goliath team. On the road itself, at the left, were an LMG squad, 8 man assault group, medic and officers. My sniper was deployed bottom left in the wheat.
On my right, the second assault squad, flamethrower and mortar in the wheat.
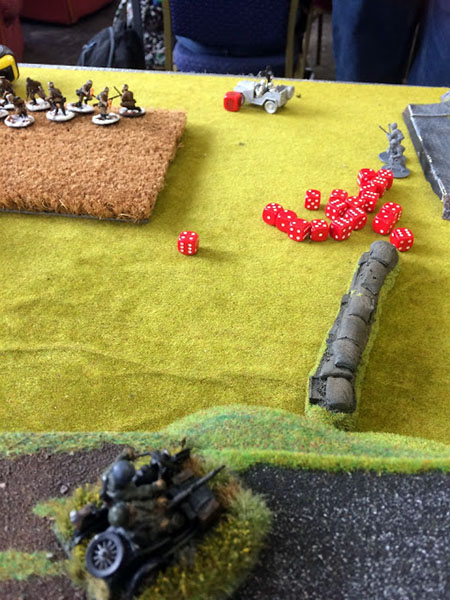
The preliminary bombardment killed one of the Goliath team and one of the LMG squad nearby, and dished out one or two pins on everyone bar my left assault squad and left road LMG team. The left side Guards also took 2 pins.
Turn 1
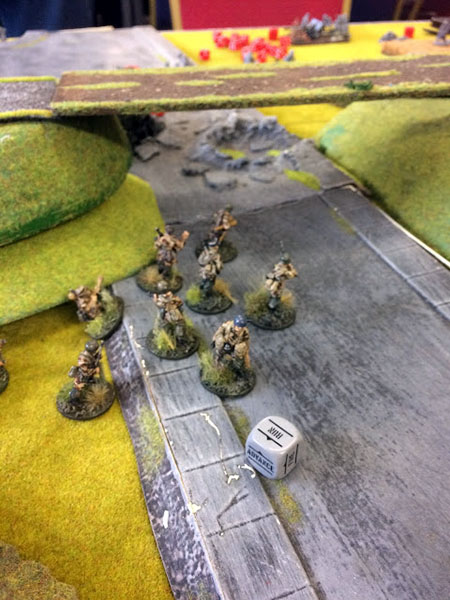
With the bulk of Gary’s forces off board, his units in reserve went ‘Down’, while the Gaz jeep and an AT team advanced on and shot the top left cornfield units, with the now two man Goliath taking several pins they shrugged them off with a rally. The second Zis, MMG and heavy mortar ran on to take up positions central near the underpass, with the Senior Lt joining them. A rifle squad advanced on top right and put a pin on my second assault squad. They subsequently failed to move and went Down. The underpass Zis missed the mortar, and a combination of LMG and sniper fire, they killed 3 men including the NCO of the Guards who had been hit by Allied naval shells. With a Fallschirmjäger assault squad closing fast, the cunning guards managed to FUBAR and run away out of assault range.
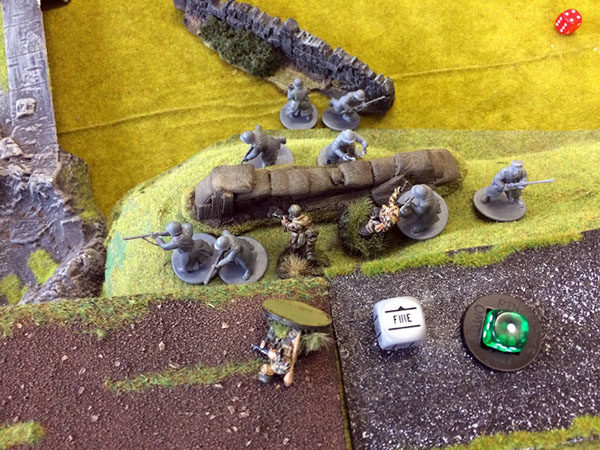
With the flammenwerfer running up behind the hill, the second guard squad advanced up and opened fire on the assault group killing two, inflicting a fourth pin.
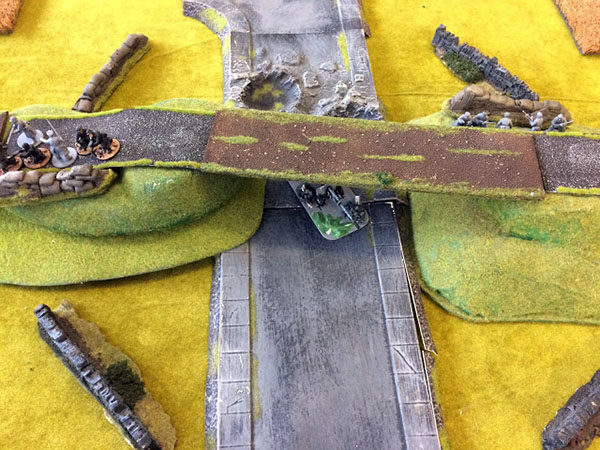
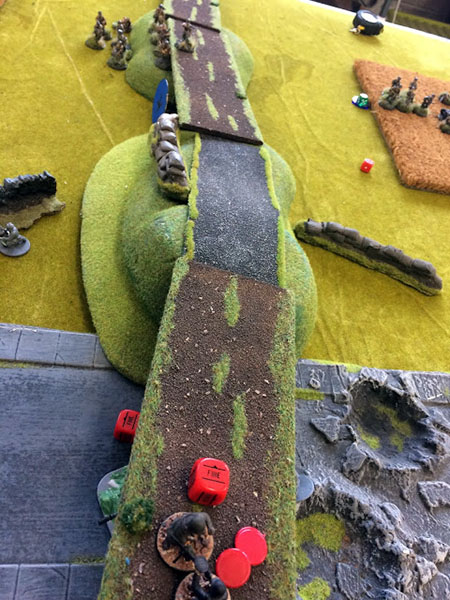
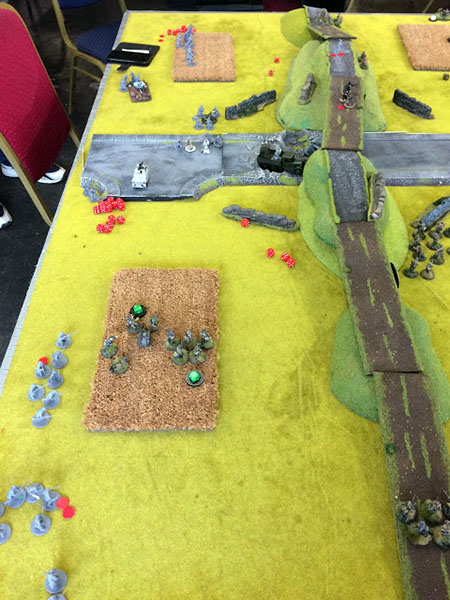
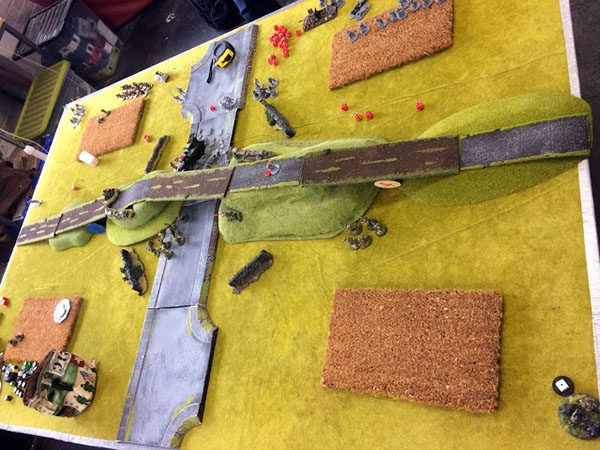
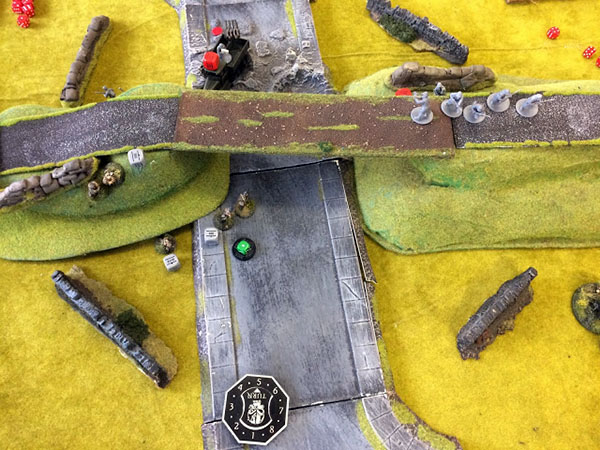
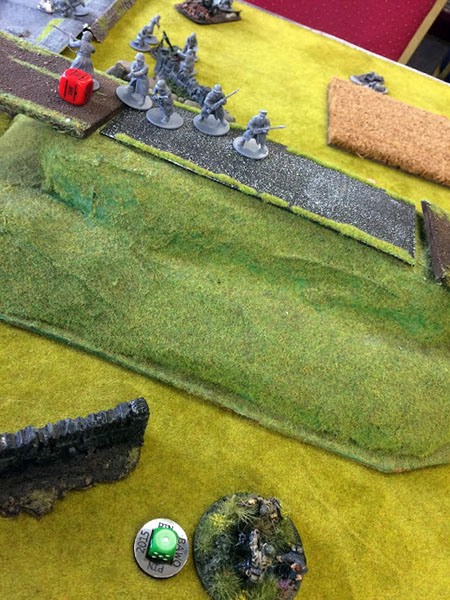
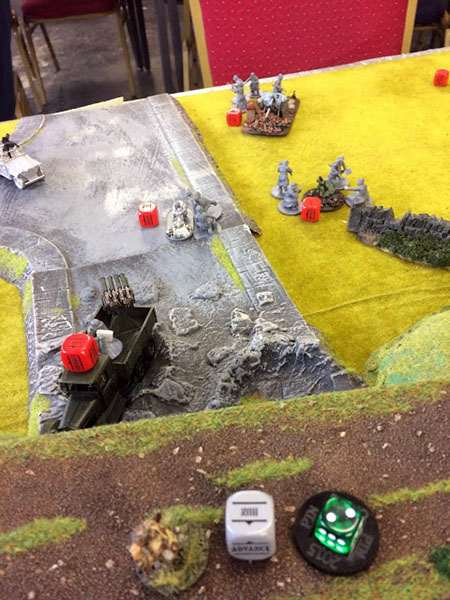
End of turn 1 overview.
End of turn 1 overview of the objective (The Russians reinforced very quickly)
Turn 2
The first dice out was grey, and the flamethrower shrugged off the pin and liberally doused the untouched Guard unit above them. 5 Soviets died, but the NCO held firm with two pins. The Gaz jeep opened up on the Goliath, giving it a second pin, and an LMG squad went into the ambush stance.
The free inexperienced unit failed to come on, so the Shrabstraf were ordered in their place. I triggered the ambushing LMG squad to ensure they got no hits with their meager supply of ammo and reduced the unit size by 4.
The lone NCO failed to charge the flamethrower, the rifle squad on the right put a fourth pin and killed an FJ in my right assault group. The heavy mortar missed an LMG squad.
The quad MMG came on and rattled up 6 hits on my LMG squad, but amazingly, they all failed to wound.
However, with the maxim on the road, GAZ jeep and a reserve rifle squad they managed to put a few pins and took an LMG squad down to two men. They shrugged it off and killed two of the rifle squad in return. My right assault group rallied, shedding all 4 pins while my left one, with officers and medic, advanced up behind the wall, ready to hit the gun in the underpass, which had to turn and missed their target. My left LMG squad on the road dropped a few more of the Penal squad, giving them 2 pins (which doubles for orders test). The heavy mortar missed my 5 man LMG squad in the wheat field on my left.
The Guards without the NCO rallied, losing all 4 pins but then the sniper added one afterwards. The left LMG squad advanced but only put a pin on the quad maxim truck, the Soviet officer ran up to ensure it passed its order test next turn. My Goliath team then rolled 11 to activate the remote mine… and went down.
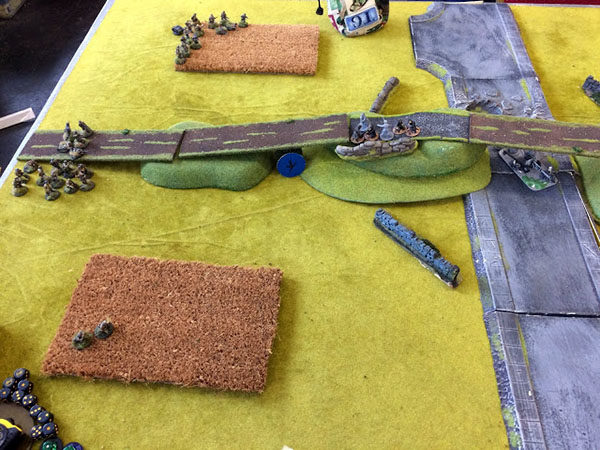
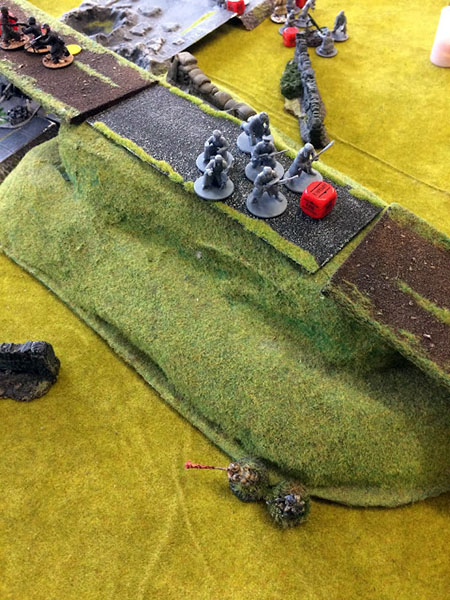
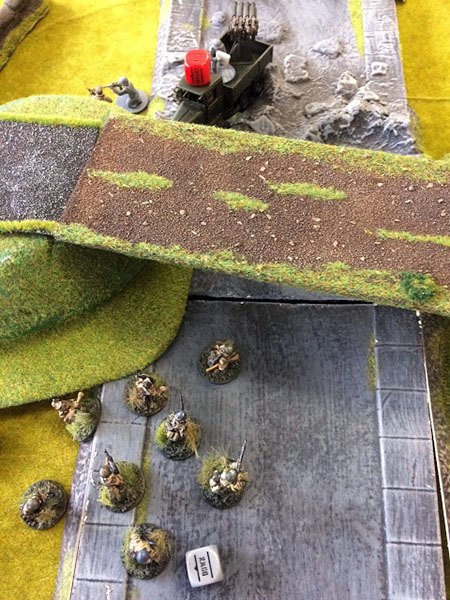
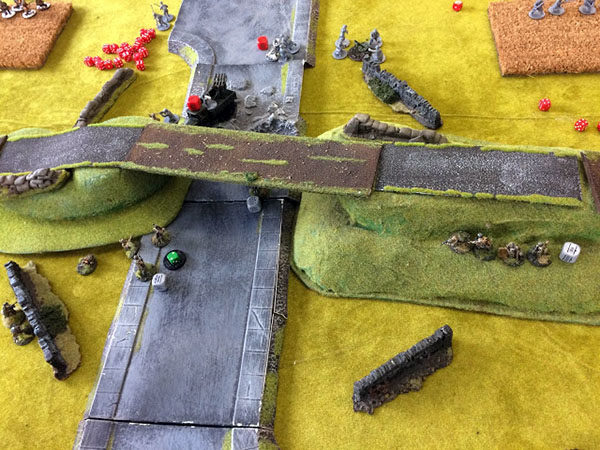
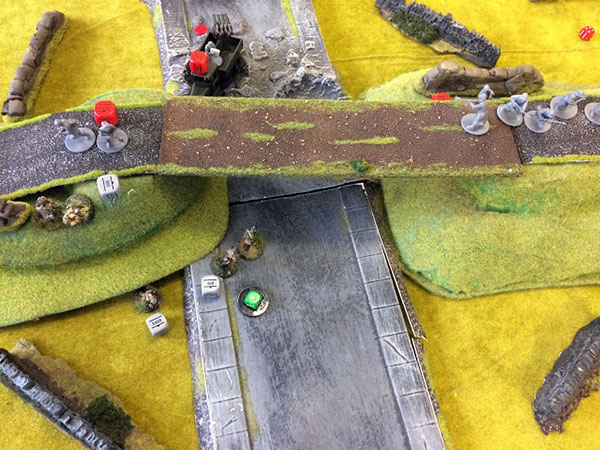
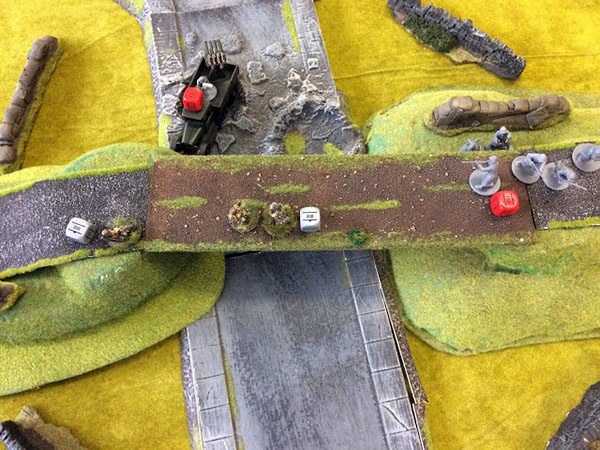
End of turn 2 view of the “Overpass”. The Guards hold it.

Turn 3
Gary got to go first, advancing with the GAZ jeep, killing a Goliath team member, and I rolled an 11 for the morale. The sole survivor picked up his mine and went back home, and the first dice goes to the Soviets.
In danger of being swamped, I advanced up the 5 man LMG squad, point blanking the remaining 7 men of the rifle squad nearby and killed 5, but the Soviets wouldn’t break.
Alas, such good shooting did not go unnoticed. The heavy mortar re-adjusted their sites and obliterated the squad, hitting them on a 6 as they had just moved.
My LMG squad on the left of the road advanced, and put a pin on the quad maxim. Having attracted its attention, the Quad maxim killed 3 men, and the FJ’s failed their morale and headed after the Goliath team (Stubborn ain’t much help when you roll 11). My medium mortar Fubar-ed and ran away, having failed an order test in turn 2 and going down after running in turn 1.
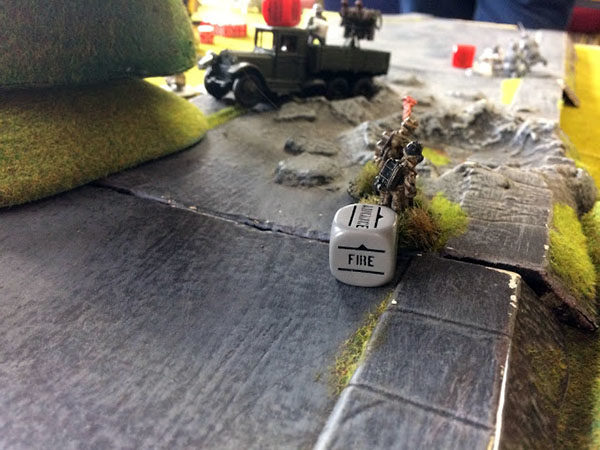
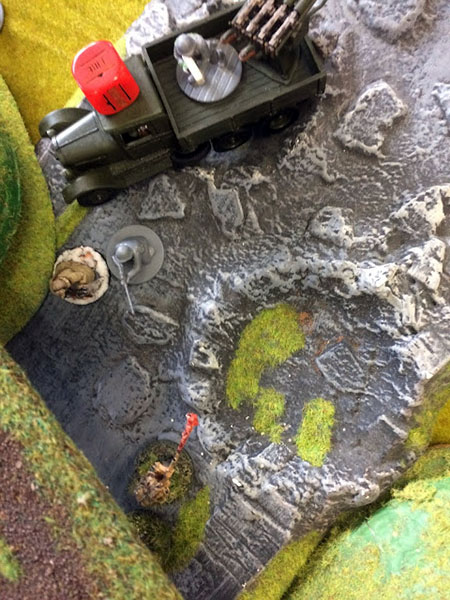
I was shedding dice and men, as the Soviets brought their numbers to bear. So the 1st Lt activated, along with the medic and my left assault group. The officers advanced putting a pin on the Zis 3 under the overpass and killing a crewman. The assault squad assaulted and wiped the gun out, but only rolled 1 to consolidate, facing the quad barrels on the truck if I didn’t get lucky with the first dice in turn 4. The medic advanced nearby.
The flamethrower finished off the guards squad on the overpass, and the lone NCO of the second guard squad again failed to assault them

My remaining two men in the wheat field finished off the 9 man rifle team pair. Several Soviet AT teams appeared from reserves, along with the free inexperienced squad, who were poised to overwhelm the remainder of the wheat field occupants in the top left. The 5 men from the right assault group ran up behind the hill and the BMW sped up the road, ignoring nearby targets and putting a pin on the Quad maxim truck.
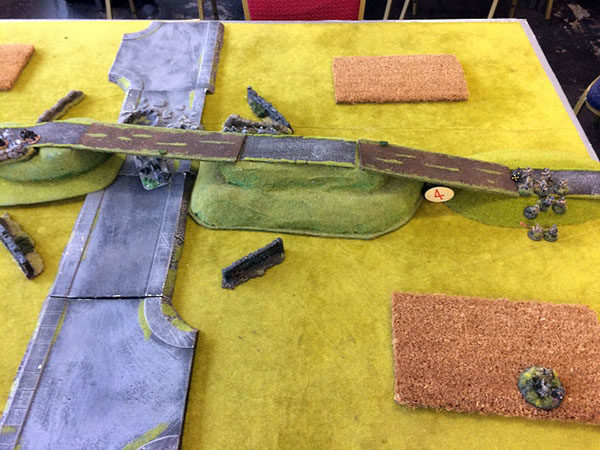
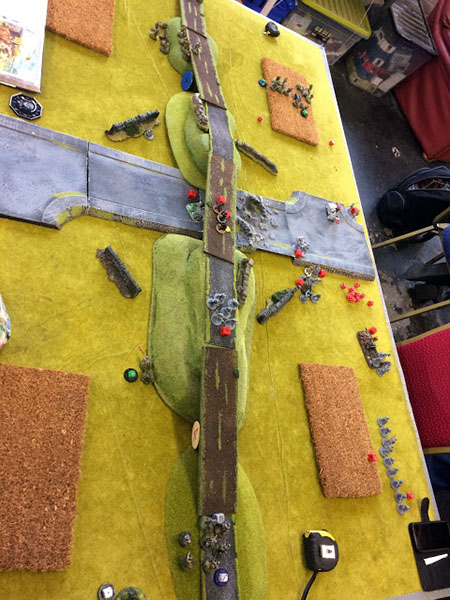
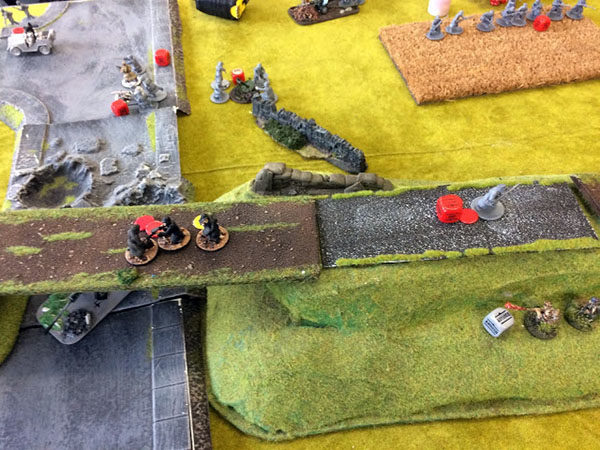
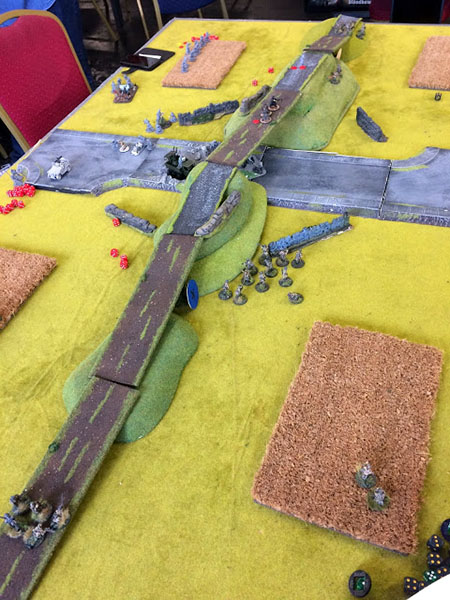
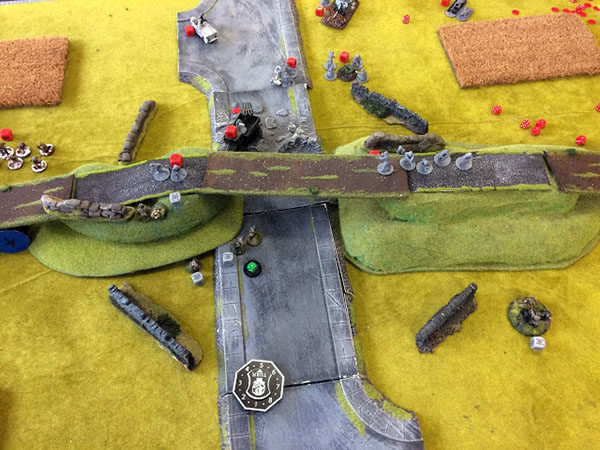
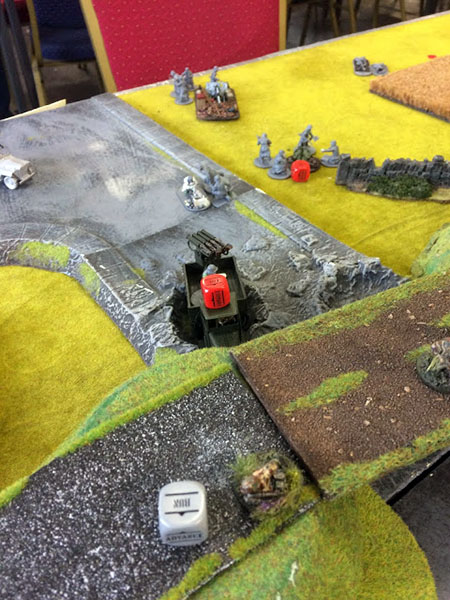
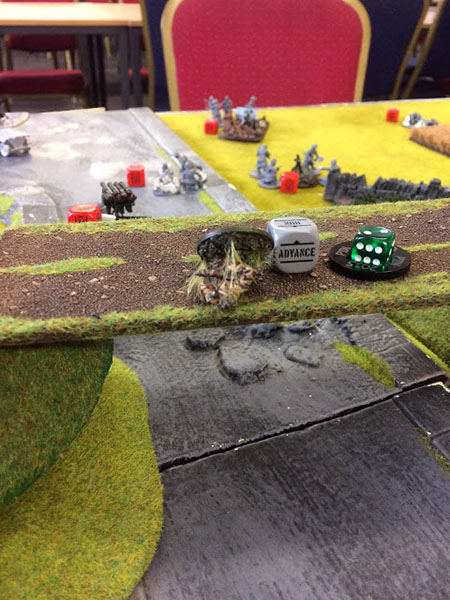
Overview end of turn 3
Overview of the objective, with the Axis closing.

The plan of drawing the bulk of Soviets up on my left worked, but I’d suffered for it.
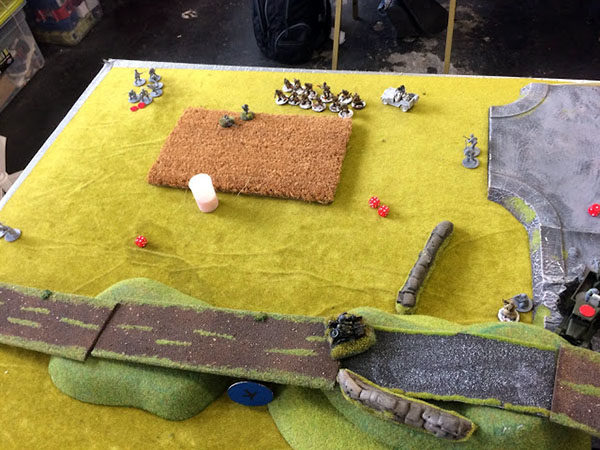
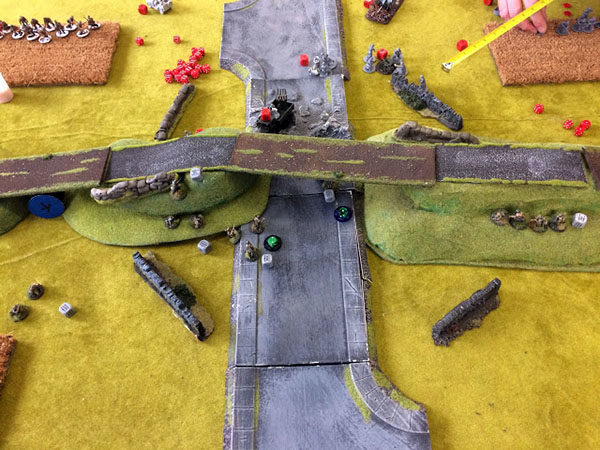
Below, Overpass objective end of turn 3
Turn 4
The first dice came up red, and Gary contemplated hitting the BMW… But he was just teasing, opening up on my exposed FJ’s in the underpass, who hit the deck but still lost 5 of their members.
Still, payback was planned, my advancing flamethrower was up next.
and the truck was too big too hit! Rolled a two, but it still didn’t run out. The Red hordes dice came out, the inexperienced squad running over my two FJs and securing their whole board edge.
The Gaz jeep MMG hit the fuel tank of the BMW 75, as it couldn’t recce off the road (two steep for vehicles).
The Soviet MMG only pinned the flamethrower, and my right side took out the Guards NCO, although fair play to him, his defensive fire dropped an FJ on the way in.
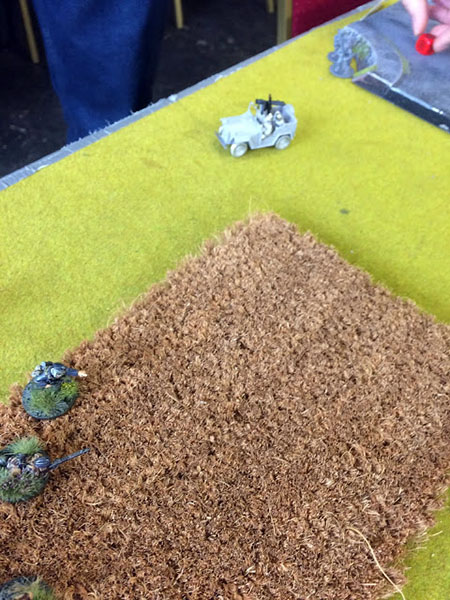
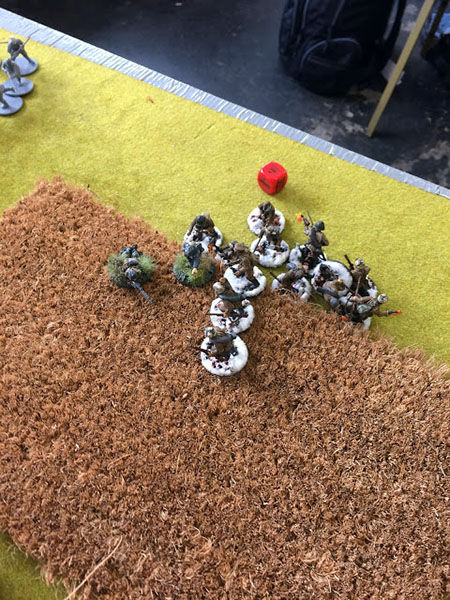
One of the reserve AT rifles had ran up, and shot at my sniper, missing but with turn 5 on us soon, my sniper ignored the At rifle and sprinted for the overpass as did the mortar team, the Soviets having the same idea apart from the Penal squad.
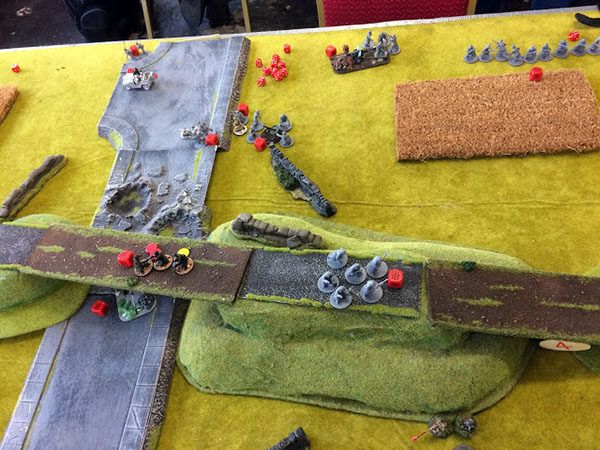
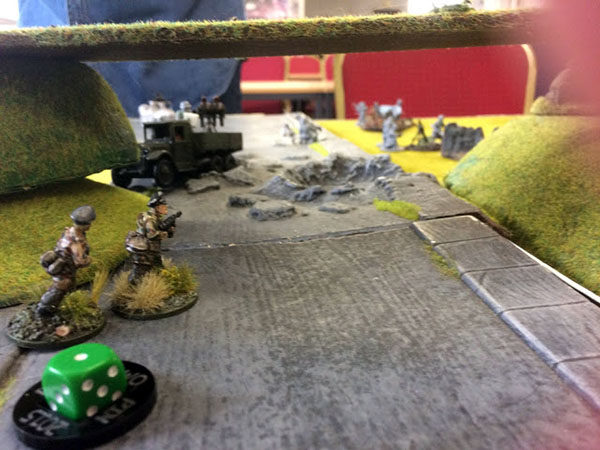
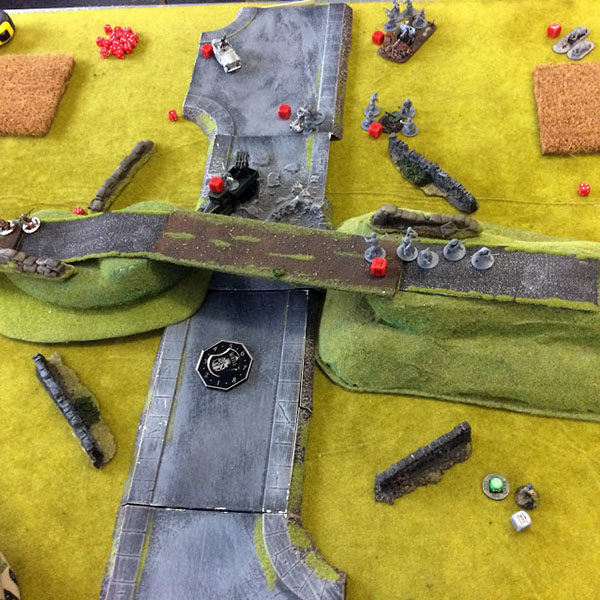
“The Killing Field” near end of turn 4
A soviet AT rifle ran up, the Senior Lt and man moved in but failed to wound the flamethrower.

The heavy mortar fails to range in on the down FJ trio near the underpass.
Turn 5
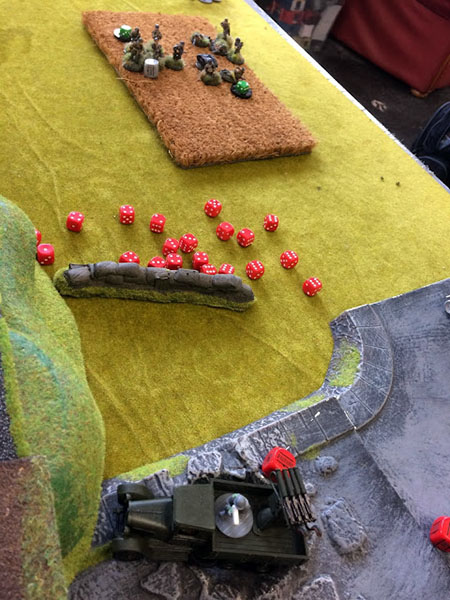
Red up first, and the Quad Maxim wipes out the Flammenwerfer.
And the darned Heavy mortar team deserves a Order of Lenin, another 6 hitting an annihilating my remaining 3 men, just outside the underpass with a 5.
Rapidly running out of dice and men, I decided to be bold and draw some fire with my remaining 4 assault squad men and hope to fend off the Soviets from getting to the objective. I put a pin on the quad maxim, missing with the panzerfaust. The Maxim drops one of my men and the 9 man rifle squad, aware of the need to secure the objective, assault up the hill. With simultaneous combat, and 3 SMG toting FJ’s, I’m hoping for the best. The Soviets inflict one casualty, I roll 3 attacks, killing only one. But with the tough fighter rule, it gives me another attack, and I fail the 50% chance to kill and win the combat.
So eight attacks v 2, Gary kills another FJ, I reciprocate. And again, I fail the 50% chance to kill and win the combat.

Before finally succumbing to rifle butts and bayonets and with my forces greatly depleted, I embark on petty vengeance, advancing my officers whose MP40’s kill the Soviet officer team in the underpass.

The Soviets rapidly move to the Overpass, with 7 men from the rifle squad consolidating to hold it.
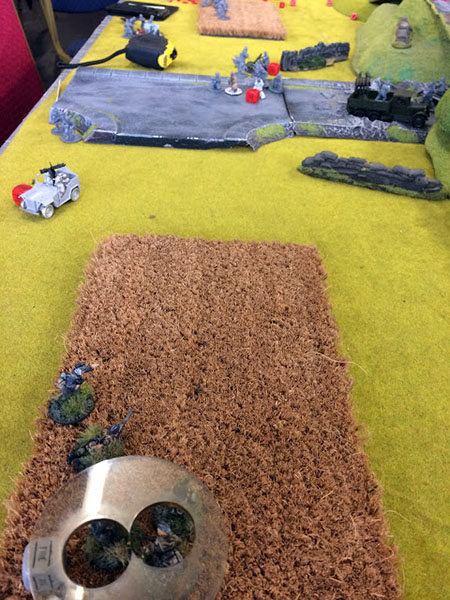
The AT rifle advanced up and missed the sniper. End of Turn 5 view of the objective. It’ll be a tough ask to take with 3 mortar men, my officer’s and a sniper team (as medics can’t)
Turn 6
The Soviets activated first, turning the quad barrels on my reckless officer. He takes 3 wounds, and though the medic saved one, it wasn’t enough.
The 7 Soviet riflemen killed two of my mortar team, but the remaining man tried to assault, failed his morale and goes down.
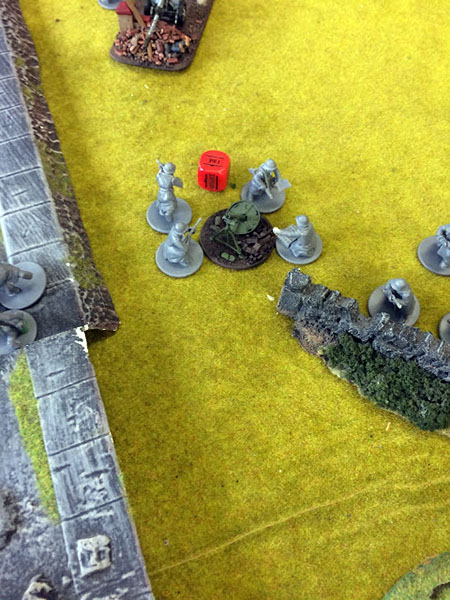
However, time to worry Gary! My sniper team with their pistols assault the AT rifle, killing them and consolidating onto the objective to contest.
Next dice, my medic runs up, hoping to save any MMG shots aimed at the sniper team.
In the picture, we have a Zis 3, AT rifle (two more off to the left) an MMG, Gaz jeep MMG and an inexperienced rifle squad, all to shift a sniper team. Oh and the Heavy mortar, which activates next, and Gary believing the sniper team to be too close targets the medic, rolling a 6 and the 2+ to kill.
Oh, I forgot the Shrabstraf dudes who were still looting the dead near the wheat field.
So, the MMG put a pin on the sniper team.
The Gaz jeep killed the Spotter, but the Snipers resolve held.
The inexperienced riflemen failed to hit, as did all 3 AT rifles.
That just left the Zis 3, with a 50/50 chance and of course, there was also a 50% chance of a turn 7!
It wasn’t to be for the Germans, my sniper taking an AT round, I had one mortar crew left, but insisted Gary roll for a 7th turn as I felt he could take the 7 men holding the objective, FJs are Stubborn, and I’m nothing if not optimistic.
But there was no 7th turn, so my remaining man didn’t have to overcome the odds.
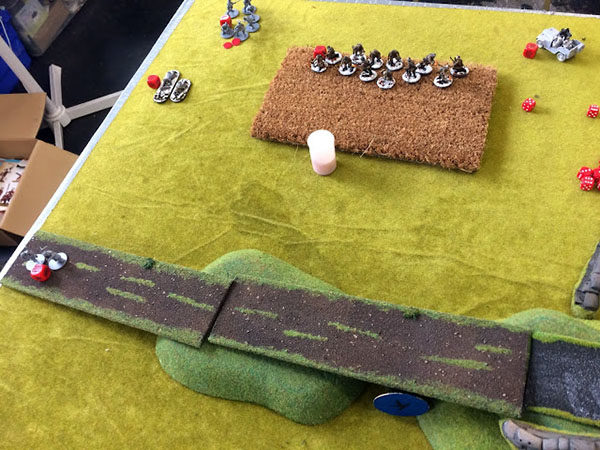
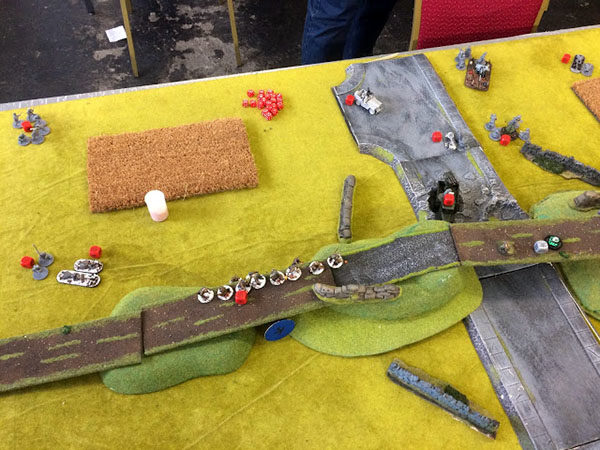
Final view, with the Overpass firmly in Allied hands.
It was a pretty bloody affair, with the Soviets losing: 2 x 6 Guards, 9 man rifle squad, Zis 3 and the 1st Lt while I was all but annihilated. It was a very interesting and tactical game, and the Axis were up against it from the off but I thoroughly enjoyed the game despite the heavy loss, and Gary’s Soviets remain unbeaten in the campaign. While the quad maxim was nasty, it was that damned heavy mortar crew I detested the most, it was lethal… All in, an excellent game!
Check out the original article here!
You can also check out game 2 here and part 1 here.
Do you have an article within you? Are you itching to show your collection to the world of Bolt Action? Then drop us a line with a couple of pictures to info@warlordgames.com or share with all over at the Warlord Forum
Inspired? Start your own army here!