By Dr Phil Hendry
Now it’s the part you’ve all been waiting for – time to apply the Army Painter Quick Shade, Strong Tone!
Although commonly referred to as ‘The Dip’ I don’t actually dip my models into the can. I prefer to apply with a flat, synthetic, brush – a brush with the head about 8mm across. It’s simply a matter of painting it on, all over everything, and moving it around to get what seems like the ‘right amount’ in each place. Get too much on, say the face, and you end up with the eyes as mere black holes – not enough and they don’t show up at all on the finished figure – get the right amount and the detail ‘pops out’ as the ‘Dip’ dries. The problem with actually dipping the figures in it is that you have no control over where it pools, giving a less satisfactory result. Painting it on is slower – but it’s hardly slow – I doubt if it takes as long as a minute for each figure.
Once it’s had time to dry (overnight), the result looks like this – bloody awful!
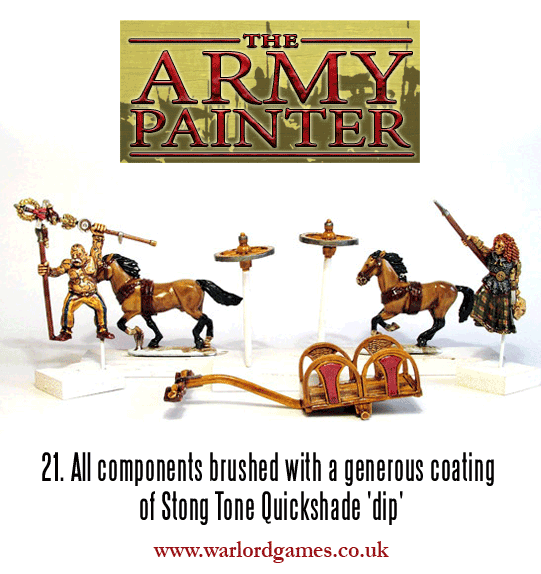
The first time I got to this stage my heart sank, it was hard to believe the figure was even salvageable – I nearly threw it straight in the paint-stripper. Some people leave their figures like this – but I believe we can do much better!
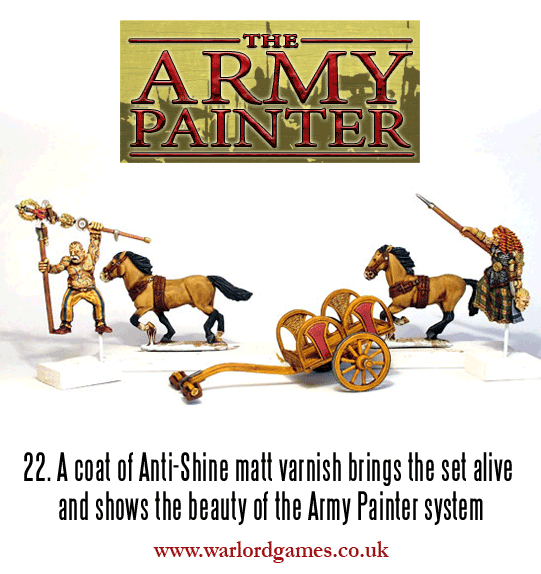
A swift coat of a decent matt finish (Army Painter’s Anti-Shine matt varnish is perfect) improves things dramatically. It’s worth mentioning at this point that the Army Painter system is an amalgam of Quickshade and Anti-shine matt varnish – the two together produce remarkable results.
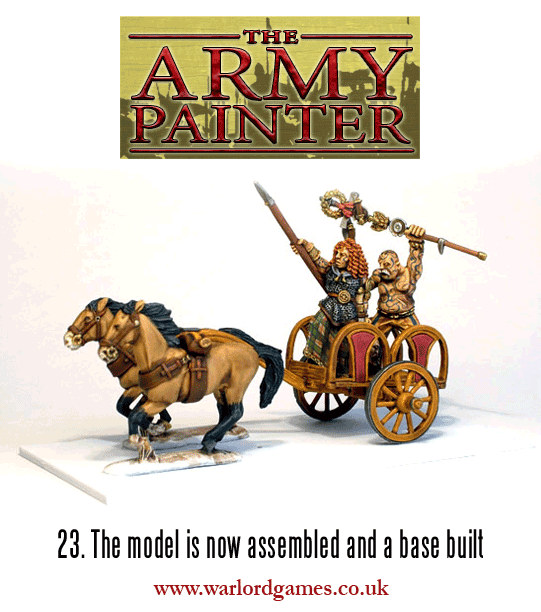
And then it’s time to make a base (from 2mm plasticard) and assemble the chariot, horses and people, and then we begin to get an idea of what the finished model will be like.