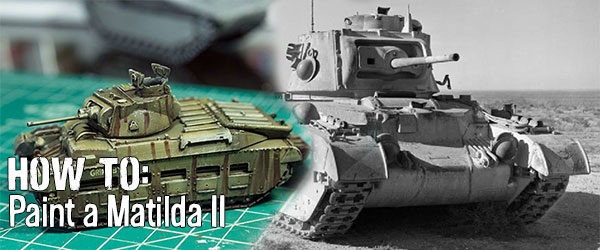
Jacob Richards produces a top notch Matilda II Painting Tutorial, packed with immense detail, certainly worth a read!
Jamie: Hey Guys!
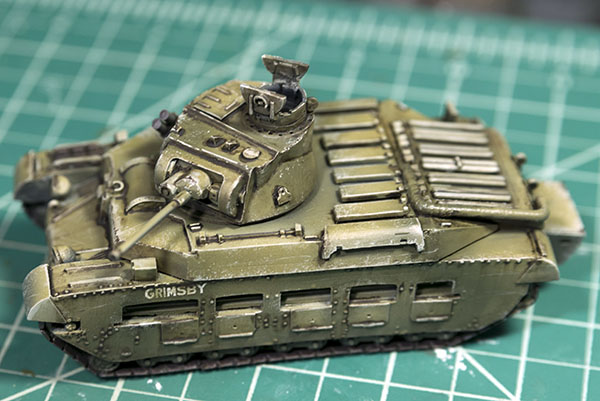
With all the excitement for Operation Sealion in the community, we contacted regular community poster Jacob Richards to discuss how he painted his great Matilda II. He very kindly decided to share the below tutorial with us.
Here’s the model that Jacob used
We are always looking for community content if you have a blog or YouTube channel you want to show off please feel free to email me at Jamie.tranter@warlordgames.com. But for now, over to Jake:
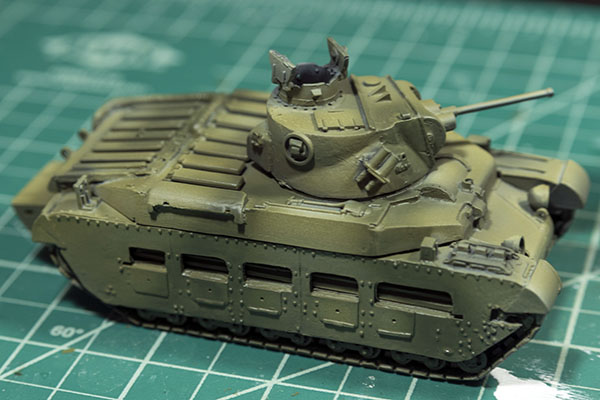
Step 1 – Value Sketching
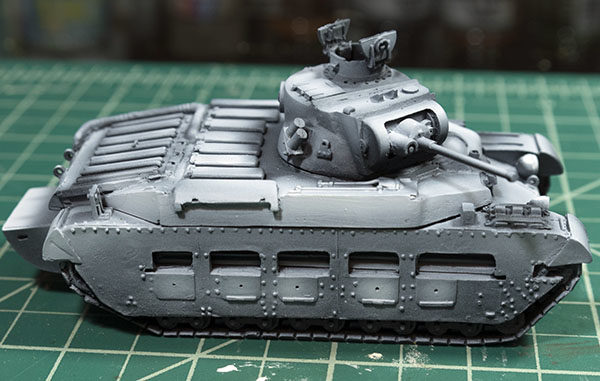
Jake: I like to approach each armoured vehicle I paint as if I were going to sketch it on a piece of paper. I establish my lights and my darks. When it comes to painting a 28mm tank, I start from a black base coat of primer and then add highlights to different features of the tank using white or sometimes grey primer. The trick is to keep contrast stark in places where you want to bring the eyes of the viewer (the turret, the commander’s cupola, etc.).
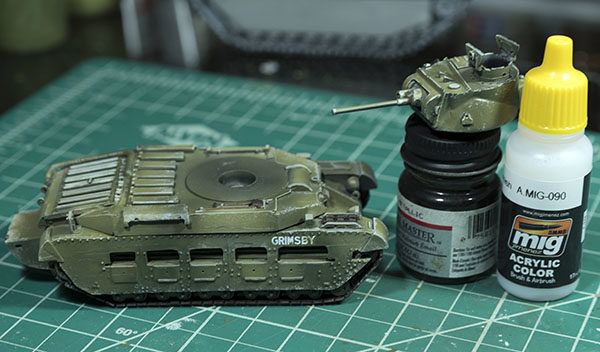
Step 2 – Base Coats
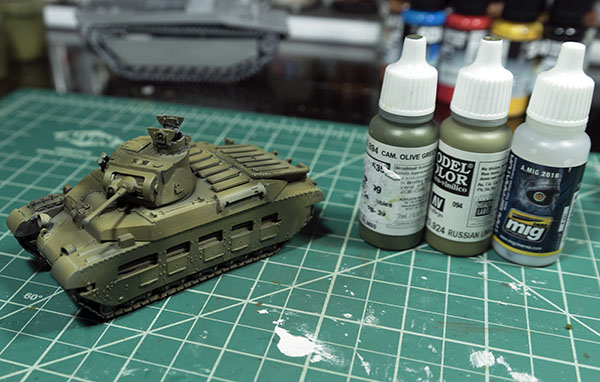
There’s a bit of debate around the true colour that green British armoured vehicles were. In my opinion, the shade of green is not as important as the effects that are done on the paint itself. The sun and other natural elements would wreak havoc on the paint the moment the vehicle left the motor pool. For this model, I used Vallejo’s Russian Uniform. I mixed the paint with some of Ammo of Mig’s Transpareter (70/30 ratio of paint to thinner) to make it more transparent. I then built the colour up in subtle layers ant let the value sketch I did in step 1 do the work of establishing contrast. Once the base coat of Russian Uniform was solid enough to my liking, I added the dark green camouflage with Vallejo’s Camo Olive Green.
Step 3 – Chipping and Scratching
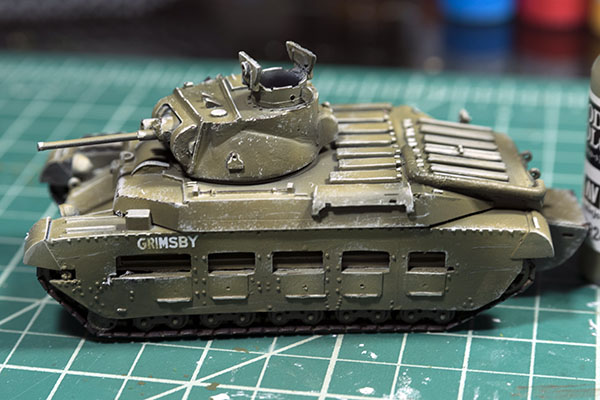
To show that the tank was constantly getting scraped and chipped, the mixed Vallejo Russian Uniform and Vallejo Light Green Grey together to create a light shade of the basecoat. I used this colour and a number 1 brush to go along edges of panels and other places I’d want to create the effect of wear and tear on the vehicle. To create lighter, newer blemishes on the vehicle, I even mixed a hint of Vallejo’s Deck tan in with the mix. Aside from using a fine brush, I also used a piece of sprue sponge along the edges of different components to simulate wear and tear. For areas that were scraped down to the bare metal, I used Vallejo’s Camo Black Brown.
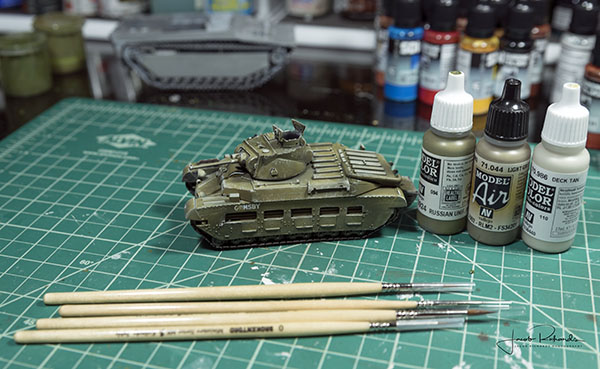
Step 4 (Picture 6) – Sealing with Matte Varnish
With the painting effects completed, I used Ammo’s Matte Varnish to seal the tank and details up before I began work with enamels and oils. I was sure to let the varnish cure overnight before I did anything else.
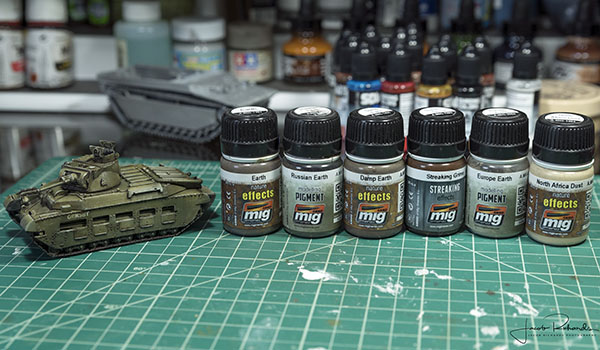
Step 5 – Using Oils and Filters to Create Variation

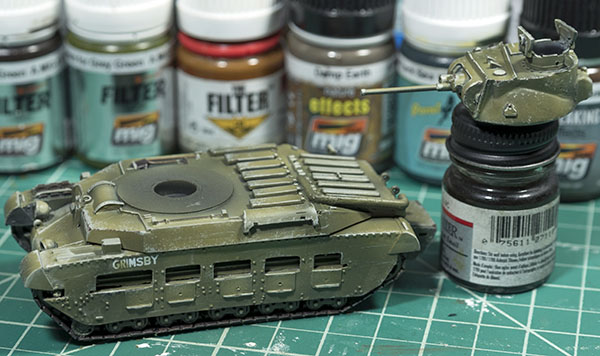
To bring different panels and elements to life, and to break uniformity up, I used a variety of enamel products and even oil paints thinned with thinner. The trick is to simply wet the surface with whichever product you’re using and just tint the surface.
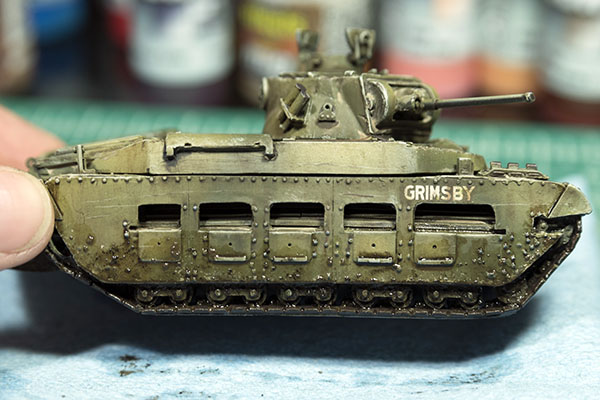
Step 6 – Washes
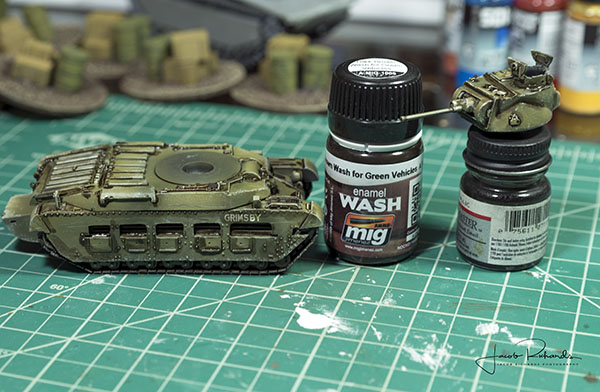
With the filters established, I then used Ammo’s Brown Wash for Green Vehicles to outline panels and components of the tank. I used the capillary action of the wash to let it flow around the various features of the tank. I then let the wash dry for about 45 minutes and then came back with a brush dampened with thinner to clean up the wash so that it created subtle outlines around the different features.
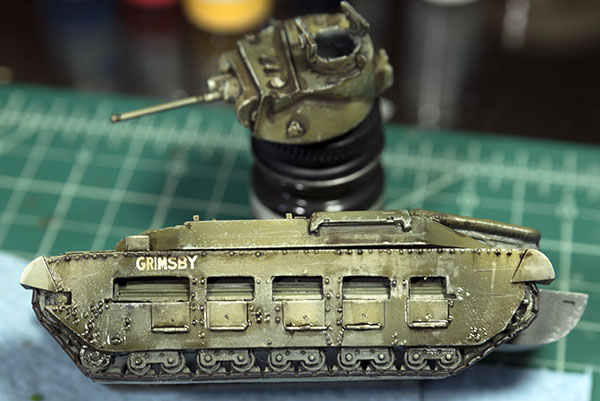
Step 7 – Bringing in Natural Elements
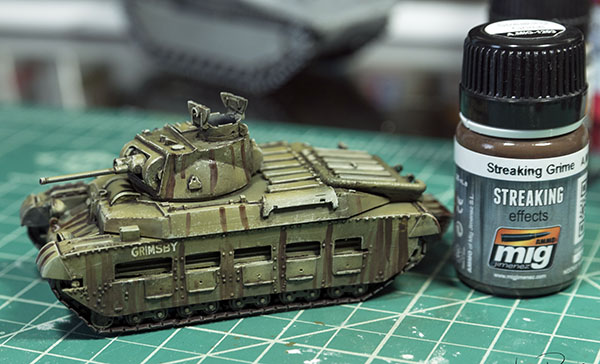
I wanted to emulate the various amount of darker soils that would accumulate on the tank and then run off during rain. I took Ammo’s Brown Streaking Grime and applied it in lines around the tank. Like the panel wash, I let this dry for about 45 minutes and came back with a damp brush to think the streaks and make them look much more natural. Use this effect sparingly. Less is more!
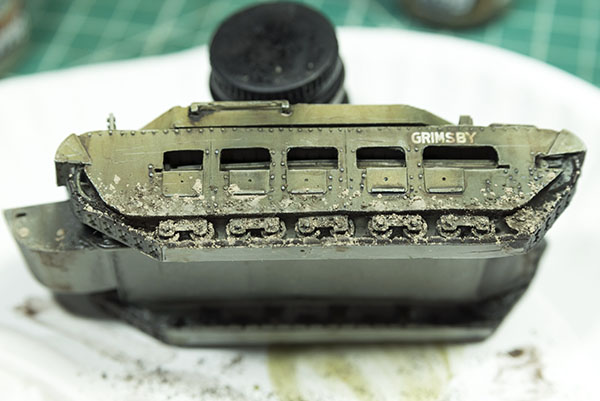
Step 8 – Dust!
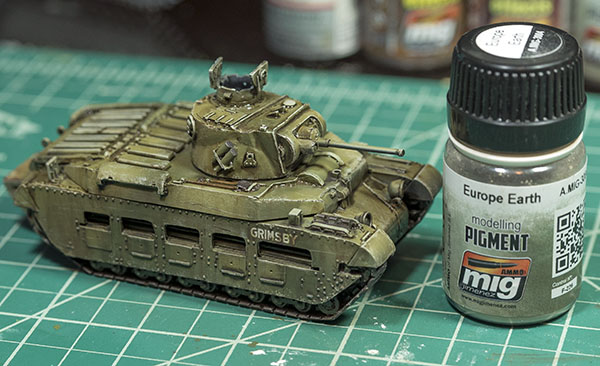
Tanks constantly accumulated dust no matter how much the crew tried to clean the vehicle. To illustrate dust accumulating on the structure, I took a tiny scoop Ammo’s Europe Earth and mixed it with enamel thinner. I made a mix that looked much like tinted water and let it pool around flat areas on the tank, stowage, and different nooks and crannies. Keep the mix light and take your time with this step. It really helps to build the effect up over a series of steps rather than being heavy-handed in one move.
Step 9 – Mud

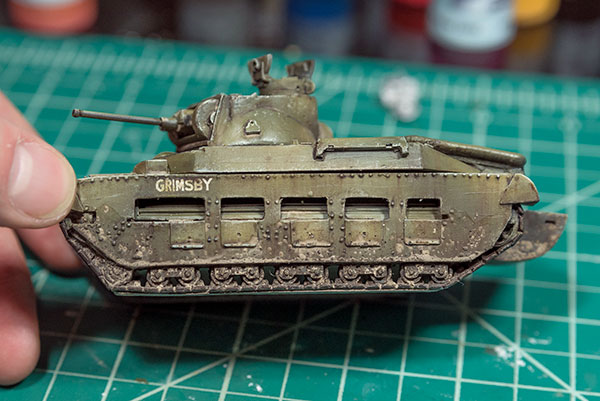
The final element I added to the tank was mud. I used various pigments and applied them with pigment fixer. I put the pigments in place by using a tapping motion over the lower hull of the tank. I started with lighter pigment to show drier mud and then used darker pigments towards the bottom (near the tracks) for wetter mud. Once the pigments were to my liking, I gently dropped the fixer around the pigments and let them absorb the fixer.
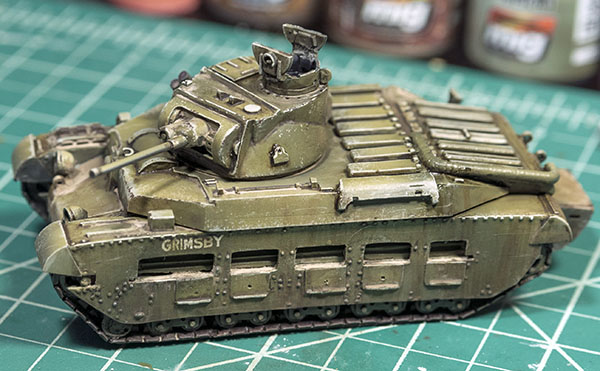
All done!
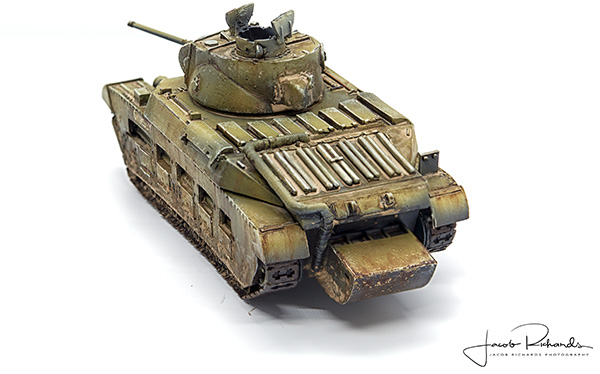
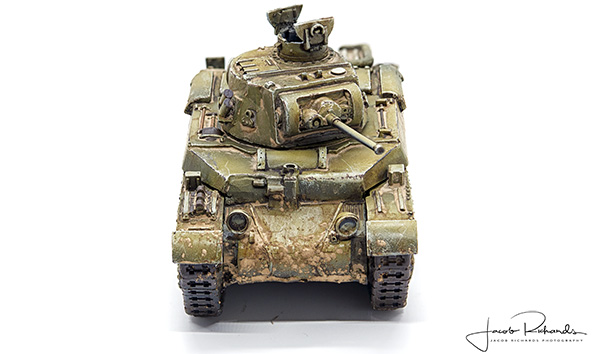
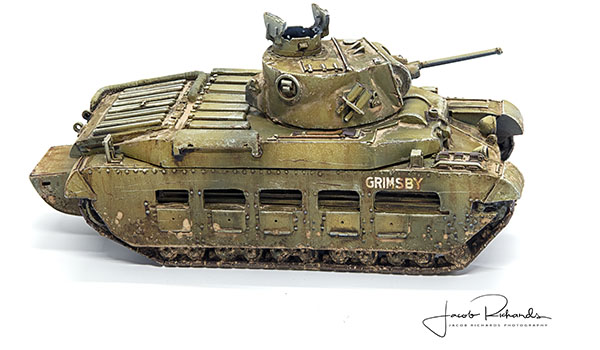

Here is the finished Matilda II all set and ready to join the fighting retreat in France or to defend Britain in Sealion!
I hope you enjoyed this tutorial. Until next time, have a great one!
Jake
Do you have an article within you? Are you itching to show your collection to the world of Bolt Action? Then drop us a line with a couple of pictures to info@warlordgames.com or share with all over at the Warlord Forum
Get ready for the invasion!

Join the British Army!