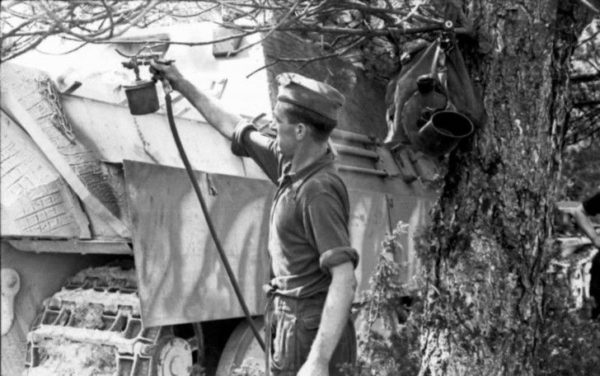
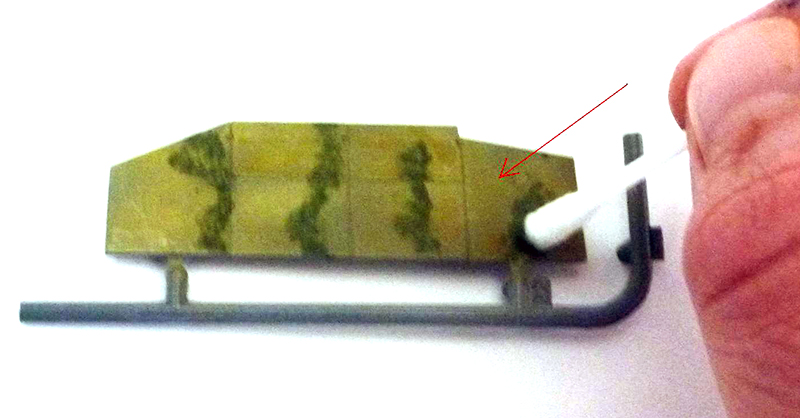
If you’re not as lucky as the guy below, and you don’t have access to an airbrush, don’t despair about painting German tanks with the late war camo, Andy Singleton is here to help!
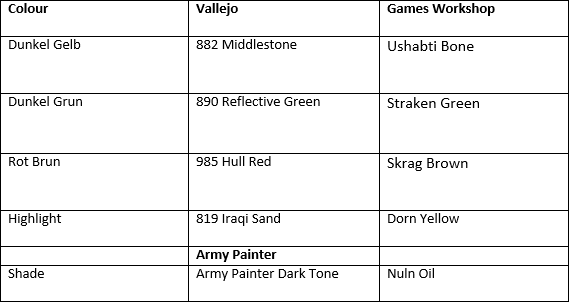
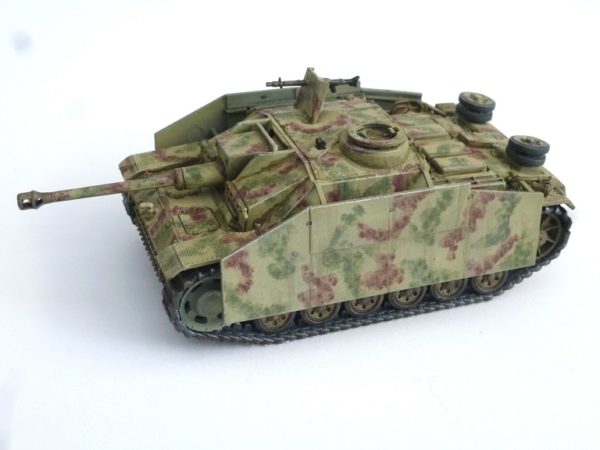
From very early 1943 all German tanks were delivered in a base coat of a colour called Dunkel Gelb. This has a fair bit of variety in its shade depending on source, date etc, but is a sand colour.
In addition to this orders were given for units to apply camouflage in the field using green and brown paint that was supplied as a paste, and meant to be added by the workshops of a division as they took acceptance of vehicles. This paint was designed to be thinned with pretty much anything, and as such comes in a vast array of colours.
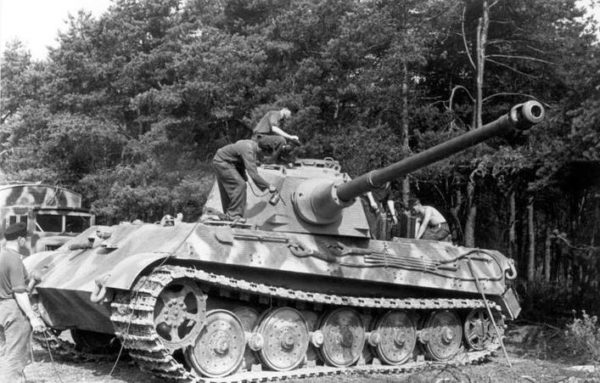
The paint was also meant to be sprayed on, however this too varied, with paint being applied by brush, broom, hand, and anything else suitable. Because of this although lots of people like to airbrush their camouflage on, it’s not compulsory, even if you do have an airbrush!
For this guide you will need the following tools :-
- Somewhere to mix your paint, I use a Pringles lid, but an old blister pack’s just as good.
- An old brush for mixing with
- A fine detail brush, I used an army painter character brush
- A large brush for drybrushing
- Some cotton buds (or ‘Q-tips’ if you’re American.)
• Step 1, prime the model with grey primer, then paint it with your chosen Dunkel Gelb
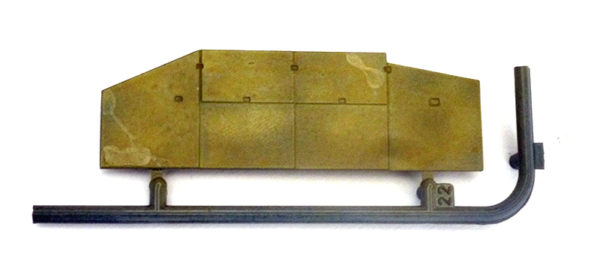
• Step 2 Thin your Dunkel Grun paint so it’s more of a milky consistency, and then use the cotton bud to stipple (or dab) the paint on, letting the colour slowly build up.
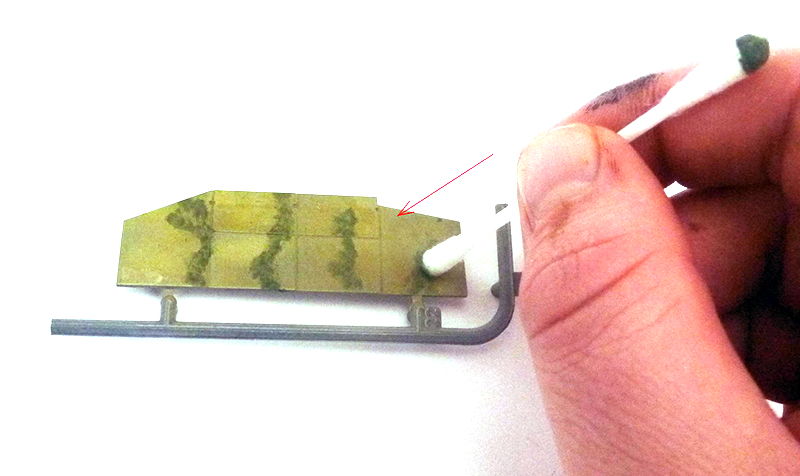
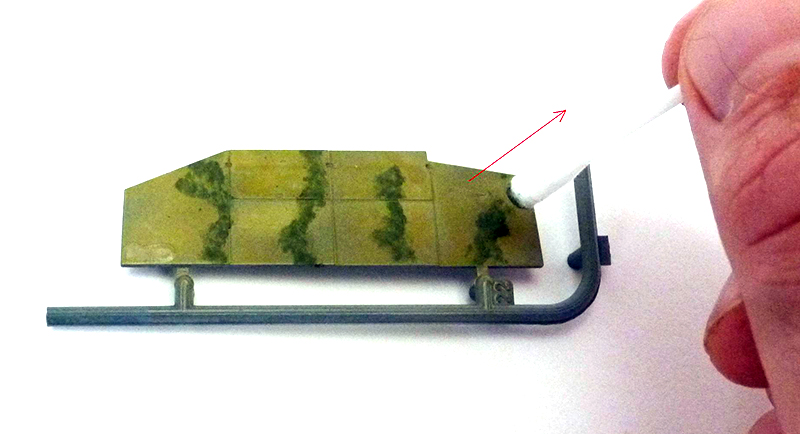
• Step 3 Do the same with a fresh cotton bud, but using the Rot Brun colour.
• Step 4 Apply your shading ink of choice into the recesses – allow it to run around joins in the armour.
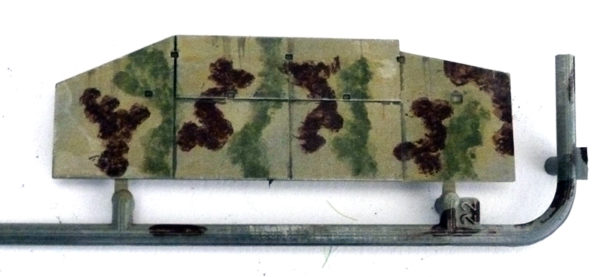
• Step 5, let the ink dry, then dry brush the model with a dusty highlight colour, and you’re done!
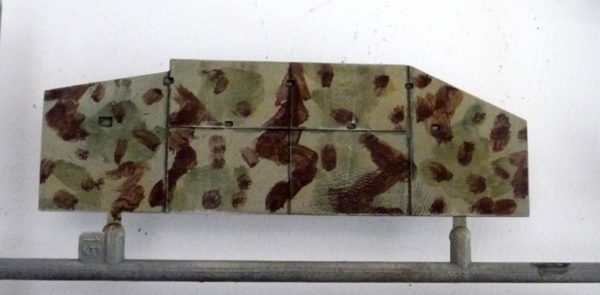
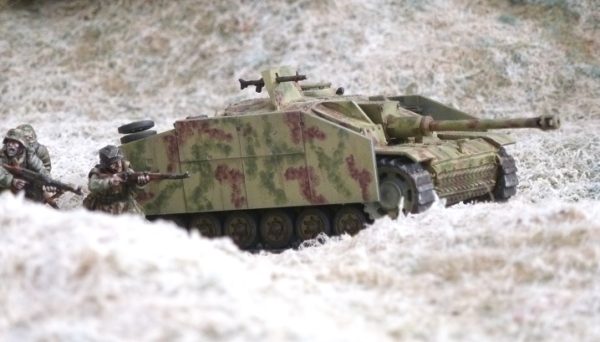
I’ve also done another Schurzen panel using the cotton bud more as a traditional paint brush to do a very late war style camo and this also gives a nice rough and crude look that looks like it’s been applied quickly in the field.
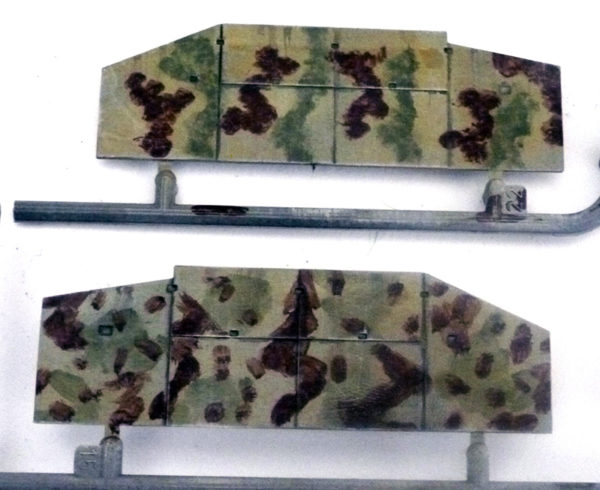
With anything, never be afraid to experiment, these are quick simple techniques though. Each of these panels took maybe 10 minutes at most, including the drying times and taking photos!
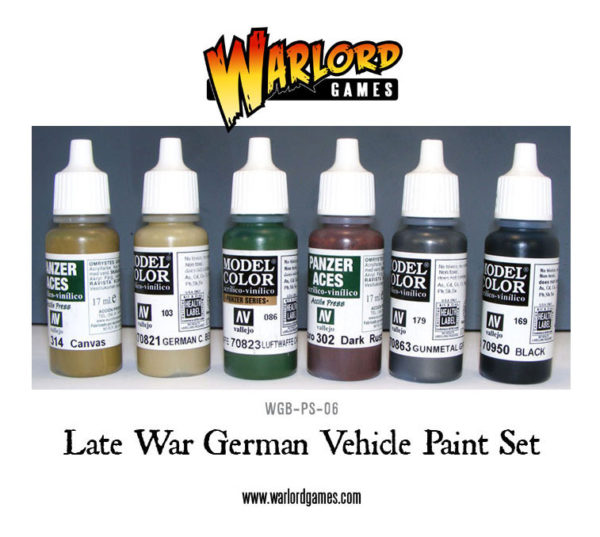
Head over to our paints section, peruse your choice of colours and give it a go:
Techniques abound in our painting guides, find one for your army here: