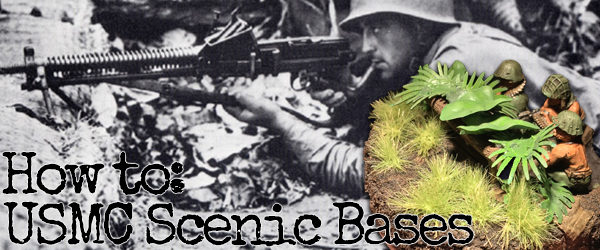
Danny Moss teaches us how to do some scenic bases for your USMC and get that realistic look!
Step 1 – Inspiration
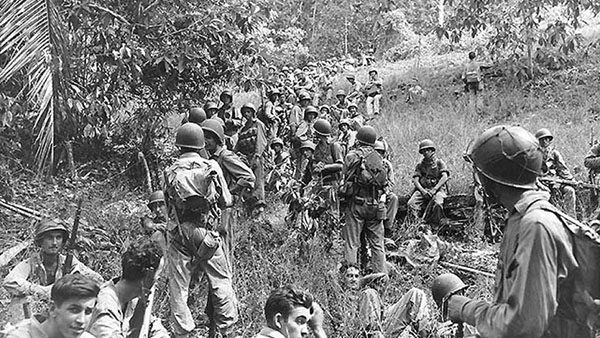
The main idea for this project came from when I was watching the second episode of The Pacific, where the Marines on Guadalcanal are setting up static defences for an impending Japanese counter-attack. One such defense was a fox hole dug with a machine gun nest, so that the machine gun’s line of fire was at ground level to any enemy approaching. After seeing this I thought it would make for an interesting scenic base for an MMG team and challenging hobby project.
Step 2 – Gathering the pieces
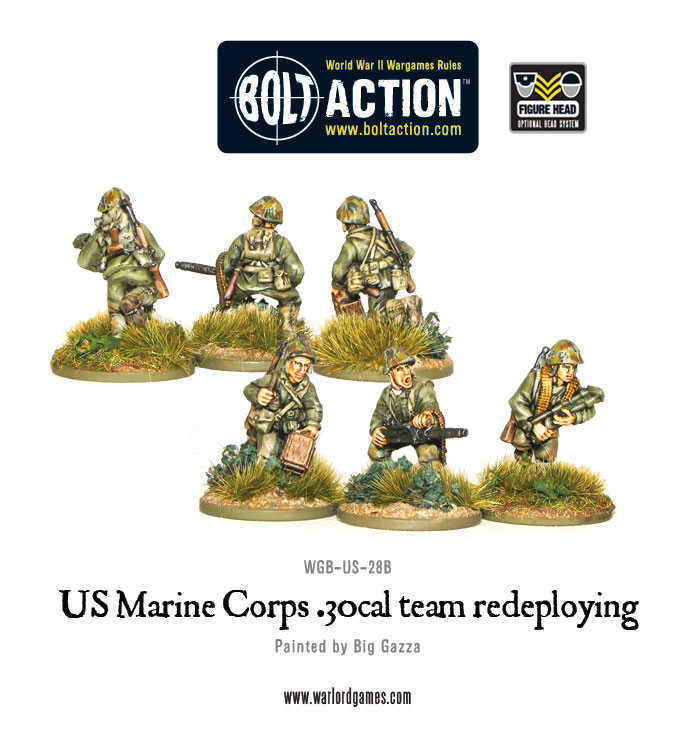
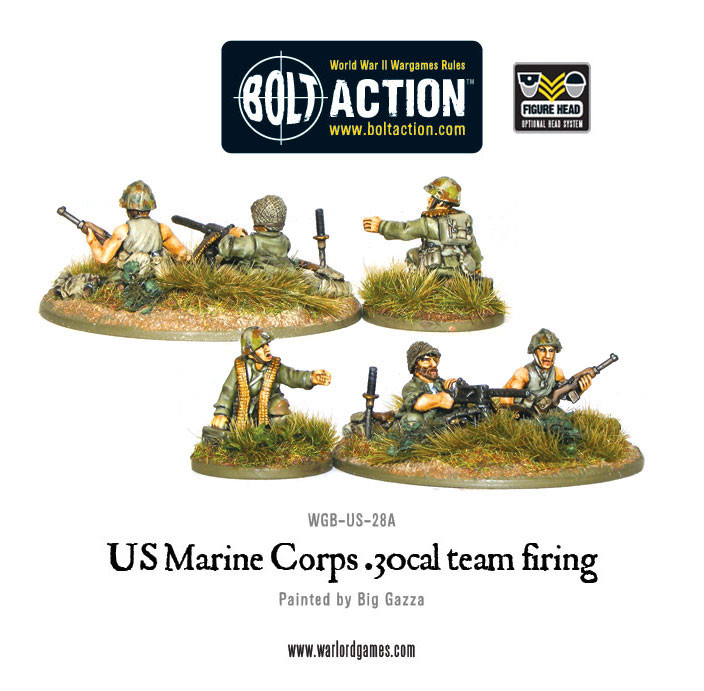
Having bought a United States build an army from Warlord and including as many USMC units as I could, I chose the M1917 MMG team kit as the basis for my project. Then gathered the supplies I would need, a pack of Milliput epoxy putty to construct the ground level from, some Secret Weapon Miniatures Flexible 1:35 Sandbags (a bit on the large side I know, but they are interesting to work with and easy to mould to different shapes), some Army Painter Jungles tufts for the long grass hiding the MMG nest and then some plastic aquarium plants for use as some of the larger foliage. The next thing was the paints I would use, all the paints I used for this project are Citadel colours, a range I’ve used for well over a decade and have always been pleased with the results.
Step 3 – Construction
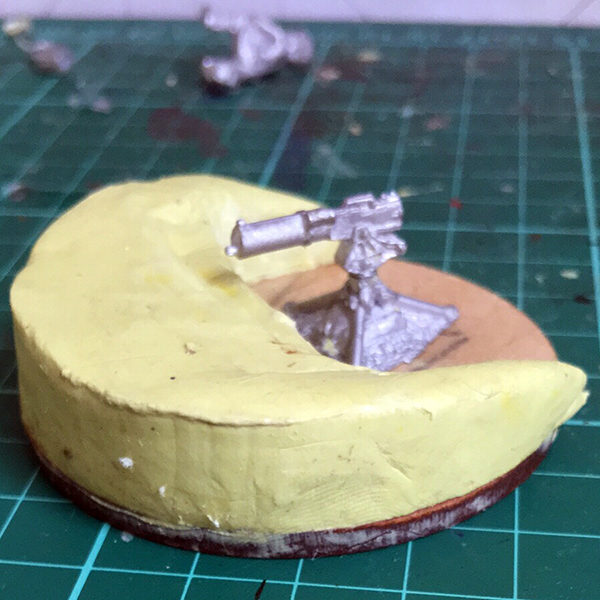
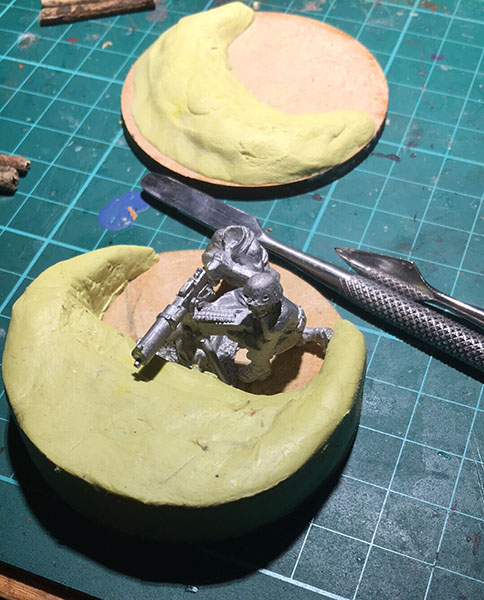
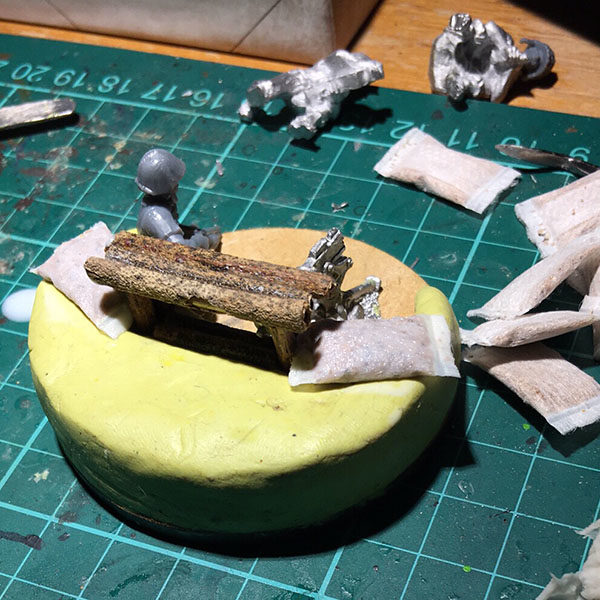
The first job was preparing the kit, taking of bits of flash or mould lines, glueing the MMG to its base to give me the rough height level I would need to build the ground to with the Milliput, using a large ball and then molding, shaping and cutting it until I have the right height and a smooth surface to work on later.
Then building and shaping the sides trying to make sure I would have enough room in the foxhole for the 3 man team (not that foxholes were blessed with space). After some digging, squeezing and bending of legs I got it so the gunner, MMG and the loader would fit, leaving space for a third team member.
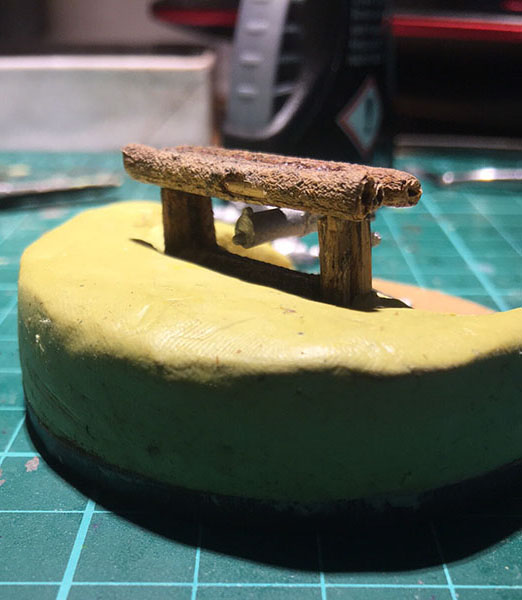
Next was the nest itself, I wanted an almost covered bunker for the team, so I went out into the garden and hunted for some sticks, that, to-scale could be logs, I cut, shaped and stuck the supports into the Milliput before it dried solid, leaving room for the MMG, then glued together the roof and stuck it to the supports and had myself a little bunker for my marines to defend.
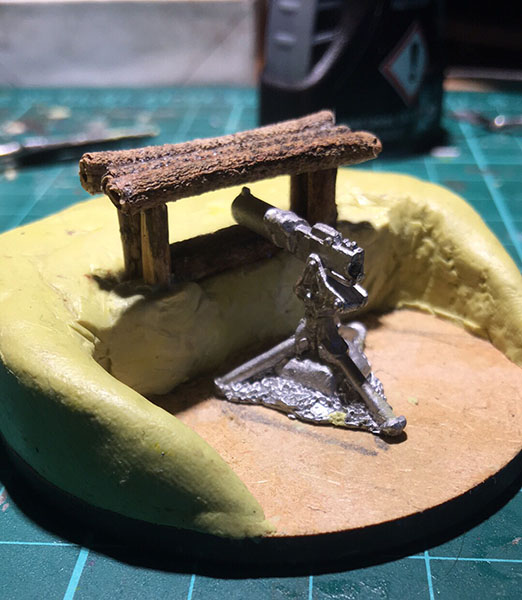
The only thing missing at this point was a third team member, while the kit does include one, the model is lying prone, directing the fire, this wouldn’t work for this project unless I was wanting him lying in front of the next in plain sight, so I delved into my bits box and whipped up and third team member wielding a shotgun for any enemy who gets to close and a belt of ammo around his neck (a spare bit from my German SS).
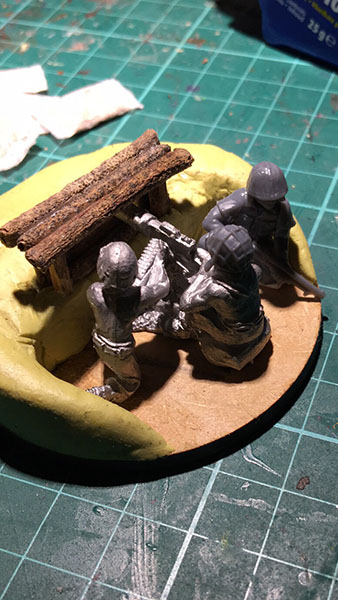
Now that the team was assembled and ready for action, I looked to fortifying their position. In addition to the bunker and I added a couple of sandbags to the edge of the bunker to catch those stray bullets and also provide a raised base for the foliage I was going to add next. Also adding some supplies from my bits box, a spare M1 Garand Rifle, an M3 Grease Gun SMG, another box of ammo and a last ditch pile of grenades all from the USMC weapons sprue, to add some life and action to the base.
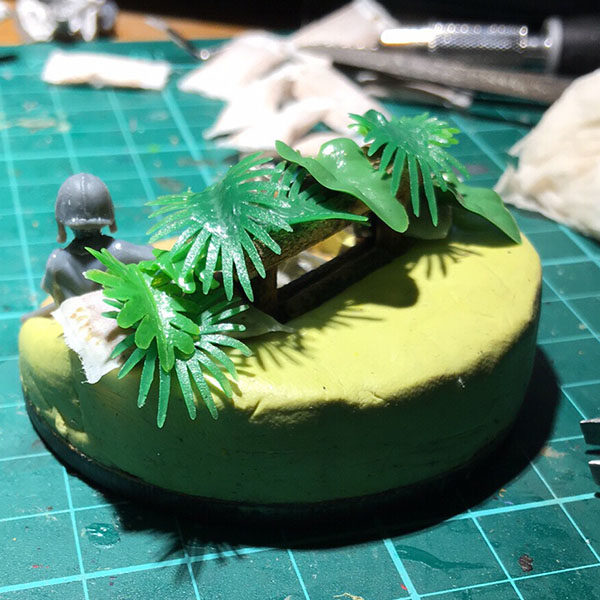
The foliage I used were just some aquarium plants I found on eBay and thought would add to the bases of my USMC army, they proved too big to put on infantry bases, but proved perfect size for camouflaging the bunker, I laid the out where I wanted them, then took them off to be sprayed and painted separately.
Step 4 – Painting
For ease of painting I sprayed every part separately and assembled them later. I used Army Painter Olive Green Spray, something I’d used for all my USMC model as it provides and nice base for the uniforms of the Marines.
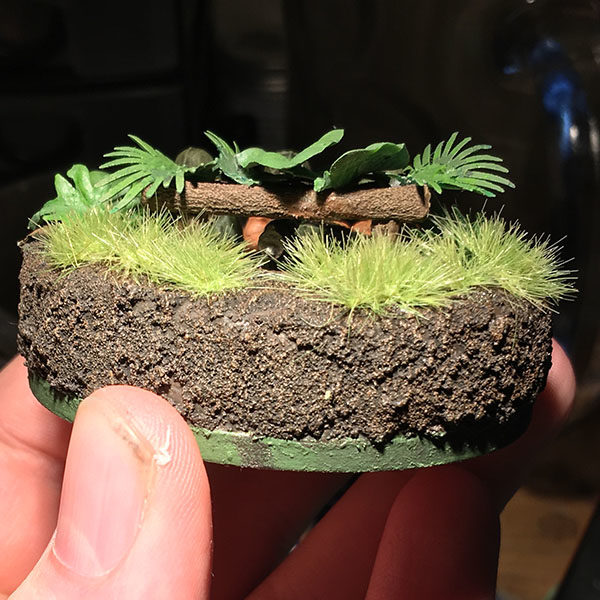
Once dry the first stage was the base. I used Citadels Texture Paint, Stirland Battlemire for the ground work, this paint has sand and glue in it so that when it dries it is ready to be painted on or even ready to go straight away, a very handy tool for mass basing or basing tricky models, such as the vertical sides of this base, or as was the case here between the team models once then have been painted and glued separately. When this was dry I gave a medium drybrush of Mournfang Brown and then a light drybrush of Baneblade Brown to give some depth to the mud, then a heavy wash of Agrax Earthshade.
For the wood of the bunker I went for a lighter shade of wood, using Mournfang Brown as a base and then drybrushing with Steel Legion Drab and then Baneblade Brown, then washing with Agrax Earthshade. The sand bags were quickly based with Steel Legion Drab and then drybrushed with Baneblade Brown and washed with Agrax Earthshade.
The extra foliage was drybrushed from the base spray from dark to light, Loren Forest, Straken Green and then a light highlight drybrush of Snot Green. Then glazed with Waywatcher Green then sealed with a Humbrol Matt Varnish to prevent the paint peeling off the flexible plastic of the plants.
Now the base was finished, I started on the team, first finishing the MMG and its stand and getting that glued at a fixed point so that the rest of the team would be placed around it. Following the same processes as before, did the textured base and the sandbag on the MMG stand, then for the MMG itself, I based it in Leadbelcher and then washing heavily with Agrax Earthshade it give it a dirty well used look.
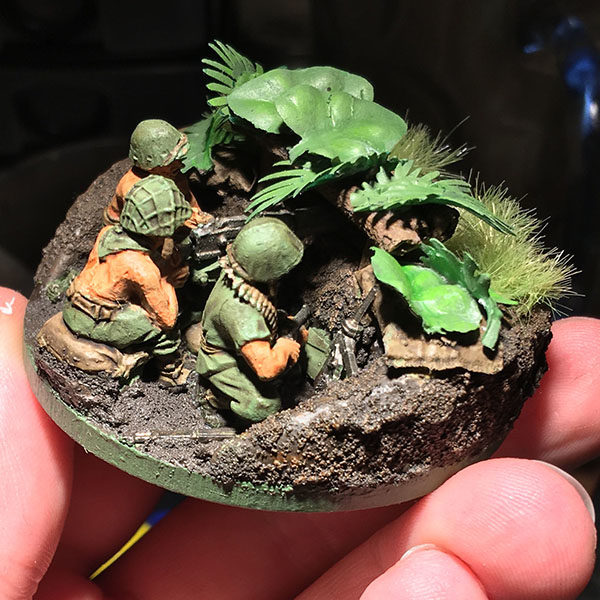
For the team members themselves I used the same technique and process I’ve used for the rest of my USMC army. The uniforms and helmets are drybrushed first in Loren Green then Straken Green and given a heavy wash of Agrax to bring out the lighter shade of the Straken and darkening the recesses where is pools.
The skin is based in Cadian Fleshtone and then lightly drybrushed with Kislev Flesh then washed with Reikland Fleshshade, which as well as defining the finer features of the hands and face, gives the skin an overall tanned look, giving my marines the heavy tan then would have received under the harsh Pacific sun.
After all these pieces are completed, I then glued them all down after marking their final positions to make sure they fit. After gluing I put more Stirland Battlemire down in between the team members, but don’t drybrush this part, to give the mud the look that its been stirred up by the activities of the marines and not left to dry.
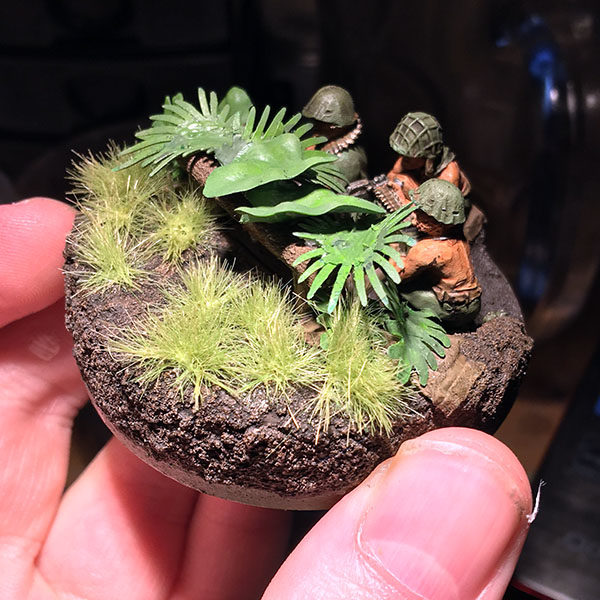
The final touch was gluing the foliage down. The large bits were superglued to the top of the nest, and the Army Painter Jungle Tufts were placed on the ground around the nest, but leaving the Line of sight clear for the gunner.
Overall this has become one of my favourite hobby projects to date and helped me develop a number of skills in the process, hopefully me and my marines will meet you on the battlefield soon.
Semper Fi.
Do you have an article within you? Are you itching to show your collection to the world of Bolt Action? Then drop us a line with a couple of pictures to info@warlordgames.com or share with all over at the Warlord Forum
Inspired? Get started!