By Stephen May
In this guide I will walk you through some of the basic construction techniques I use when assembling my plastic hoplites.
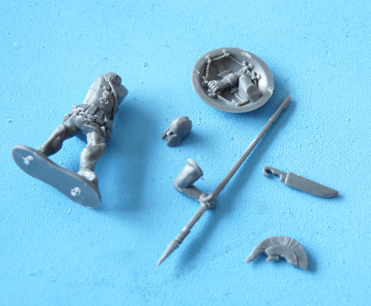
What you will need:
- A cutting mat
- A sharp modelling knife
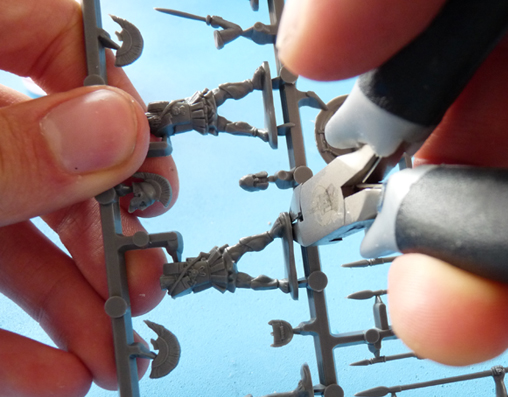
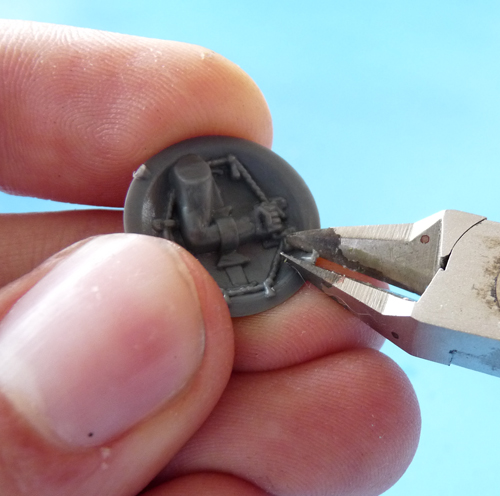
- A good pair of clippers (it is best to use a flat sided pair as shown, a very useful tool!)
- Good quality Polystyrene cement (I use Humbrol brand, with the needle nose applicator).
When removing pieces from the frame, always use the cutter with the flat side facing the component. This eliminates any chances of damaging the part.
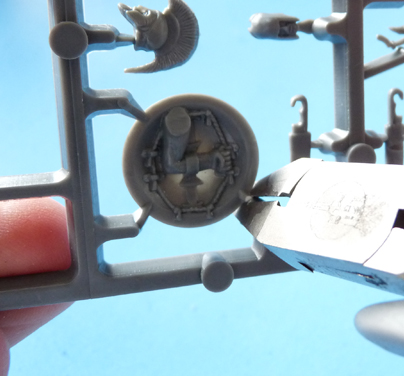
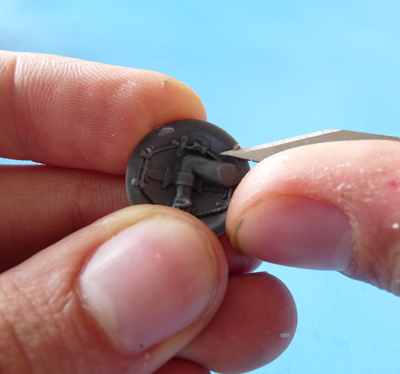
Any excess plastic can be easily removed by placing the cutter flush with the component and then snipping it off. You can then tidy it further with a knife (always cut away from you, and use a cutting mat, lest you want to waste valuable modelling time sat in your local A&E Department…).
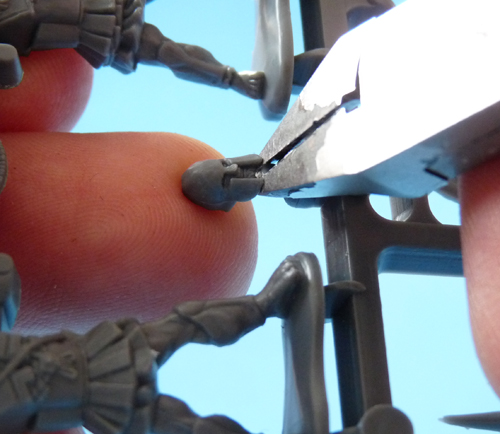
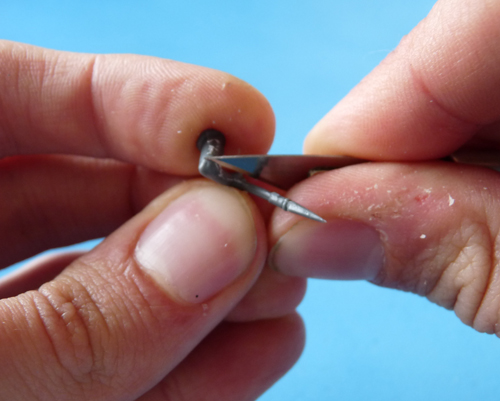
Some pieces may have small ‘mould lines’, which will need to be removed. I use the knife for this, but you may prefer to use a needle file. The remove them safely with the knife, place it at a slight angle away from you and drag the blade in that direction. This removes the line without cutting into the plastic or leaving any obvious marks.
Once all of your components are removed from the frame and cleaned, you can move onto the assembly.
It is important to ‘dry fit’ each part without glue to make sure they fit together neatly and do not interfere with any other fittings (do this with each component after the previous one it in place with glue). One of the great things with plastic glue is it enables you to move parts as they are drying, while still giving a strong bond.
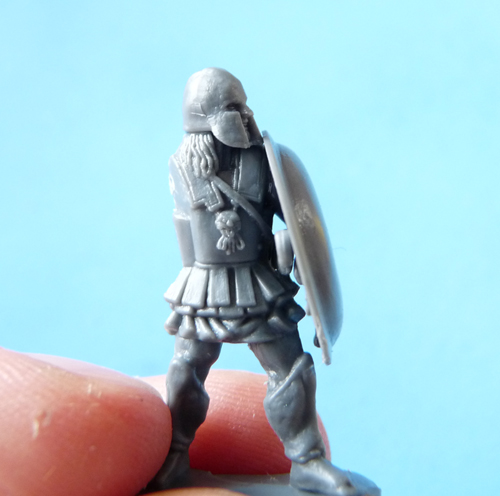
First I start with the scabbard, place a dot of glue on the fitting and then simply place the part onto it. The glue should hold it firmly, so you don’t need to hold the parts in place.
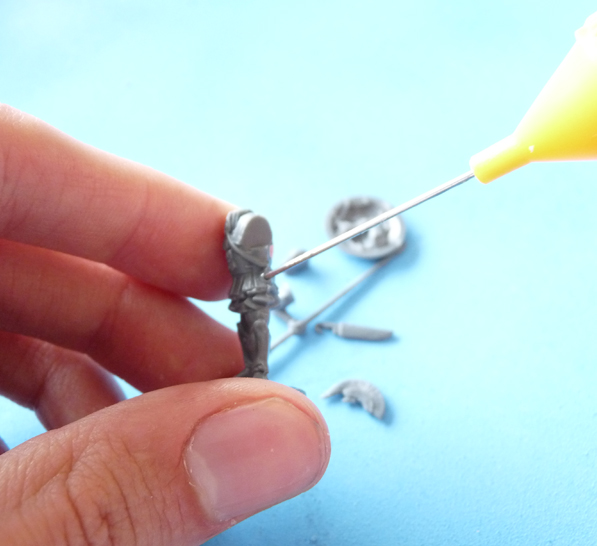
Now onto the shield. This is where dry fitting is particularly important. While the scabbard joint is still wet put the shield in place and adjust the scabbard if necessary.
Put a drop of glue on the shoulder joint and place the shield arm onto it.
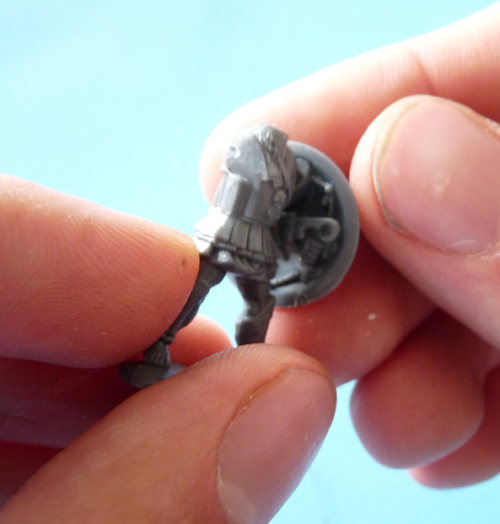
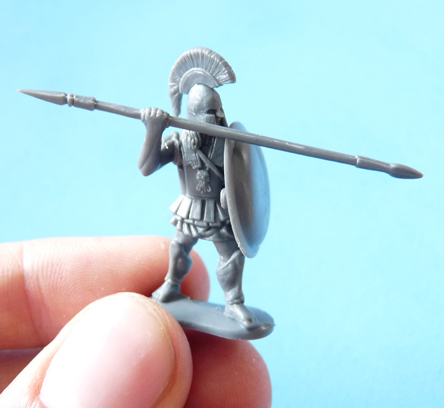
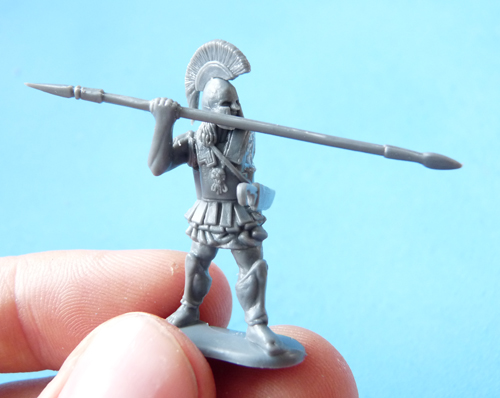
Follow the same process with the head and spear arm. Leave the figure for 30 seconds or so and then put glue the crest into its holder if the helmet requires it.
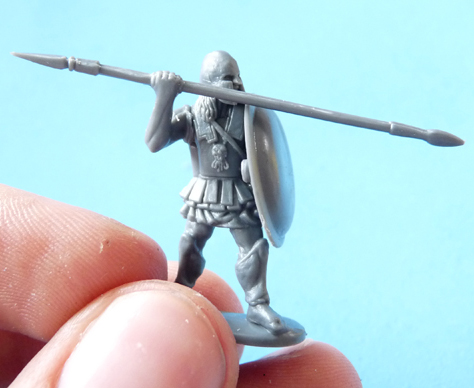
Some people like to paint the figures with the shield arms off. If you have not left it too long and the joint is still soft, you can now remove the shield arm to paint it separately safe in the knowledge it will fit back in place!
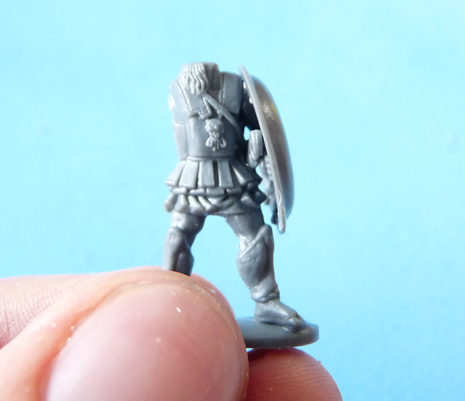
You’re now ready to start painting your Hoplite. We’ll be explaining how to do this in a future article…