This weekend marks the anniversary of the battle of Solway Moss. This clash between Tudor England and Stuart Scotland marked the beginning of the War of Rough Wooing!
Rough Wooing
The road to Solway Moss begins with Henry VIII. In 1539, he was preparing to enter the Italian Wars against France on the side of Charles, the Holy Roman Emperor. Entry into this war necessitated eliminating the “Auld Alliance” between France and Scotland.
As James V was Henry’s nephew, he chose to be uncharacteristically diplomatic, requesting that the Scottish renounce their Catholicism and join him against his continental enemies. James rejected his uncle’s offer and immediately loosed an army of 18,000 into the north of England.
Henry had an ulterior motive for provoking the Scottish. Edward, his only son and heir was unwed, as was James’ daughter Mary. A successful military campaign could provide the necessary leverage to get James to approve the match.
Solway Moss was the opening shot in this conflict between England and Scotland, that would eventually spiral into the War of Rough Wooing.
Solway Moss
The Scottish expeditionary force was plagued by problems from the start. While Lord Maxwell held official command, he was marching alongside Oliver Sinclair, one of James V’s closest companions who declared himself to be in overall command of the army. With these two powerful figures vying for control, the command structure of the army was close to collapse.
Heading towards Carlisle, the Scottish army crossed the River Esk. Here, they were checked by Thomas, Lord Wharton and a force of 3,000 men – most of which was cavalry. Wharton had been ordered to harass the enemy army and disrupt their supply lines. His highly mobile force of lancers was ideally suited to hit-and-run raids against the larger, unwieldy Scottish army.
From his position atop Hopesdike Hill, Wharton commanded the road to Carlisle. Assembling his infantry to block the road, he immediately dispatched his demi-lancers to harass the Scottish flank.
Drawn up in three battles, the Scottish army began to advance down the road. It was at this point that Sinclair declared his intention to lead the army which threw the whole force into disarray, as individual units were forced to choose sides. To add to the confusion, Wharton’s lancers barreled straight into the flank before wheeling away across the floodplain.
The disordered Scottish army was paralysed by indecision. Hit by repeated charges, the whole force began to slew to the left into the marshy ground along the banks of the Esk. Unable to regain control of the force, the Scottish commanders watched their infantry and artillery get bogged down in the mire.
Capitalising on his enemy’s predicament, Wharton’s infantry advanced down from the hill. Presuming this to be the vanguard of a much larger English army, the Scottish broke and ran, with many drowning in the marsh during the rout.
Solway Moss in Pike & Shotte
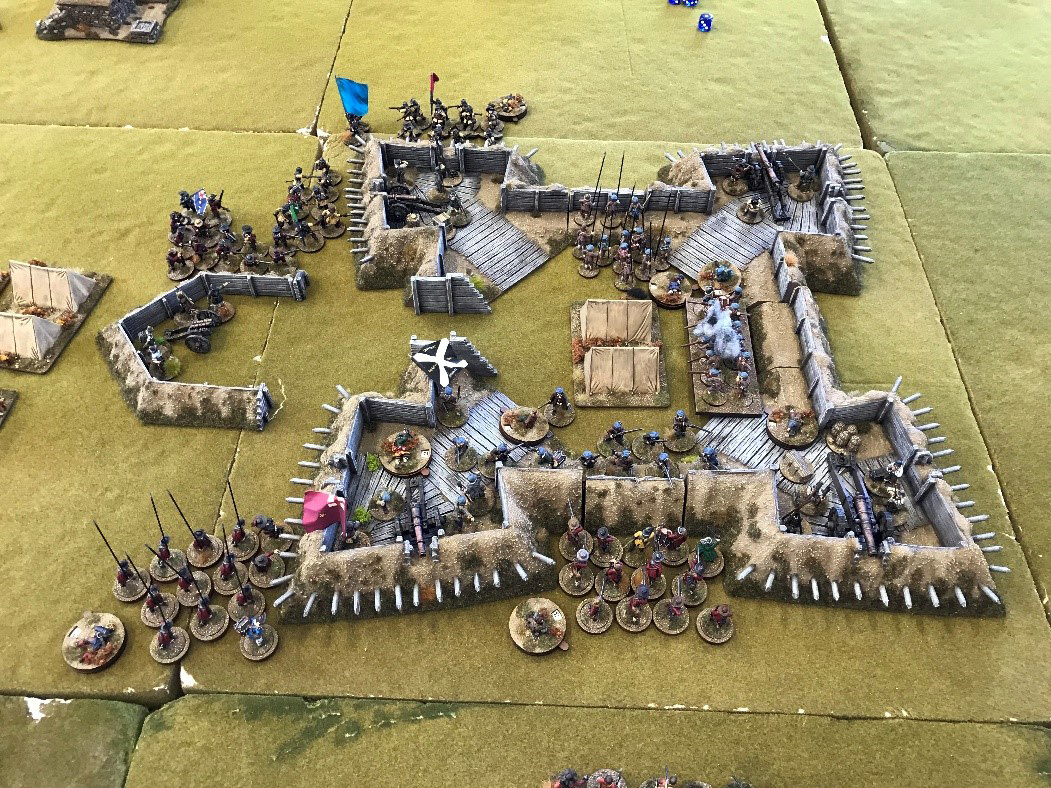
The following scenario allows you to refight this opening skirmish between the English and Scottish forces on your tabletop. We’ve used a 12×8′ table to recreate the battle. Set up your table using the map below as a guide. 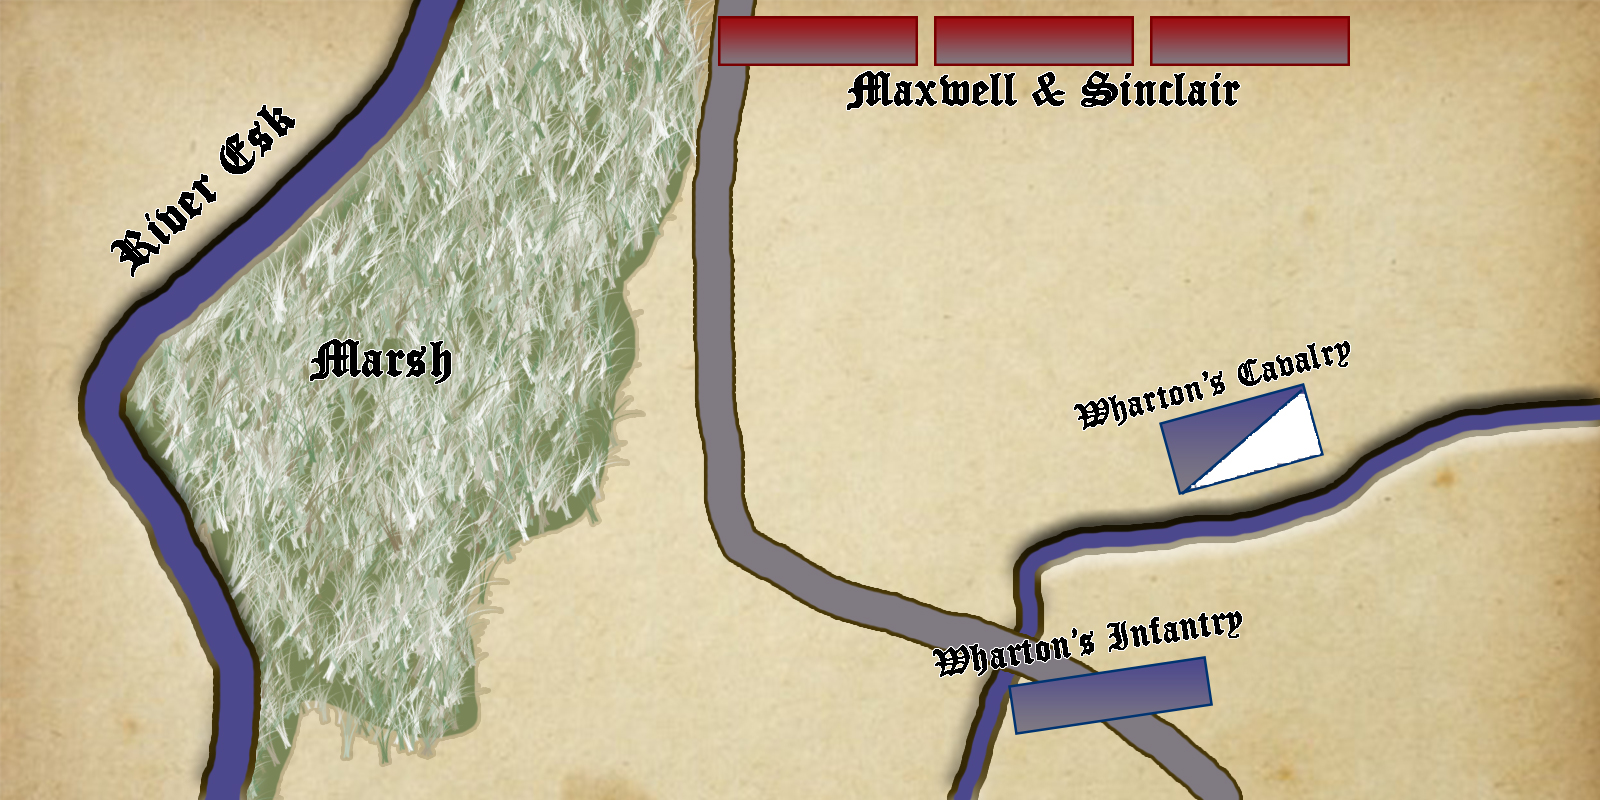
The Armies
Both armies are drawn from the English Tudor Army list from page 114-115 of the Pike & Shotte rulebook.
Maxwell & Sinclair’s Scots |
Wharton’s English |
CommandersRobert, Lord Maxwell
Lord Oliver Sinclair
1st Brigade of FootCommand Rating 7
2nd Brigade of FootCommand Rating 7
3rd Brigade of FootCommand Rating 7
1st Brigade of HorseCommand Rating 7
1st Brigade of ArtilleryCommand Rating 7
|
CommandersThomas, Lord Wharton
1st Brigade of HorseCommand Rating 9
1st Brigade of FootCommand Rating 9
|
Scenario Objectives
Wharton’s English army must rout at least two Scottish brigades to secure a victory.
Maxwell and Sinclair’s Scottish army must rout the entire English army to secure a victory.
Scenario Special Rules
The Marsh
Any units that enter the area of marsh are automatically disordered and may not recover until they have left the marsh.
Mutiny in the Ranks!
Every failed command roll made by the Scottish player automatically counts as a blunder.
From Turn 2 onwards, at the start of each turn, roll 1d6. On a 3 or higher, Lord Oliver Sinclair becomes the Army commander for the duration of the turn and each brigade must immediately make a break test.
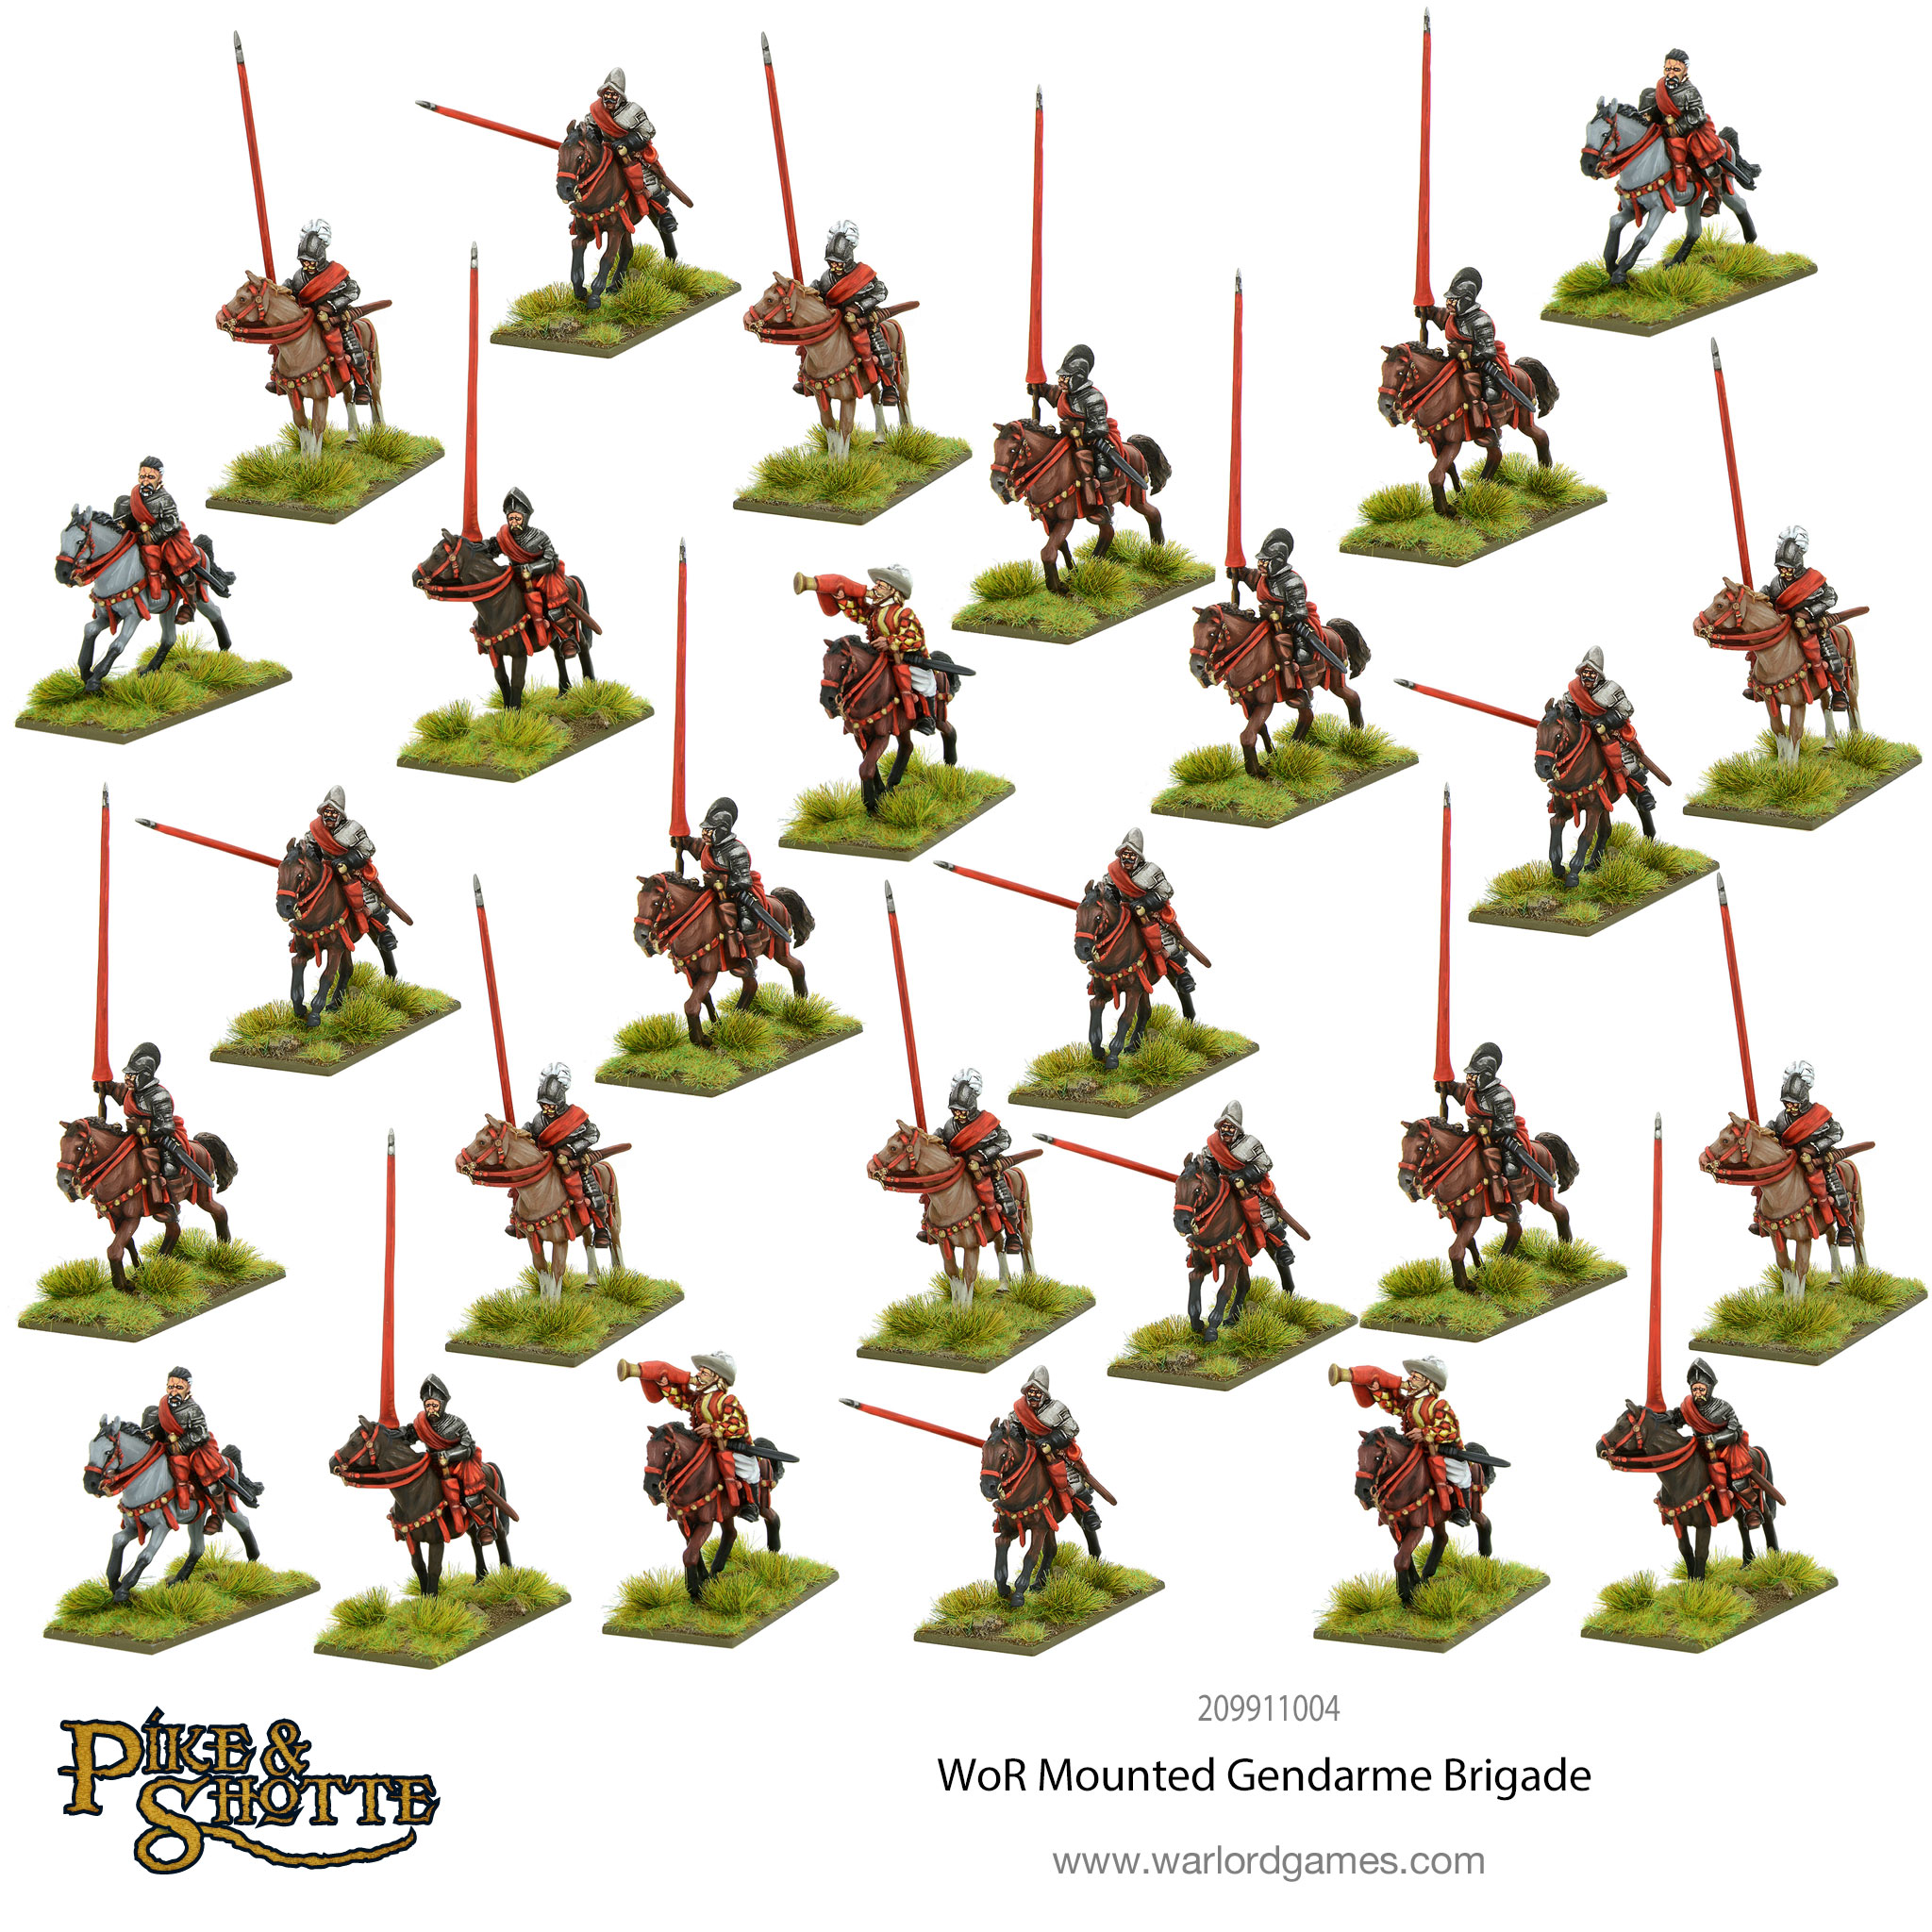
Join the Battle!
Wanting to mount your charger and lead a charge into the Scottish line? Grab our fantastic Gendarme Brigade from the store today!