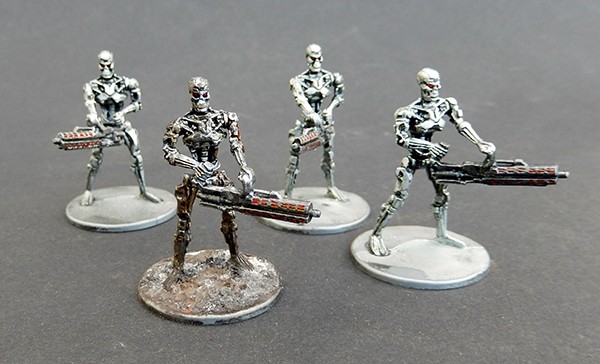
With the release of the latest heavy weapons variants it’s about time we take a look at painting Endoskeletons:
Terminator Genisys has a fantastic section on painting, covering how to paint your machines and Resistance Soldiers in great detail. You’ll see how easy it is to get a quick, simple paint effect on the endoskeletons using a technique called ‘drybrushing’.
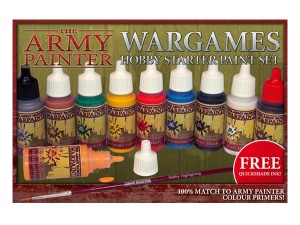
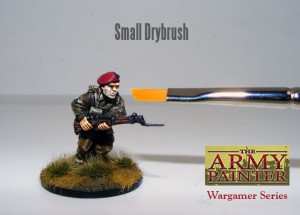
If you’ve just picked up your first set of hobby paints and have yet to get your endoskeletons don’t worry – here’s an equally quick and very effective method to have a go of using just 4 main colours from the Wargames Hobby Starter Paint Set and one extra brush, the Wargamer: Small Drybrush.
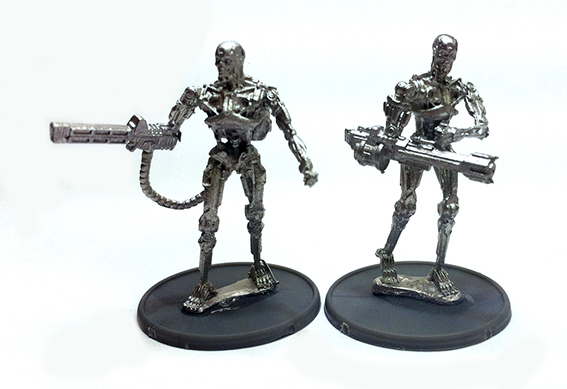
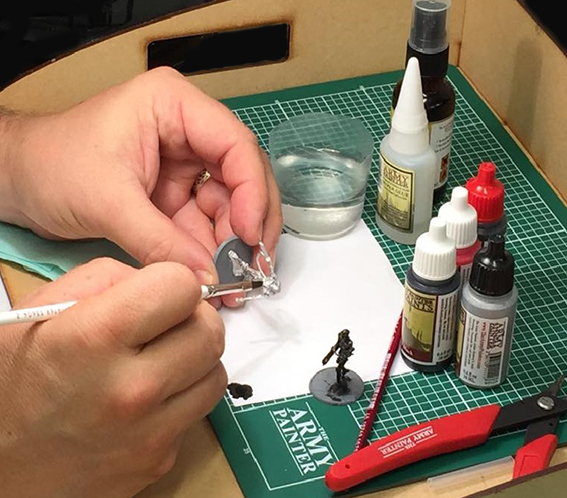
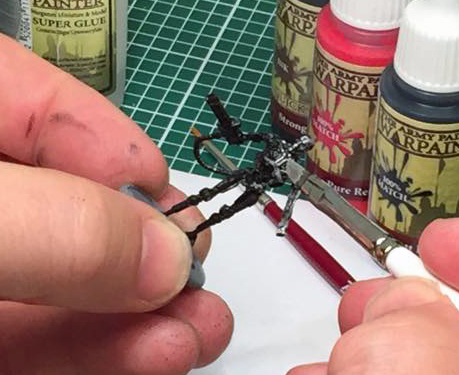
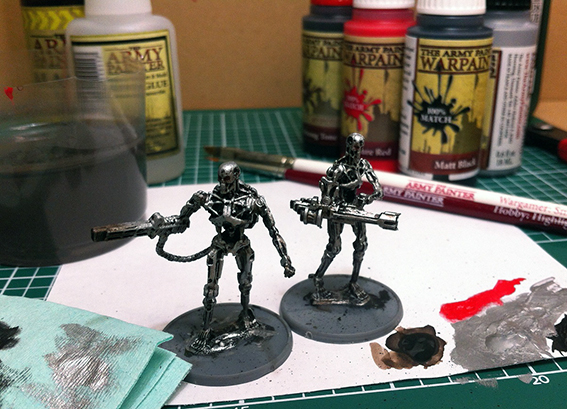
1 – The model is undercoated in a primer. In this case using Matt Black and the Small Drybrush. Make sure you have a 50:50 mix paint to water – 2 thinner coats is better than 1 thick.
2 – Paint a smooth coat of Plate Mail Metal all over the Terminator, again use the Small Drybrush, adding a little water perhaps 90:10 paint to water. Don’t worry too much about getting into all the recesses, leaving a little black showing under the rib sections and in the deepest parts will aid the effect you’ll achieve after step 4.
Of course, if you want you can simply stop at this step, just glue some sand to the base to finish it off.
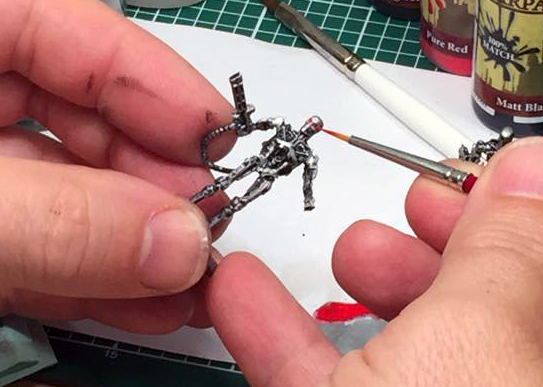
3 – You can take it just a little further as adding that final detail can really add to the wow effect you’ll achieve.
Time to swap brushes. Use the Highlighting brush from the set and mix your Red with a little water (90:10 paint to water) make sure your brush is clean and dry, then add just a little paint on the tip. Now add a dot of red to the eyes and any glowing parts on the gun – steady hand needed!
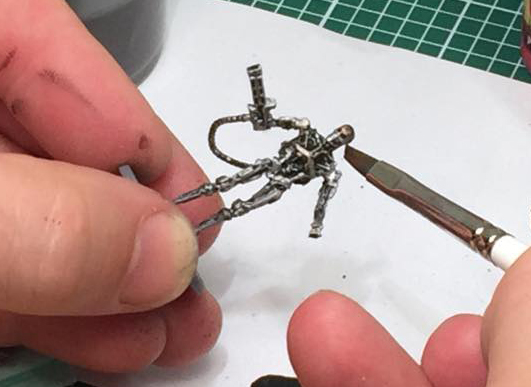
4 – And now for the magic bit. In the paint set you’ll have a Quick Shade Strong Tone Ink – this has been created to make it super easy to smooth the colours out and create depth to your miniature. All you need do now is take a 100% mix of the ink and put a reasonable amount all over from head to toe (use the dry brush as its a nice size to do this quickly). Once done, clean your brush then dab away a little excess ink from the raised surfaces and leave the model to dry!
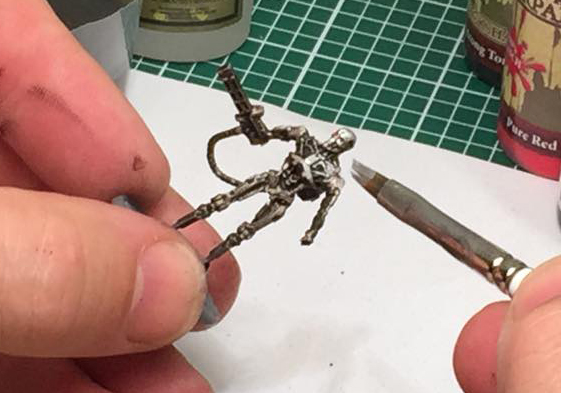
5 – Final step – All we need now is a very light brushing of 100% Plate Mail Metal. Just use a little on the edge of the brush and draw it over the most raised surfaces to get that bright silver chrome finish. At this point you could leave the ends of weapons alone as the slight browning from the ink adds to the battle-worn effect.
And that’s it! You can glue some sand to the base later, for now you’ve done all you need to make your Terminators stand out from the crowd.
This is only one method and there’s many more for you to experiment with, for now maybe do all 10 terminators in 2 batches to speed things along and you’ll be surprised how quick your forces come together.
To inspire you further here are some from around the gaming community: