Matt from the breslau1945 blog shows us exactly how to get those tanks just right.
Introduction
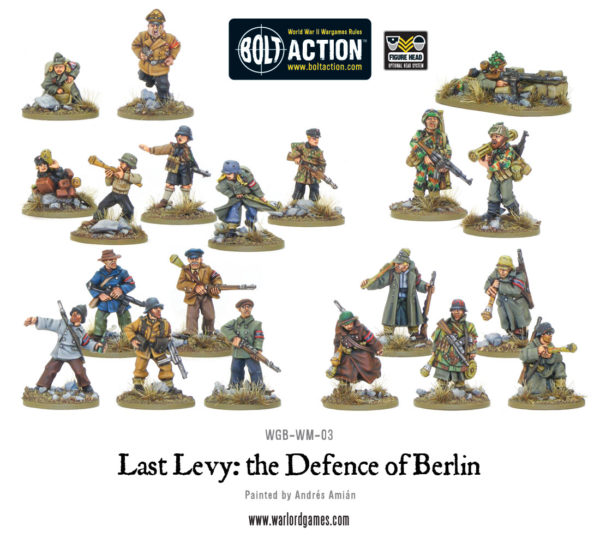
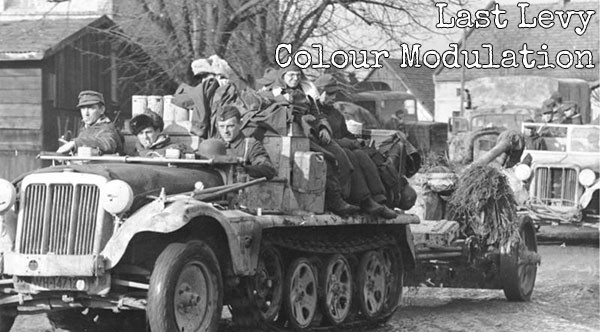
Matt: Hi everyone and thanks for looking at my blog. I’ve set this up to chart the progress of my new very late war German Army for Bolt Action, partly to share my progress and also partly to motivate myself to keep painting. The army will be based roughly on the ‘Last Levy’ list in the Armies of Germany book and will be themed around the siege of Breslau in 1945. This was one of the last of Hitler’s ‘Fortresses’ to fall and is a battle that really interests me for various reasons. If you’d like to read some background to the siege have a look on the Wikipedia page as it provides a good summary.
The planned army list will consist of:
- 1st Lieutenant, One extra man, Assault rifles. (Regular) 83 points
- Medic (Regular) 25 points
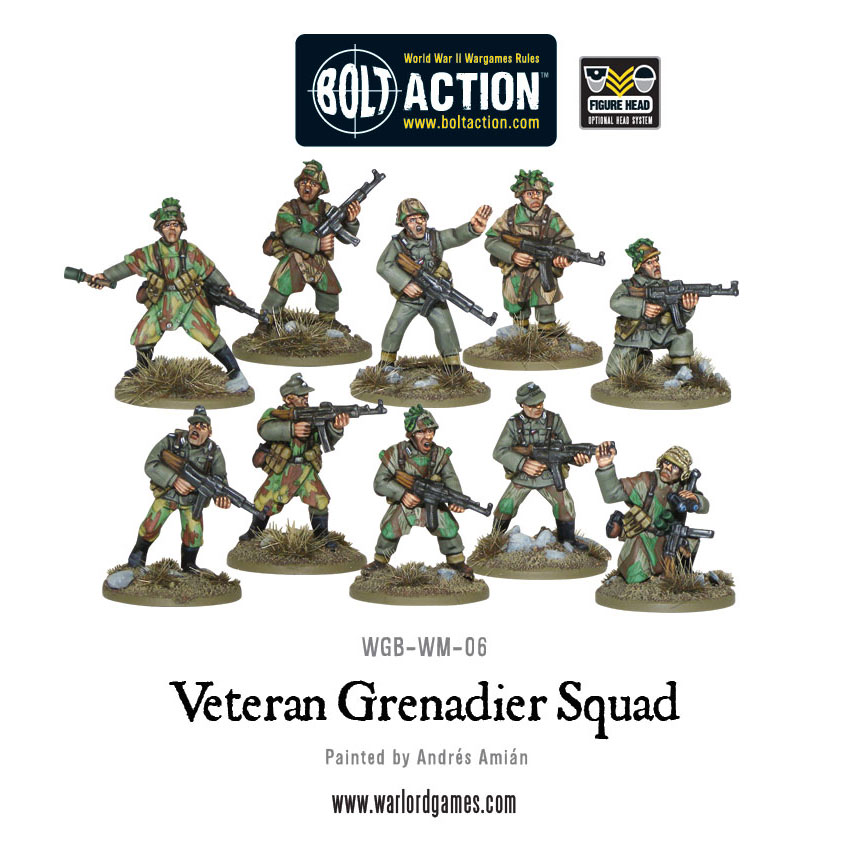
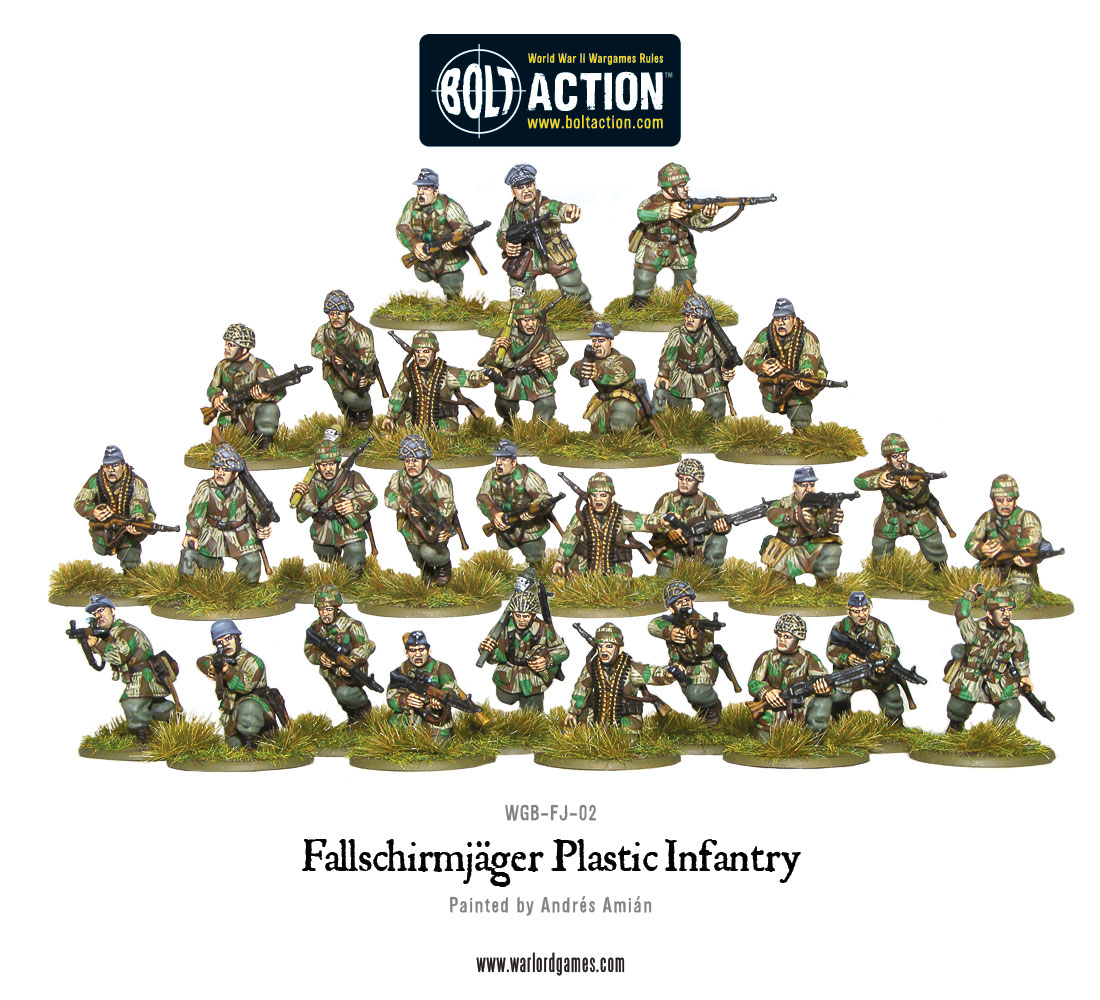
- Fallschirmjager Squad, 8 man, Light machine gun, 3x assault rifle, 2x panzerfaust, 1x SMG. (Veteran) 153 points
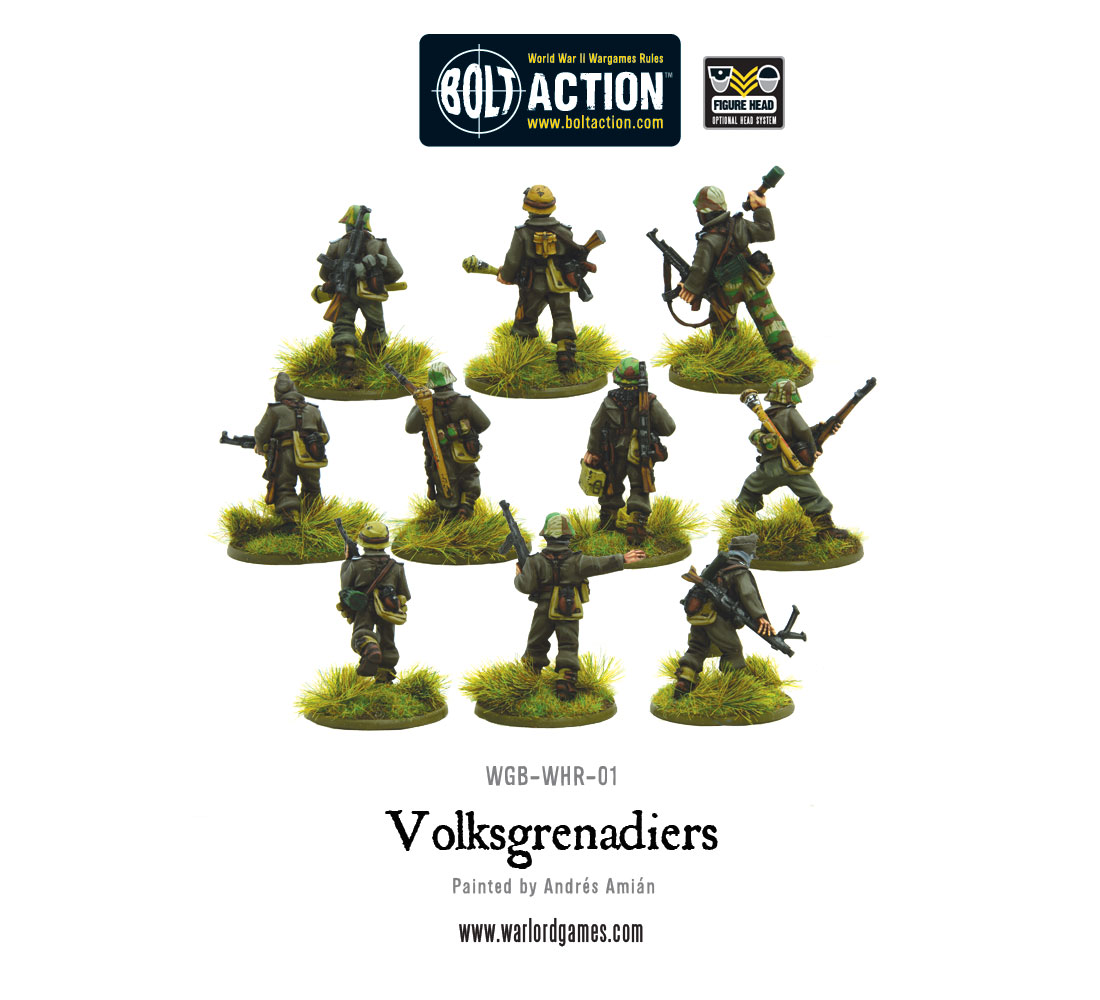
- Volksgrenadier Squad, 9 man, 5 x Assault Rifle. (Inexperienced) 97 points
- Volkssturm Squad, 10 man, 3x SMG, 3x panzerfaust. (Inexperienced) 93 points
- Volkssturm Squad, 10 man, 3x SMG, 3x panzerfaust. (Inexperienced) 93 points
- Medium Howitzer, w/ spotter. (Regular) 85 points
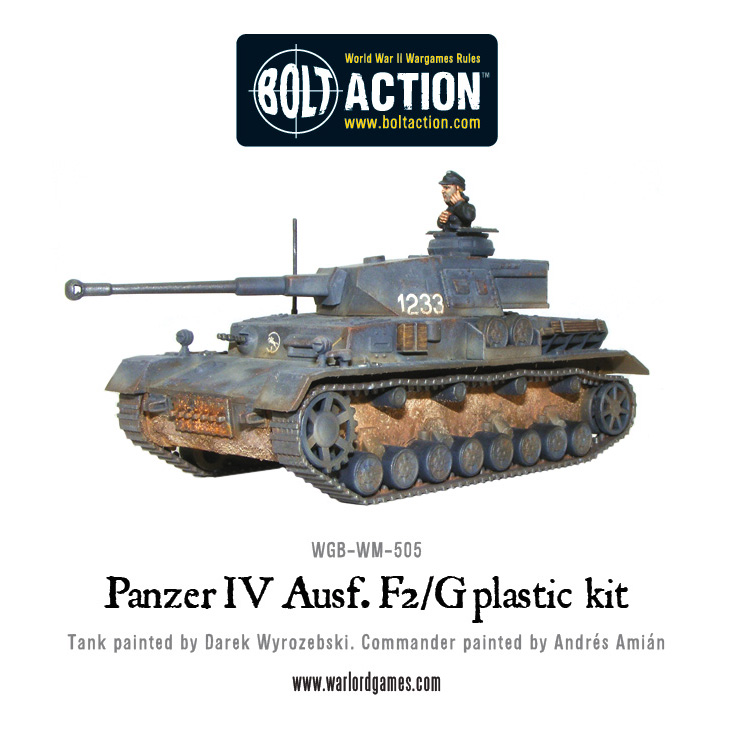
- Tiger I, Extra MMG. (Regular) 410 points
Total order dice: 8
Total points: 1,039
I’m aware that it isn’t going to be the easiest army to use but I quite like the challenge. The Tiger I is a pretty big points sink but I quite like the prospect of having one on the table and the psychological effect it can have. The medic is there solely for the extra order dice. Only actually playing the list will show whether 8 order dice is too little for a 1,000 points list.
Colour Modulation
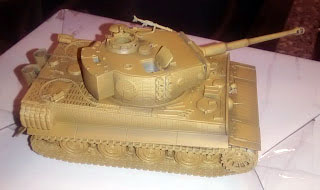
The first thing I have painted for this list is my Tiger I (well 3 Tigers and 2 Panthers to be precise…). A few years ago I hated the prospect of painting vehicles and could literally think of nothing I’d want to do less. I think this was largely down to the fact that no matter what techniques I used to paint them they always seemed to come out looking flat and unrealistic. However over the last year I’ve gone through something of a vehicle painting renaissance and would now even go far as to say I actually enjoy working on them.
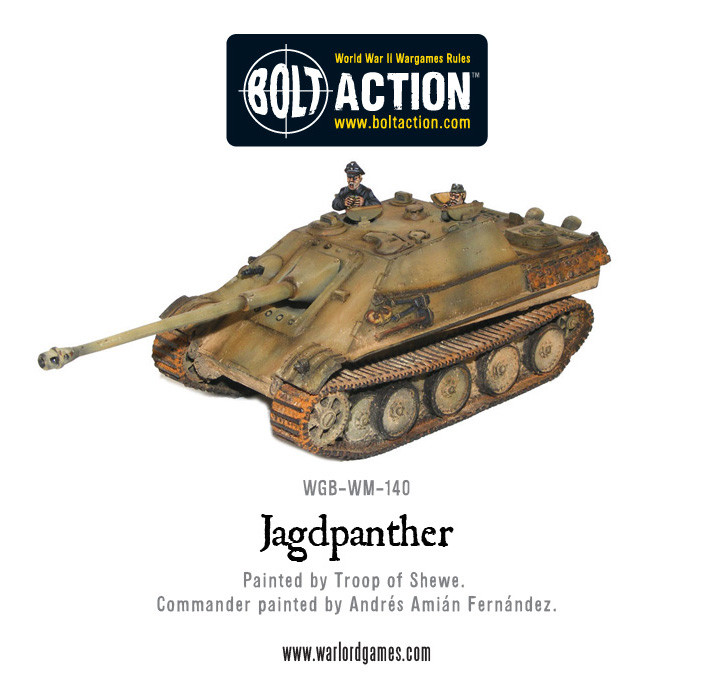
This started when I needed to paint some vehicles for my Bolt Action army and decided to do some research into the various techniques that I could use to make my models look more realistic. In doing so I began to look into the world of scale modelling and was amazed. Some of the vehicles people were producing looked so realistic that they were indistinguishable from photographs of real tanks and AFVs. My intention in this article is to take you through the various steps I used to paint a Tiger I and Panther from Warlord Games in order to show you some of these techniques and how easy they can be to do.
Modulation
The first technique we will look at is colour modulation. This is a scale modelling method used for painting vehicles in order to artificially create contrast and shade between sections of the vehicle; making it ‘pop’. It is not necessarily the most realistic method to use for highlighting vehicles as it focuses upon highlighting each panel individually rather than having a single light source. However for models at this scale it can create some really nice effects.
The main tool for doing this is an airbrush which, if you do not already have, I would recommend picking up as it will revolutionise the way you paint models. I’ve been painting for almost twenty years now however after my first time using an airbrush I wondered how I’d managed so long without one! They don’t need to cost a fortune; the one I’ve used for this tutorial set me back about £40 with a compressor and works perfectly well. The one thing I would say is worth picking up is a thinner needle for doing detail work. Mine came with a 0.3mm needle which worked very well for undercoating but when it came to things like camouflage I use a 0.2mm one as it makes a big difference and enables you to produce much more narrow lines. The advantage an airbrush offers is that it creates a very fine spray pattern with a feathered edge which makes it perfect for highlighting or colour modulation as you end up with a gradual shift between colours rather than blocky edges as you would get with a normal brush.
In order to create a modulated effect the idea is to build up highlights slowly as you move up the panel and one way to do this is to start with a base colour and slowly add white to it; slowly increasing the highlights. This works if you are painting a single vehicle but if you are doing several (I did 5 at once!) it can get very boring very quickly. As a result, being lazy, I picked up AK interactive’s ‘Dunkelgelb’ set. This provides you with the various shades you need to build up a nicely modulated base which is pre-thinned for the airbrush and consistently decent. This raises an important point – you can use normal paints through an airbrush but make sure you thin them down beforehand! I usually use water but you can get specialist thinners, the paint needs to be about the consistency of milk before being suitable for spraying. Make sure you do this before adding the paint to the airbrush and not in the paint holder as you will just end up blocking the brush and end up having to clean it. Alternatively just purchase pre-thinned paints, for example from the Vallejo model air range or AK Interactive, which can save a lot of time.
Before beginning to describe the process it’s important to say that I have next to no experience using an airbrush and am an absolute amateur. My first efforts, late last year, were fairly shocking and quite frustrating. All I can say is stick with it and take your time! You’ll get there in the end.
The first step is to prime the models. For this I used Vallejo model air grey primer (val097). This provides a good base layer and covers well.
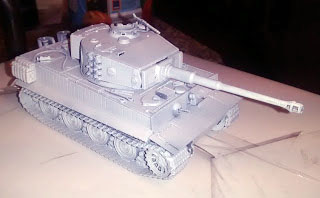
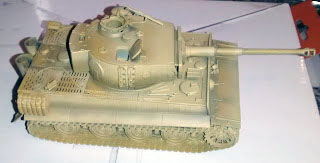
After doing this we will ‘pre-shade’ the model. This technique consists of spraying a darker shade into the recessed areas of the vehicle which would be in shadow. So for example the joins in panels and areas where light would struggle to reach. The reasoning behind this approach is to add further depth to the model. For this I used AK Interactive’s ‘Dunkelgelb Shadow’ but any dark brown would do.
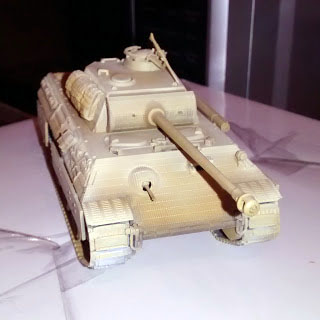
The next step is to spray over the entire model with the basecoat, in this case ‘Dunkelgelb base’ by AK Interactive. This should be a light coat that covers well but does not completely obscure the darker shade we applied before. As you can hopefully see on the below photo this quickly creates a subtle sense of depth on the models.
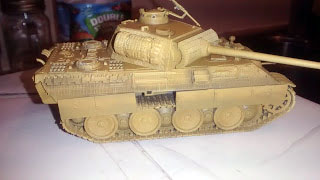
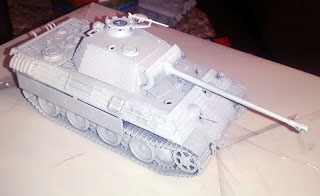
After this we apply the next lighter shade (Dunkelgelb light base by AK Interactive). This is applied fairly liberally to the tops/fronts of panels where light would strike them. Each panel is highlighted individually and I have found it useful to use something like a post-it note as a stencil in order to delineate panels and create hard edges between them.
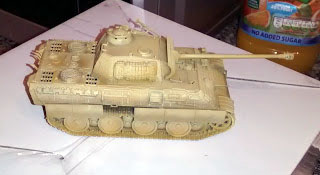
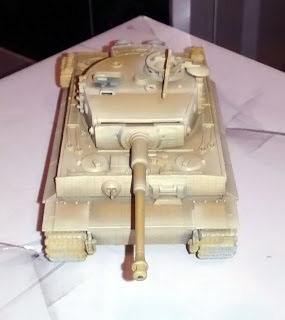
Finally we will go in with our last highlight (Dunkelgelb highlight by AK Interactive). This is the lightest shade and is applied very finely to the tops of panels. There we have it; a modulated German tank. As I say this isn’t the most realistic way of painting vehicles and you could argue it currently looks slightly cartoony. This will all change once we have added the camouflage and weathering though; which will blend it all together.

Camouflage and weathering
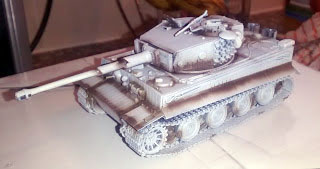
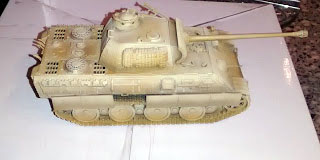
Next we will apply the camouflage pattern, also with an airbrush. As these vehicles will be used in my Last Levy army list which is themed around the siege of Breslau in early 1945 I have gone with a classic late war green and brown scheme. This was applied very slowly in order to build up the pattern until I was happy with it. If you aren’t sure where to start I would recommend searching online; there are some very good images that can guide you. To finish this off I mixed some white in with the original colours and sprayed this at the top of each panel in order to continue the modulated effect.
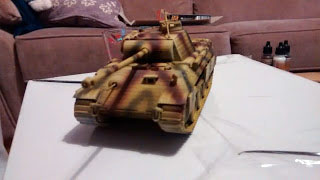

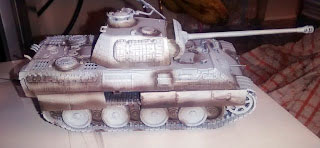
So now we have some nicely modulated and camouflaged tanks. In the next article we will look at realistically weathering them with oils and mud effects.
Hold out for as long as you can!