This week, we’re returning to the North African deserts, climbing into the high passes of the Atlas Mountains to witness the US Army’s baptism of fire at Kasserine.
Following the success of the American, British and Free French landings in Morocco and Algeria as part of Operation Torch, the Allied armies concentrated their forces and struck eastwards into the Tunisian portion of the Atlas Mountains.
In the Libyan desert, the 8th Army under Montgomery had finally broken through the Axis lines during the 2nd Battle of El Alamein and were charging towards Rommel’s supply bases in Tripoli.
Having foreseen this unfortunate development, Rommel had already begun switching his supply lines to Tunisia and was amassing significant numbers of German and Italian troops to defend the mountainous country in the west of the country.
The Road to Kasserine
Desperate to stop Rommel from establishing his new supply base in Tunis, the Allies made a frantic dash across the desert. Poor logistical support meant that they could only bring a single division-sized force to bear against battle-hardened Axis troops with local air superiority and vastly superior armoured support.
During the ensuing battles, the Allied forces encountered significant Axis resistance – often attacking uphill into the teeth of well-sited anti-tank guns and machine gun emplacements. In one attack at Jefna, the leading British battalion took 149 casualties in a matter of hours.
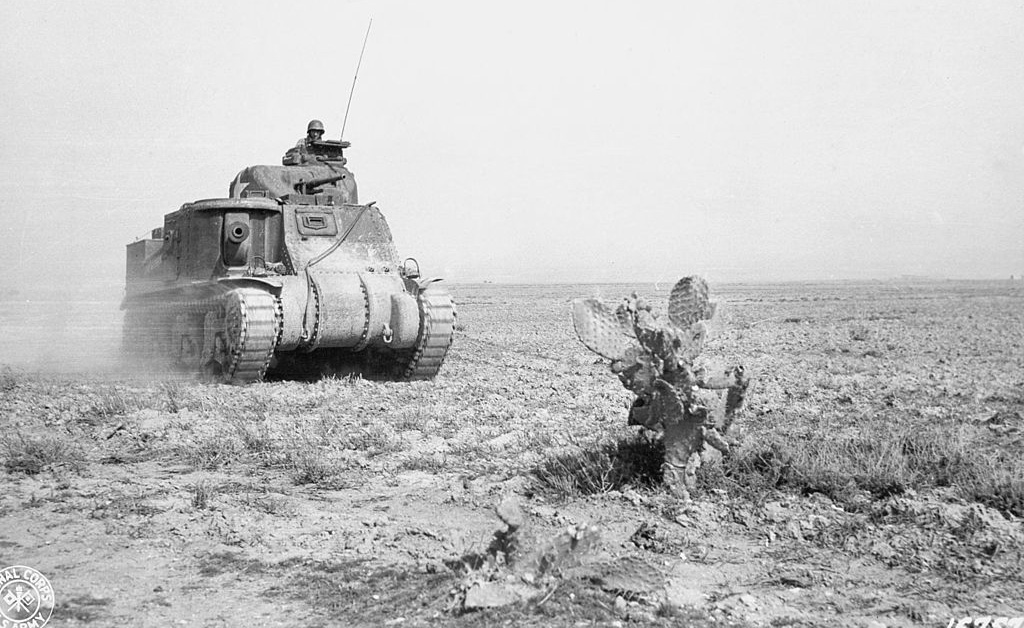
A tank of the US Army 1st Armoured Division advances on Kasserine.
Despite horrendous losses, the Allies would drive the Axis forces back to within 20 miles of Tunisia, but several aggressive counter-attacks stalled the advance and a bitter stalemate ensued.
To the north at Faid and Sidi Bou Zaid, American forces fell foul of Rommel’s veteran tank formations, where the inexperienced American forces found themselves outmatched by the German armour crews. There were some instances of German tanks crushing American troops under their tracks as they over-ran hastily dug shell-scrapes.
The Kasserine Pass
On the other side of the Atlas Mountains in Algeria, the bulk of the US Army’s II Corps was massing, preparing yet another assault on the Axis positions in Tunisia. Rommel’s plan, audacious as ever, was to attack down the Kasserine Pass and smash the American forces, negating the threat to the coastal corridor between Mareth and Tunis and threatening the Allies southern flank.
A combined American and British force held the pass, spread out across the high ground and the valley floor. Despite a profusion of artillery and anti-tank guns and a screen of minefields and anti-tank defences hastily constructed by combat engineers, the Allies were unprepared for the Afrika Korps’ armoured assault.
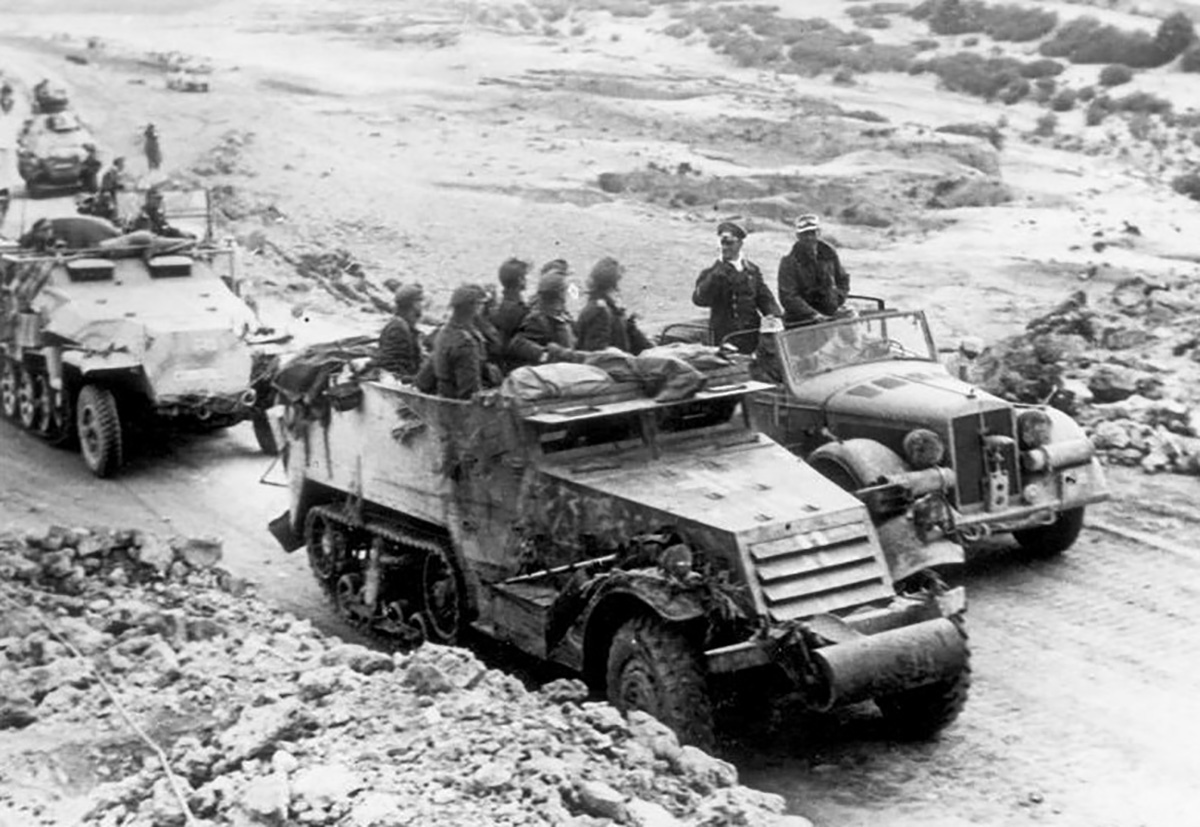
Rommel addresses his troops riding in a captured US M3 half-track.
Spearheaded by the tanks of 10th Panzer and the Italian Centauro division, the Axis smashed the blocking force in the mouth of the pass, skilfully using their mechanised infantry to outflank and destroy the defenders in detail.
The Allied forces made sure the Germans and Italians paid dearly for every inch of ground taken, fighting a series of costly delaying actions that sapped morale and material. Eventually, the Allies were able to consolidate their artillery and anti-tank guns, and the Axis attack ran out of steam, eventually retiring under cover of darkness.

The Battle of Kasserine in Bolt Action
This desperate battle between the untested US army and the battle-hardened Afrika Korps is one of the climactic moments of the Desert War.
US players must mitigate the effects of poor morale and make the best use of their extensive support options, while German and Italian players must use their aggression and experience to outmanoeuvre the allies.
Grab the Duel in the Sun supplement for an in-depth scenario and guidelines to assembling your forces for this iconic engagement.
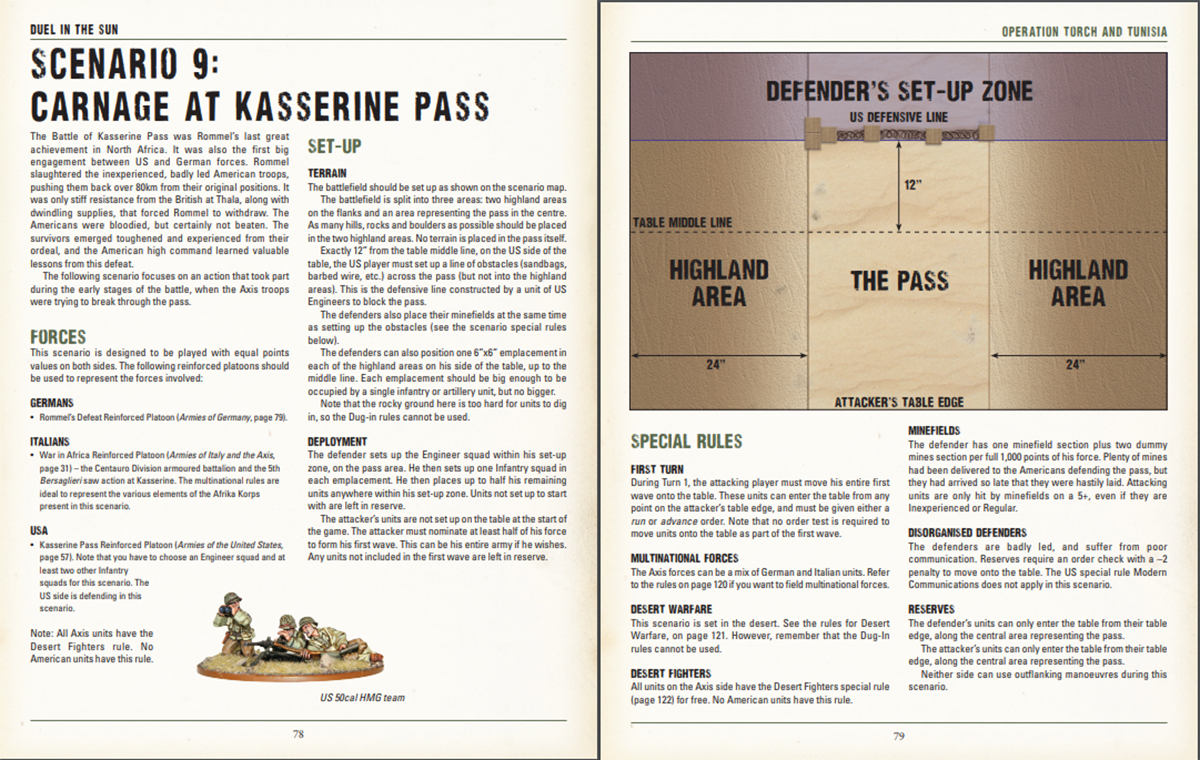
This scenario will test your tactical thinking, with special terrain, emplacements and minefields giving the defender an edge that can only be addressed by courage and firepower.
The Allied player should use his deployable defences to create kill zones, funnelling the Axis forces into areas commanded by his machine guns and artillery. As the Axis objective is to breach the defensive line, keeping their mobility down will only help.
Axis players should try and cram as many fast-moving recon units and mechanised/motorised infantry units into their list. Being able to charge up the table before the artillery can zero in will make the difference between victory and defeat.
Join the Fight!
If you’re looking to start a US Army and join the war in the desert, we’ve reissued our US Army starter set with the fantastic new plastic infantry sprues – there’s no better time to join the fight.