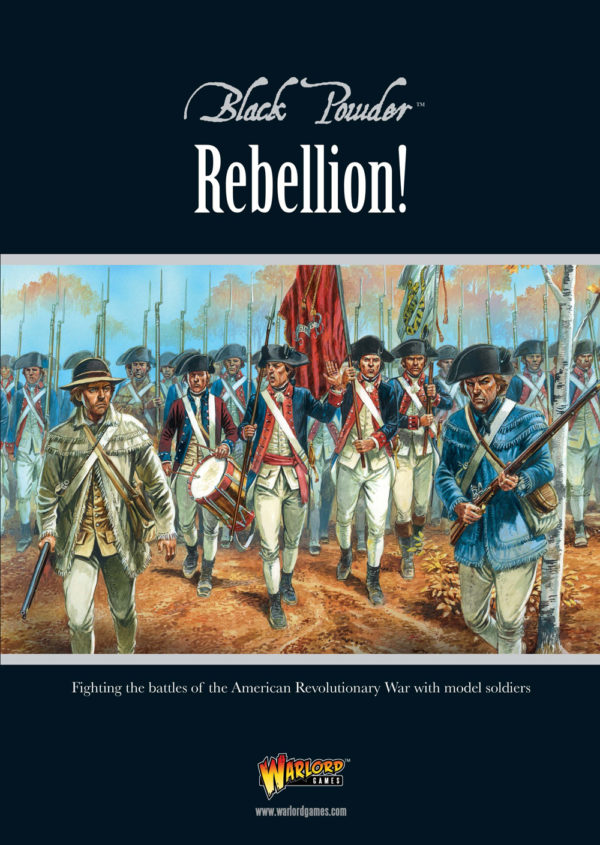
Stephen Jones, Author of Black Powder’s Rebellion supplement, introduces the second scenario found in the book covering the American War of Independence!
The British campaign against New York began with the overwhelming victory on Long Island in August. Hesitancy on the part of General Howe however permitted the rebels to evacuate their survivors. George Washington was thus able to maintain a viable army in the field, but lacked sufficient numbers to defend New York itself.
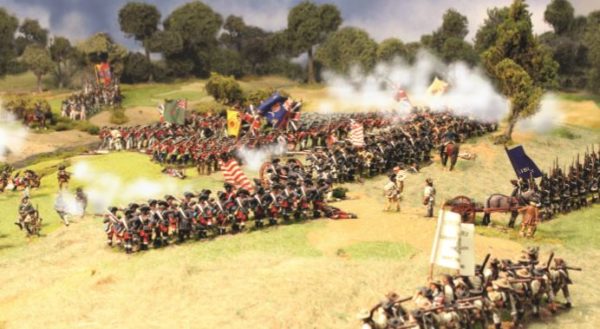
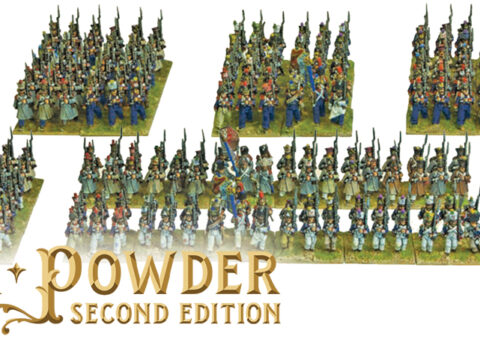
Washington’s army tackle the oncoming British – Rebellion page 71
A series of amphibious landings by the British turned the flank of one rebel position after another and by late October the army had established a fresh defence at White Plains at the northern end of Manhattan. Hoping that the British would sacrifice their army in a second Bunker Hill, Washington ordered the construction of substantial fortifications, but neglected to defend Chatterton’s Hill which lay on the right of his position. If the British could position artillery on the hill, they could render the rebel defences useless. Spotting Howe’s troops moving to his right on the 28th October, Washington realised his error and ordered part of his army to take and hold the hill.
Overview
This scenario is a classic attack/defence situation with the Crown forces having many advantages, but needing to beat the clock as well as the defenders. As with most battles of the war, the rebels will need to rely on their shooting while the Crown forces would be well advised to seek out opportunities for hand-to-hand combat.
The Armies
As Chatterton’s hill formed part of a larger action it is not easy to be sure exactly which units were involved on the day so, as is often the case, a degree of educated guesswork is needed to create a plausible order of battle. As the regulars on each side were probably quite evenly matched I have used few special rules for this scenario.
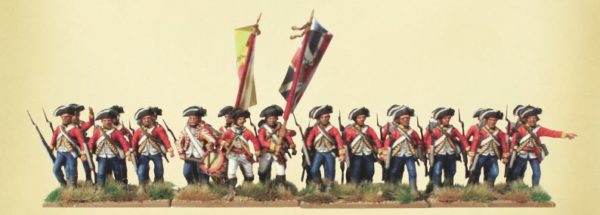
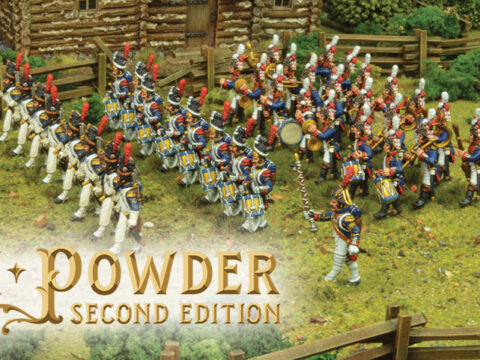
Redcoats advancing to enter the fray – Rebellion page 70
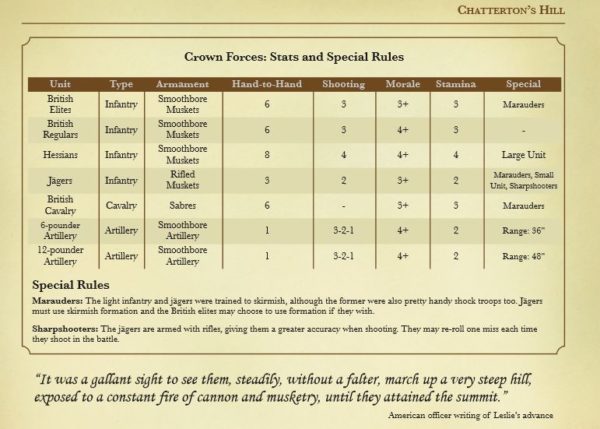
On the Crown side things aren’t too bad. The regulars of Rall’s and Leslie’s Brigades were clearly tasked with the assault on the hill and Von Heister had a small force of elite light troops at his disposal. The involvement of Von Donop is less certain, but I have assumed that this brigade would have acted as a reserve for the main assault. The Crown forces have been allowed a fairly normal range of abilities, but with some differences between British and Hessian troops as the latter had only recently arrived in the colonies and seem to have been deployed in more dense formations than their red-coated allies.
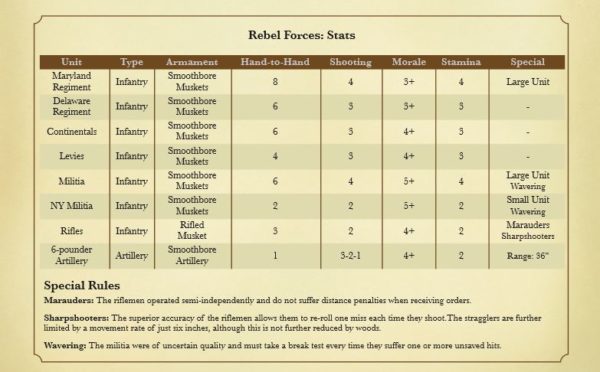
The rebel force is somewhat more of a knot to unpick. Initial responsibility to seize and hold the hill was given to McDougall and his brigade of Continental infantry . As Alexander Hamilton’s pair of artillery pieces was also present on the hill I have assumed that these were dispatched along with McDougall to bolster his ability to defend the hill.
Contemporary accounts of the battle mention that the jägers were opposed by riflemen and I have strengthened the brigade with the addition of a detachment of Continental riflemen, assuming that this unit would have been linking the two parts of the rebel army .
As the threat to Chatterton’s hill became more apparent, reinforcements were sent under the command of Colonel Douglas. This was an ad-hoc brigade including Haslett’s Delaware Regiment. I have fleshed out the remainder of Douglas’s command with other units who seem to have fought in the action, even if they may not have been quite so neatly organised.
The rebels are a very mixed force, including some of the very best Continental infantry from Maryland and Delaware as well as some distinctly shaky militia. The Continentals have been treated as being pretty ordinary troops under the Black Powder rules, with additional bonuses for the better units mentioned above. The militia are rated fairly poorly with the Connecticut levies being somewhere in-between.
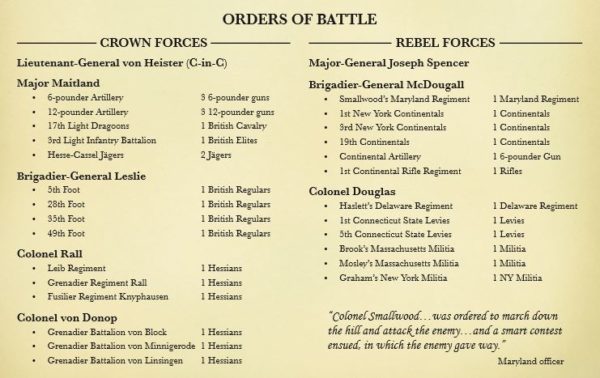
Order of Battle – Chatterton’s Hill 1776 – Rebellion page 71
Neither army was notably well or badly led at the battle, so I suggest using a staff rating of 8 across the board, but limiting the hessians to a maximum of two actions per turn to represent their less flexible tactics and use of close order.
The Table
The battle can be fought on a 4 foot x 6 foot table using units with a standard frontage of around six inches and the movement distances and ranges from the Black Powder rulebook. Chatterton’s hill is the dominant feature but has little effect other than blocking line of sight. The Bronx River is a substantial, but not impassable, obstacle. It may be crossed at the ford or bridge at a cost of one-half move, elsewhere it will cost one whole turn for a unit to cross from one side to the other.
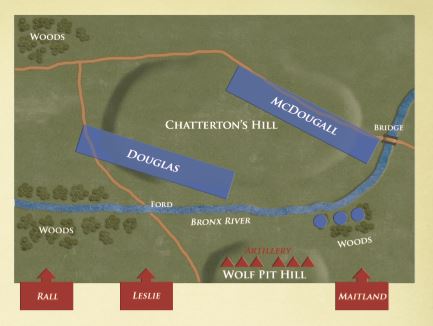
Suggested Battlefield map – Rebellion page 72
As the terrain has been slightly compressed in order to fit into a reasonable space, artillery shooting that crosses the Bronx river counts as long range and canister may only be used in closing fire.
The woods shown on the map are not dense. They block line of sight and the maximum visibility into or within the woods is six inches. units in woods may benefit from a +1 modifier to their morale die rolls and count as “not clear” targets.
Not shown on the map are the numerous stone walls that were present at the time of the battle. When setting up the scenario the battlefield should be divided into walled fields and enclosures. Walls are treated in the manner described in the Black Powder rulebook.
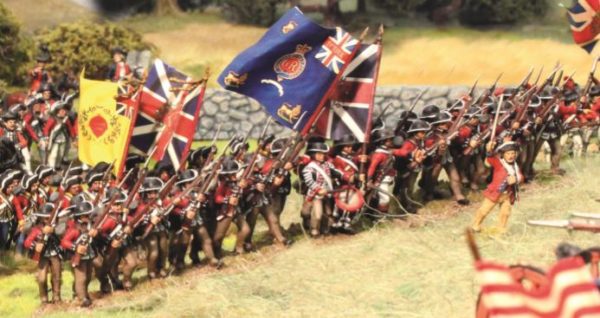
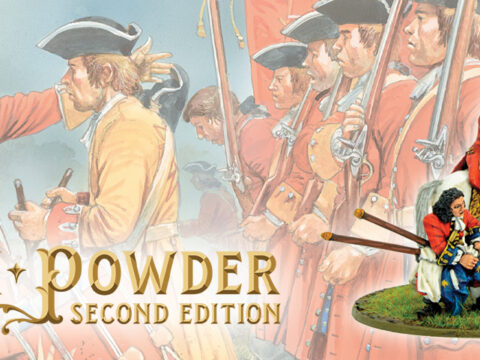
British Redcoats drive on-wards – Rebellion page 72
Dispositions
The rebels should deploy first. The two rebel brigades are placed as shown on the map. The rifle detachment of McDougall’s command may be placed in the woods to oppose Maitland or can be retained with the main body of the brigade as the rebel player wishes. Maitland and the artillery are then deployed, at least 12 inches away from any rebel units.
The Crown forces act first in each turn. Rall’s and Leslie’s Brigades each enter upon their commander issuing a successful command to do so. Lieutenant-general Von Heister initially accompanies Leslie. The Hessian grenadiers of Von Donop enter after 8 turns have been completed, to the right of Wolf Pit hill, again requiring a successful order to be issued.
Objectives
Each army is attempting to defeat the other and so establish control of the high ground. The winner will be the first to break the opposing army . Rules for breaking brigades and armies can be found in the Black Powder rulebook. If neither army is broken at the conclusion of turn 12 then the rebels can claim a moral victory .
Force Summary
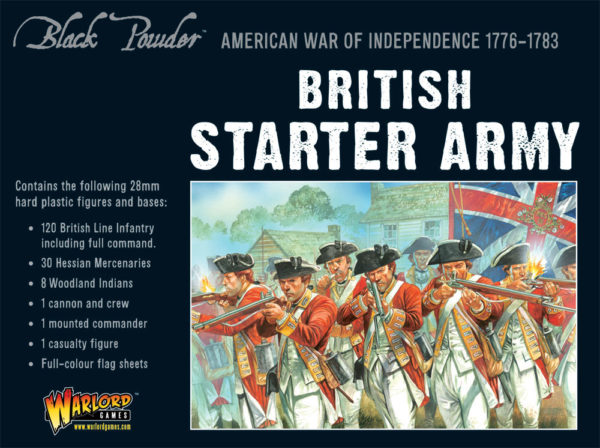
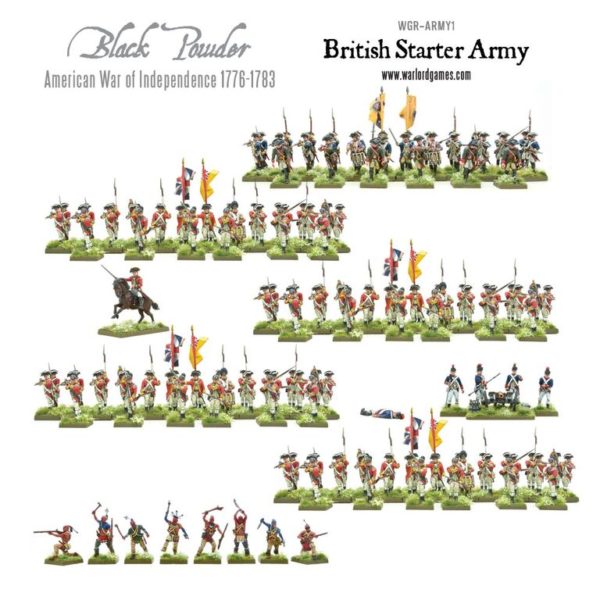
For Your Collection
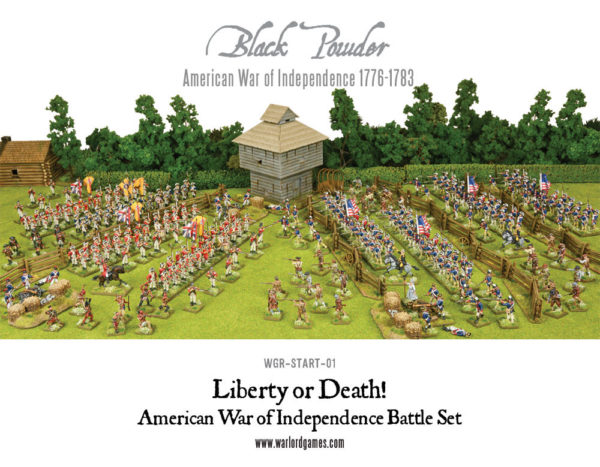
This scenario (and many others) works perfectly with the forces contained within “Liberty or Death” and is a great way to collect your sides for Black Powder and the American War of Independence.
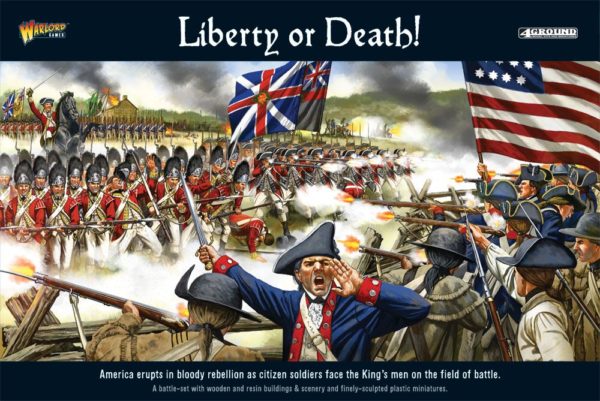
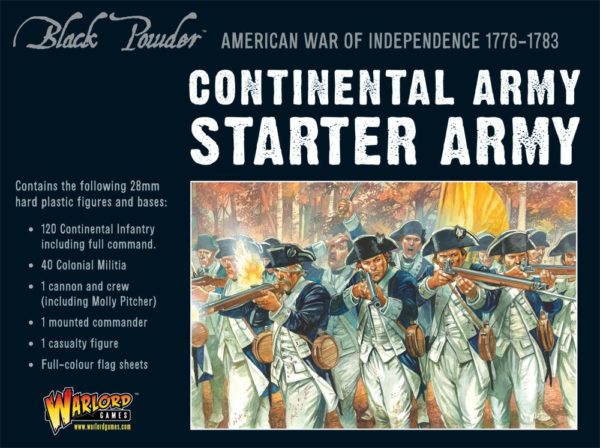
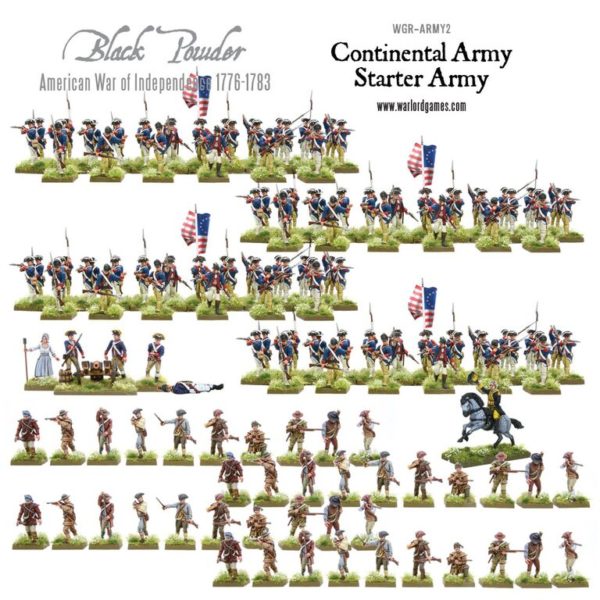
Expand the Rebellion with the fantastic Continental army:
From Hubbardton to Brier Creek, defend the Kings lands and peoples with the British Redcoats and Allies: