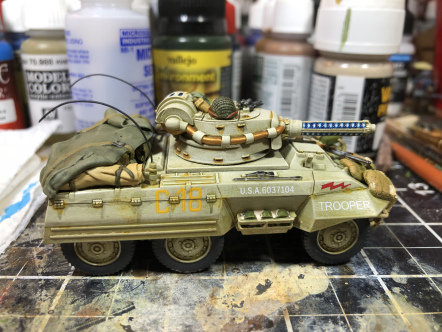
It took me all Friday evening, but I was able to complete my M8A3 Tesla Scout! Let me walk you through the process…
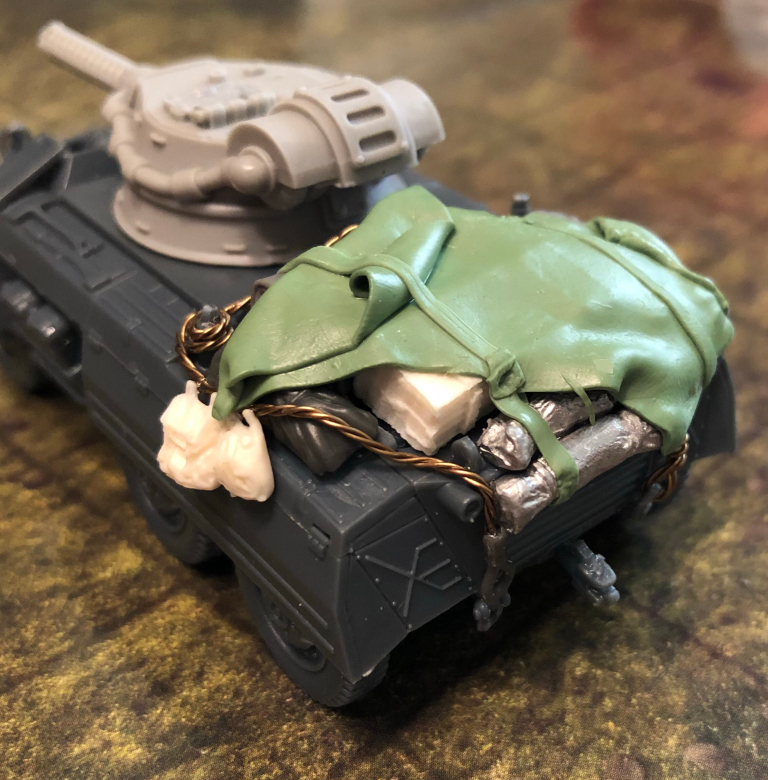
Here is where we left off… I had just added stowage to the rear of the hull.
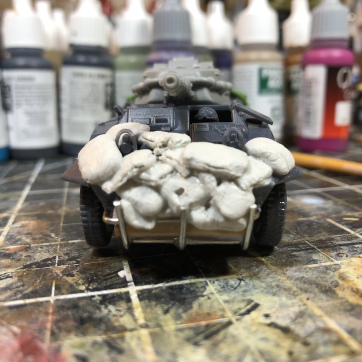
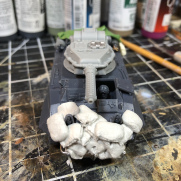
There was still loads more to do yet. I consulted a lot of images of M8 Greyhounds in the various books I have and what I really wanted to do was try my hand at a front cage with sandbags. Other modellers have done it with 1/48 and 1/35 scale, but I hadn’t seen it tried on a 1/56 scale Greyhound yet.
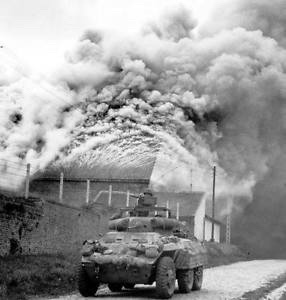
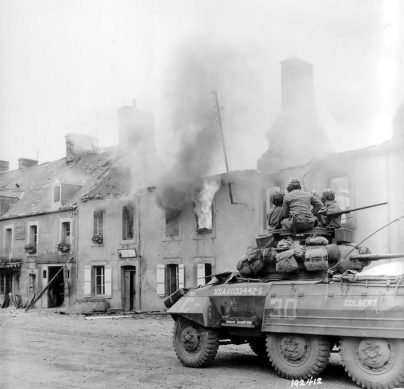
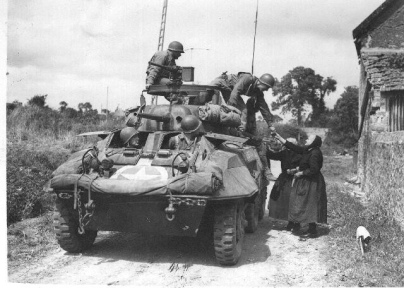
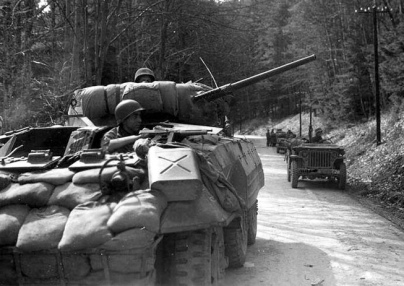
Inspiration:
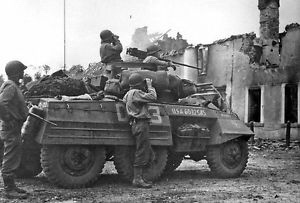
One thing about stowage on armoured cars, you either see a lot or barely any in pictures, The scout car was usually pretty cramped so nothing was really kept inside the car; most stuff was left outside. A lot of bags and gear was stowed on the turret or hanging off the sides of the car. When it comes to stowage, though, I try to think about the Rule of Cool when I am placing it as well.
Speaking of ‘cool’, I am not sure what magic these troopers used to keep their gear on these scout cars. Sorcery, I say! Anyway…
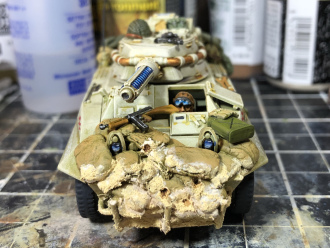
First, in order to achieve the look I wanted, I had to tackle the cage mounted on the front. There are lots of ways to do this: plasticard, plastic mesh… I decided to use paperclips.
After pricking my finger and dislodging bits of metal from the walls and ceiling (after they flung away during the cutting process–pro-tip: wear safety glasses), I set them in place on the front where I wanted them (also after removing bits of paperclip glued to my finger). The result:
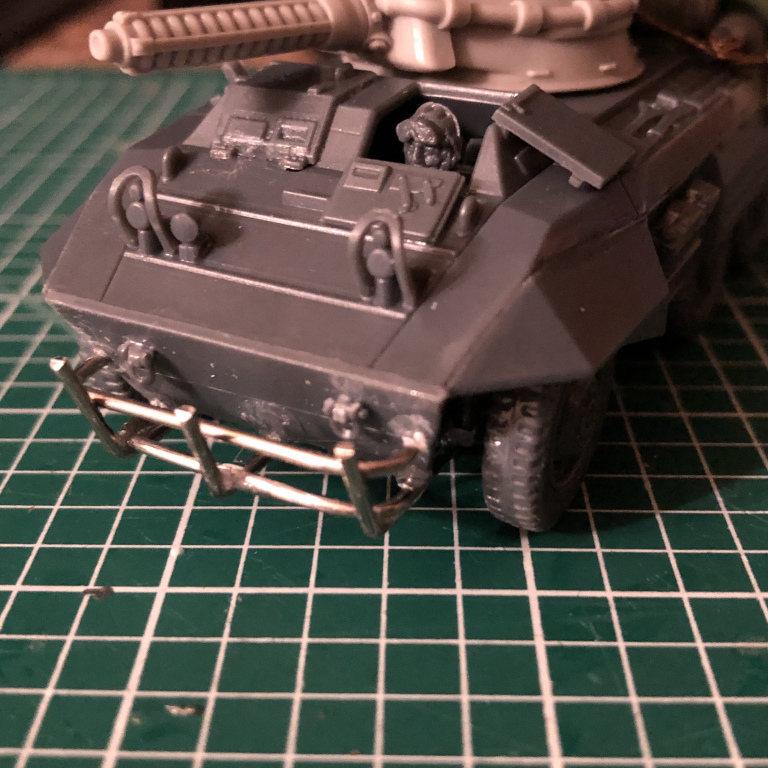
Not too shabby! To get the paperclips to attach correctly, I had to drill into the plastic a bit in order to slide the cage into place to aid in stability. Using the super glue and baking soda technique to secure a firmer bond is recommended.
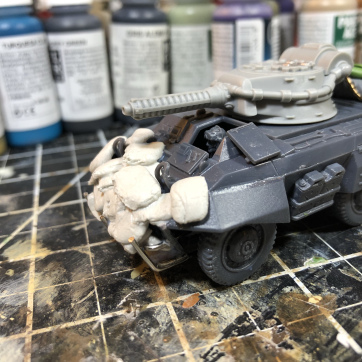
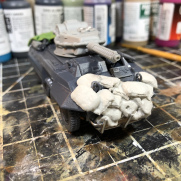
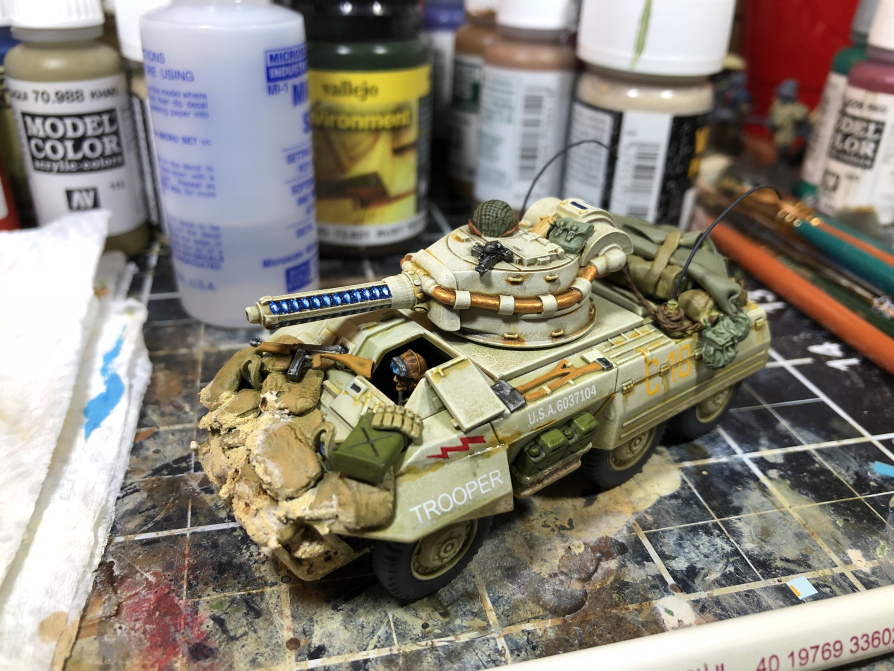
Next the sandbags!
I recommend using greenstuff or greystuff for this next step, but I used all of my greenstuff up and my Milliput went godawful bad on me, so DAS air drying clay it was! The only downside to using DAS is that it can crack if you aren’t careful. You can try to correct this by adding a small amount of PVA glue to the clay, which does help a lot, but it isn’t 100% effective in all instances.
I basically just rolled out the DAS into a long, thin tube about an inch wide (when flattened). I then cut them into half-inch strips (essentially 1x.0.5 inches each). These were pretty accurate to scale, and when stacked they didn’t look too large for the 28mm vehicle.
To add some look of a veteran scout car, I took my hobby knife and twisted in some bullet holes in the sandbags here and there. And the result:
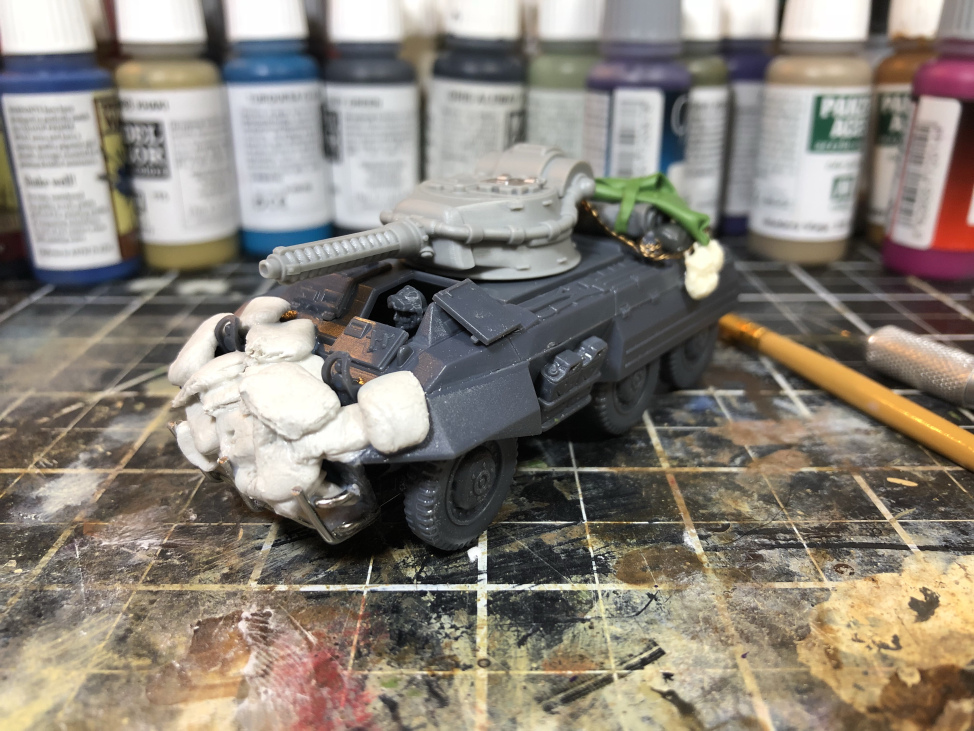
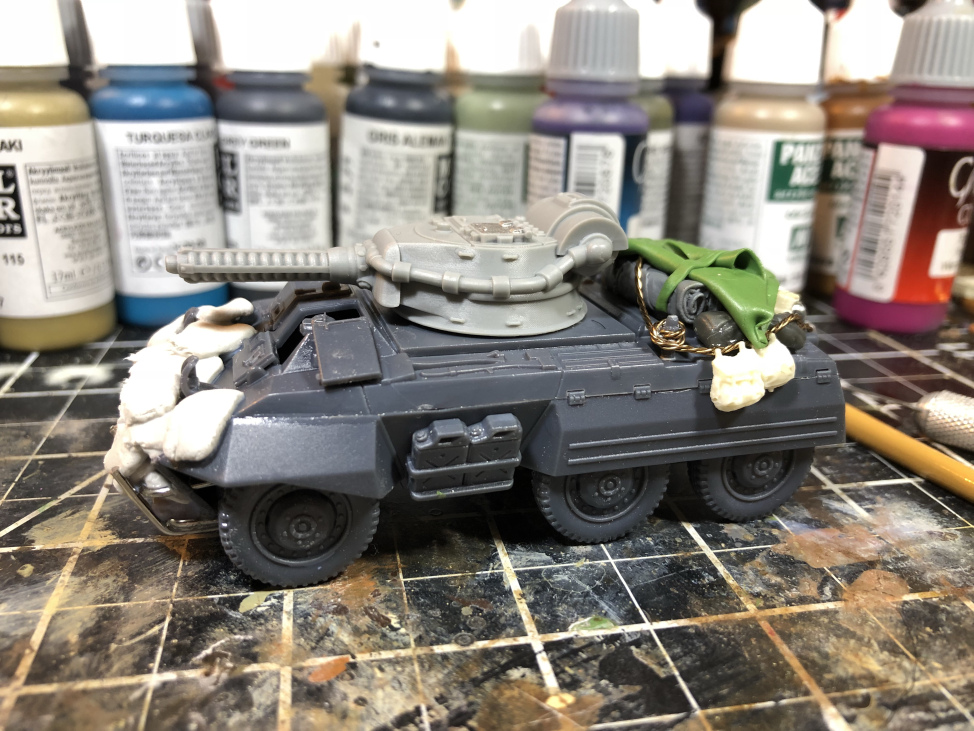
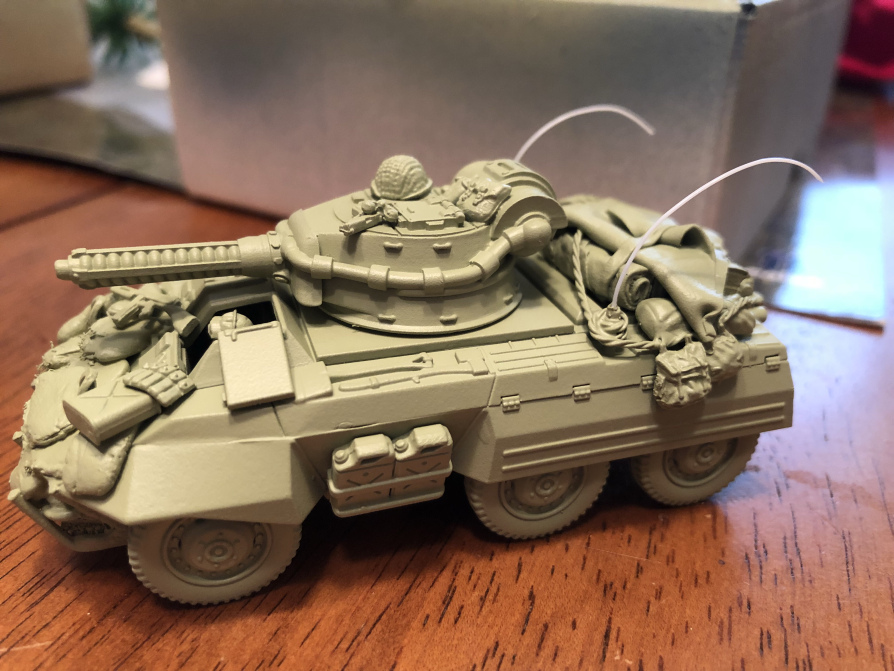
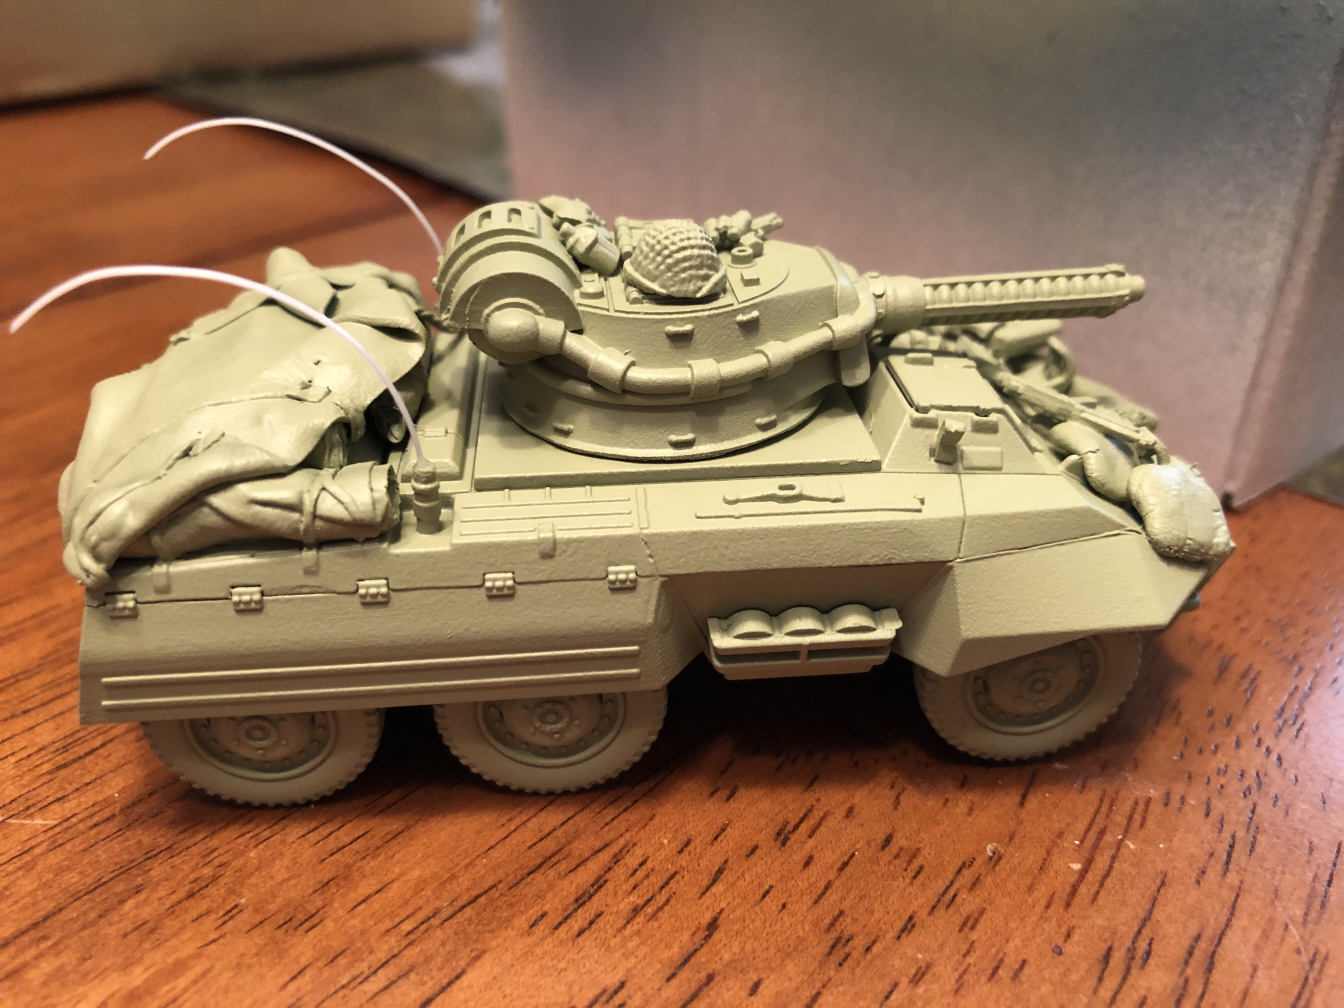
But we weren’t done yet. There were still details that I needed to add. Extra loose bits that I felt were needed included a Thompson SMG, an extra gas can, some SMG magazines, radio antennae (made by cutting off some nylon strands from a brush), and a few extra bits on the turret. Most of these components I had lying about in a bits box from old plastic infantry sprues.
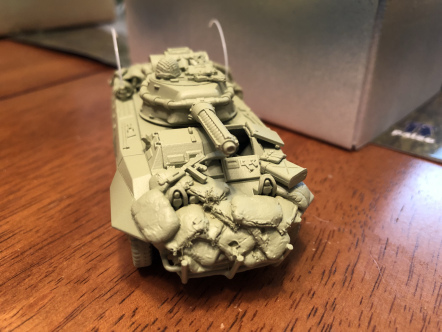
All I had left to do was prime it in Army Painter Necrotic Flesh and I could begin painting it all up. Here we are up to this point.

Now to get this painted up in the way I did, just follow the steps I laid out in my tutorial on the Sherman Tesla here. You won’t need the steps on the camouflage if you follow my paint scheme exactly (unless you wanted to add camo to your scout car, which is totally cool), and these steps are generally my go-to bog standard when it comes to desert themes. However, the rest of the tutorial is useful for this tesla-fied scout car!
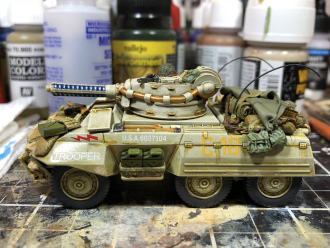
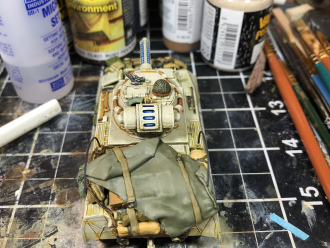
And here is the final product.

I will be doing a separate tutorial on weathering, so definitely like, share, and subscribe to keep up-to-date on my new tutorials and reviews as they appear!
Scout Ahead!
Beat the monsters back!