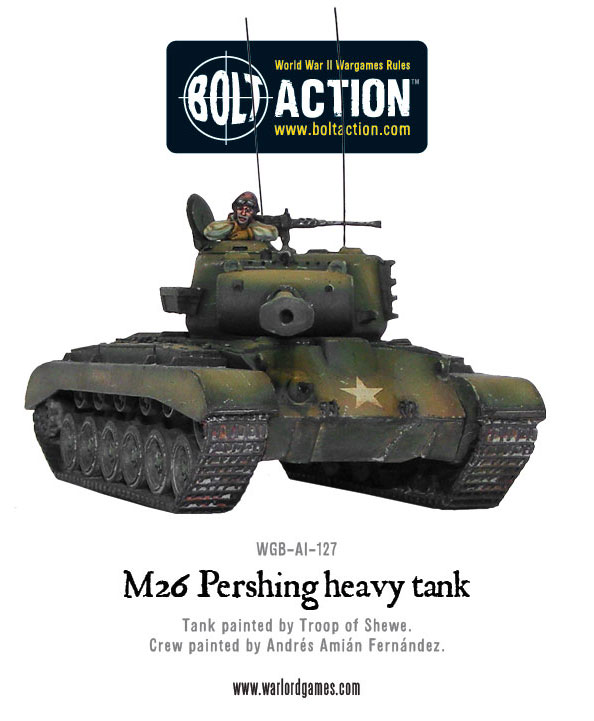
Warlorder Gabrio had a play a little while back with the mighty Pershing. I huge development for the US forces toward the end of WW2 and a great tank to deploy in your games of Bolt Action, now with the release of KF’47 it looks like just the machine needed to combat the German and Russian heavy walkers!
Brought in towards the end of WW2 by the US army, the M26 Pershing was designed and built to counter the German heavy tanks like the Tiger and King Tiger. With its 90mm gun it was the highest calibre available to the US.
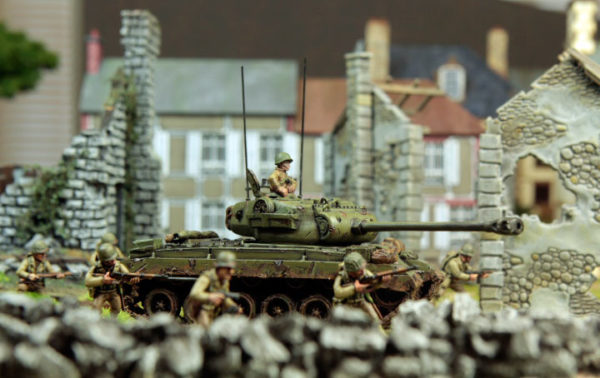
Not many of these tanks made it to combat in Normandy, but it looks great on the battlefield and it is a pleasure to put together and paint, so my army simply couldn’t do without one! It will go to supplement my Bolt Action army based on the US Normandy invasion forces.
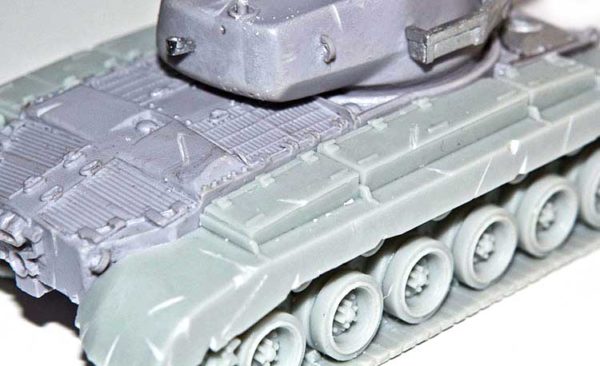
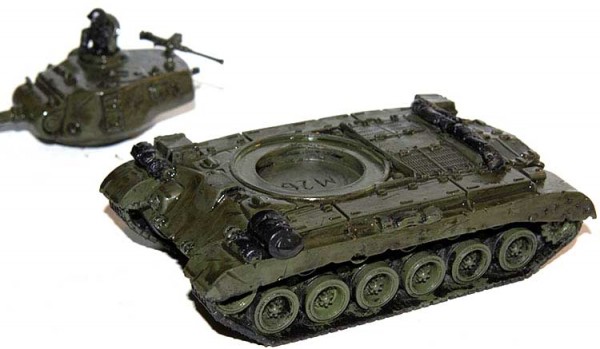
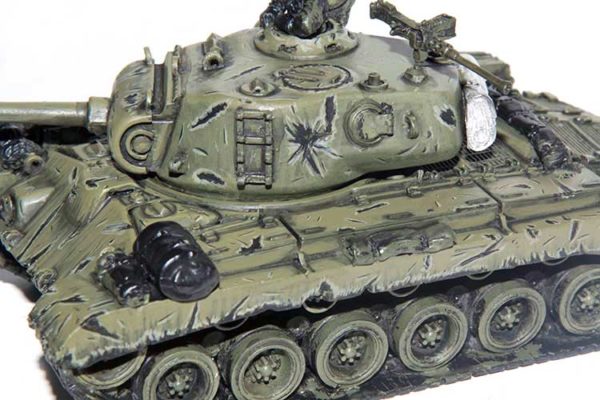
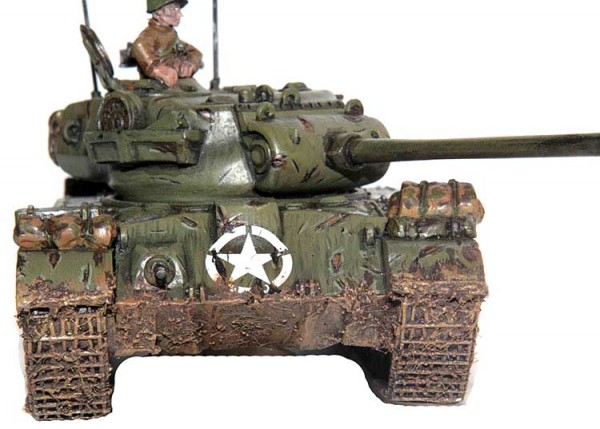
I want all my army to have a “battle worn” feel to it, and look as if it has gone through some rough fighting, therefore the first thing that needed doing after assembly was taking a drill and a scalpel and liberally apply battle damage to the hull. I am never too sure if what I do at this stage is going to be enough, but I just hack away and take it as it goes. I find it much easier to paint the damage on the tank were there is “actual” damage, even though it is possible to represent paint chipping and scratches through paint only.
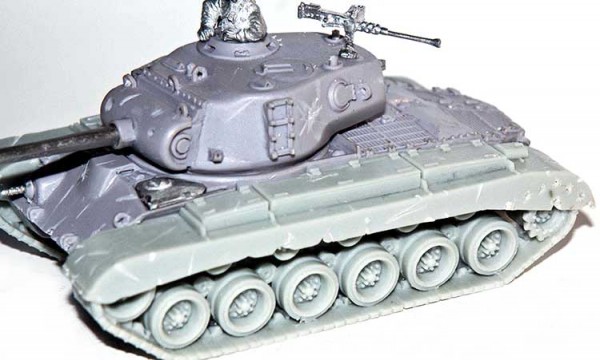
I also purchased and stuck on bits of the extremely useful Warlord stowage and tarpaulin sets (3 different ones) to add gubbins to the hull, as the “battle worn” look is just not complete without them.
Next I generously sprayed everything black. I find that this stage is crucial and might need several sittings to complete,as you can only see if everything is covered once each coat is dry. Then I applied the first coat of dark green – on this occasion I used the Vallejo Olive Grey.

Next a thick and freely applied layer of dark brown wash, to emphasize the shadows and recesses.
After a good cup of coffee, I started the long process of highlighting each panelled surface of the tank. To begin with, I used the same Olive Grey I started off with, as the one on the tank now had a distinct brown shade to it, and then continuing with a 50-50% mixture of Olive Grey and Russian Uniform Green (also from Vallejo), pure Russian Uniform and finally with a mixture of Russian Uniform and Vallejo’s Khaki Green. The highlight layers are all very thinned out with water and added to the panels in increasingly smaller patches.
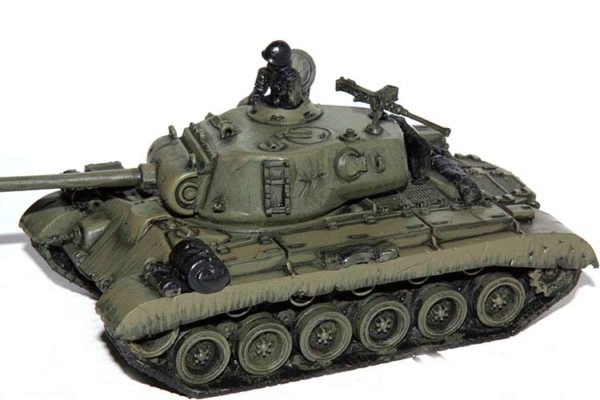
Now it was time to apply black paint to all the damage I’d carved and also to apply plenty of very thin black lines with a small brush. These would increase the overall “worn” effect. On the major areas of damage, I applied some silver paint and then added a brown-red wash to simulate a slight rusting of the exposed areas.
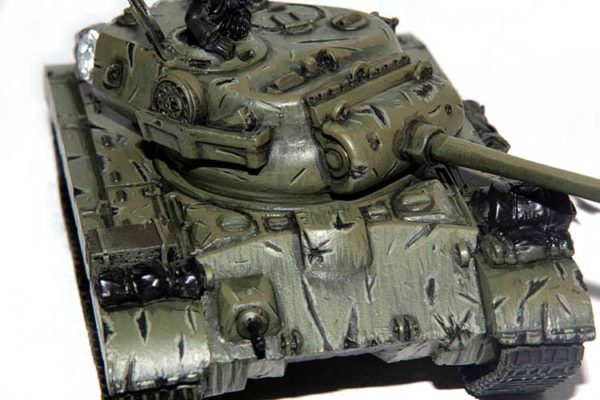
Then with some black ink I painted all the recesses, being careful not to let the ink spill on to the rest of the tank. I found that by applying a stroke of highlight around or under all the black marks, the scratches appeared more three-dimensional.
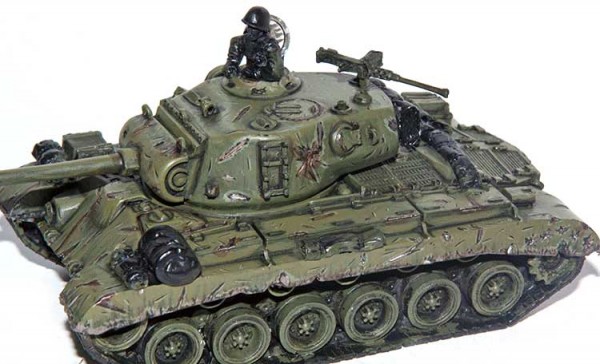
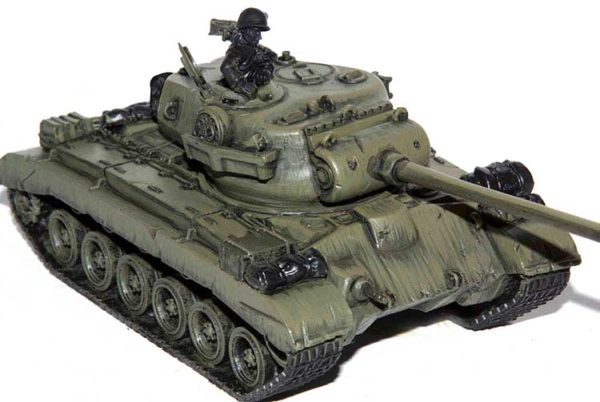
All that was left was to add the finishing details – I painted the two machine guns black and dry-brushed them, then painted the tarps and the crew member.
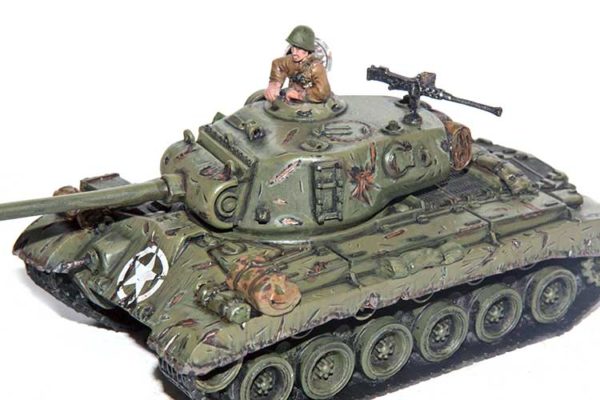 Finally, I applied two Allied broken star decals and weathered them with some brown ink, then used some bristles from a dust brush to make the aerials.
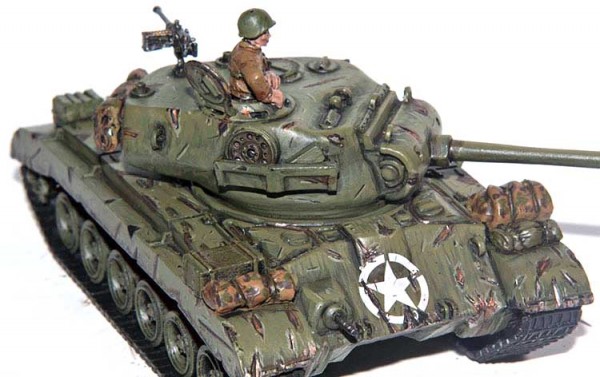
The final touch was to take care of the tracks, as all the tanks in my army look as if they have just gone through a mud bath.
 The recipe for my mud is as follows:
Ingredients:
A pinch of static grass
½ a teaspoon of thin gravel
1 teaspoon of plaster of paris
3 drops of dark brown paint
Just enough water
Method:
Mix all the ingredients in a small pot.
Apply generously to the desired areas.
 Once dry, I drybrushed everything with a couple of layers of increasingly lighter brown.
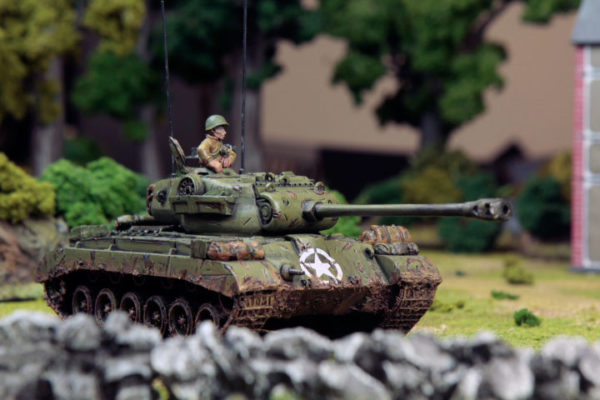
Et voila, Another fine tank to add to my Normandy invasion force as it pushes deep into Germany.
Do you have an article within you? Are you itching to show your collection to the world of Bolt Action? Then drop us a line with a couple of pictures to info@warlordgames.com or share with all over at the Warlord Forum