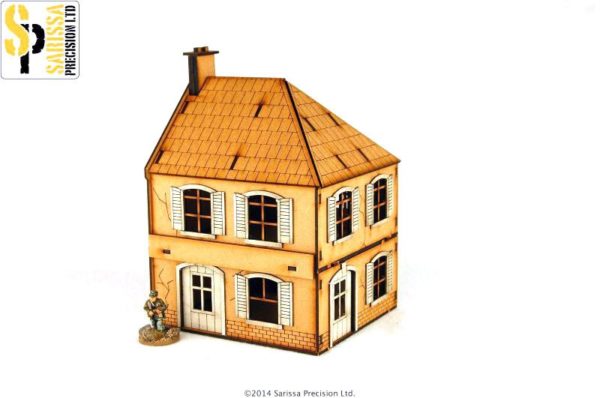
Modelling enthusiast Bill Ferguson (aka the Scenic Doctor), having taken us through building the structure and using different materials in part 1, now finishes super detailing the Sarissa End of Terrace Cafe…
Bill: Having completed the basic detail I can now start putting the roof section of the model together as per the instructions, which includes the chimney. I glued these as I did with the walls earlier using PVA.
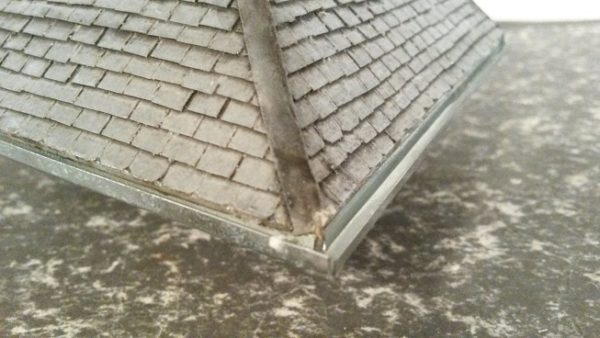
Once dry I measured out the slates with a pencil on 300gsm/140lb Acrylic paper as it has textured grooves in one direction, which I find are similar to slate.
As you can see, the slates are measured out in roughly 5mm by 10mm rectangles.

I cut the slate into individual 5mm by 10mm tiles so that when slates are placed they will overlap, just as with a real house. Yes, this takes a bit of time – if you persevere the results will make your building truly standout above the average scenery!
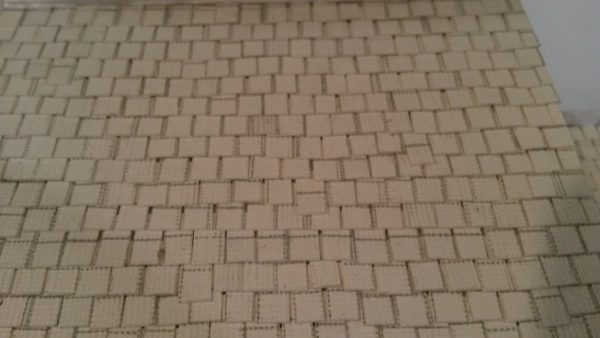
I glued these down onto a thin mount board card with 50/50 wood glue and water, which becomes very hard when dry.
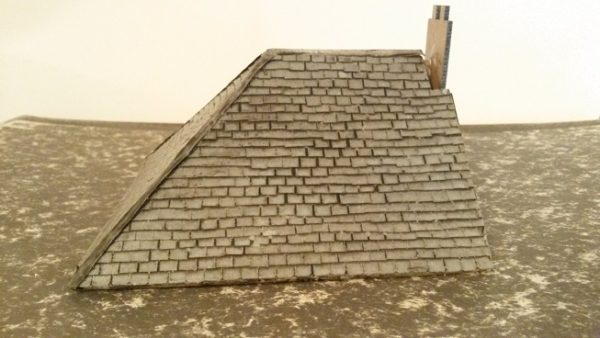
Once the slates are glued to the roof section I add a thin piece of paper, glued on along the join, as a ridge like flashing. Take note of the gap I’ve left around the chimney, more on this in a bit.
I then sprayed with a grey undercoat, which also serves as the slate colour. I went over the whole roof with black wash to bring out the gaps in the slates.
At this stage I also added the gutter, which I got from the ribs of an old umbrella, you could cut these easily with snips or pliers.
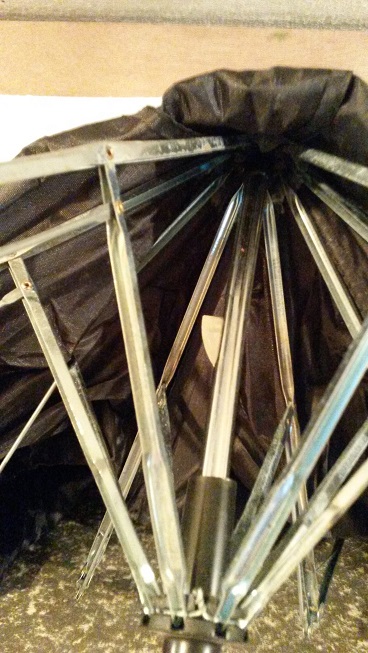
The struts are glued on as guttering, then painted dark brown.
I now moved onto the down pipes for the gutters. I cut them to length taking into account that they can only be one floor length high so that the floors of the house remain separate and can be lifted apart.
I then painted these brown to match in with the guttering.
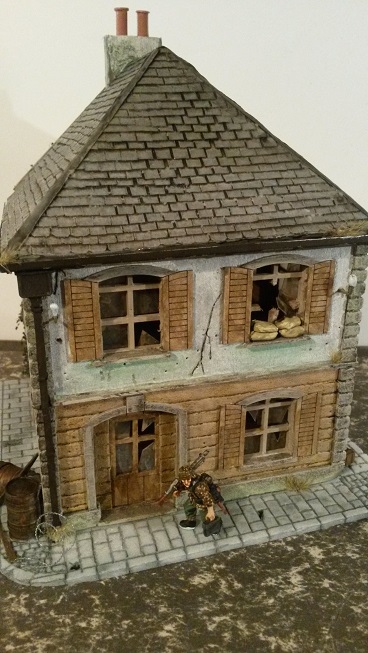
The paved street was done by using 3mm Depron foam board and was scribed with a pencil. I went over the white foam board with a black wash to make it more realistic and it was ready to be added to the model. You could use a Sandtex type paint for a more durable finish, but I prefer the smooth look on paving.
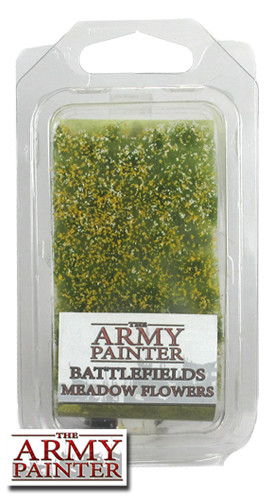
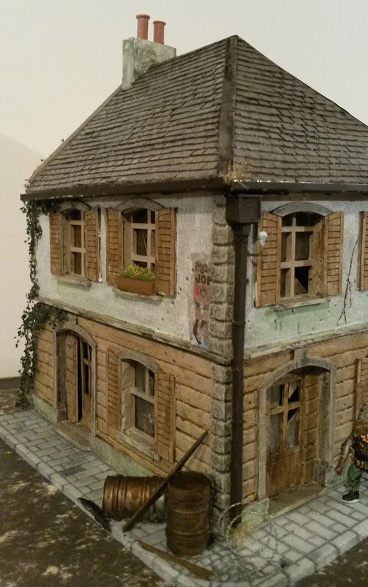
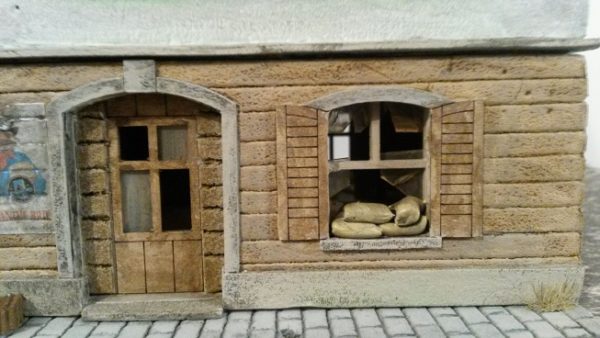
The tufts and razor wire were also supplied by Warlord games. The tufts (by Army Painter) were placed to act as weeds. The sandbags in the window were made with green stuff putty and painted sand colour then shaded black to give an authentic look.
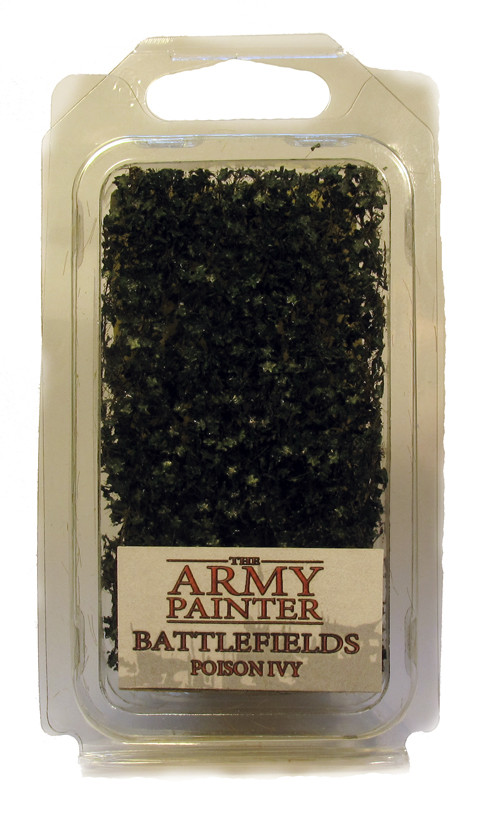
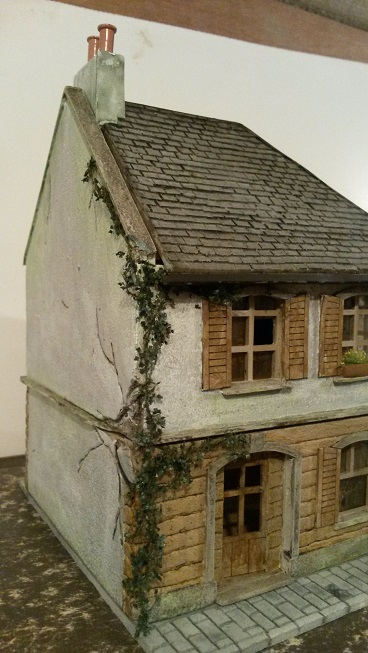
If you have a look around an average European village you’re bound to see houses with ivy of some form. I used Army Painter Battlefields Poison Ivy glued on to the building, again supplied by Warlord games, remembering to cut it to the height of one floor so that it will separate when the floors lift off. Also shown is a small window box (left over bits from the umbrella ribs), using a bit of green stuff to fill the ends then tufts added to represent flowers growing from it.
Time for some glass in the window frames – this was done by utilising the clear plastic packaging that the Warlord Games miniatures come in (“waste not, want not”). I cut a section slightly larger than the window but not much larger than the frame it’s going to be glued to, then scribed this with a knife. I bent it a couple of times back and forth until the plastic turned white, taking care not to break it. I then used a drill bit to make a hole as if a projectile had gone through it. Super glue inside to the back of the frames.
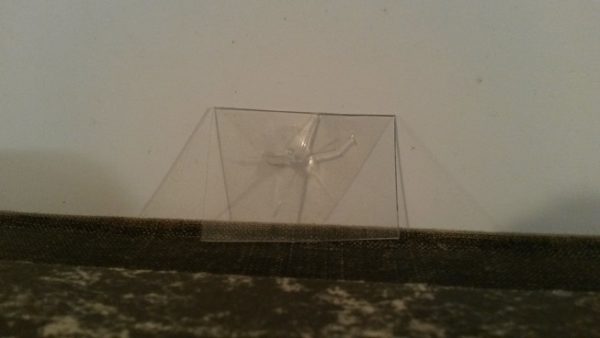
I also used left over bits in a window, made from shards of the packing to make the effect of a smashed window. Dirtying the glass was done by watered down brown acrylic paint. The dirty broken glass effect makes all the difference to a model building that’s meant to be in the middle of a war torn battlefield!
Sandbags and tufts were added as before and then I downloaded an old poster of the period – printed it off then, using watered down PVA, glued it on the wall (a bit like hanging wallpaper).
Now for the chimney. This was done with a skin of foam board to bulk it up, then painted in white and dirtied with a black/green wash.
Well that’s it…for now at least. The model is finished and ready for the battlefield.
The figure is a Grenadier from Warlord Games’ range of plastic sets.
Bill Ferguson
We hope you’ve enjoyed Bill’s article and have been inspired to add that extra bit of detail to your battlefield. Don’t forget to include a photo when you send in your results to the Bolt Action Summer Offensive!
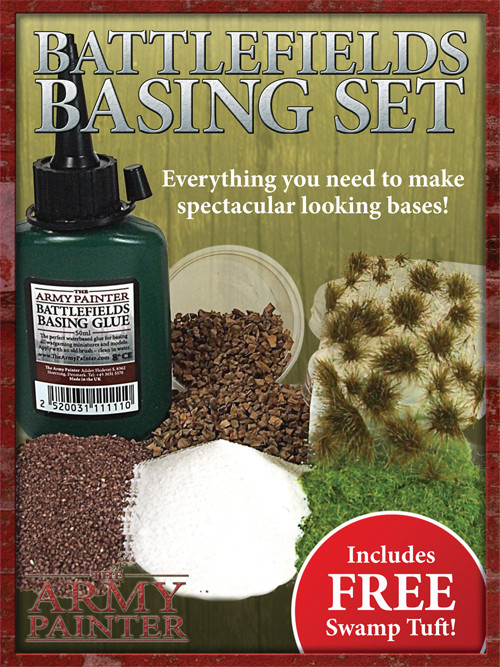
If you’re new to building scenery we’ve a fantastic range of extras to help you become a master builder yourself, why not check some of these out here: