Conversion-holic Jakob Lotz brings us more plastic card and resin conversions, this time for a very flavoursome Japanese self propelled gun (SPG).
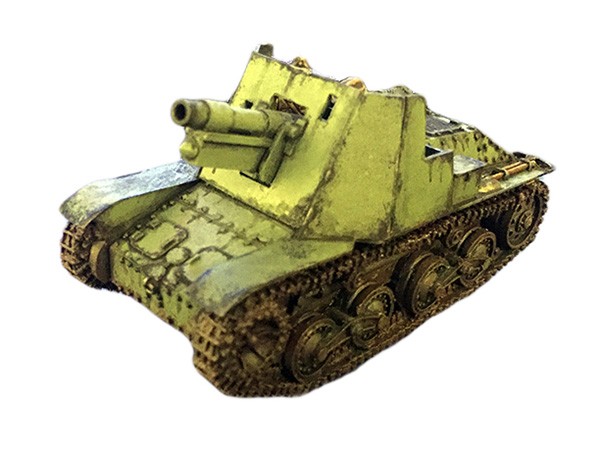
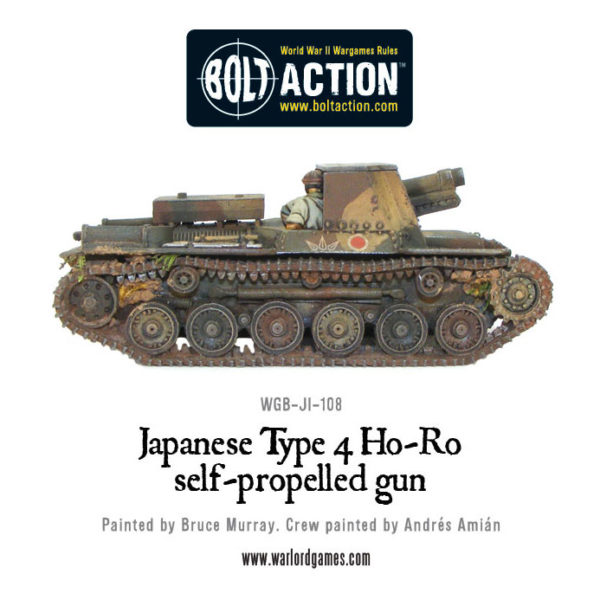
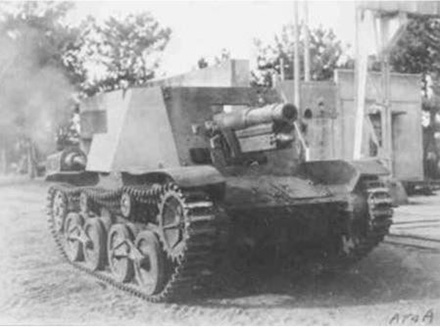
The Ho-To was a SPG and an ad hoc tank destroyer mounting the Type 38 120 mm (4.72 in) howitzer. The gun was old by any standard having been introduced even before the first world war. The gun had a low velocity, but could fire armor-piercing HEAT shells. The Type 4 Ho-To was developed in 1945, along with the Ho-Ru. However from what I have been able to gather only one prototype was ever built.
What you’ll need
- One Ha-Go light tank.
- The Gun and crew from the Warlord Ho-Ro kit.
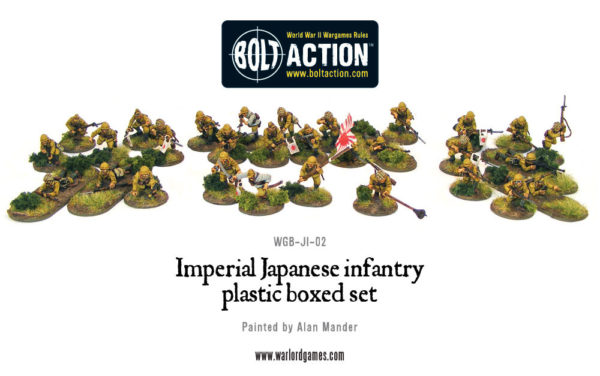
- Or some parts from the Japanese plastic infantry sprue.
- Plasticard.
- Piercing saw, craft knife, wire cutters, drills, glue etc.
Lets get building
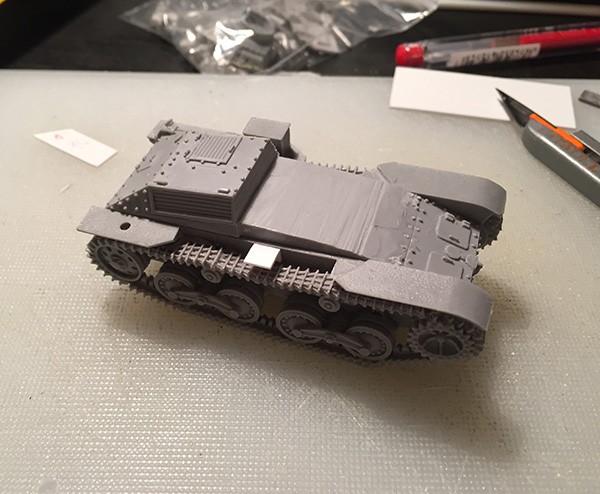
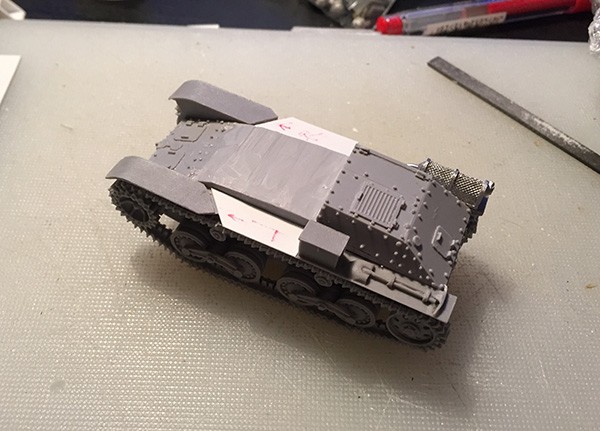
As always before you start make sure you’ve cleaned all the resin parts in some warm soapy water, washed them off and let them dry. Then take the piercing saw and cut away the sides and the center of the Ha-Go chassis as shown below. Just make sure you leave the rear deck untouched. Also add a piece of L-shaped plasticard to the right side of the vehicle to support the new super structure as can be seen in the second picture.

Next up add the “bottom” parts of the new super structure as in the picture below.
Now we build the gun. If you want you can ”cheat” a little here and just use the gun from the Ho-Ro kit. However since the caliber would be wrong I personally decided to build my own gun from scratch.
I used the Ho-Ro gun as a guide and then choose a piece of plasticard tubing that was slightly smaller in diameter as compared to the Ho-Ro gun. I glued this to a flat piece of plasticard, which I in turn glued to a square piece of platicard “rod”.
I also cut out some pieces from a very thin sheet of plasticard and “wrapped” these pieces around the barrel thus achieving the illusion of having a gun barrel varying in size. Finally I used some more pieces I cut out from the sheet of plasticard along with some other thin pieces of plasticard rod and made the breach.

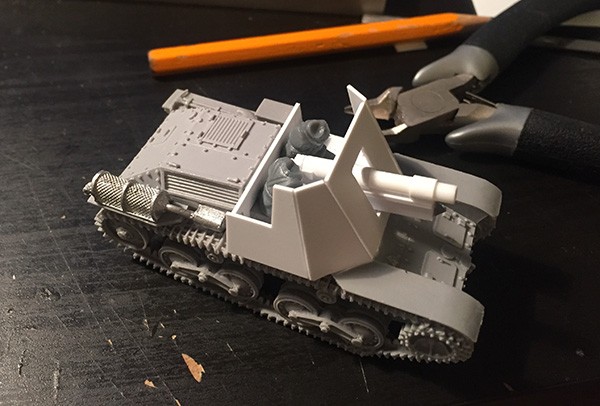
Time for the gun shield, the new super structure, and the gun mount.
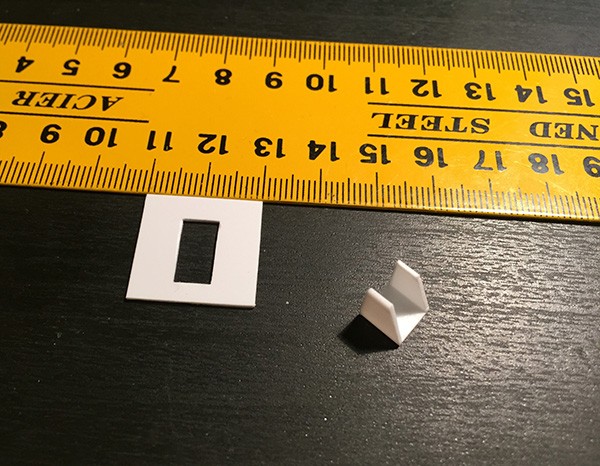
First the gunshield is created by taking a piece of thicker plasticard from which a centered rectangle is cut out for the gun. Also take some square tubing and cut off the top side and then make one side slanted as shown below.
Here I made the mistake of not cutting out all the holes of the “gun shield” before mounting it which gave me some troubles later on. As such I’d suggest you don’t make the same mistake and take care to note where the other holes should be and cut them out at this stage as well. (the other holes, one on each side of the gun, can be seen fairly clearly in the later pictures).
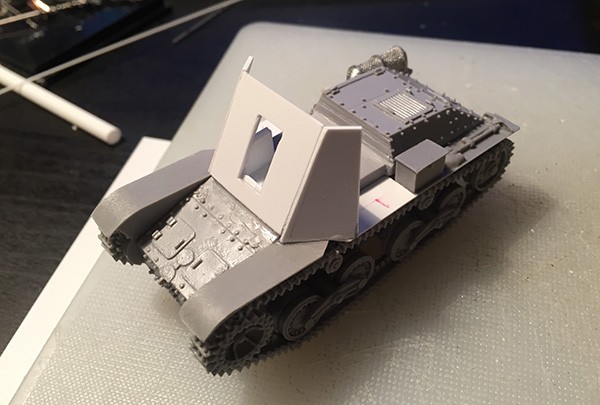
The “gun shield” is then glued to the slanted side of the tubing and the tubing is glued to the modified Ha-Go chassis. (The gun and gun crew is just being dryfitted for testing at this point).
Now make two pieces shaped like the image below. They will sit either side of the gun as can be seen in later pictures when the gun is mounted.

Next the angled sides of the new super structure is cut from the same sheet of plasticard as the “gun shield” and mounted. The back of the Ha-Go chassis front track guards can be used to help you get roughly the right angle.
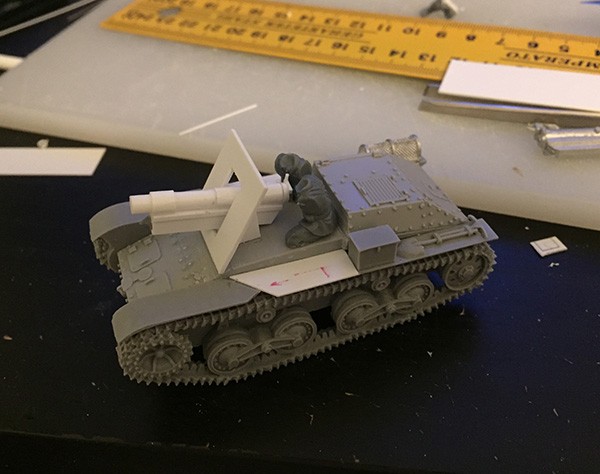
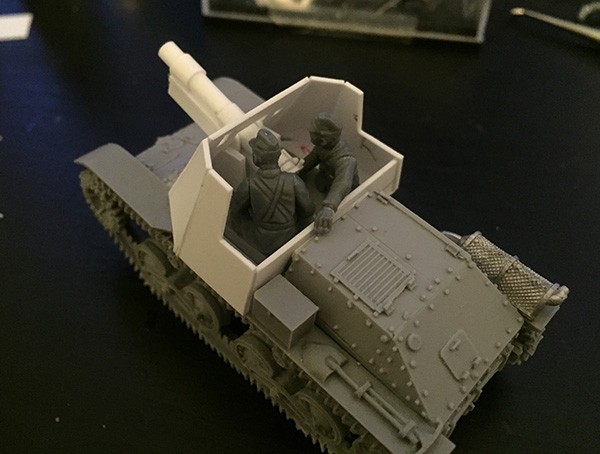
Then we add the final pieces to the side and the rear of the new super structure. (Again the Gun and gun crew is just dryfitted for testing).
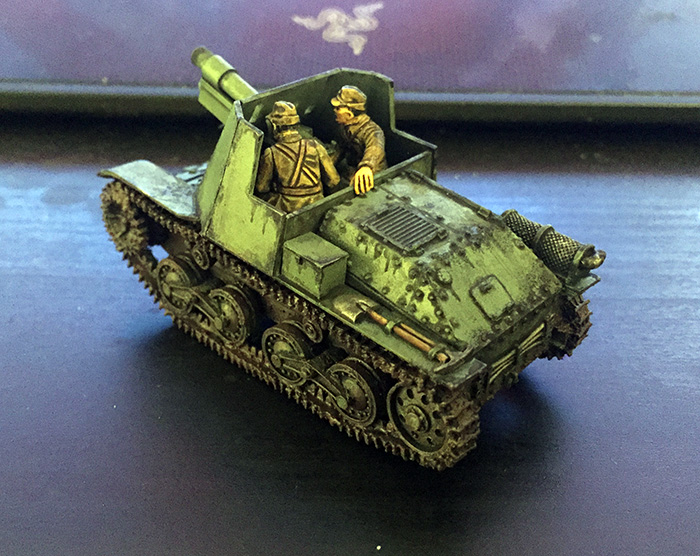
These pictures should also give you an idea of how I made the crew. I used a couple of diffrent parts from the japanese infantry sprue, cutting off the legs approximately just under where their uniform shirts end. I also repositioned the arms and hands somewhat. You could just as well use the crew from the Ho-Ro if you wish to cut some corners here.
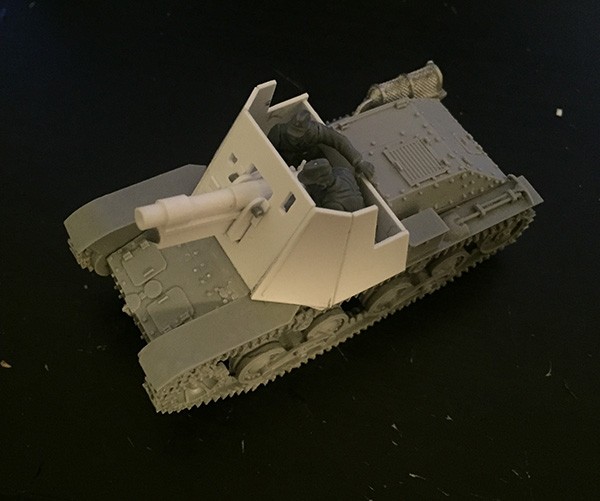
The final step is to fit and mount the gun using some extra pieces of plasticard sheet. I also used some round pieces cut off from a sprue, but you could just as well use some plasticard rod of appropriate size.
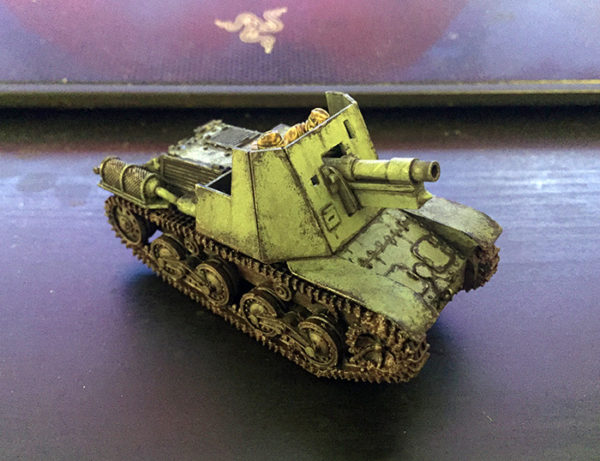
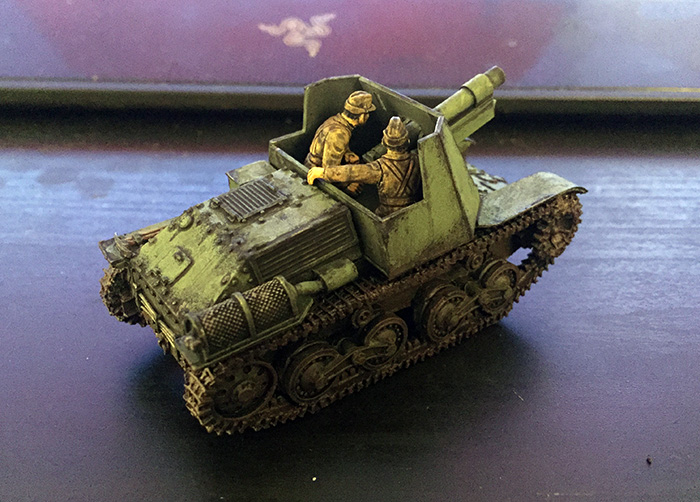
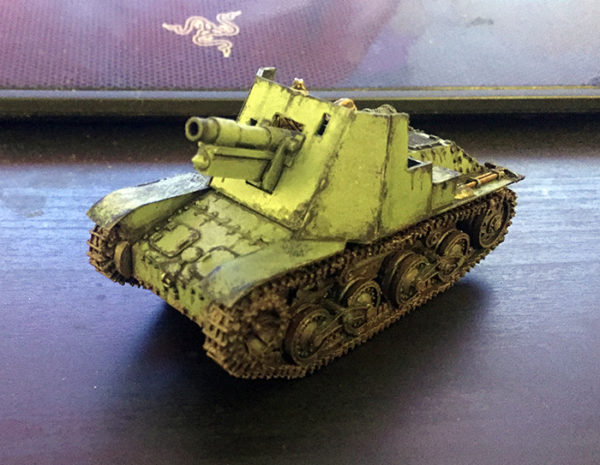
Then all that was left was a lick of paint and some wash and the Type 4 Ho-To was ready for the table.
How to use it in Bolt Action
It should come as no suprise to anyone that there are no rules for the Type 4 Ho-To. Furthermore as far as I know there isn’t really any spot on unit that can be used as a proxy (light tank, open topped, medium howitzer) The closest ”match” possible is probably the Type 4 Ho-Ro Assault Gun (See Armies of Imperial Japan page 31 for full stats). Which is the rules I will be using if I field my Type 4 Ho-To. Obviously with my opponents consent.
Since it will have the same rules as the Ho-Ro on the tabletop it will obviously fullfill the exact same role as it’s slightly larger relative. As such it will be giving the japanese forces some good big HE to fling around the board, However one should be wary of the poor armor and treat this little vehicle with care since it surely is a glass cannon.
I hope this article has been enjoyable and maybe even have given you some inspiration to build your own Type 4 Ho-To, or perhaps convert and make something entirely diffrent of your own. Also with the release of the new K-47 ruleset there are many more opportunities for conversions! So why not give it a go…
Do you have an article within you? Are you itching to show your collection to the world of Bolt Action? Then drop us a line with a couple of pictures to info@warlordgames.com or share with all over at the Warlord Forum