By Dr Phil Hendry
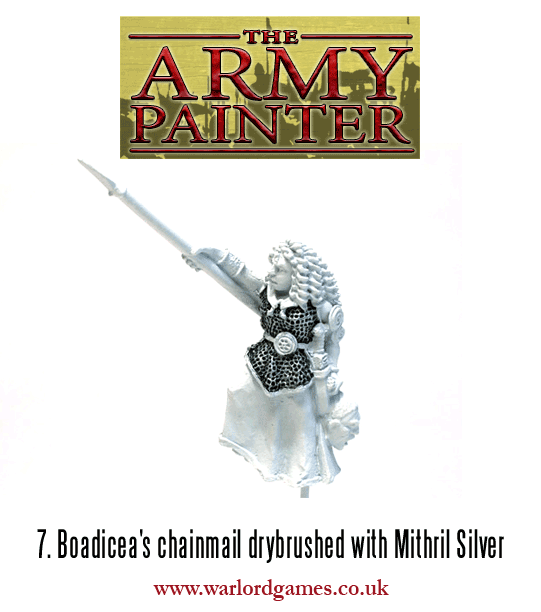
Once all the preparation was done it was time to get on with the painting proper. First of all, I dry-brushed the chainmail with Citadel Mithril Silver, then touched up the white primer where my dry-brushing had strayed – as it inevitably does.
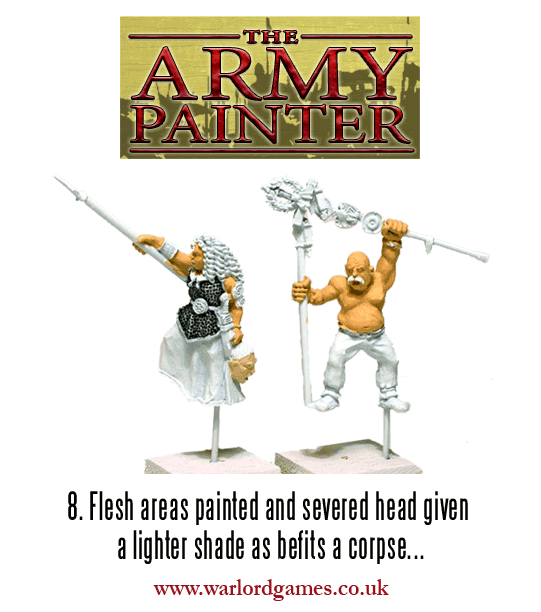
Then it was time to paint the flesh – Foundry Flesh 5B, with the severed head looking suitably pale in 5C. A blob of 5A inside the severed head’s mouth, and two spots of white for the upper incisors, as well as a bit of gore where the head had joined its body.
Next came clothing. Cassius Dio has this to say about her appearance:
“In stature she was very tall, in appearance most terrifying, in the glance of her eye most fierce, and her voice was harsh; a great mass of the tawniest hair fell to her hips; around her neck was a large golden necklace; and she wore a tunic of divers colours over which a thick mantle was fastened with a brooch. This was her invariable attire.”
The ‘tunic of divers colours’ had a light green base, a bold check of a darker green, lined with a dark blue-grey, the whole being set off by either a yellow or red pinstripe going through the middle of the light green squares. The cloak was to be a dusty blue, with stripes of dark blue-grey and bone. Her bodyguard was to have yellow trousers with blue stripes and also a red pinstripe. Here’s a scan of some tests I did (together with the base colour for Boadicea’s hair) on a scrap of paper to see which colours I liked best.
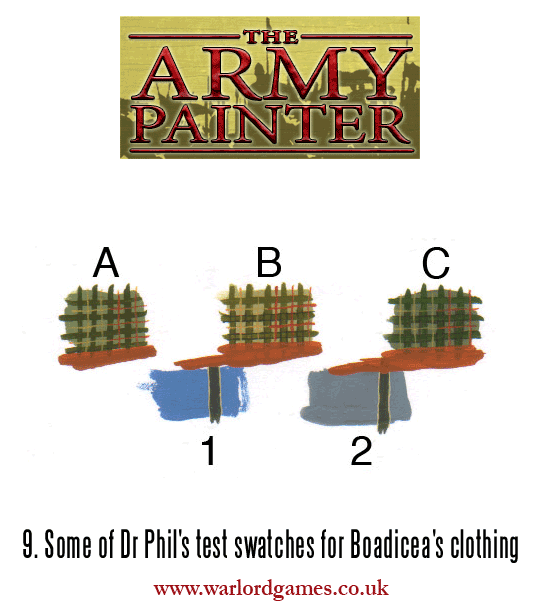
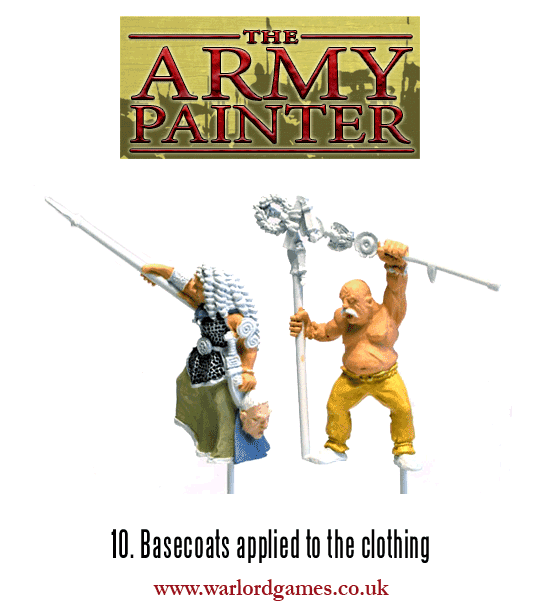
I decided, after consulting my wife, son and daughter and getting three opinions –, all different from each other and different from my own, to go with B and 2 and to use the red pinstripe, as the yellow didn’t really show up. So here is the first stage:
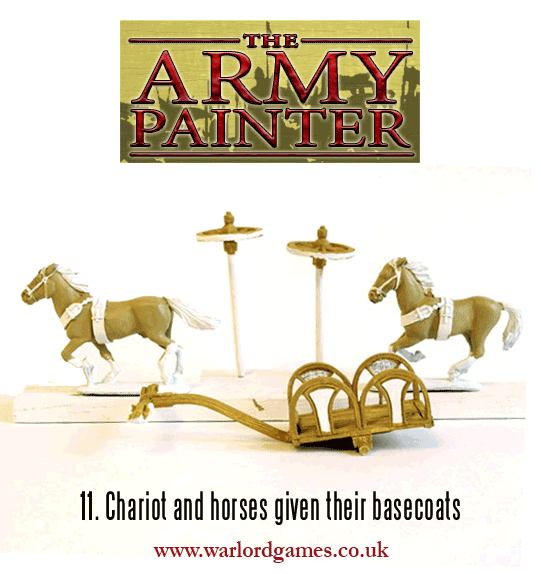
Whilst this was drying, I started to paint the horses and chariot. I painted the horses’ coats in Foundry Canvas 8A and the chariot body in Vallejo Ochre Brown (856/127).
Then I painted the manes and tails black, and the side-panels of the chariot in Foundry Madder 60B, and the inside ‘wickerwork’ in Foundry Canvas 8A.

After that I dry-brushed the black bits on the horses and painted Boltgun Metal on the chariot wheels.
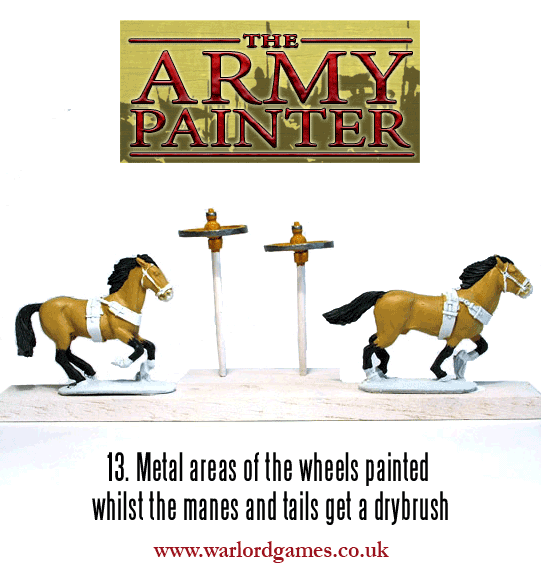
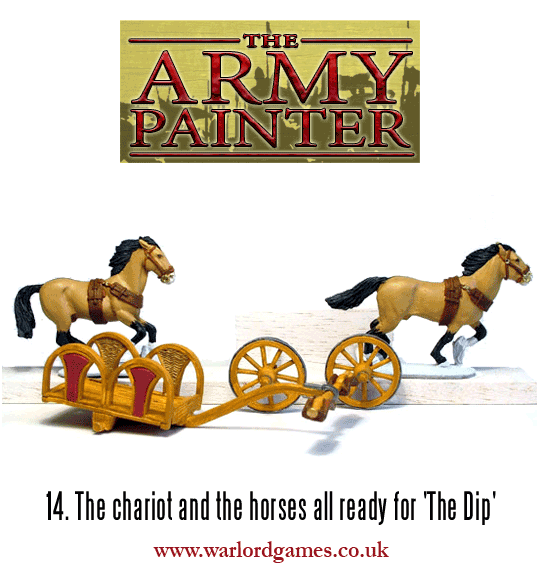
And here are chariot, horses, etc. with everything except the hooves painted (they were done later, with Foundry Charcoal Grey 34C and Canvas 8A) – note, just one base-coat was used, except on the black parts which are drybrushed grey. After this the horses and chariot were ready for the ‘Dip’.
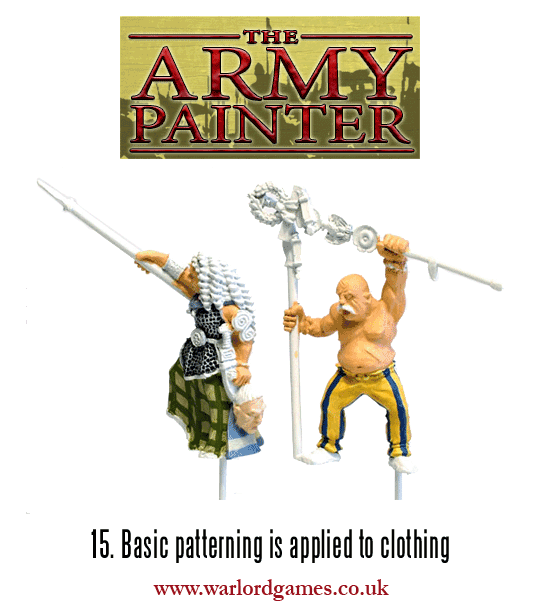
And now the various stages of painting on the checks, stripes and woad on the people. The checks are painted by simply painting stripes in each direction.
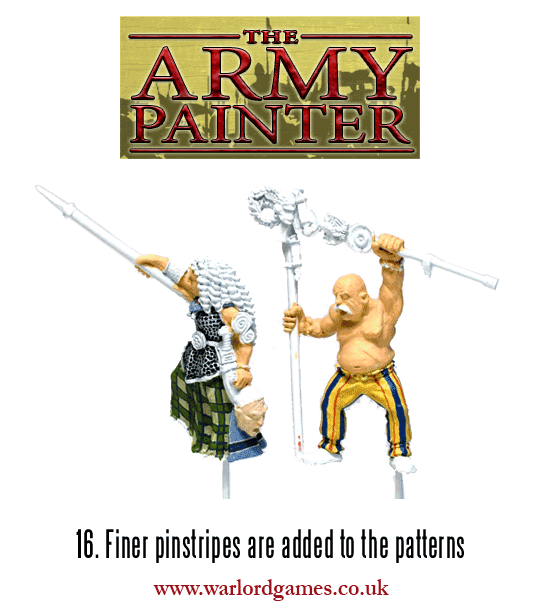

Once all the stripes, checks, etc were painted, it was time to paint the leather belts, straps, etc, using Bestial Brown; the spear shafts with Foundry Spearshaft 13B; Boadicea’s hair with Vallejo Orange Brown (981/131); the ‘ribbon’ on the standard with Foundry Terracotta 37B; the bodyguard’s moustache with a pale grey; etc.
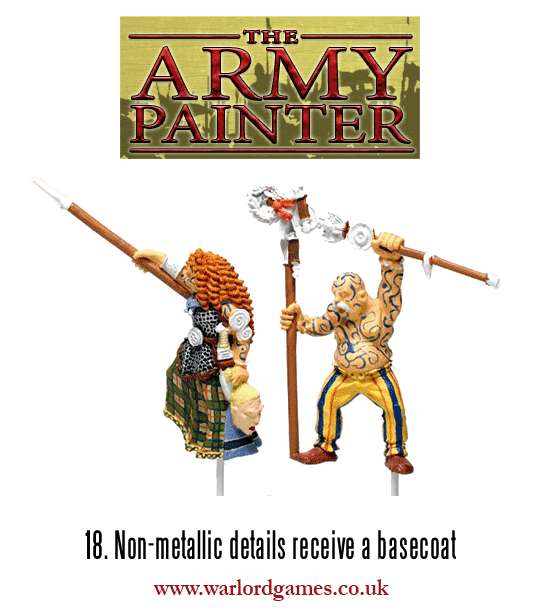
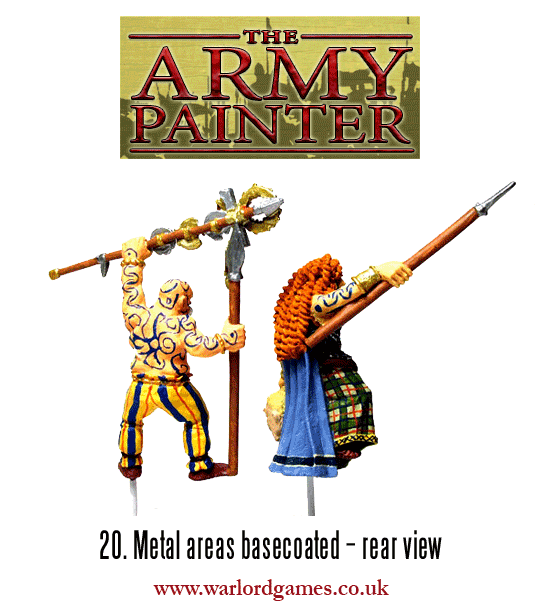
Then it was time for the metallic paint. Steel parts were painted with Chainmail, bronze or gold with Foundry Gold 36B.

And that was that, as far as actual painting was concerned…